Who would think that building something so “tiny” could possibly be so challenging?
I know, I know. This update on the progress of the house is LONG overdue. Suffice it to say — I took on WAY too many responsibilities over the summer and into the autumn this year. On the other hand — a person’s gotta live, don’t they? As a freelance artist and teacher, if I don’t take the work that’s available, devote mindful presence and energy to it (and ultimately feel gratitude for it), I’m in a lot of trouble.
That said, onto the details about the house and its construction.
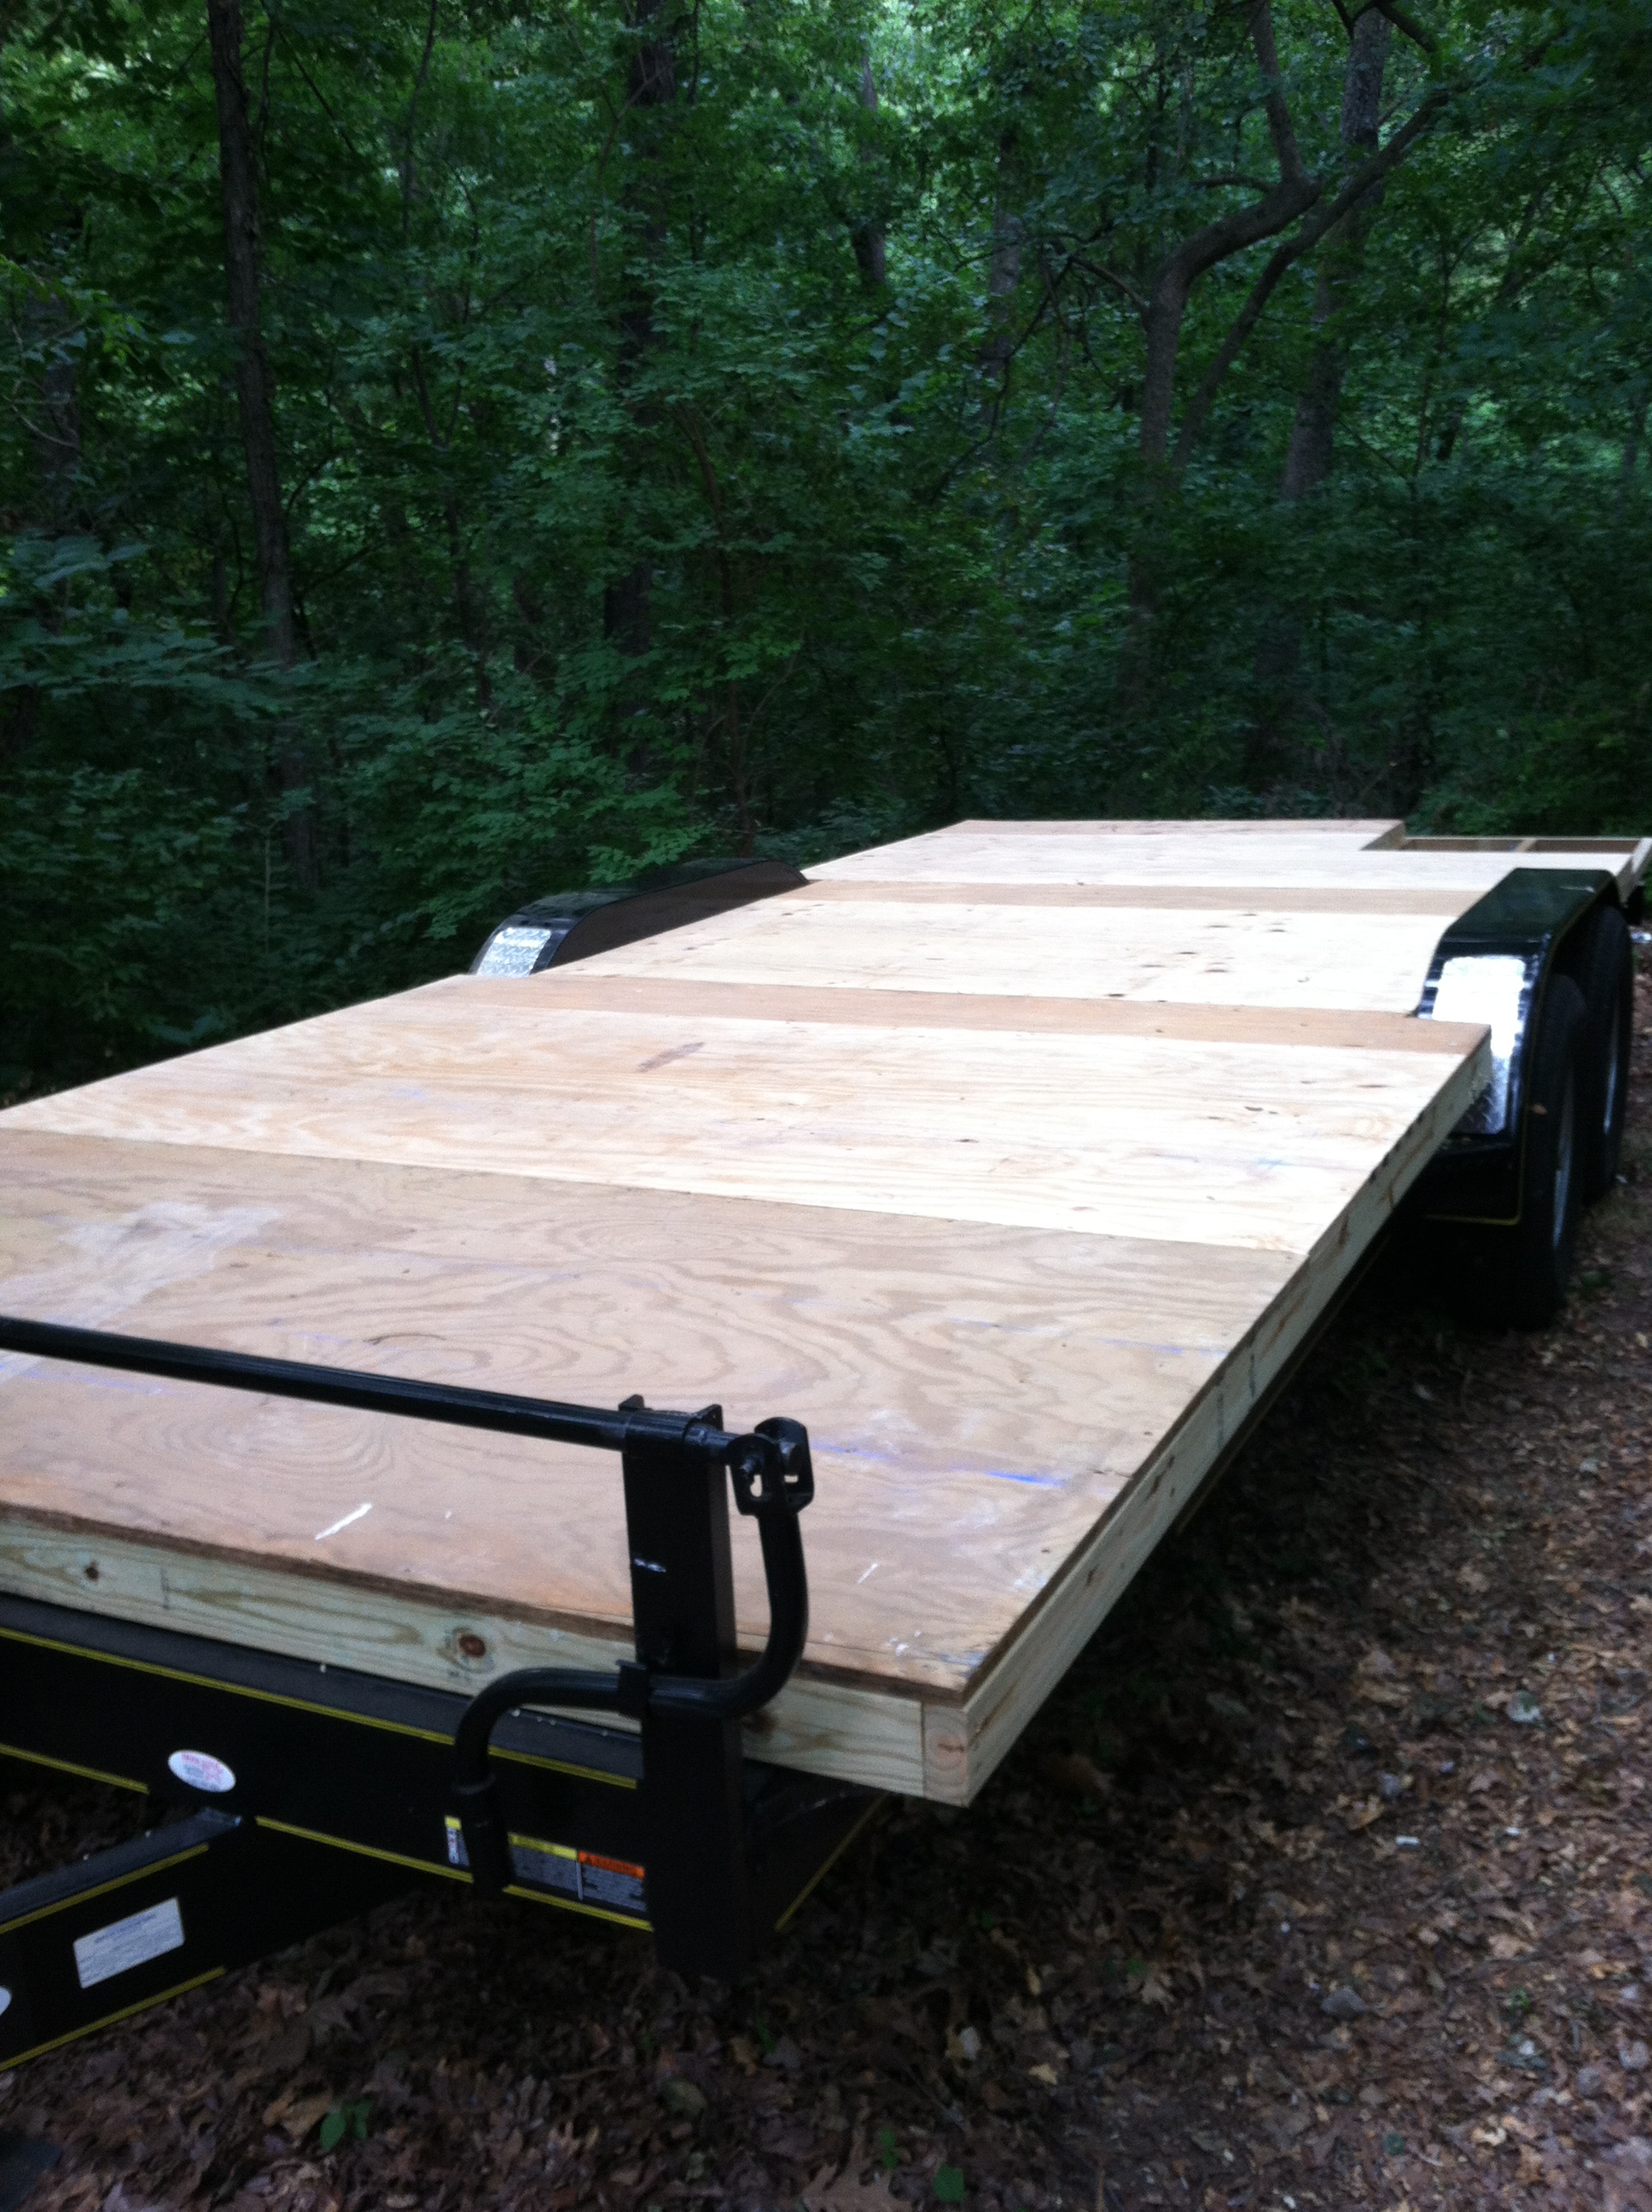
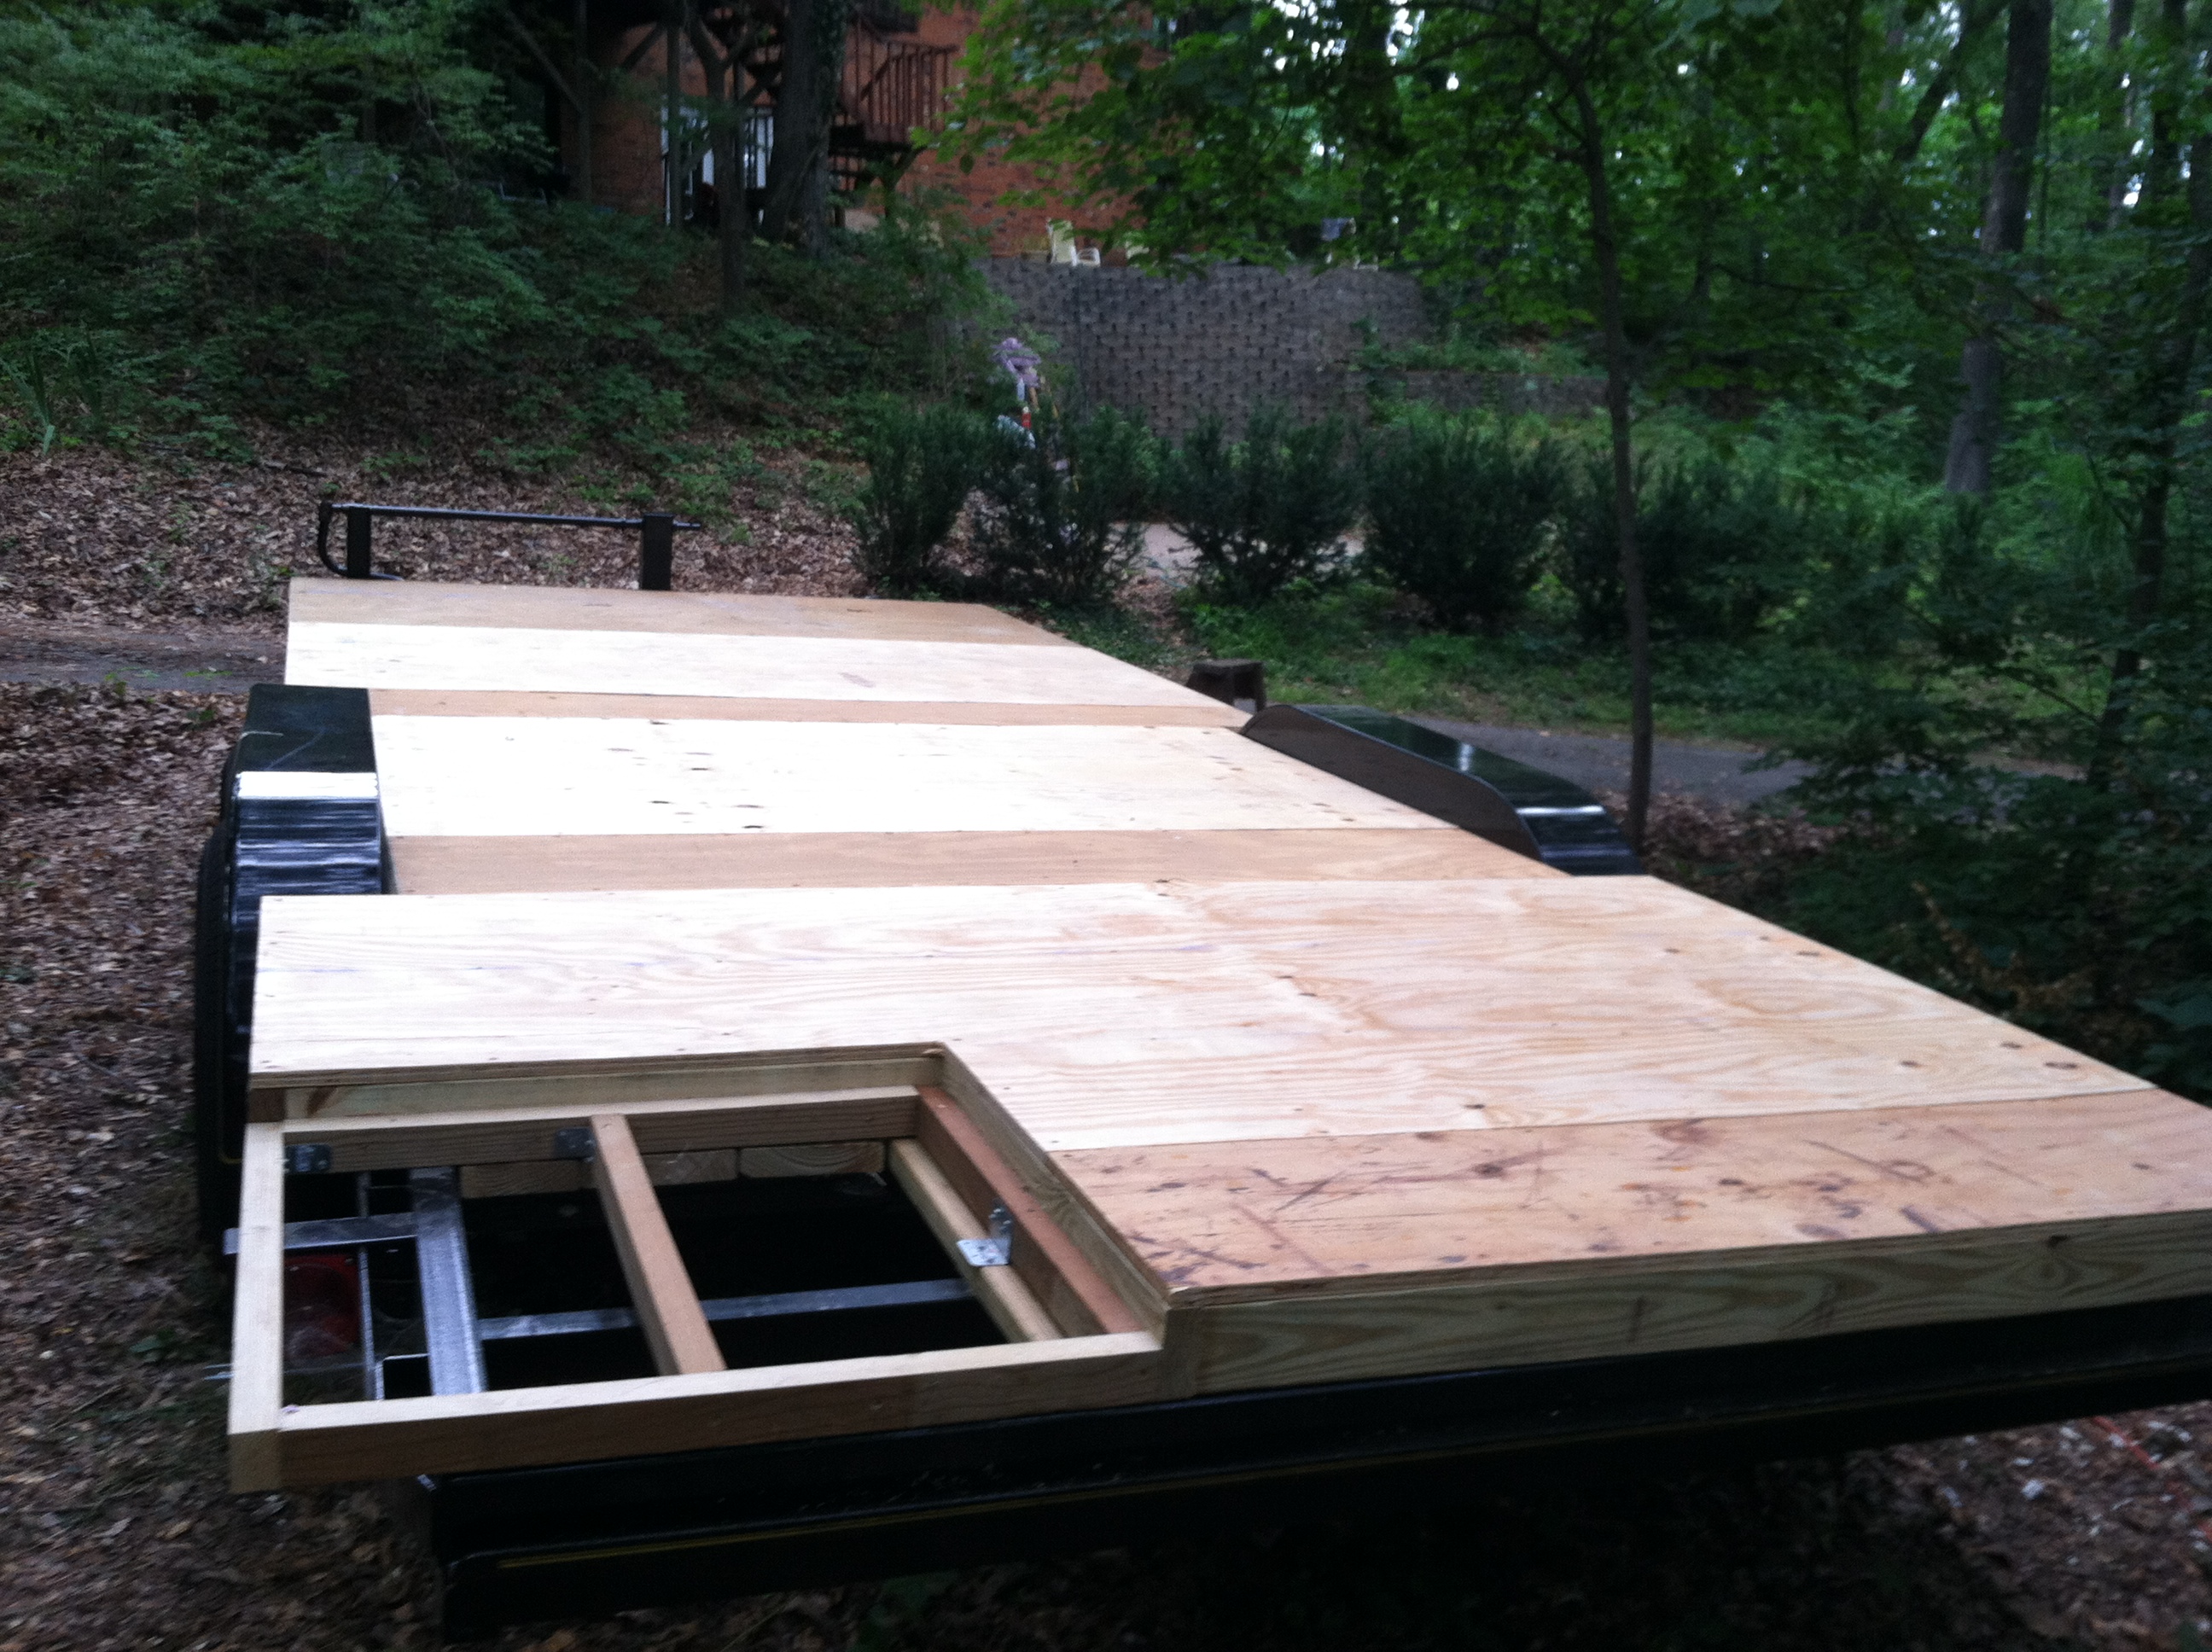
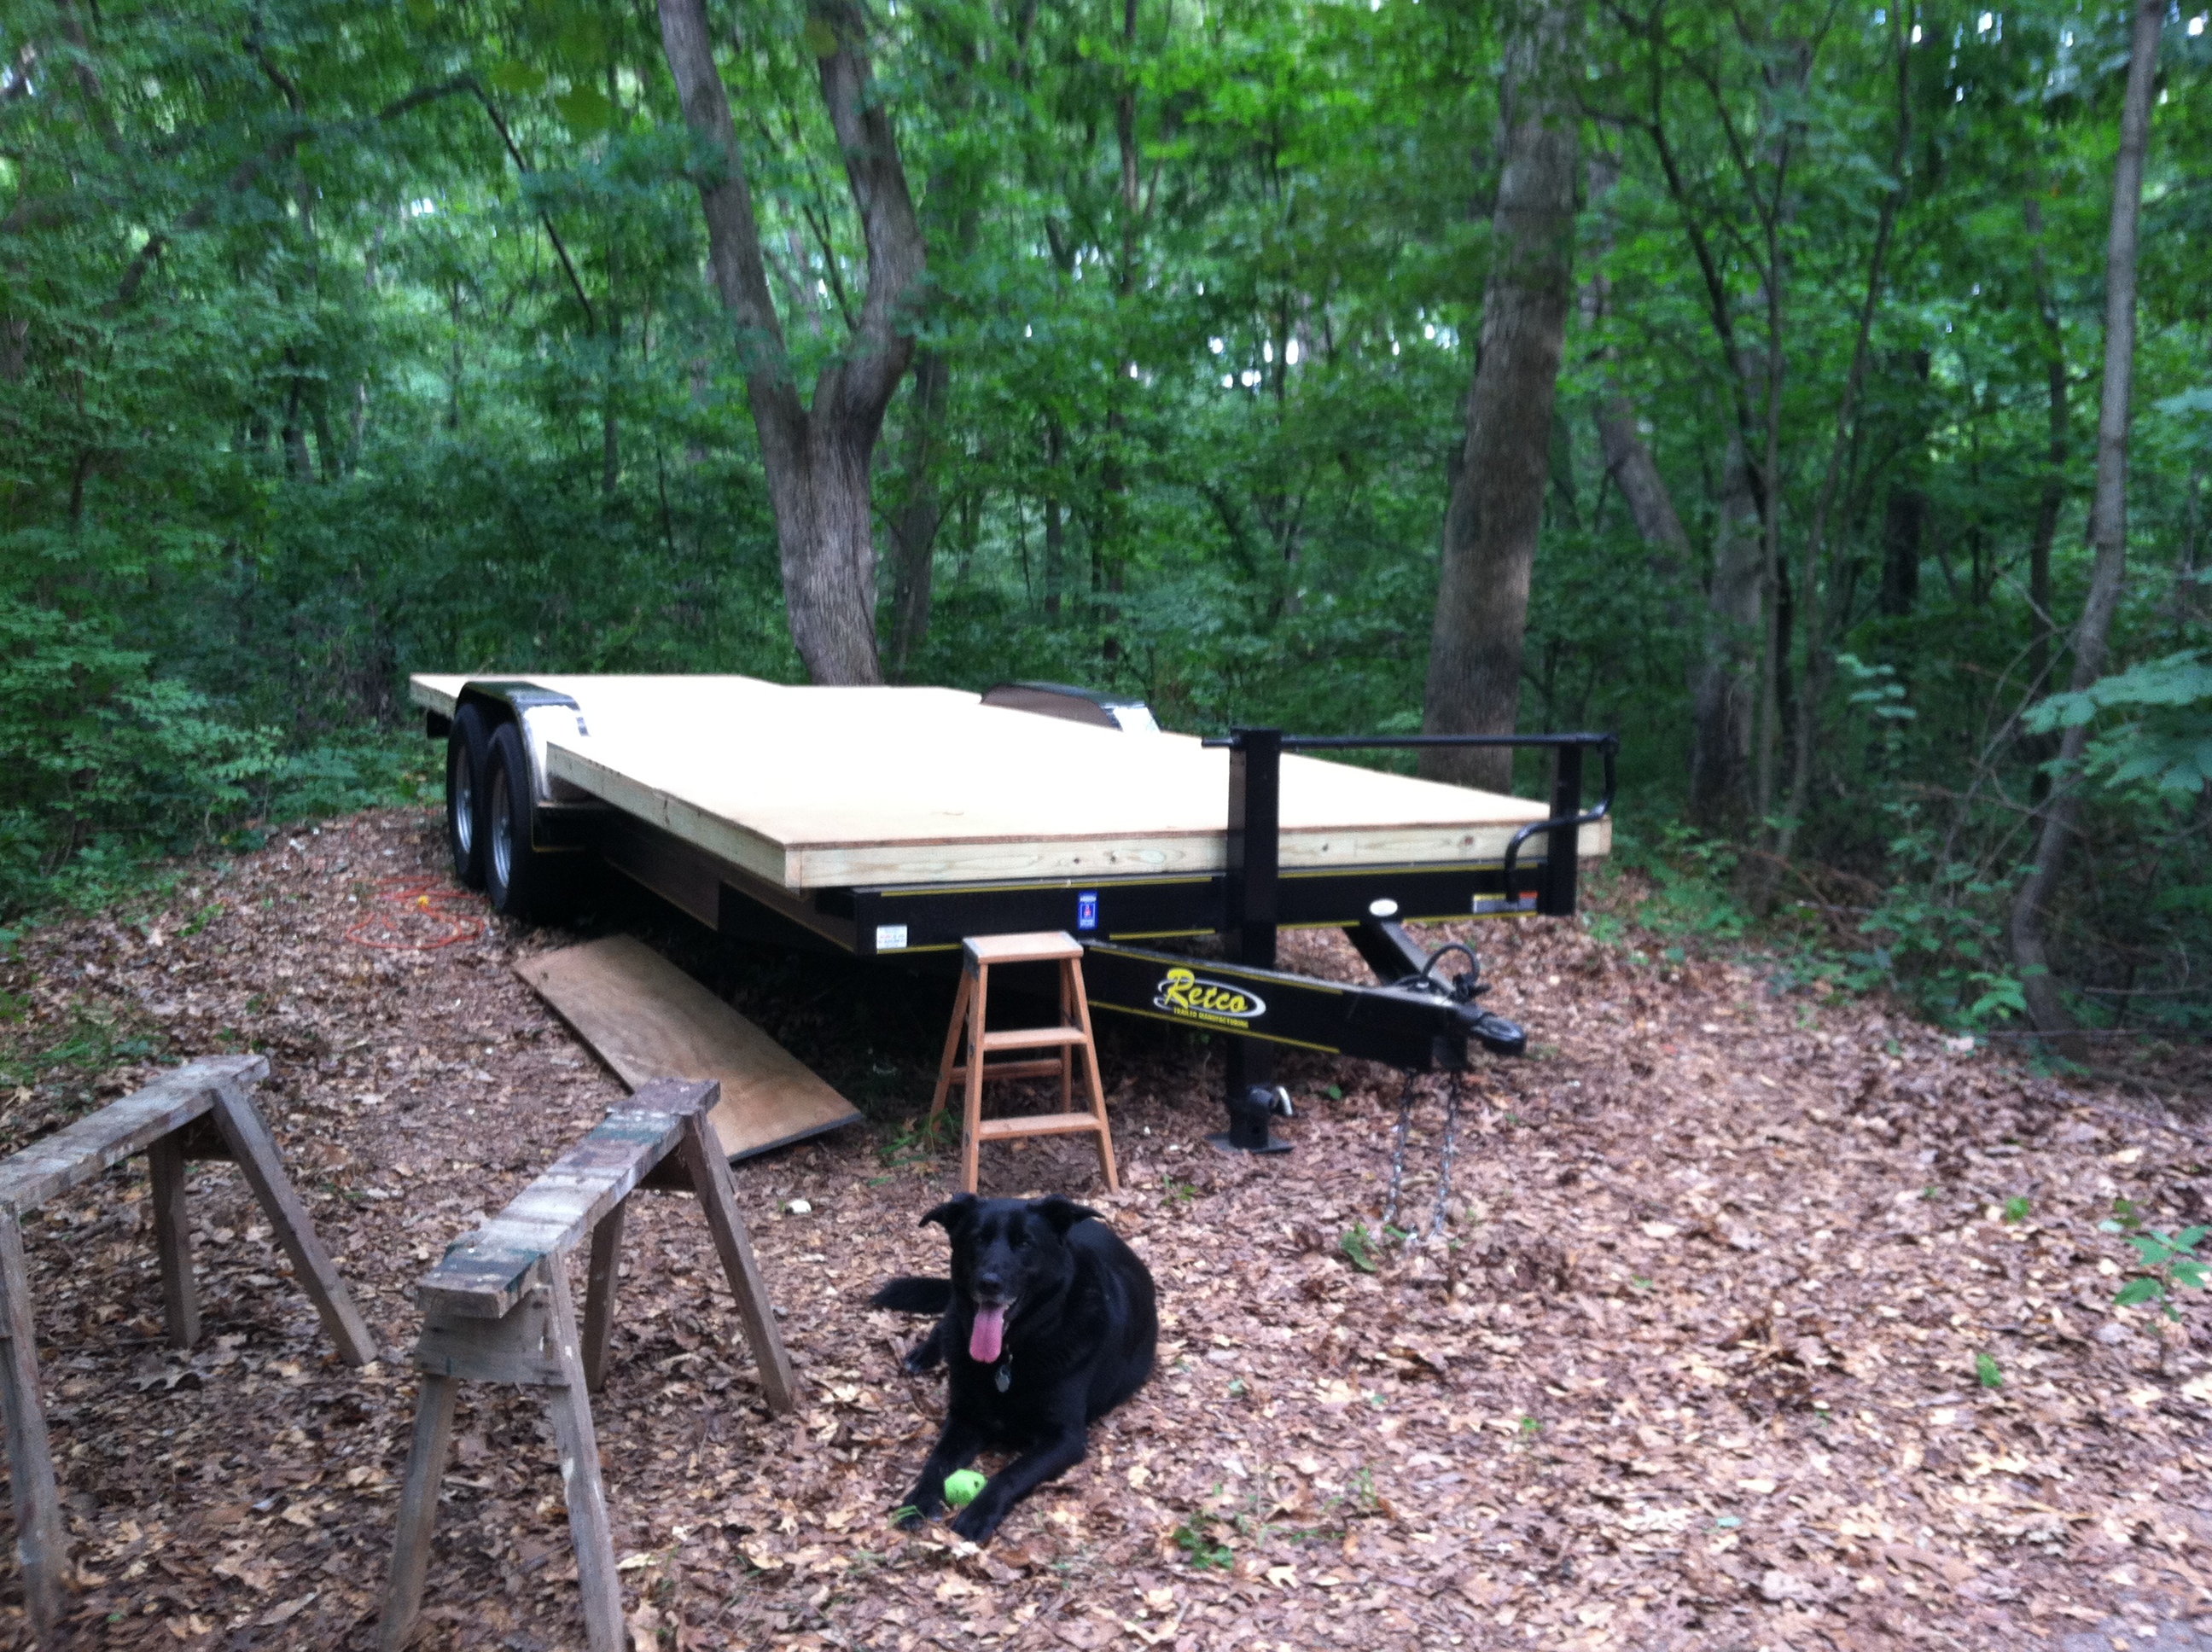
The frame went up with minimal difficulty.
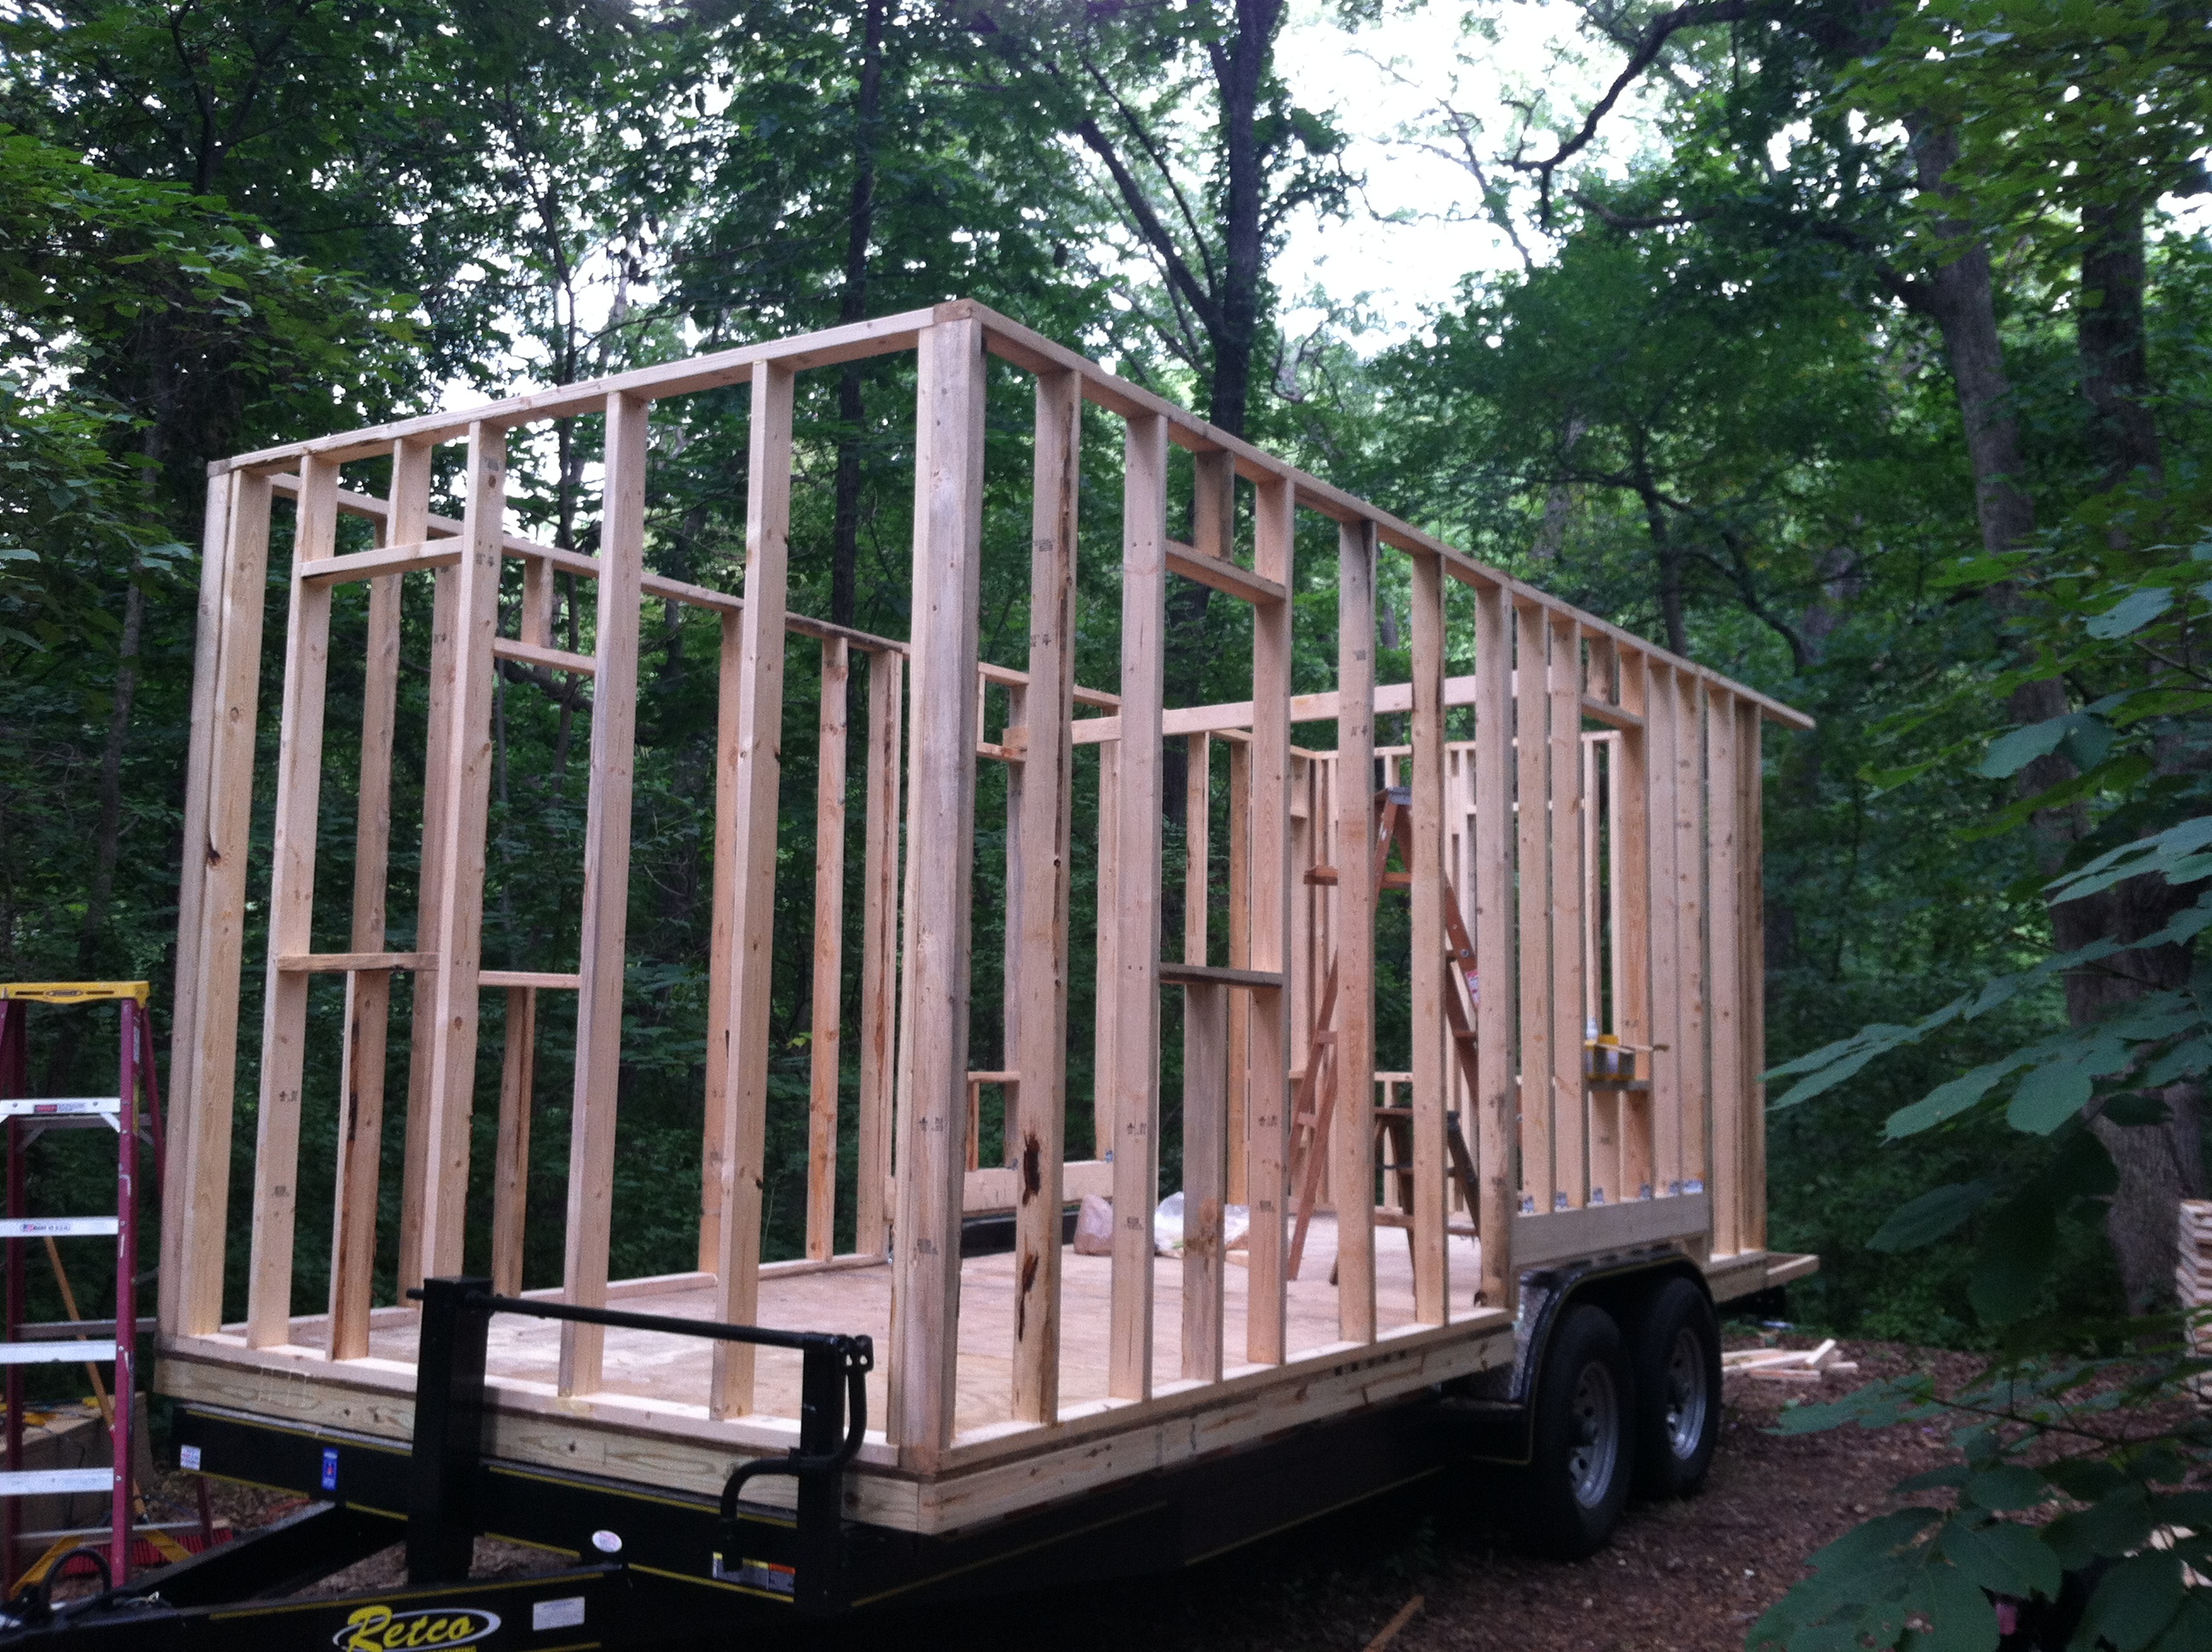
See?
Then there was the roof.
Ohhh… the roof.
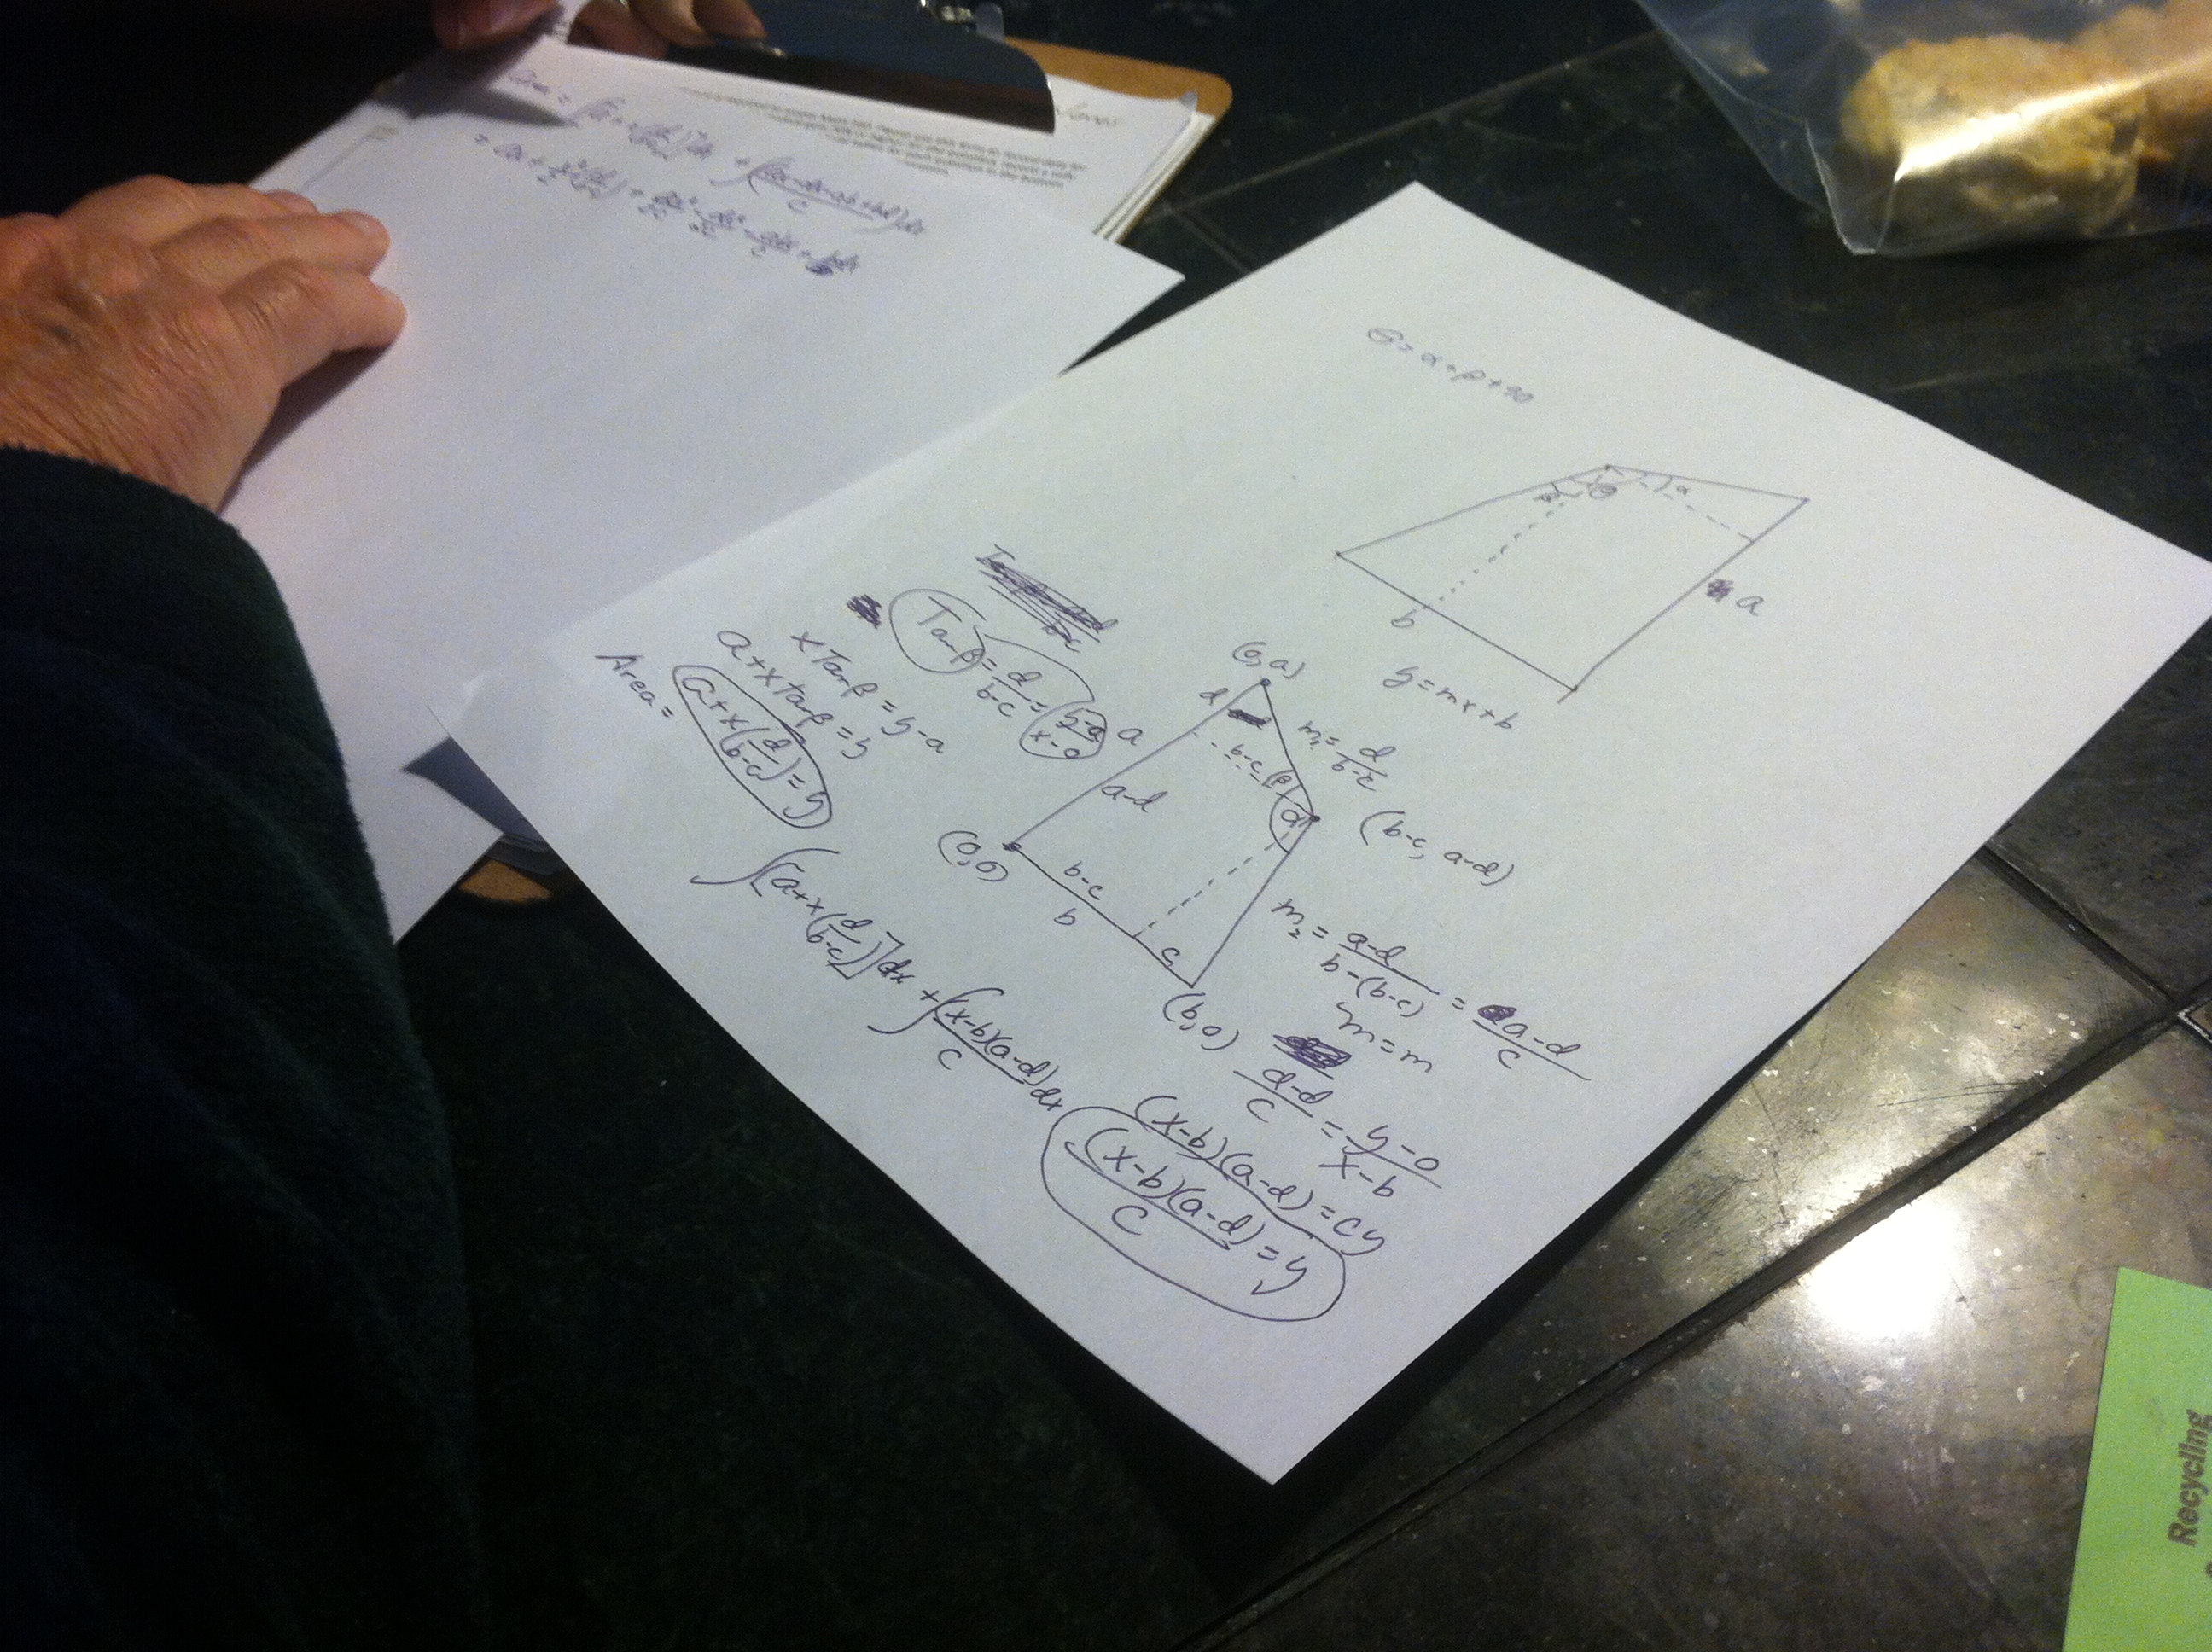
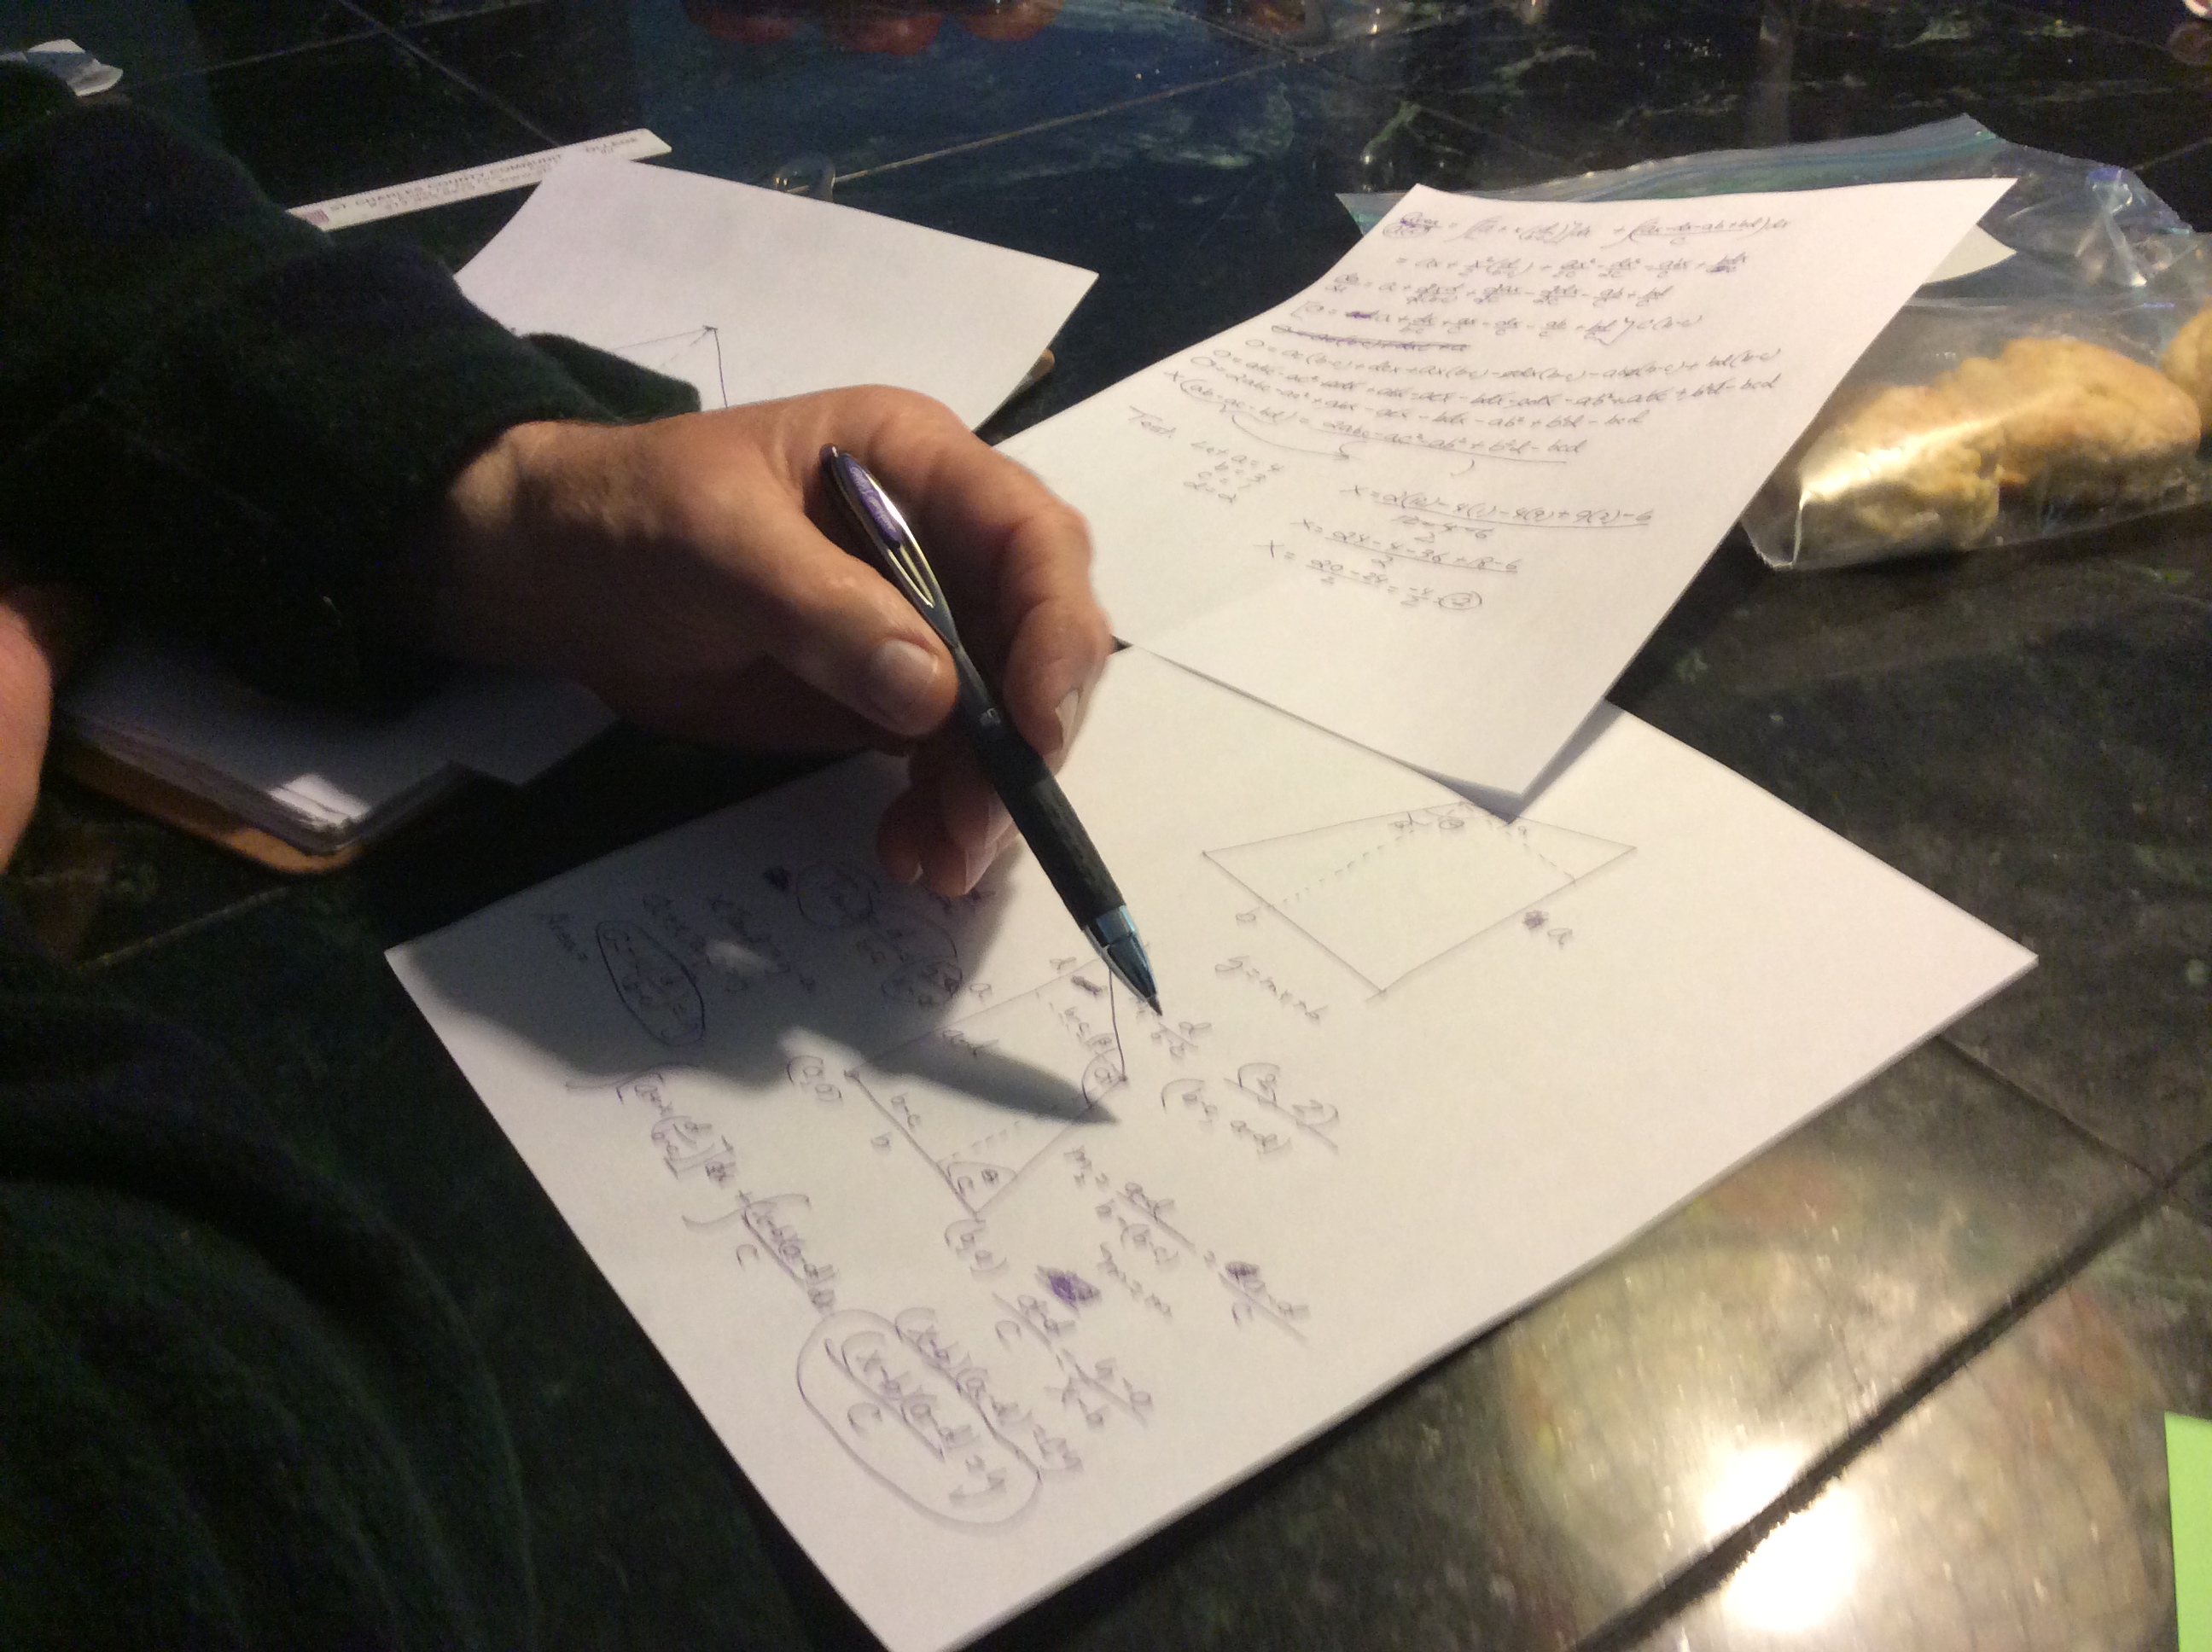
There are a lot of details I could offer about the roof and why we chose to change its pitch, but it’s confusing so I won’t. We altered the style of the roof to a gambrel or ‘hip’ roof. My father has built at least two buildings with gambrel roofs on them, and they do offer quite a bit more space in the loft, so we chose to go ahead and do it.
Dad did all the calculations, and we started building trusses.
We built all these trusses so that we could put up the frame and have the trusses ready to put up. It all seemed so simple.
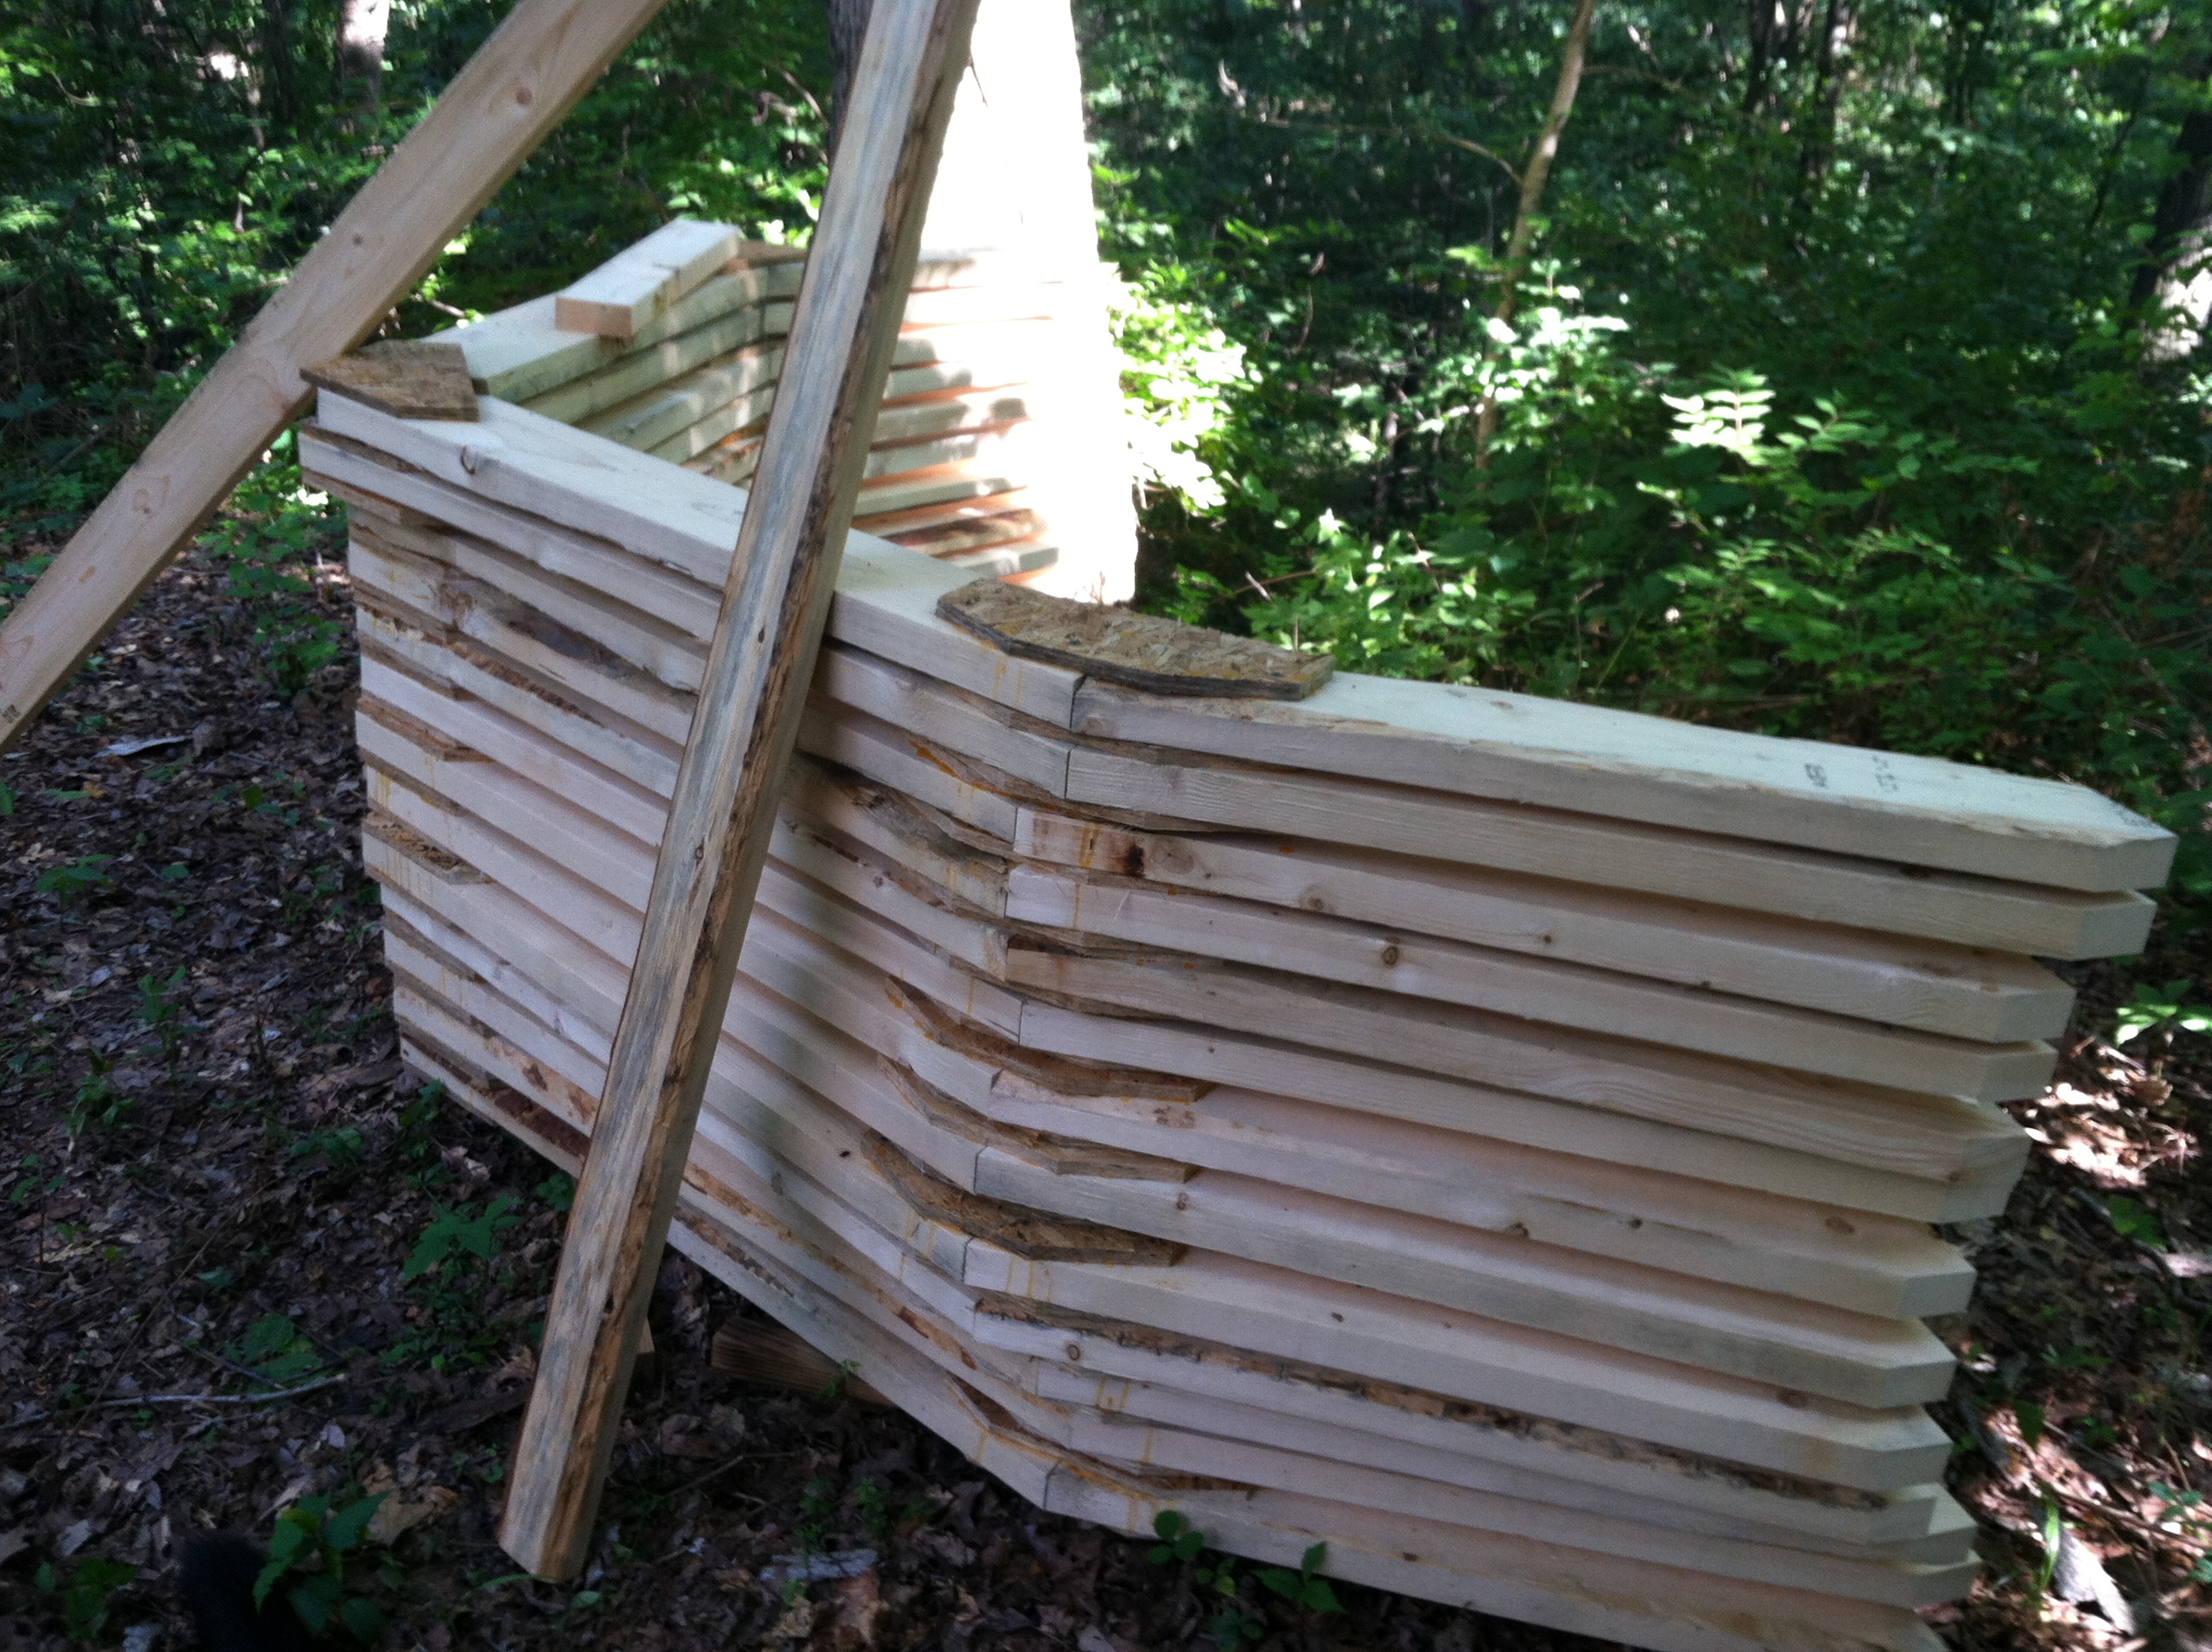
Great big stack ‘o’ trusses.
At first, it was. We got some anchors for the trusses, measured them out, screwed them in, and put up the trusses. It took shockingly little time to do. Once they were up for a few days, however, we realized that we’d built a few of them incorrectly. No big deal, we thought. We’ll take the faulty ones down and re-build a few trusses. When we took them down, however, we realized that the structure wasn’t going to be nearly stable enough without a rafter board. Even with the sheathing and roofing to stabilize the structure, the use of trusses isn’t nearly as stable as rafters and a rafter board when you subject the structure to torsion. If you put a stick building on a trailer and tow it, there’ll be torsion. Oh, yes. Torsion-tastic.
I love and admire my father deeply, and am eternally grateful for his assistance, problem-solving abilities, experience, and brilliance. I have also since learned that it is unwise to back off when he tells me that the additional reinforcements I add to the structure are “overkill”, and I no longer defer automatically to his opinions about building. If I were building a structure that wasn’t intended to move on a trailer, they would be entirely valid. NO question. When it comes to building a tiny house, however, he hasn’t done a quarter of the homework or research that I have, and since I’m the one taking the risk and hoping to live in it, I’m going to default to the research provided by those in the know on this particular area. Luckily, between us we’re a pretty solid team. We rarely argue, we work smoothly together with a great deal of mutual support and encouragement, and when one of us screws up, we (eventually) laugh and move forward with ease.
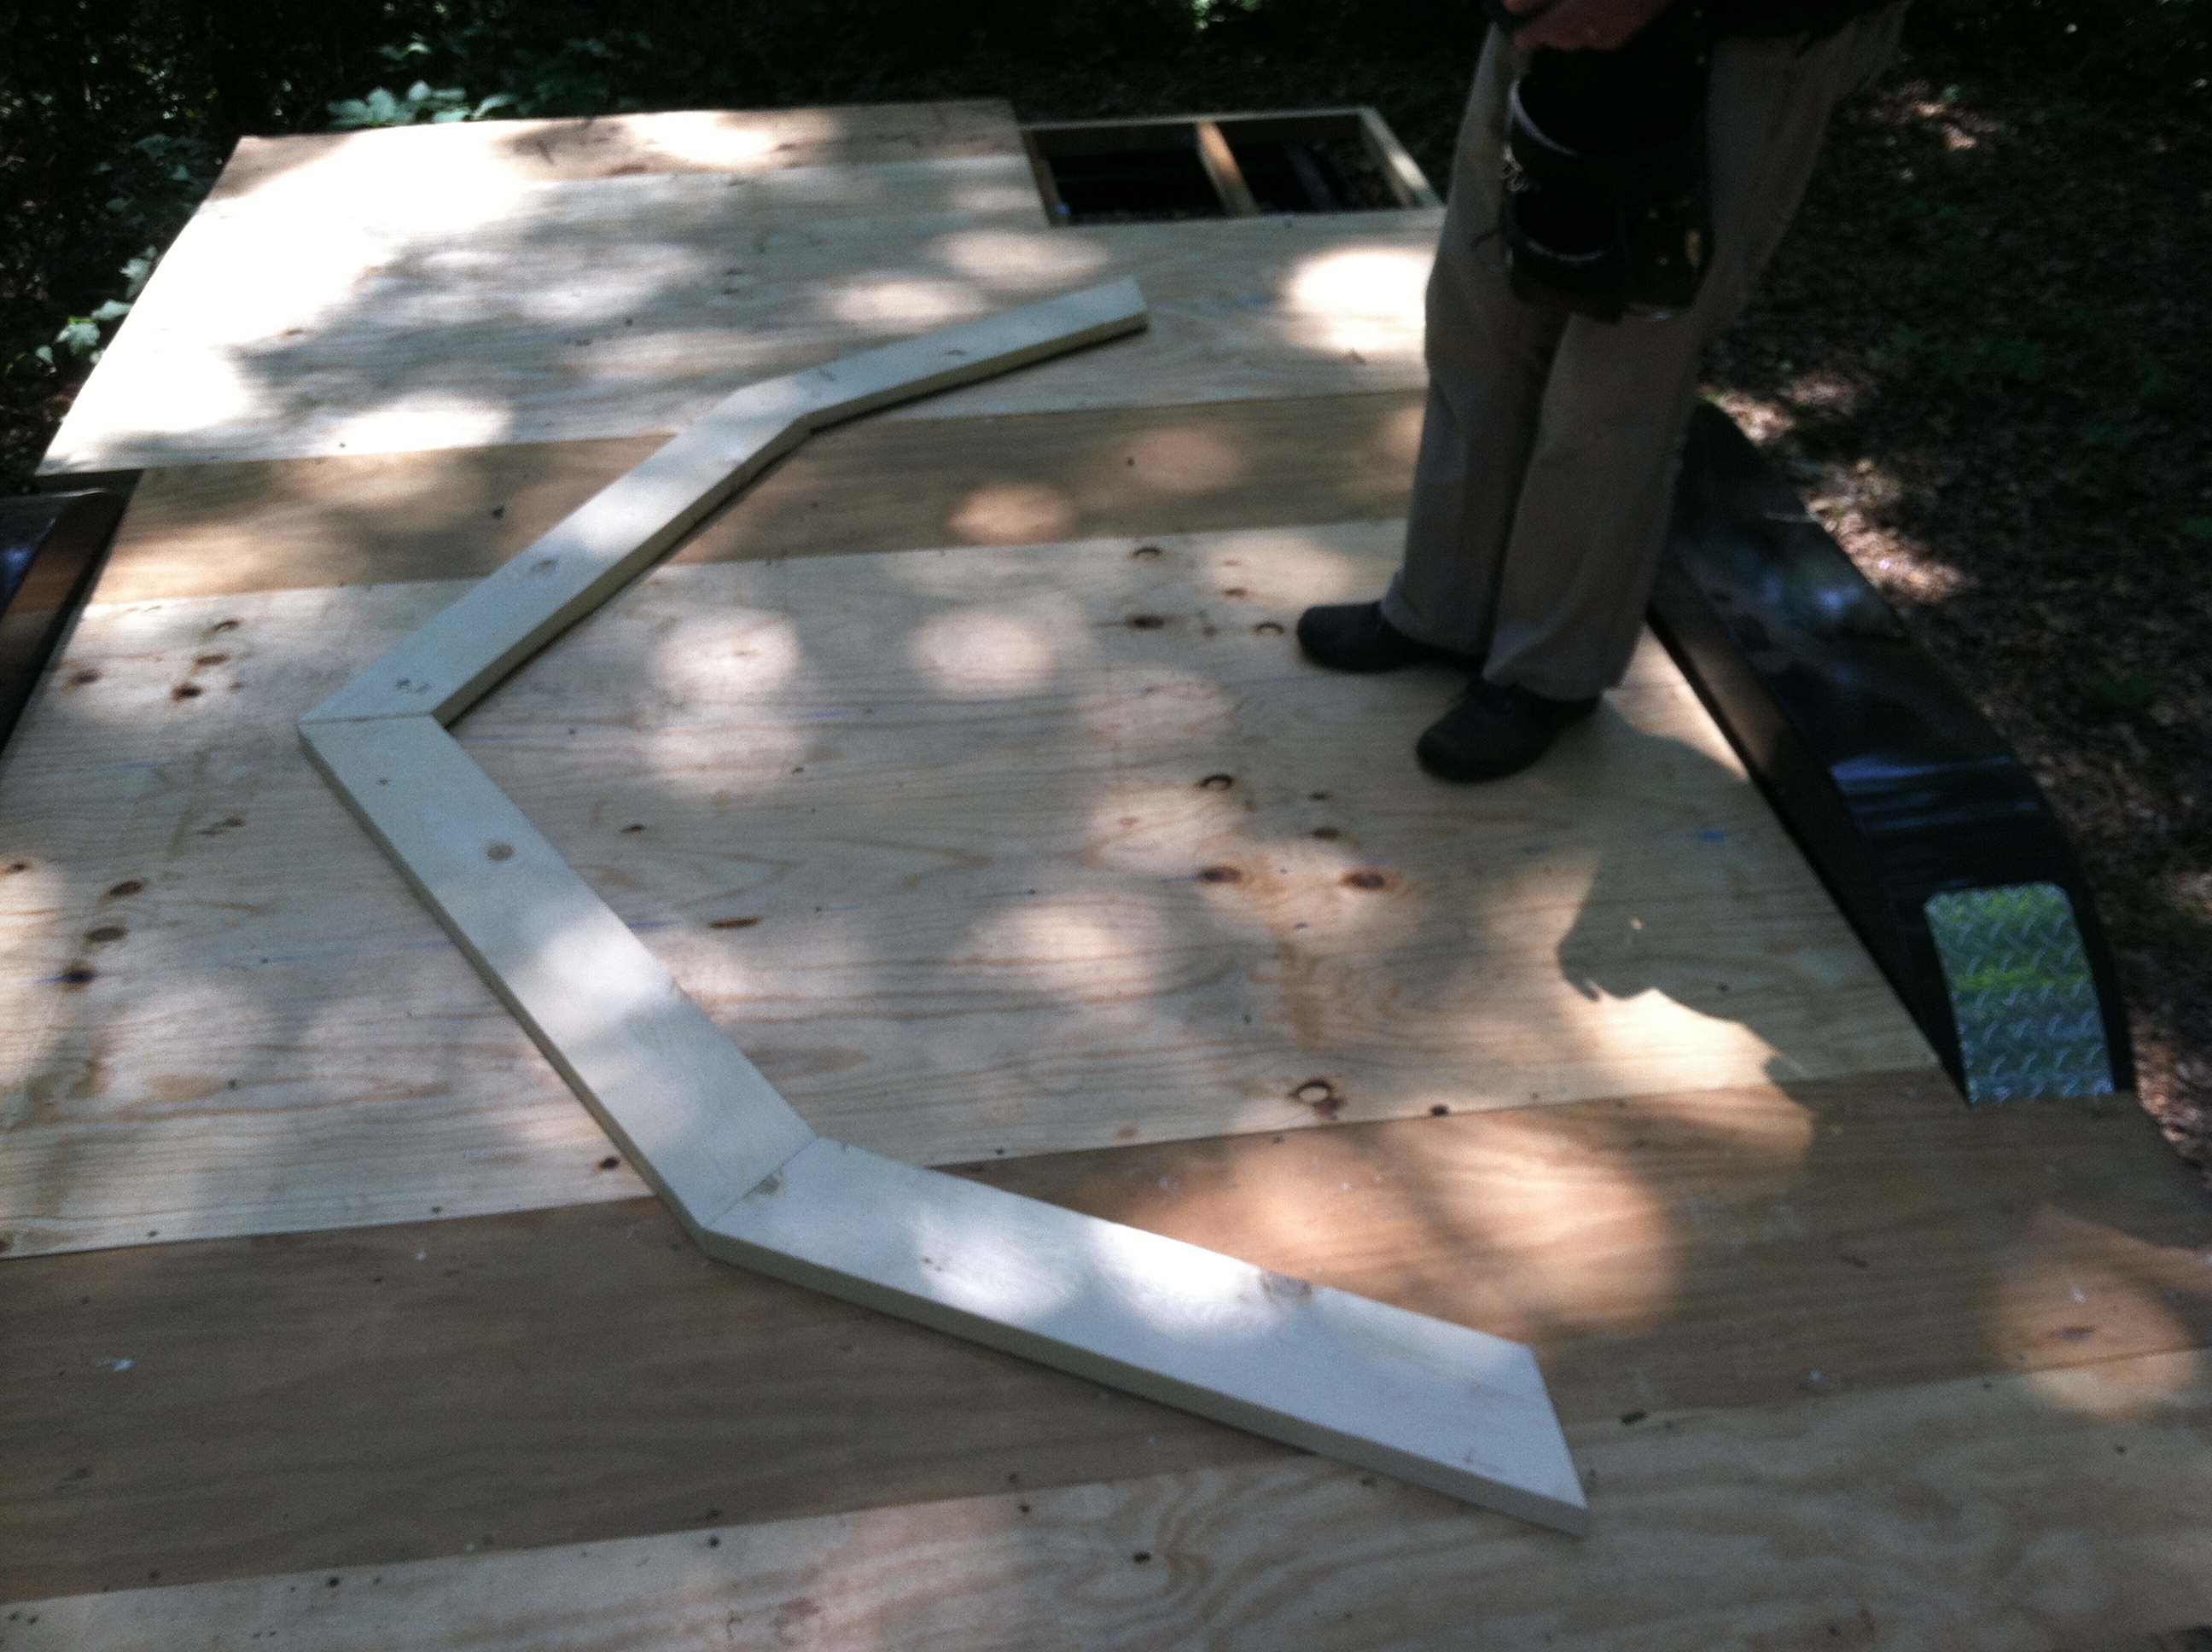
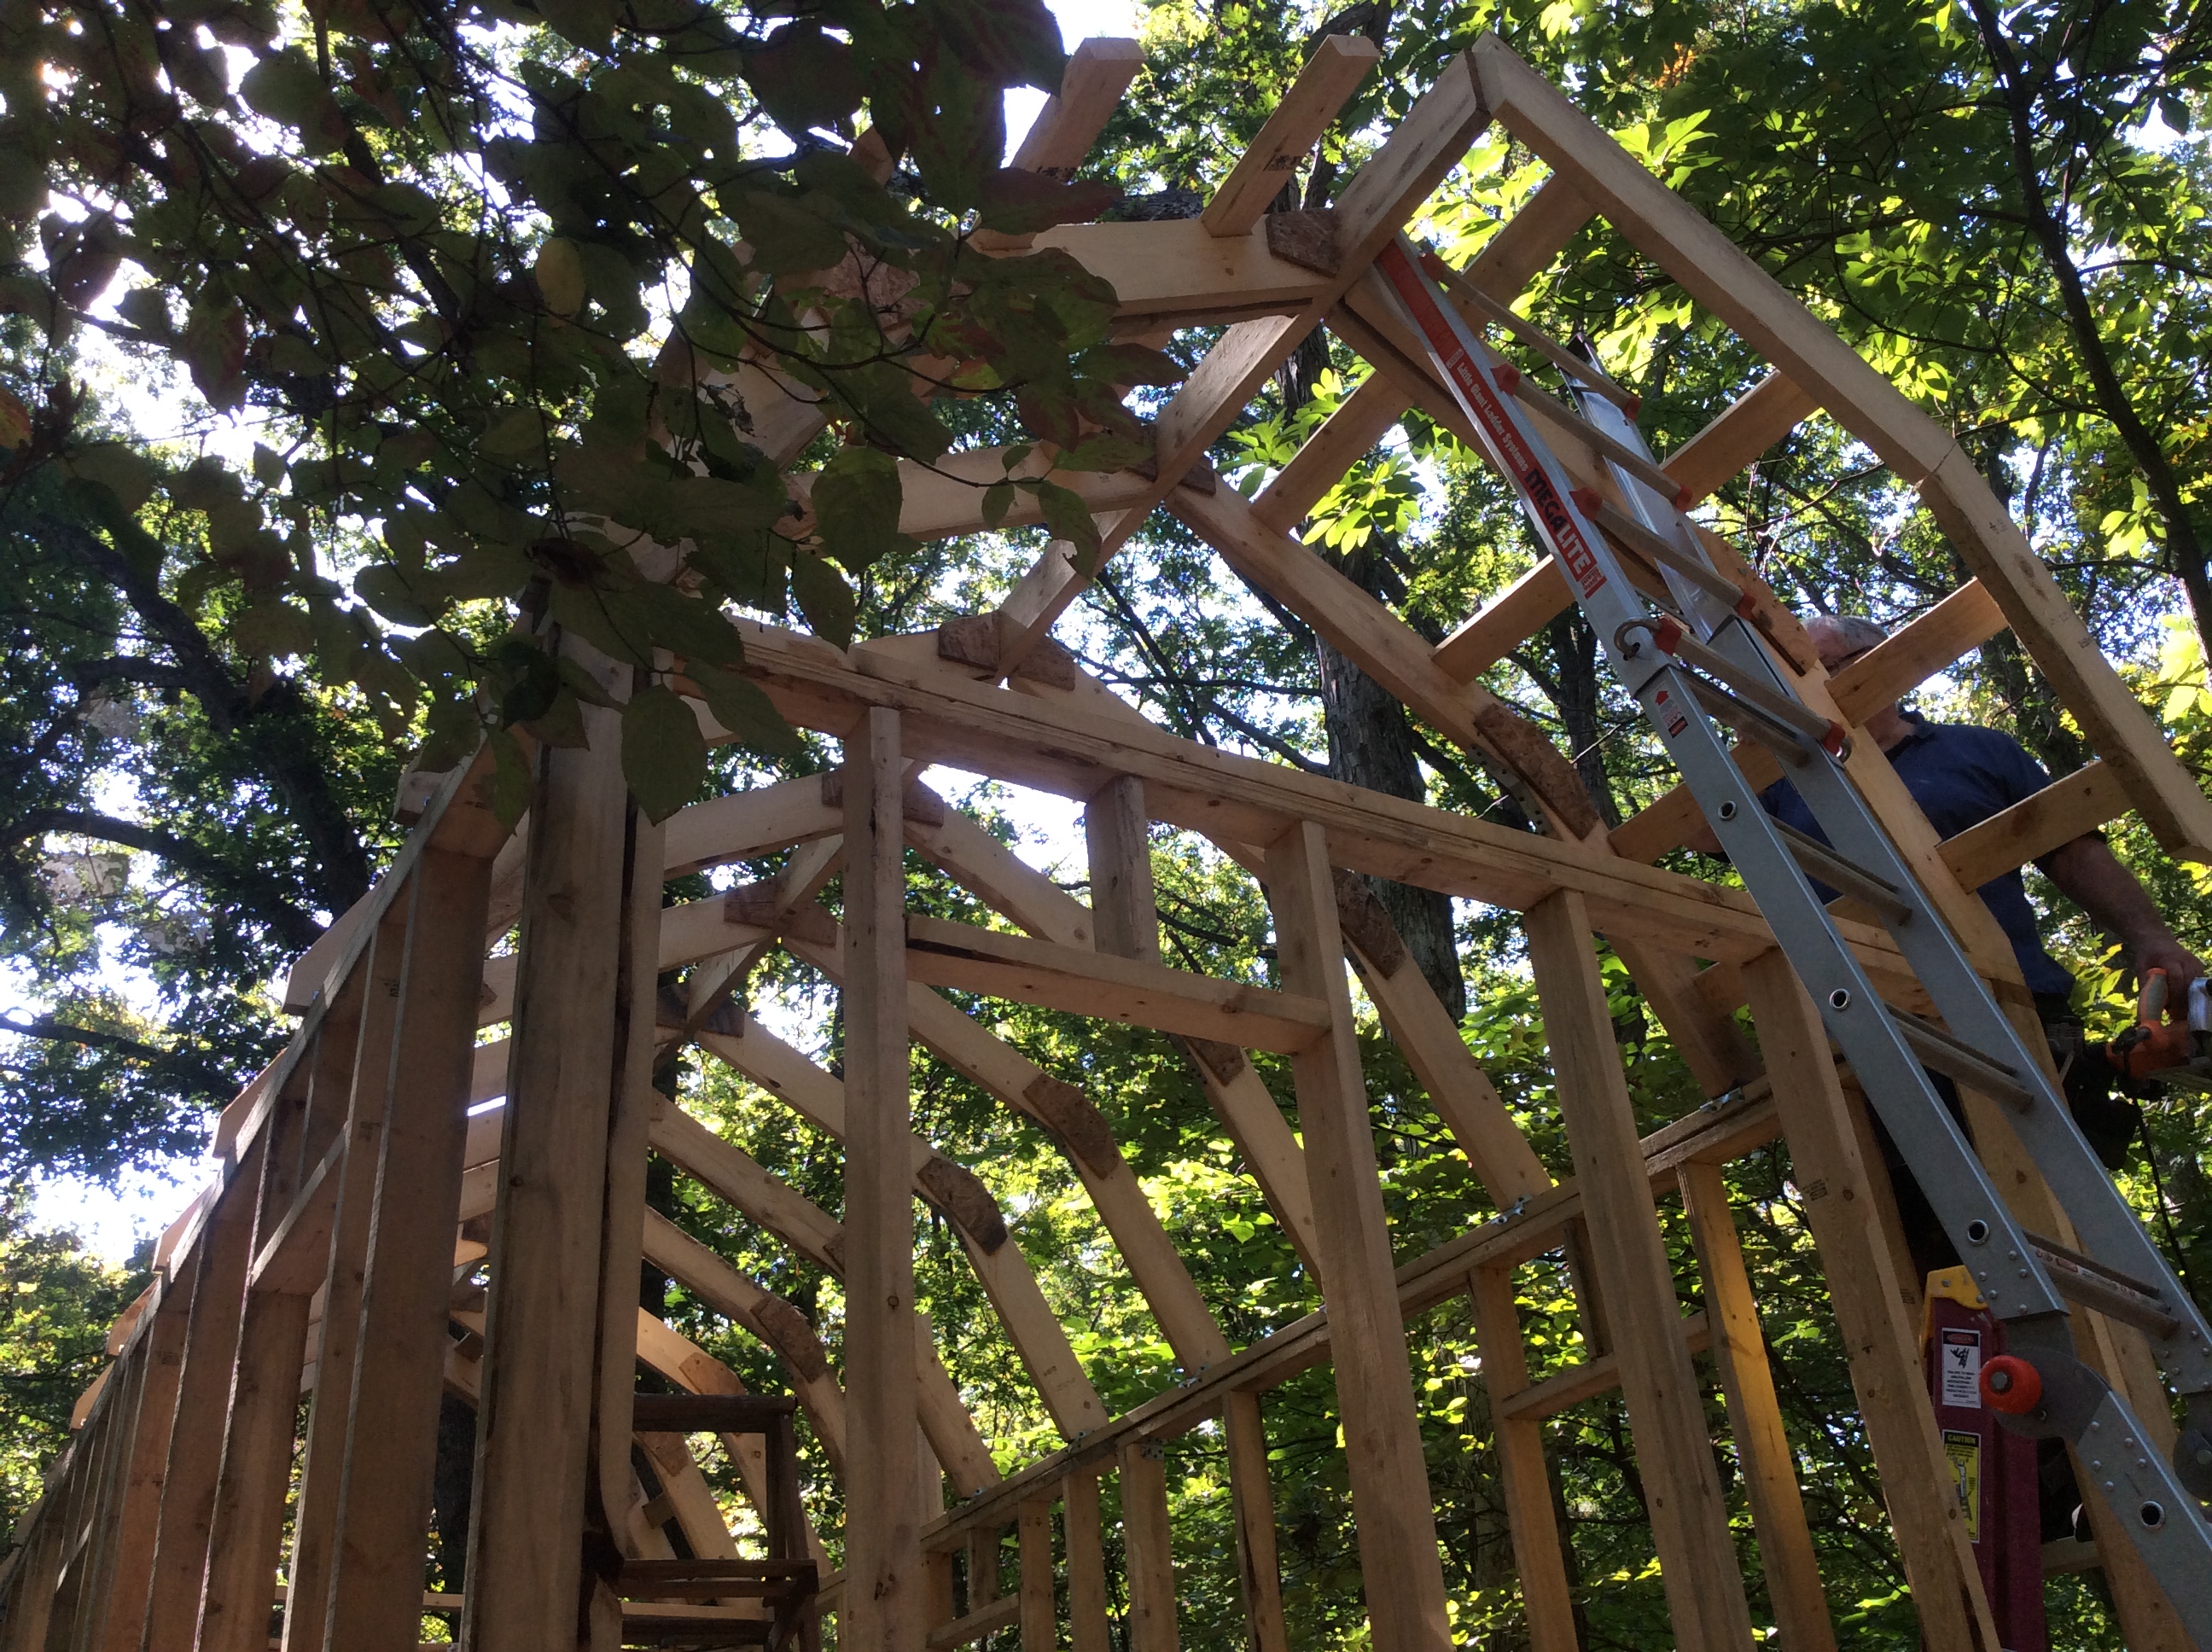
We took the trusses and split them in the middle to turn them into rafters, and attached them to the rafter board.
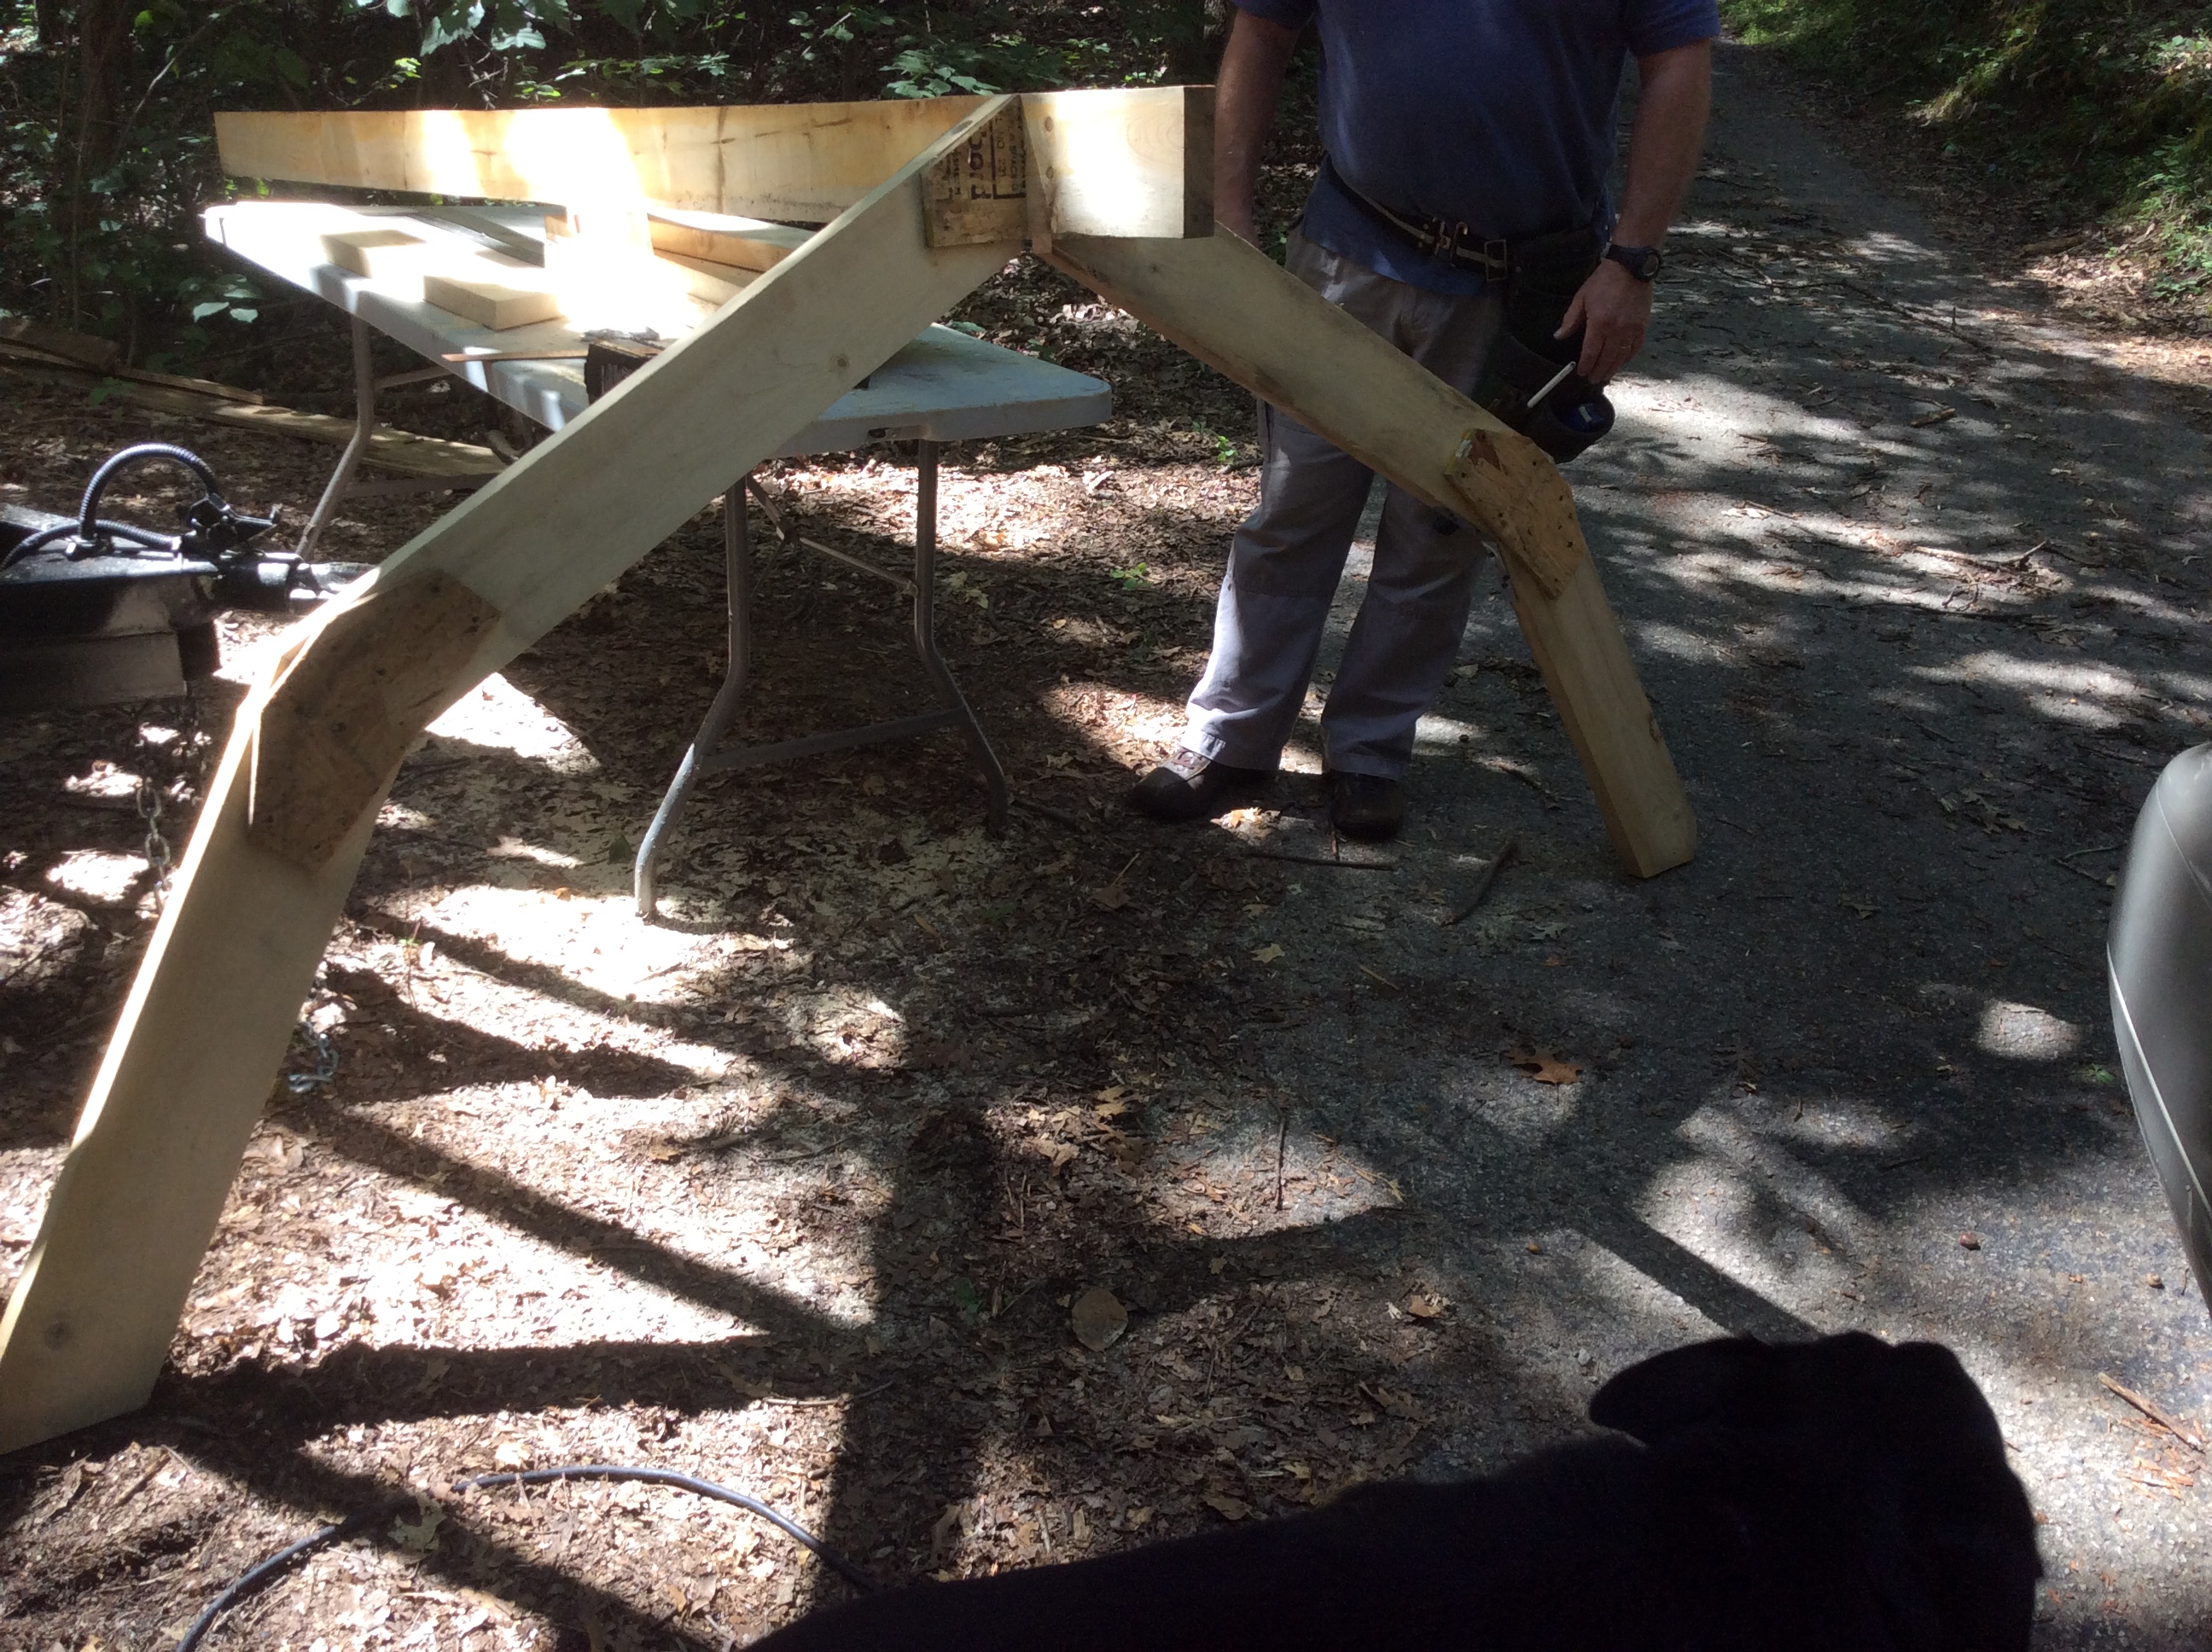
Trusses turned into rafters and attached to the rafter board.
I wish someone had videotaped or taken photos of us trying to get that rafter board into place; I couldn’t describe it to you anymore because I remember very little of the process. It was kind of traumatic and we were lucky to have survived it. But once it was in place and we could attach the rafters to it, as you can see from the photos below (taken by my mother as she was passing by on her way home from work), all was well in the world of tiny house construction.

Hard at work fastening rafters into place.
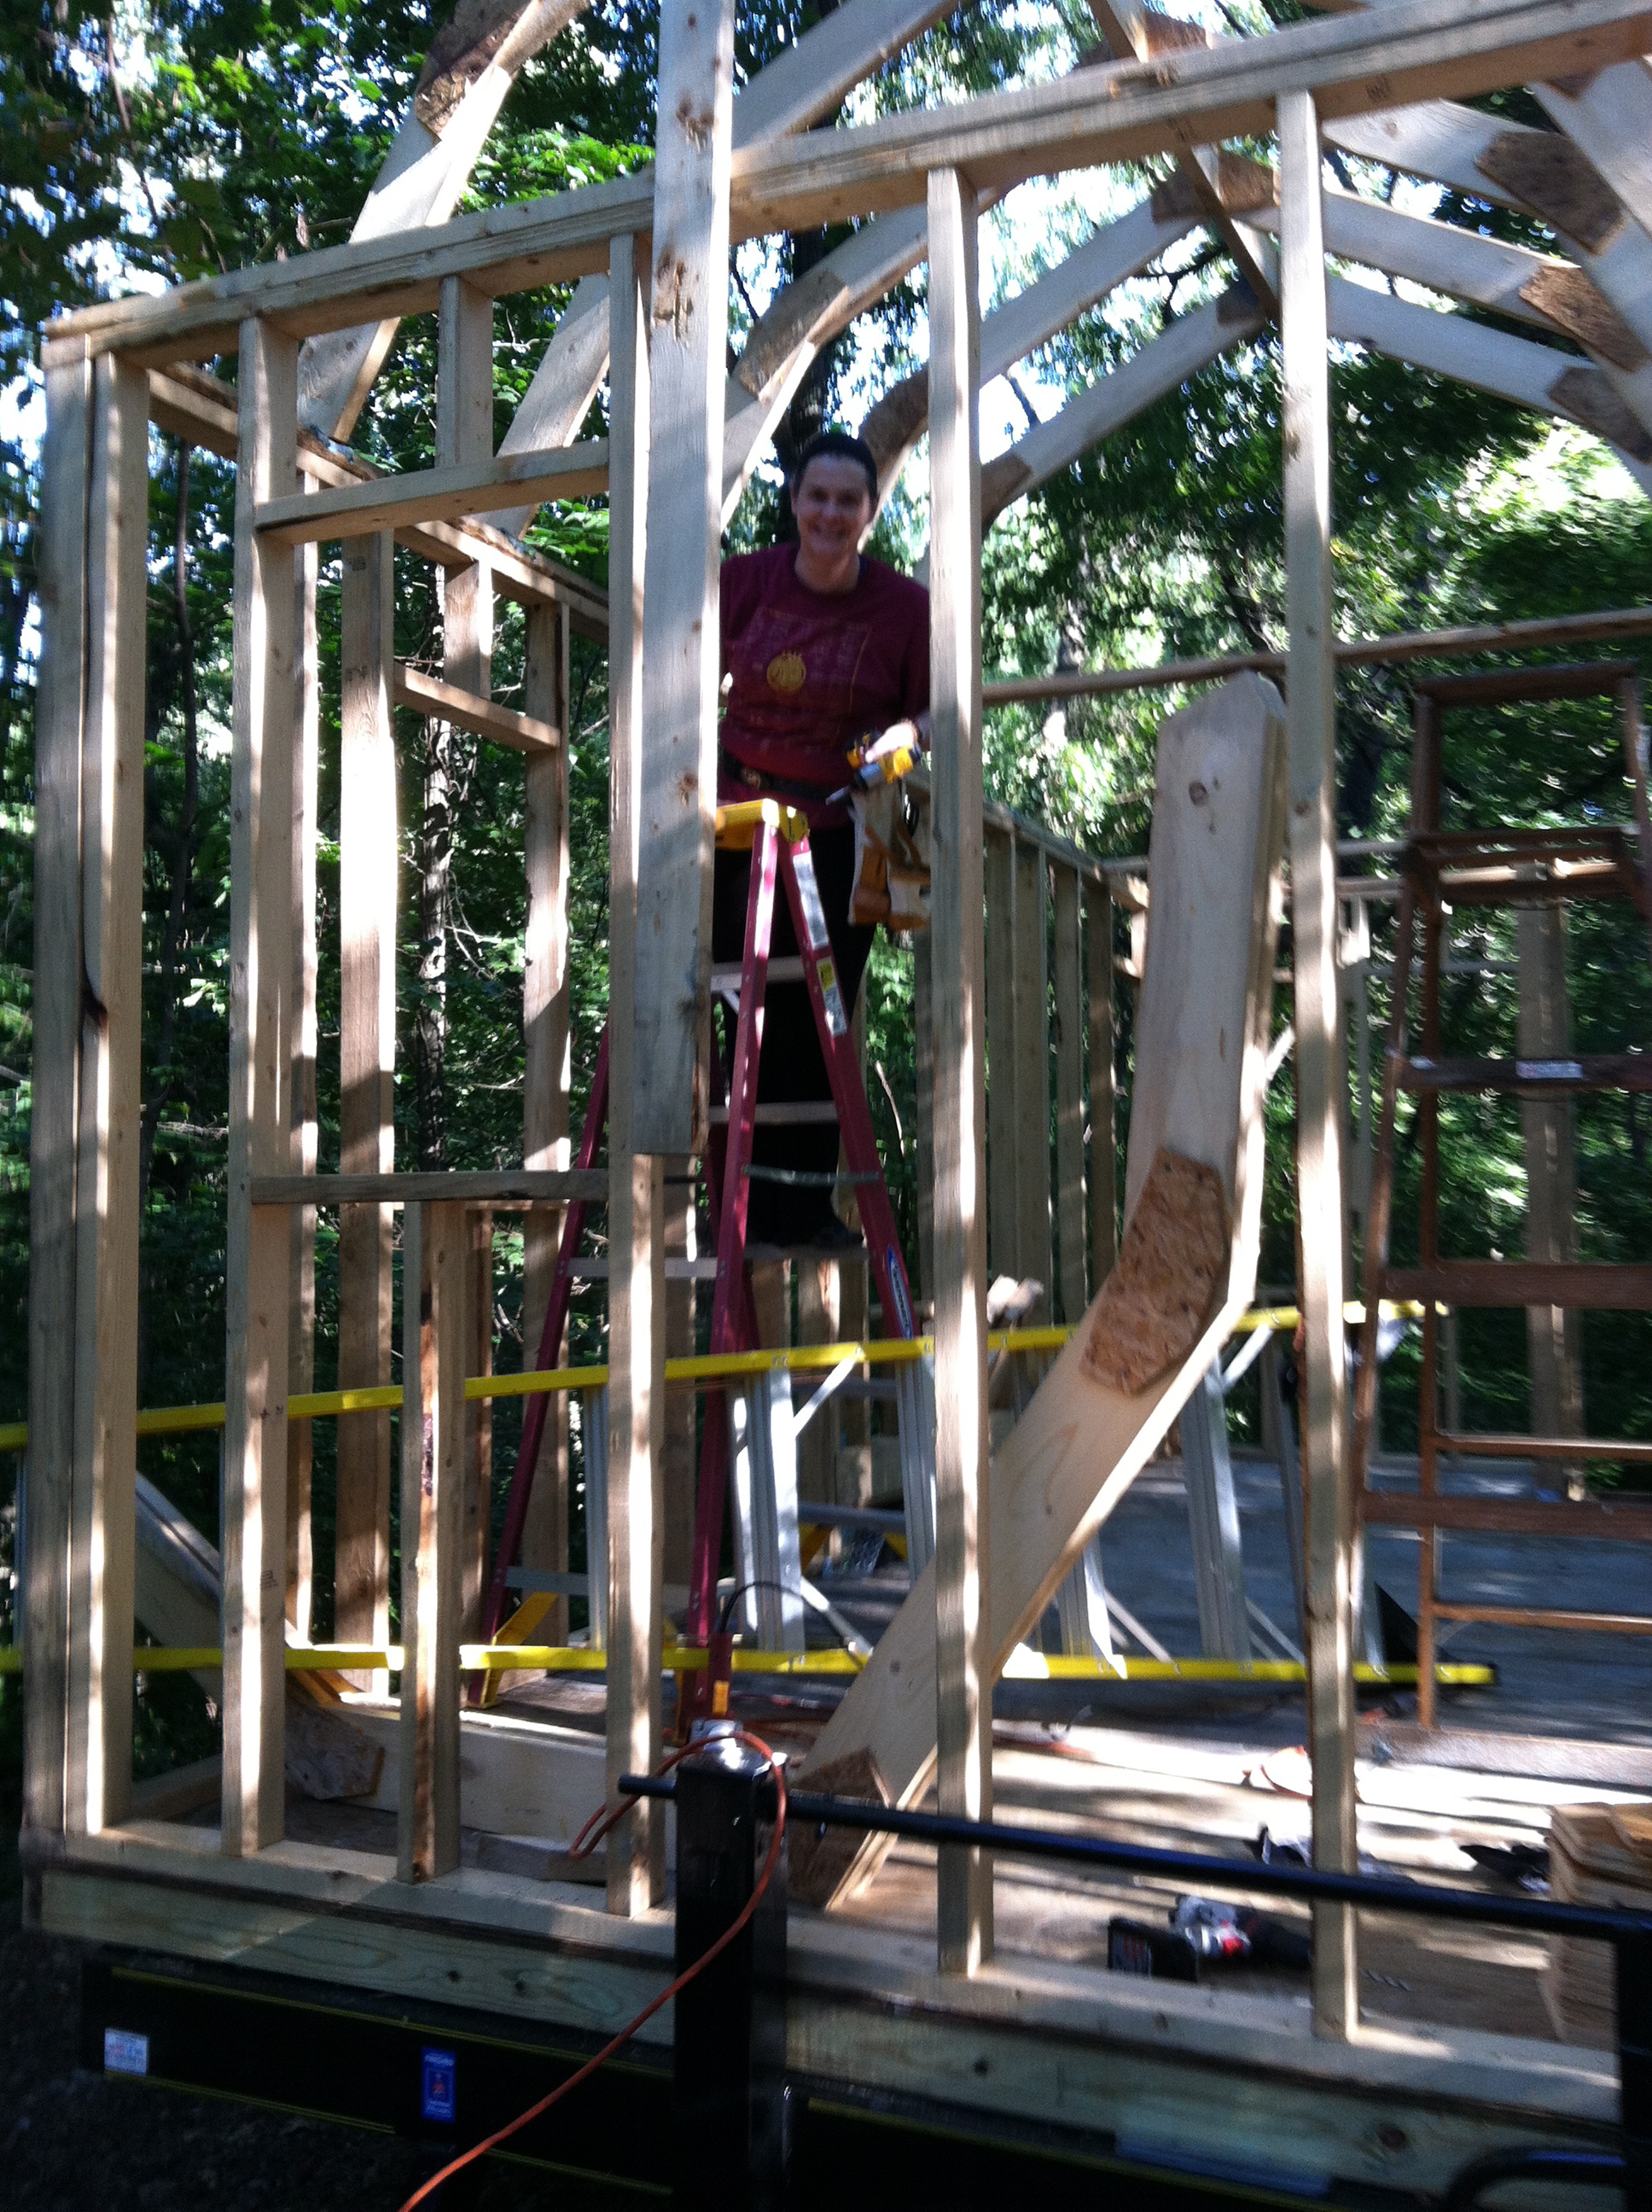
Happy Nat holding her handy impact driver.
You can clearly see that the season has moved on from when these photos were taken, however. Once school started, time for building was cut right down to only 2-3 mornings or afternoons a week (max), and once rehearsals for A Christmas Carol started, it was cut down to one day a week. At the end of October, a disc in my lumbar region started to bulge and was decidedly unhappy, so things have ground to a halt until yesterday to allow for recovery. A few years back I had a disc in my neck that decided to bulge and healed very nicely despite the extent of the injury, so this is familiar (if extremely unpleasant) territory.
Before the disc kicked up, however, we managed to get this done:
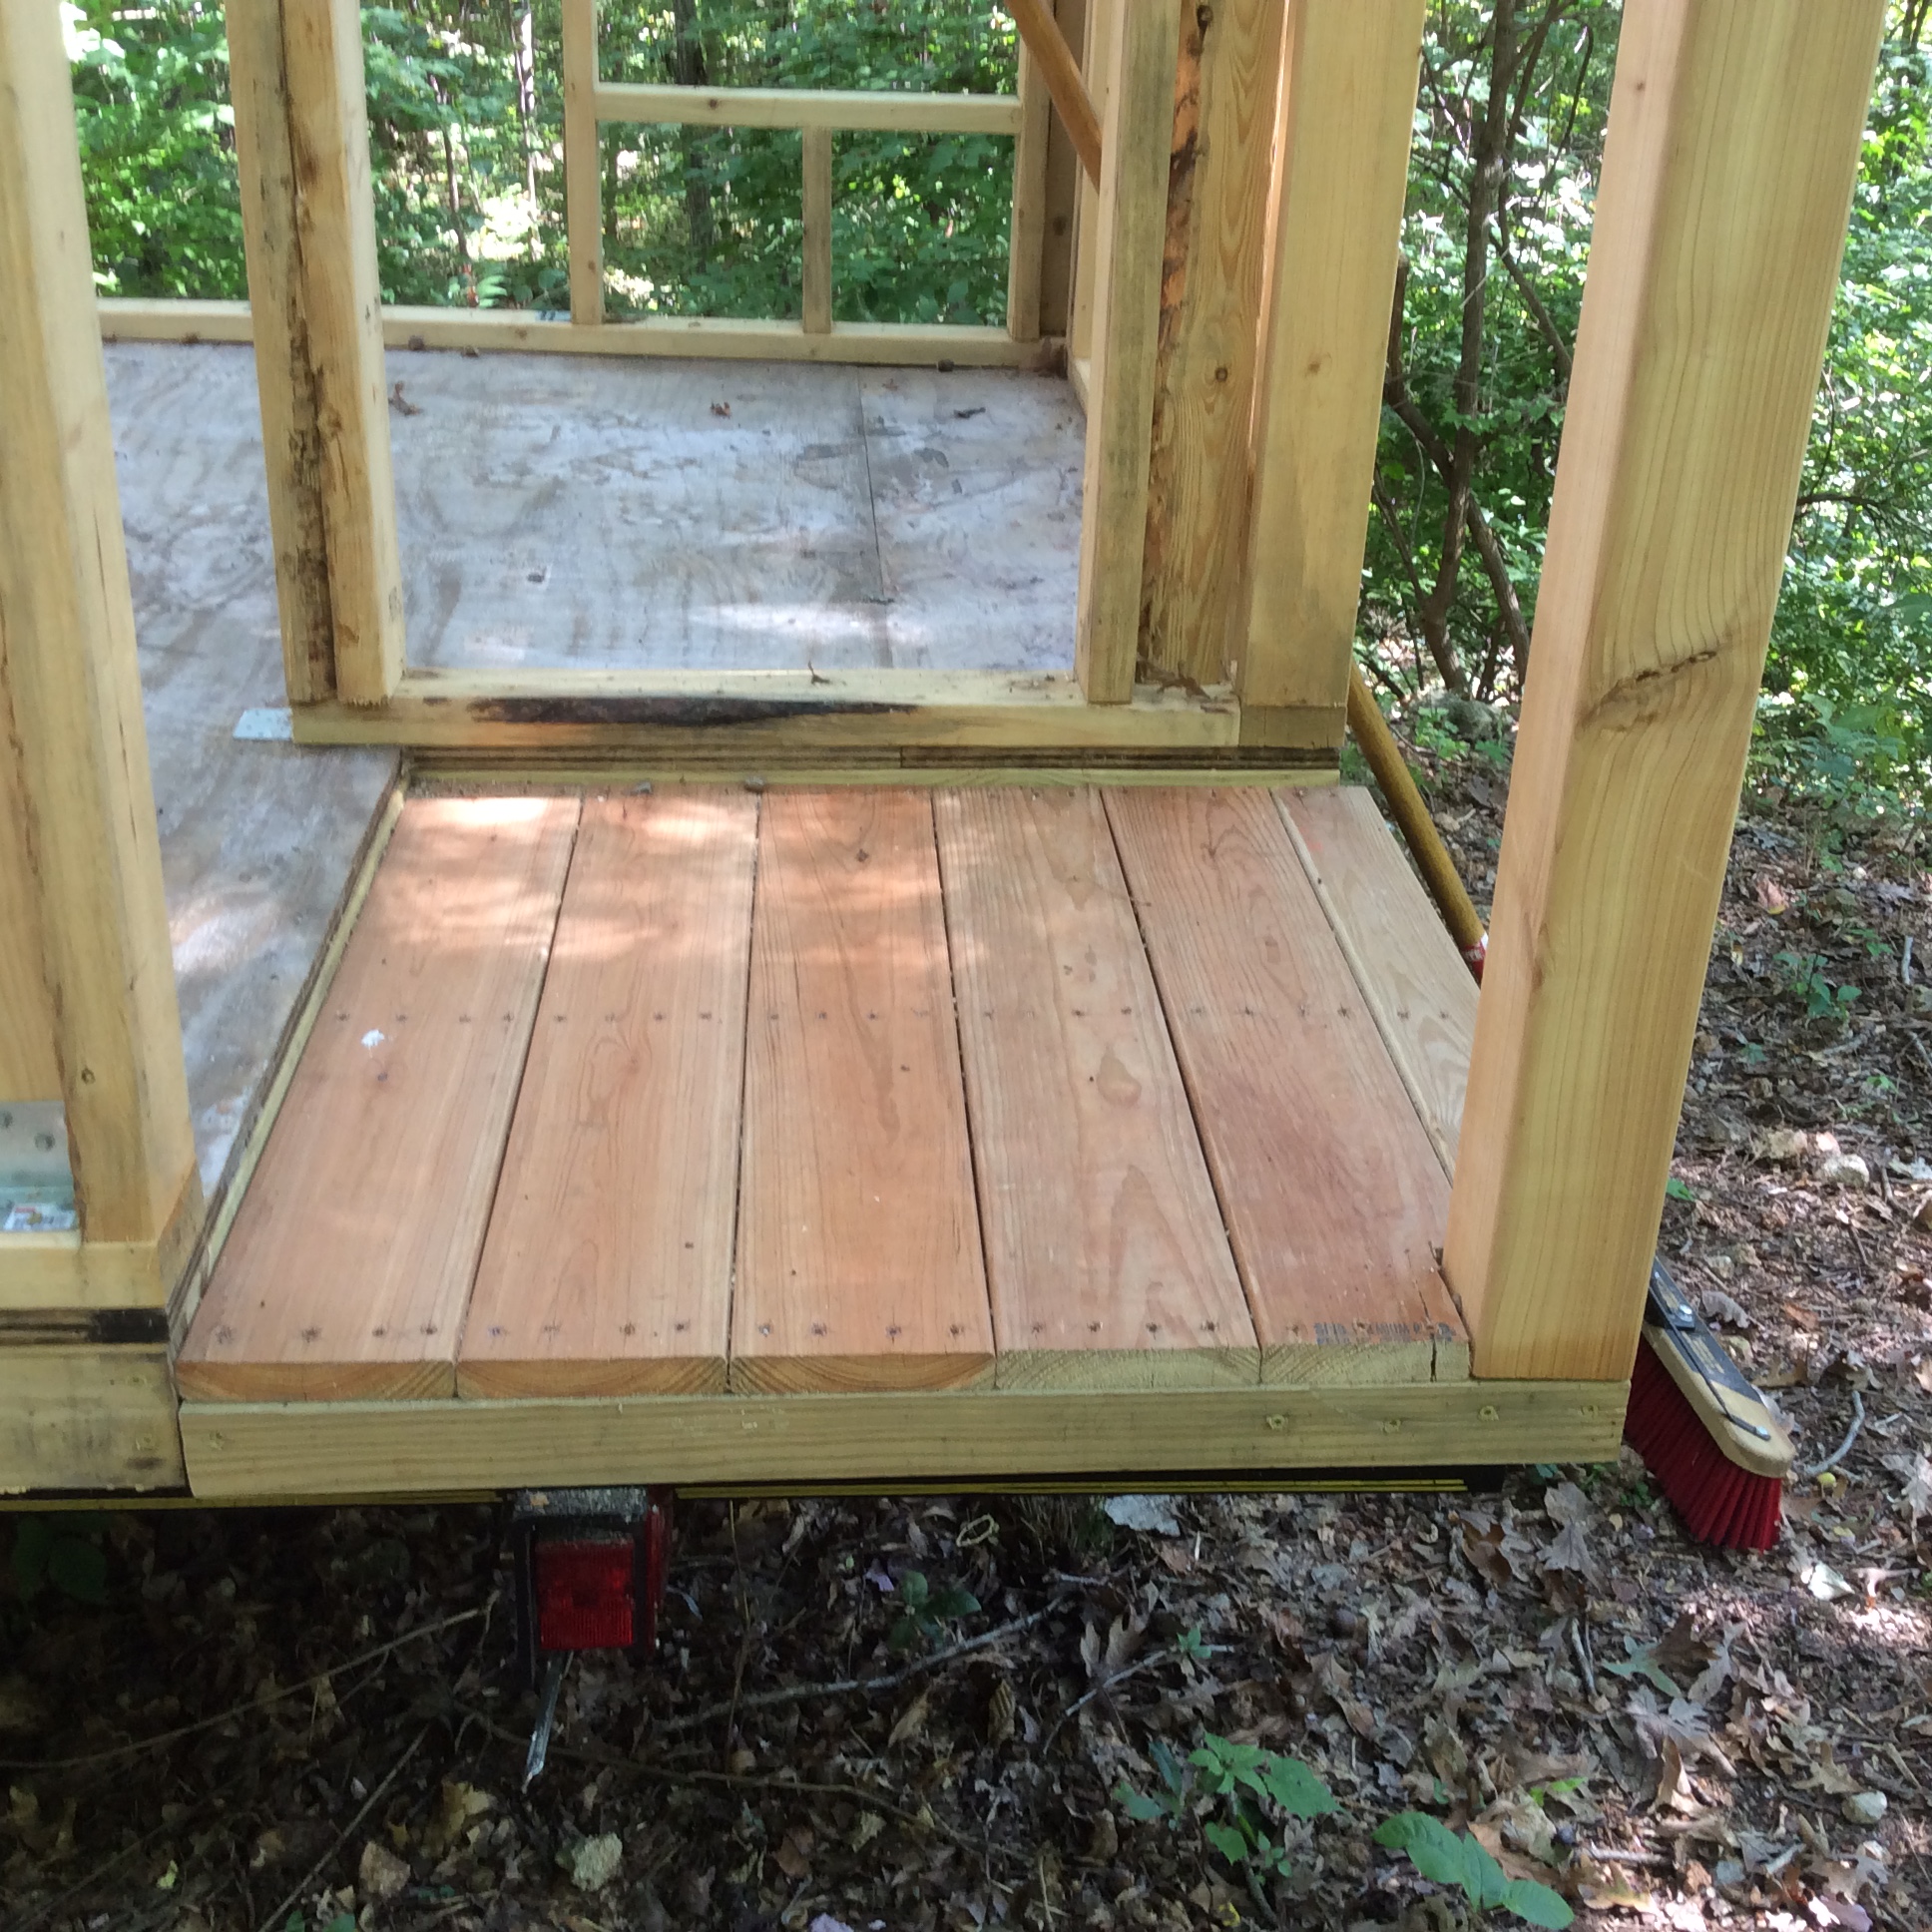
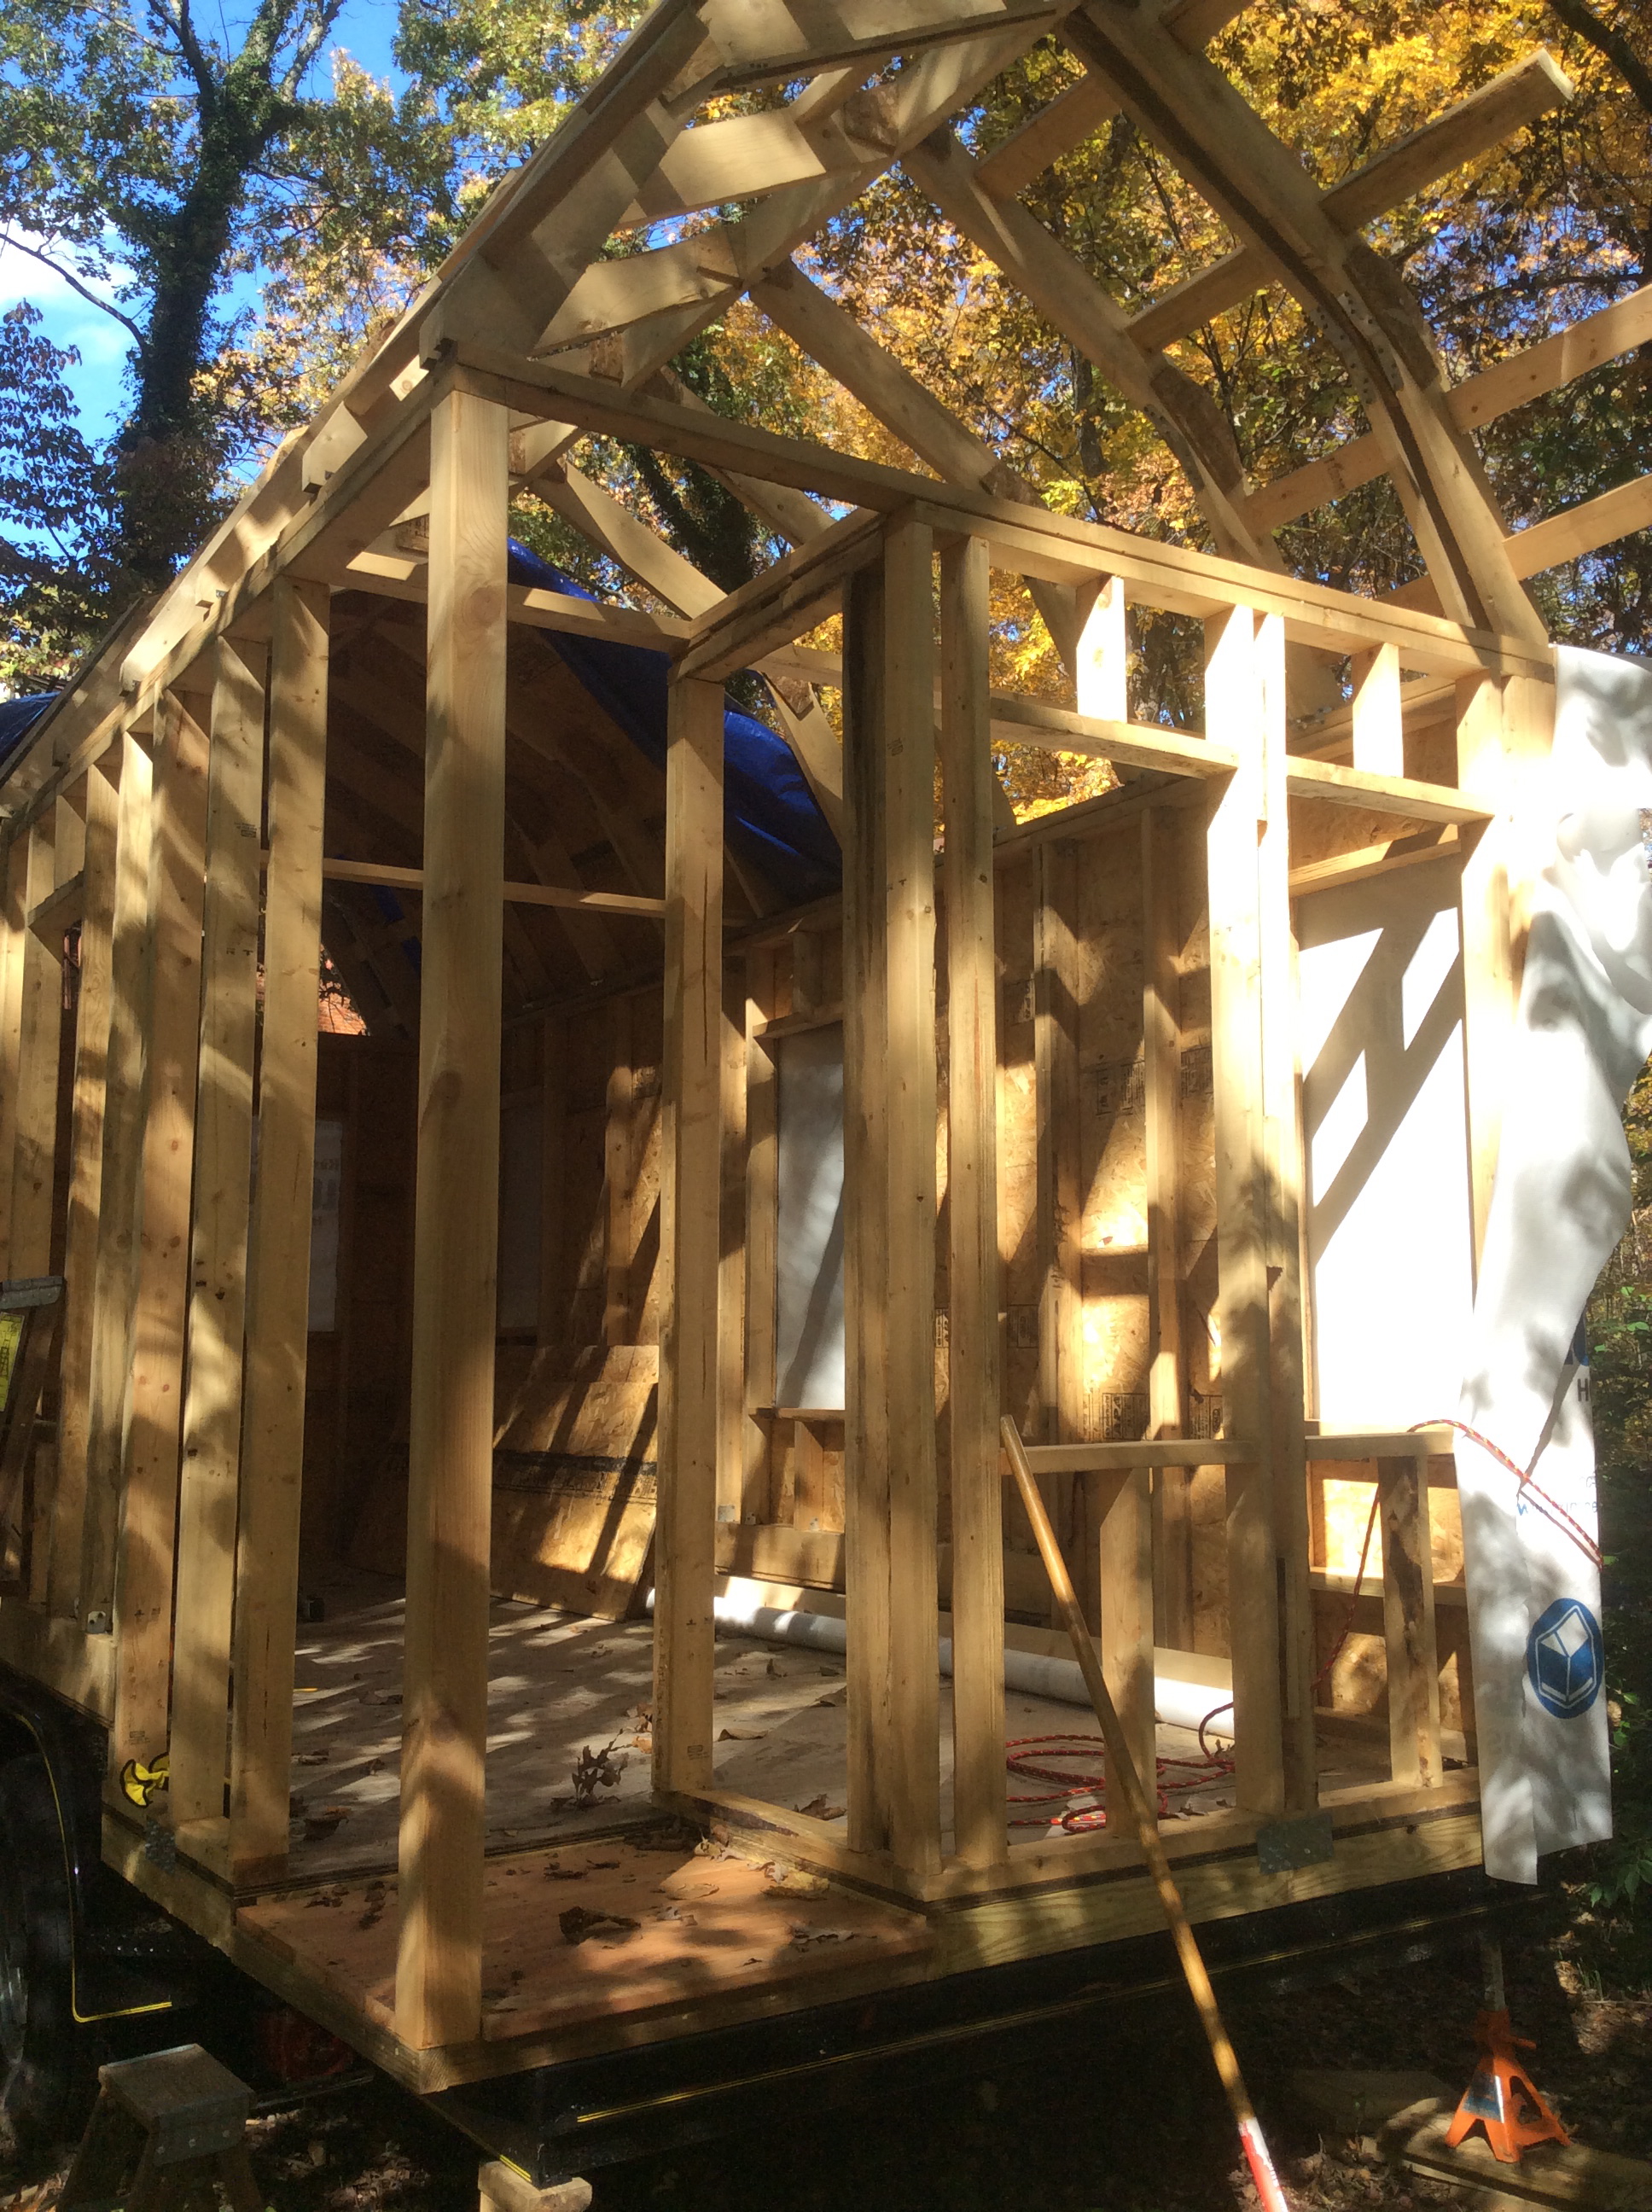
Front porch, which is located at the back of the actual trailer.
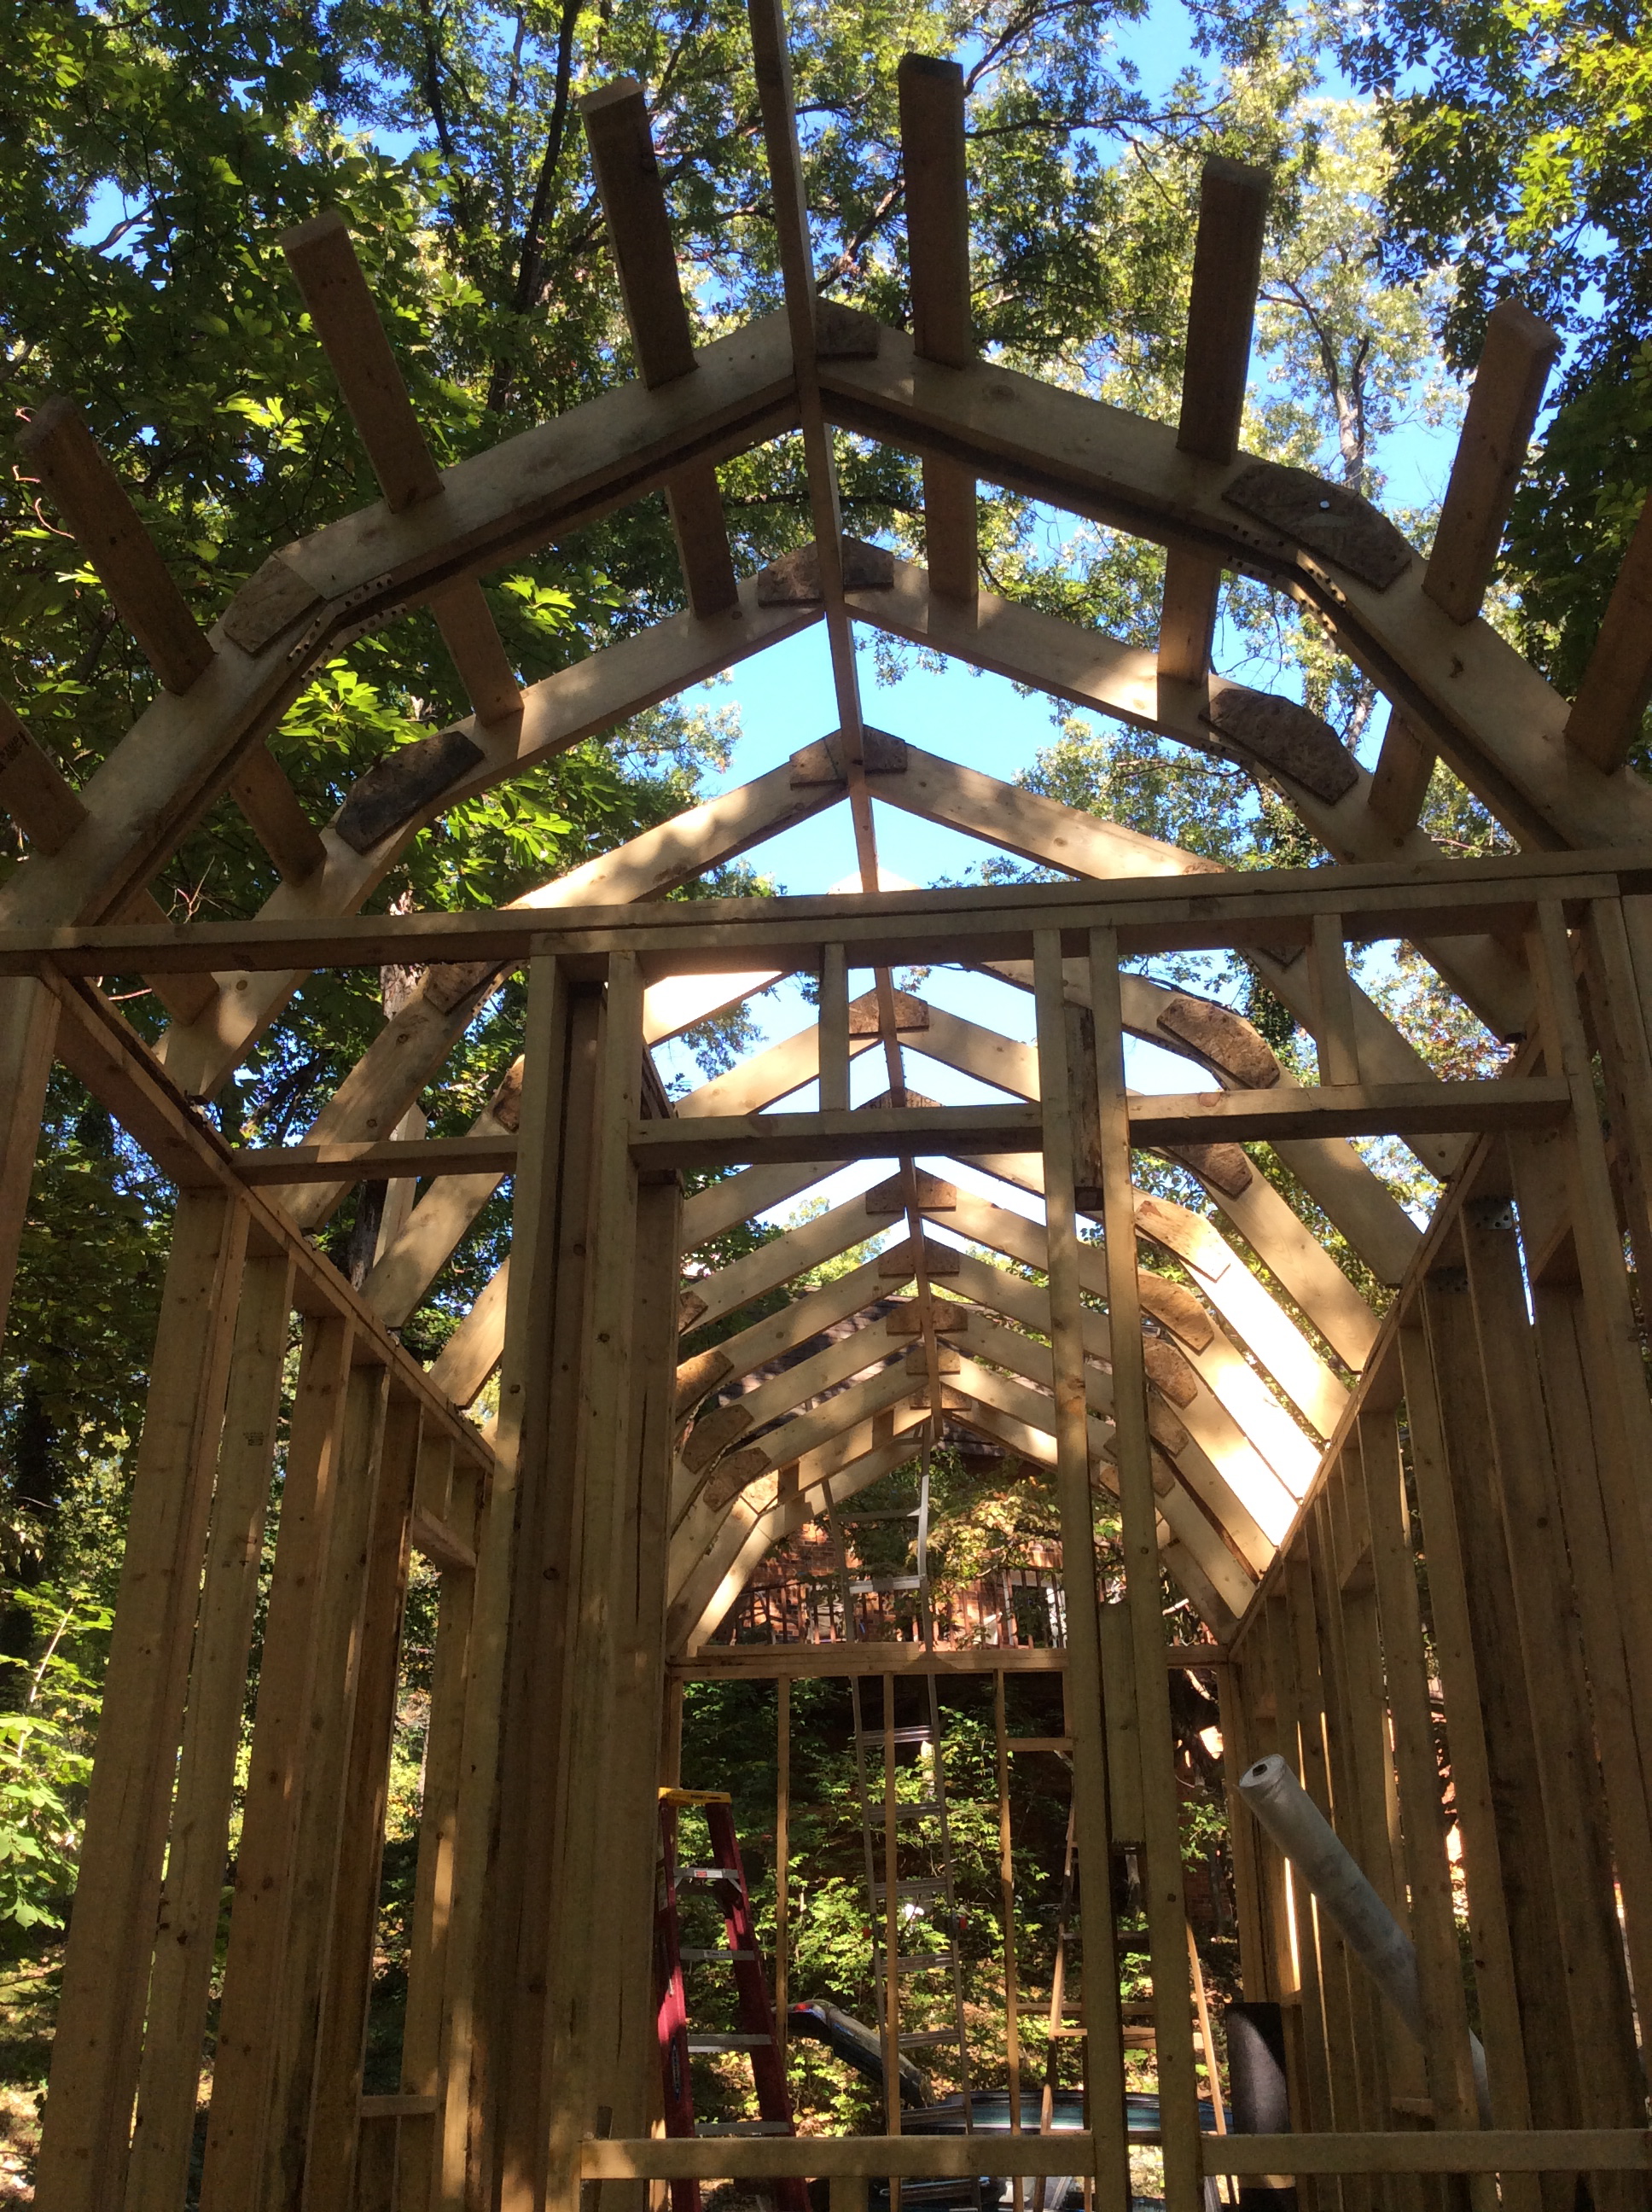
Looking at the front of the house, which is at the back of the trailer itself. Framing that area of the roof wouldn’t have happened without our friend, Bob, who “climbs like a squirrel”.
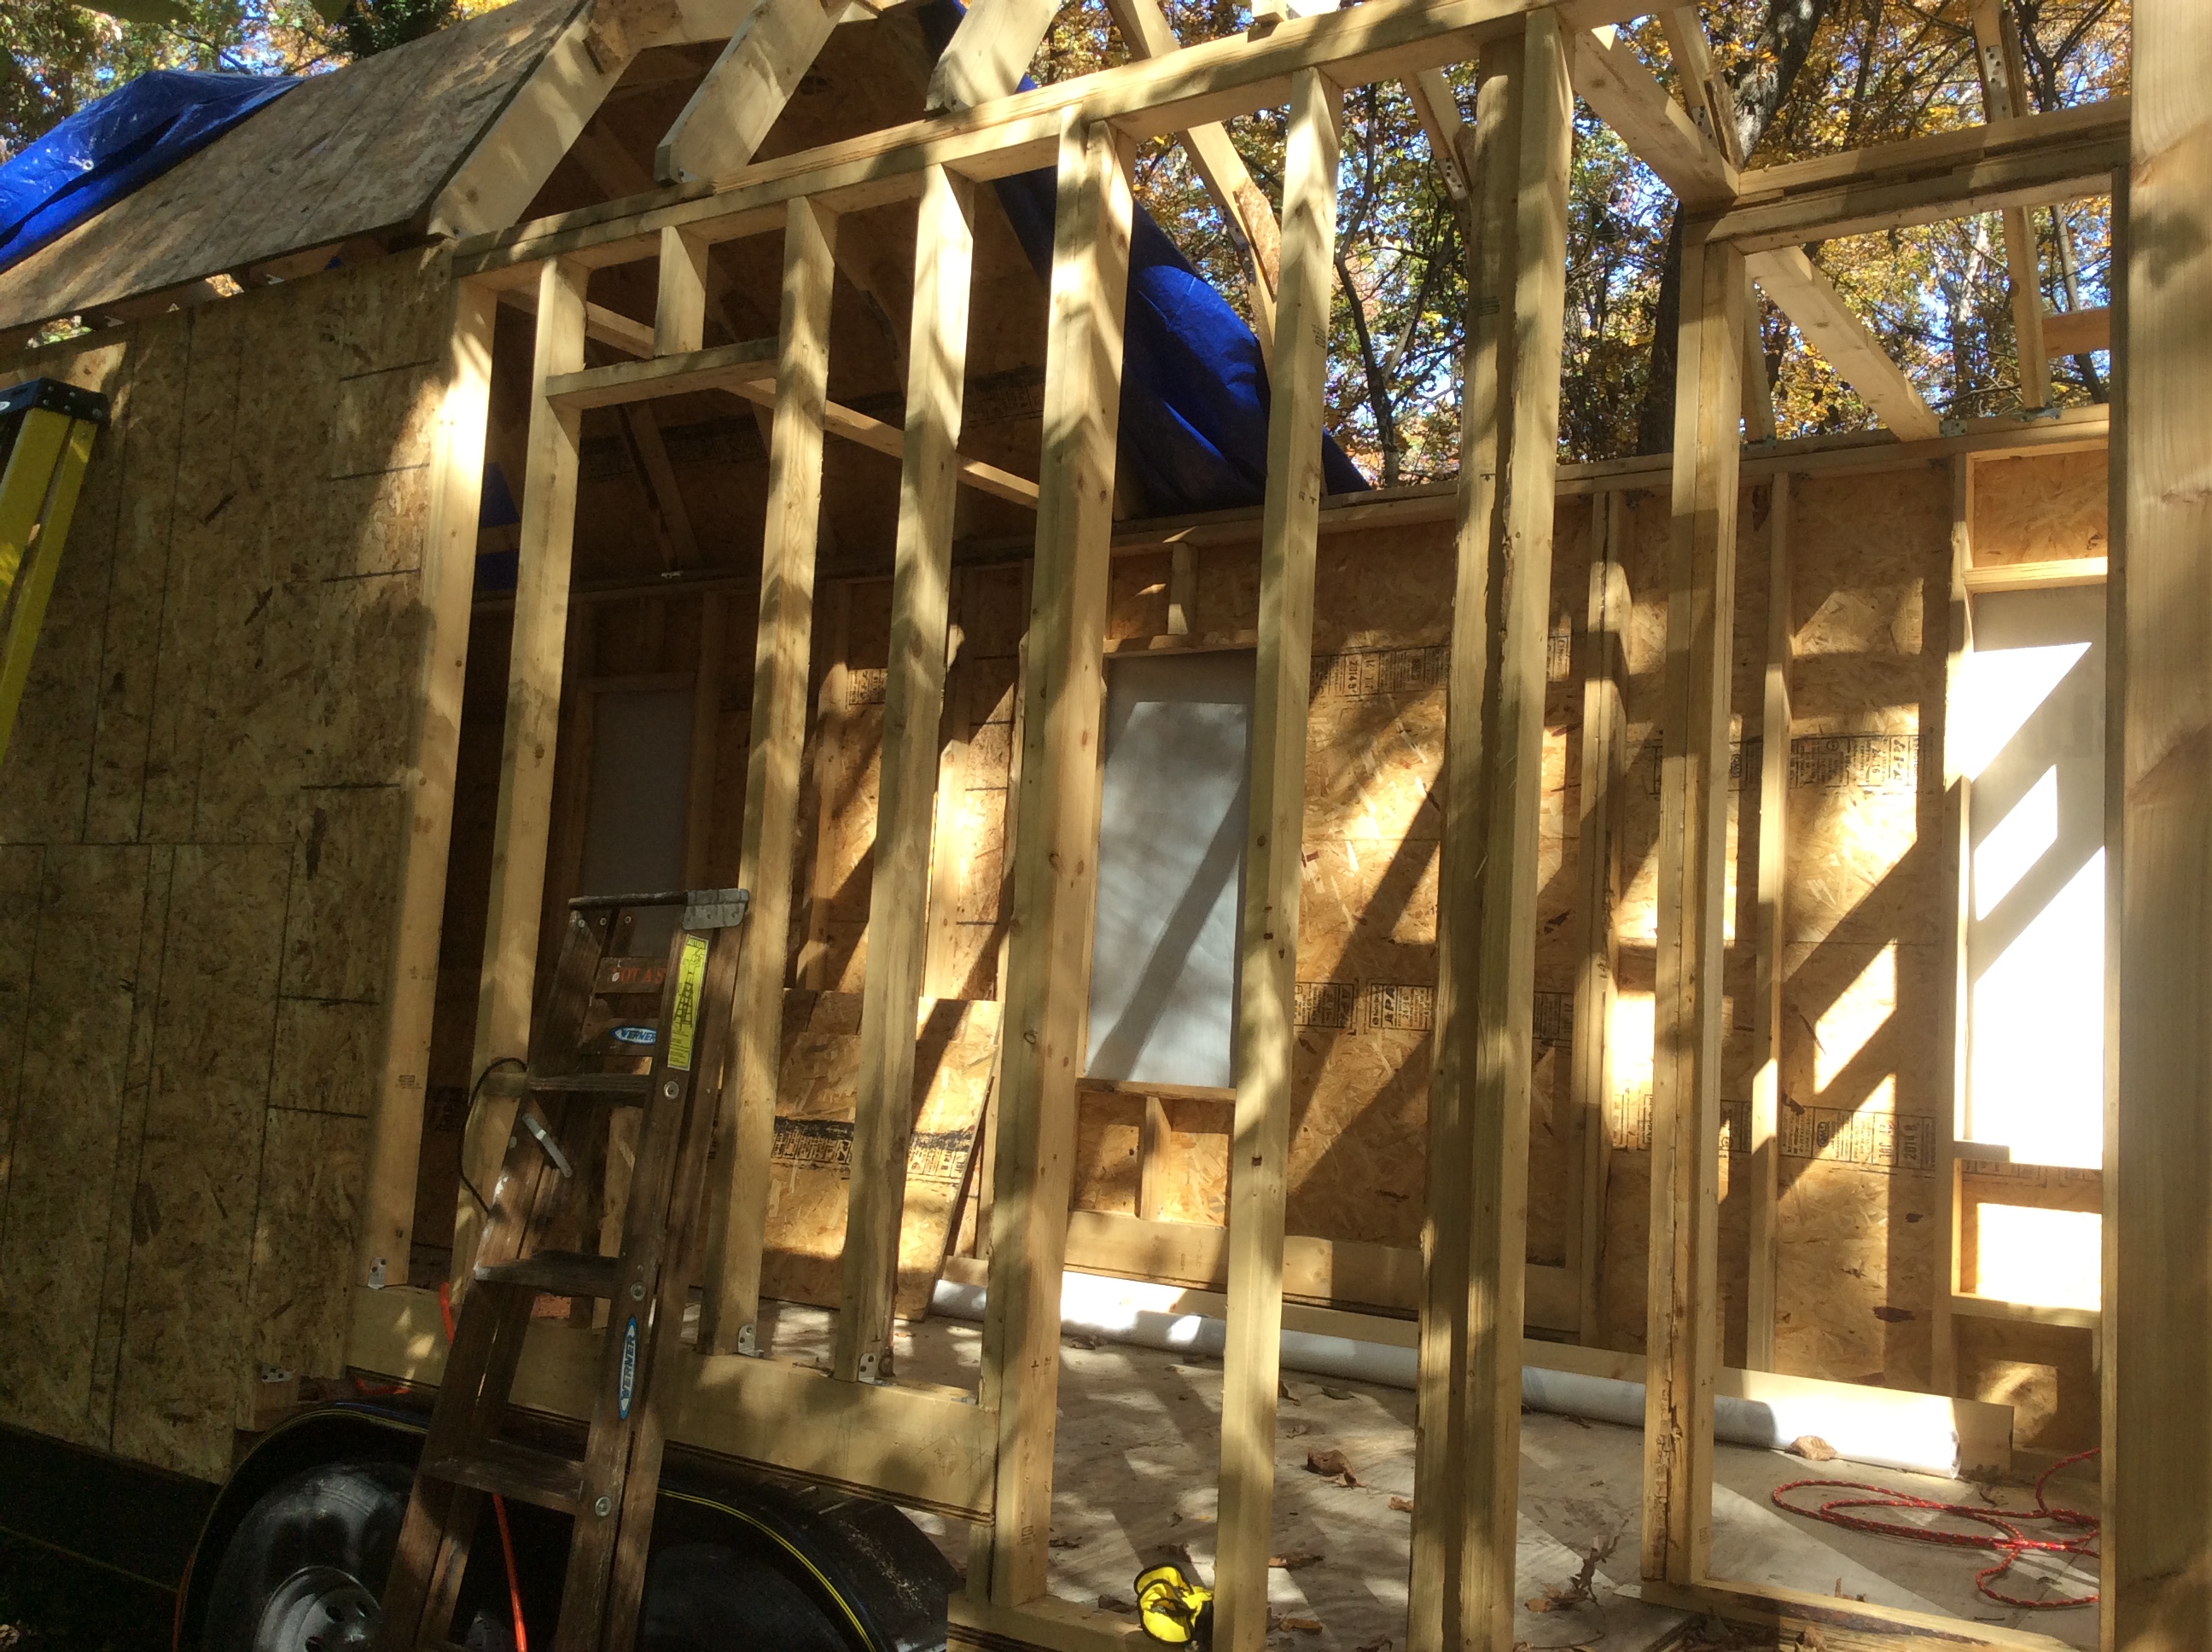
Looking at the back of the house, which is also the front of the trailer.
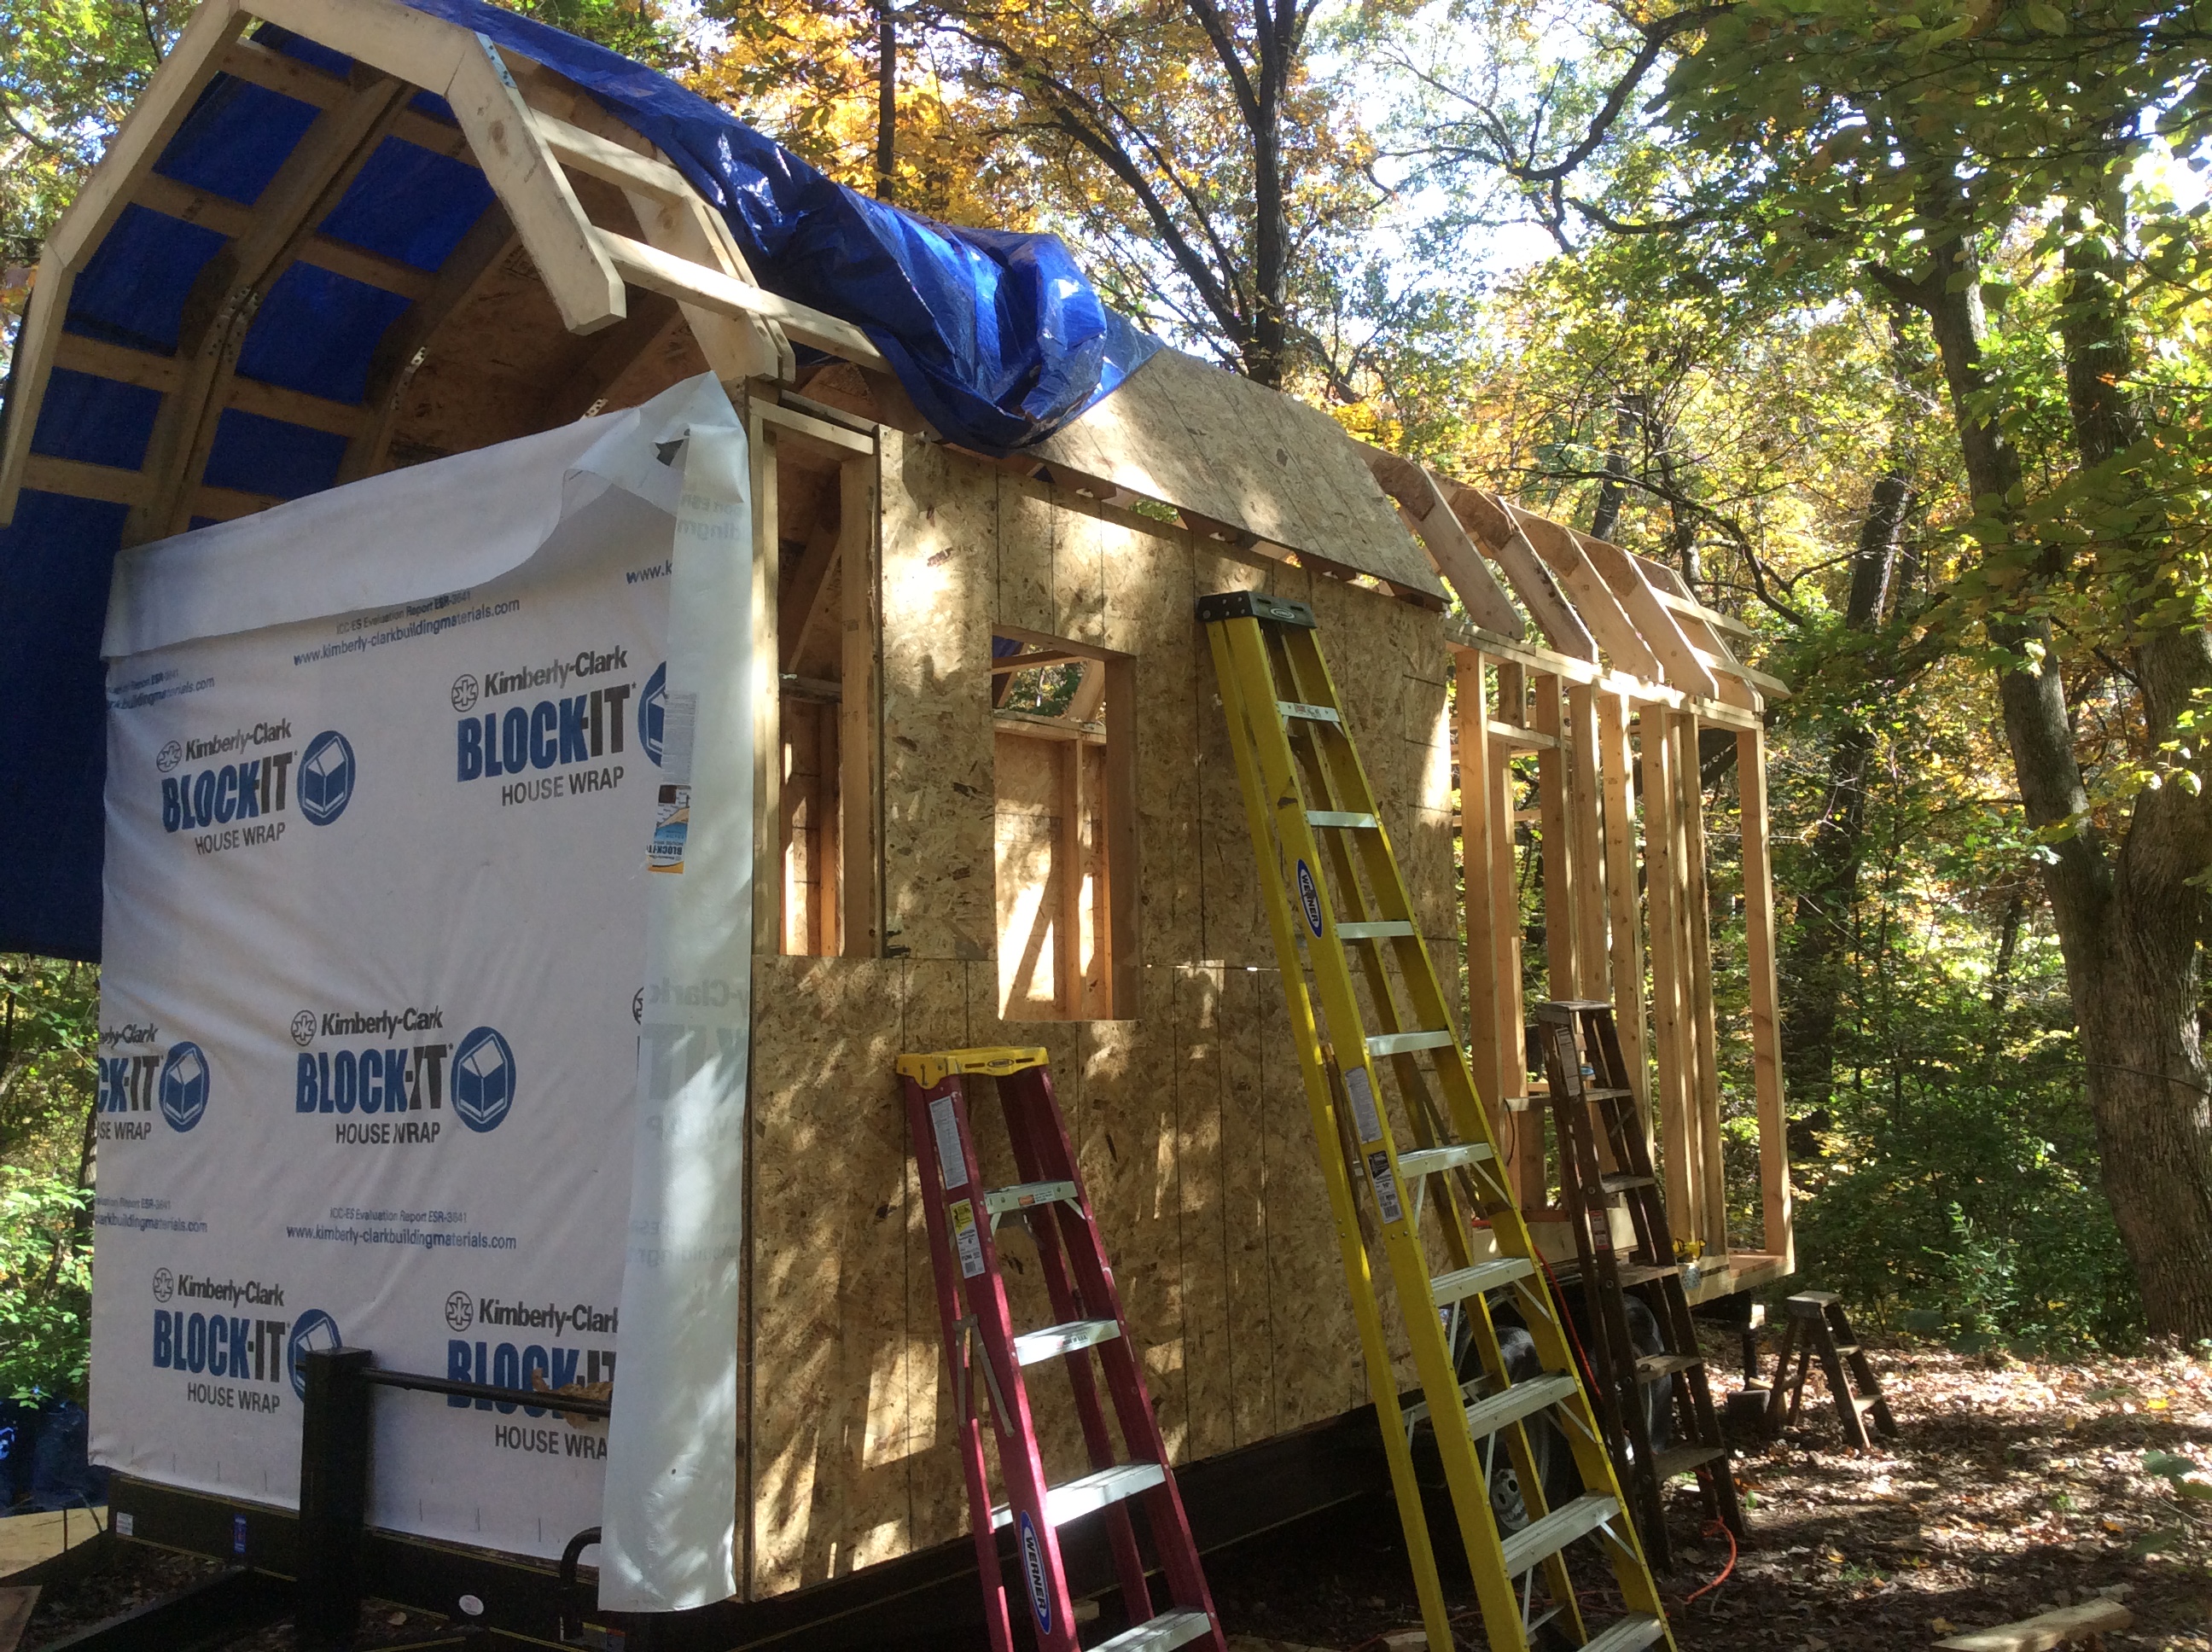
Halfway sheathed and wrapped, and with about 2/5ths of the roof sheathing in place.
Almost a “cutaway” view of the frame, sheathing, and house wrap process.
Another cutaway taken from the front of the house.
Presently, we’ve gotten all of the sheathing put up on the sides and roof, and the house is wrapped. One gable end is finished, the other one isn’t. We have the roofing all ready to go. . .and we’re slightly terrified of doing it. Before attempting it, we’ll be calling our friend, Bob, to come over and assist, and probably a few others as well. This job is the one I fear most, aside from installing the skylights. (!) The windows have been ordered, but between foul weather, riots, and holidays, I’m not sure how much longer it will take for them to arrive.
I’ll take my iPad down with me tomorrow to take a few more photos for a shorter update tomorrow. I need to do that before the end of the semester hits full whammy, or you won’t hear from me again until afterward.
Wow. What a ride.