
This week offered a great deal of humility and a reminder that each of us is profoundly reliant upon countless other beings in order to survive.
Getting the floor/foundation of the tiny house built, insulated, and attached securely to the trailer is a critical step in the process, and is likely to have been my least favorite part. I couldn’t have done it without my dad. Frankly, if this post weren’t already so long, there would be an ode to my father in this space. It’s likely to be a frequent refrain and will no doubt be a subject that warrants plenty of its own posts in the near future, and for very good reason. He is an extraordinary being.
The floor/foundation of the trailer is very nearly finished. And everything everyone has ever written about how difficult it is to drill through the steel on a trailer to bolt your tiny house to it was 100% right.
Despite reading everything possible about trailers, bolting floors to trailers, and attempting to heed all the expert advice available out there, I still made plenty of mistakes. Some were pretty breathtaking and would provoke a face-palm from anyone with common sense. At least I know why everyone else bemoans this part of the process and looks forward to getting it out of the way. Generally speaking, I’m fortunate that an inanimate object is extremely unlikely to cause me to lose my temper.
Except for this one. I wish I could say that this part is over. . .but it ain’t over yet. Almost — but not quite.
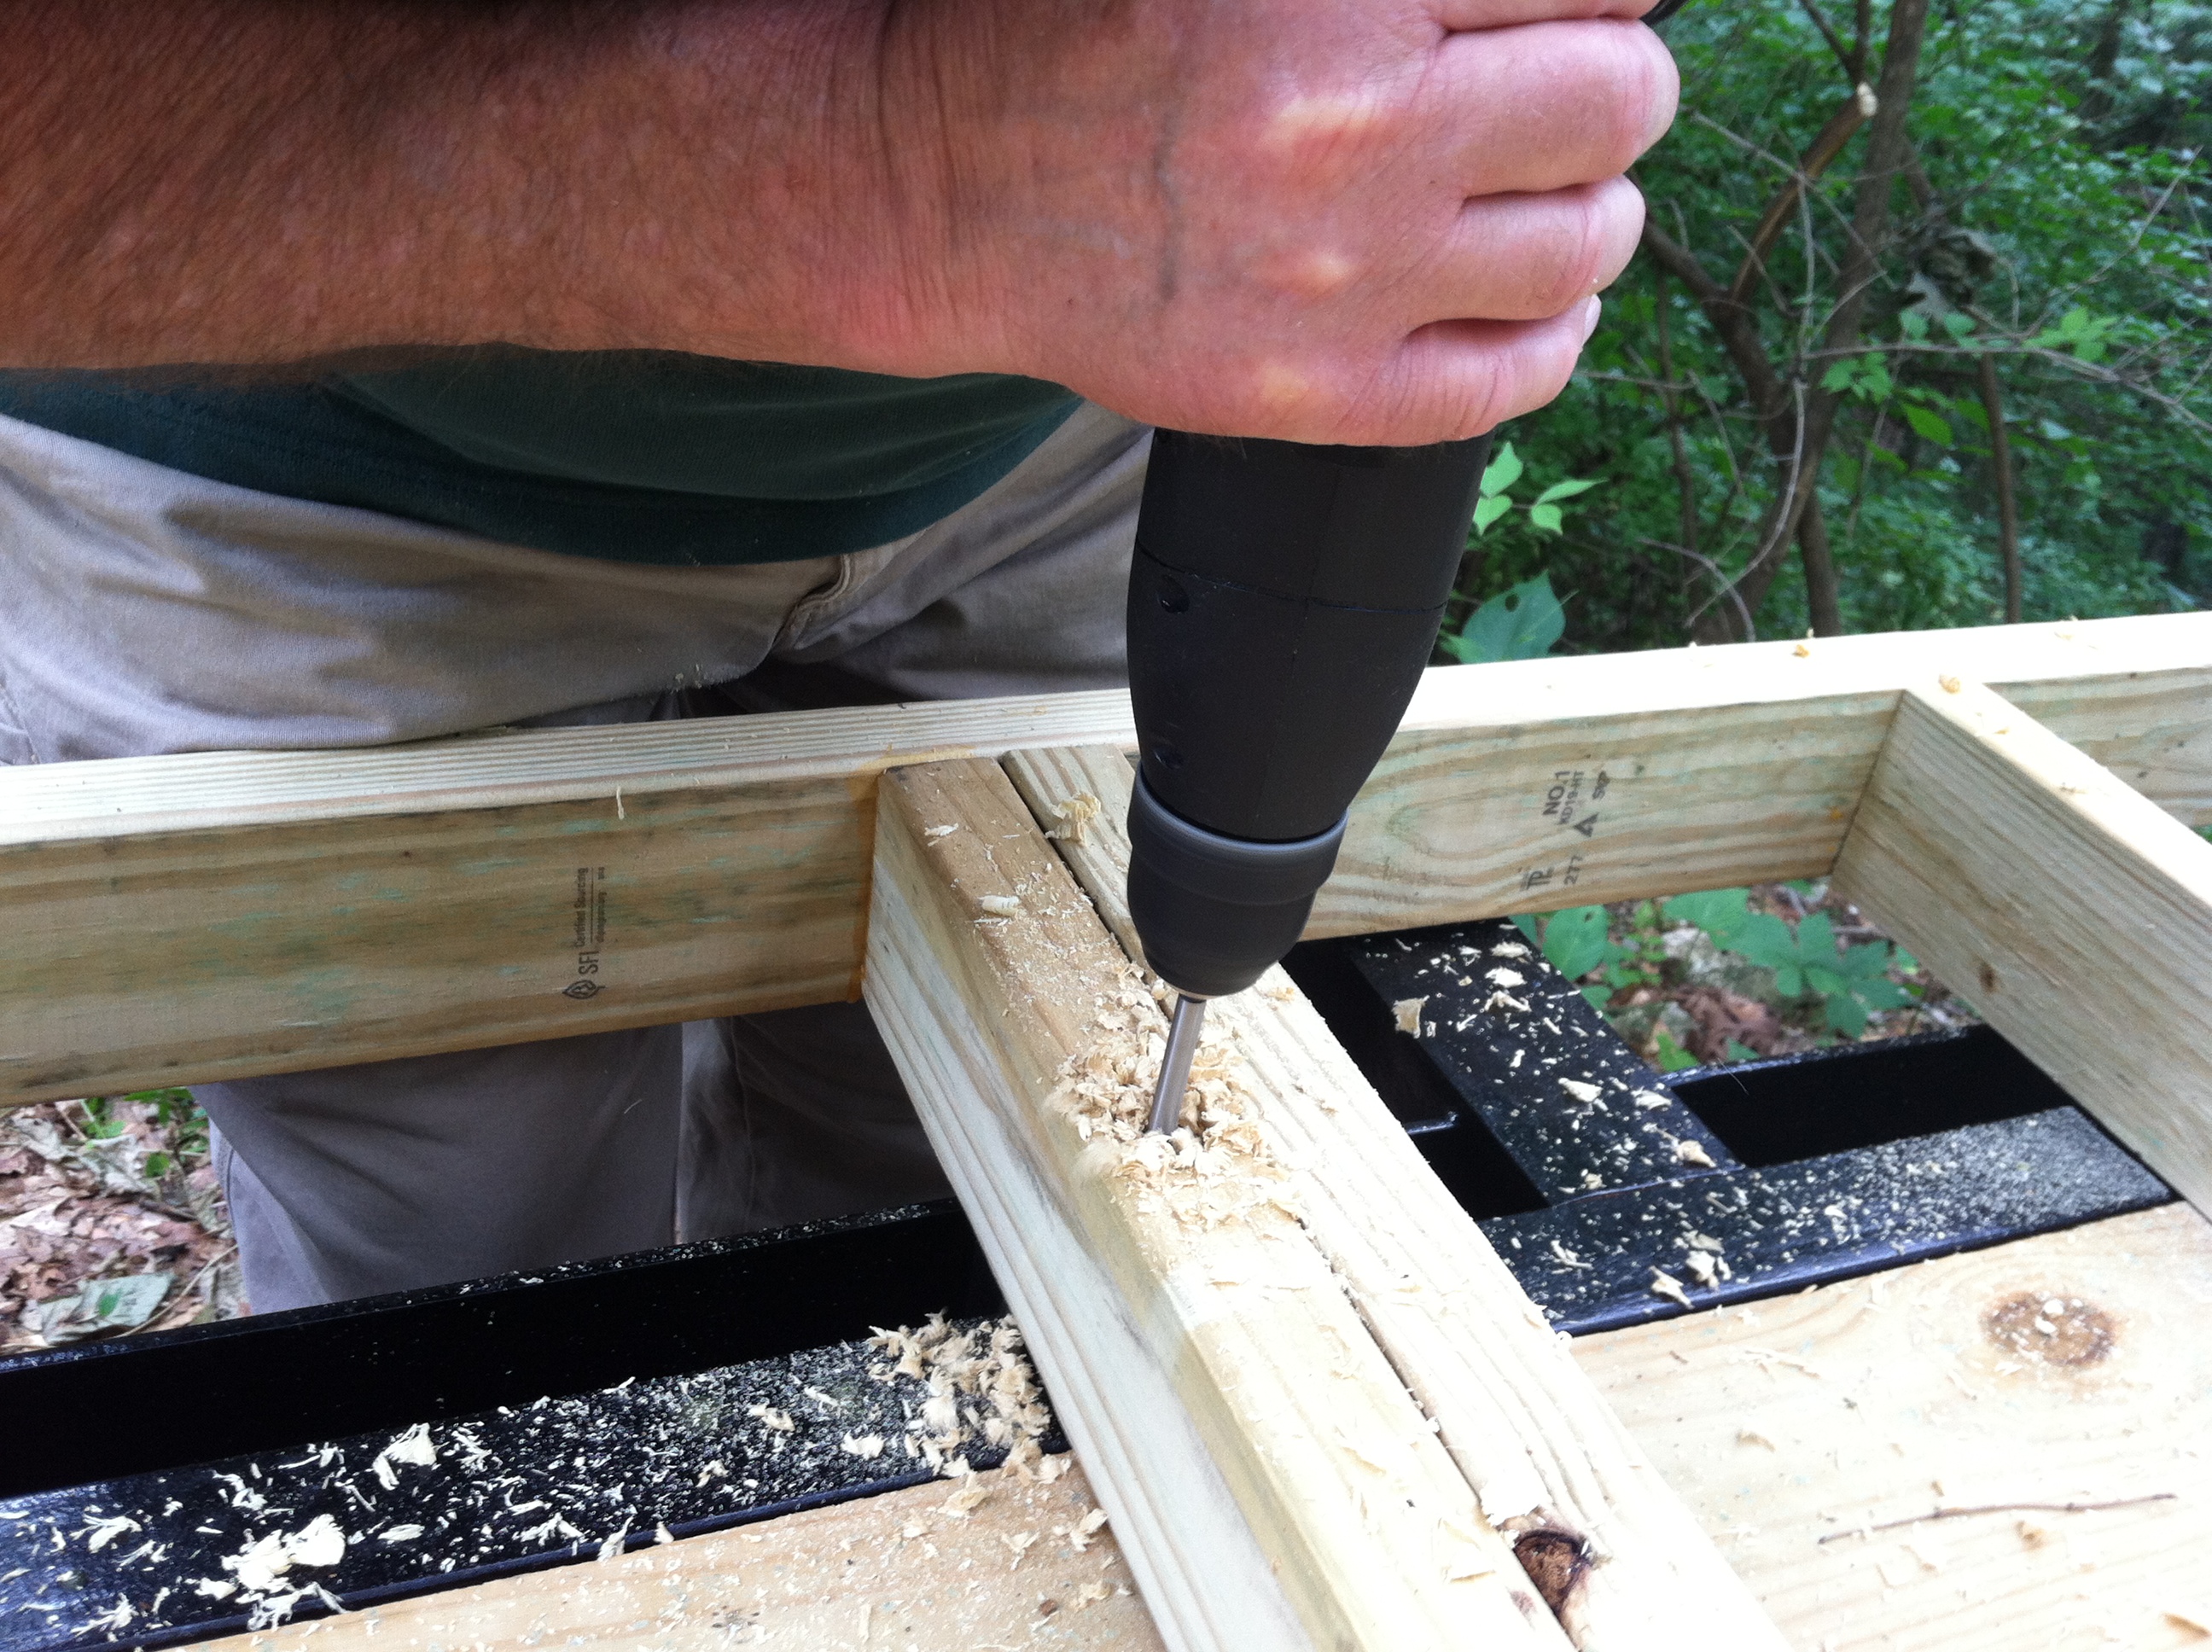
Dad drilling the first hole.
We started by doing a pre-drill to make space for the 1/2″ carriage bolts to fit into the 2 x 4’s without sticking out. When I say “we”, I really mean my dad, who knows this stuff so well he could almost do it in his sleep.

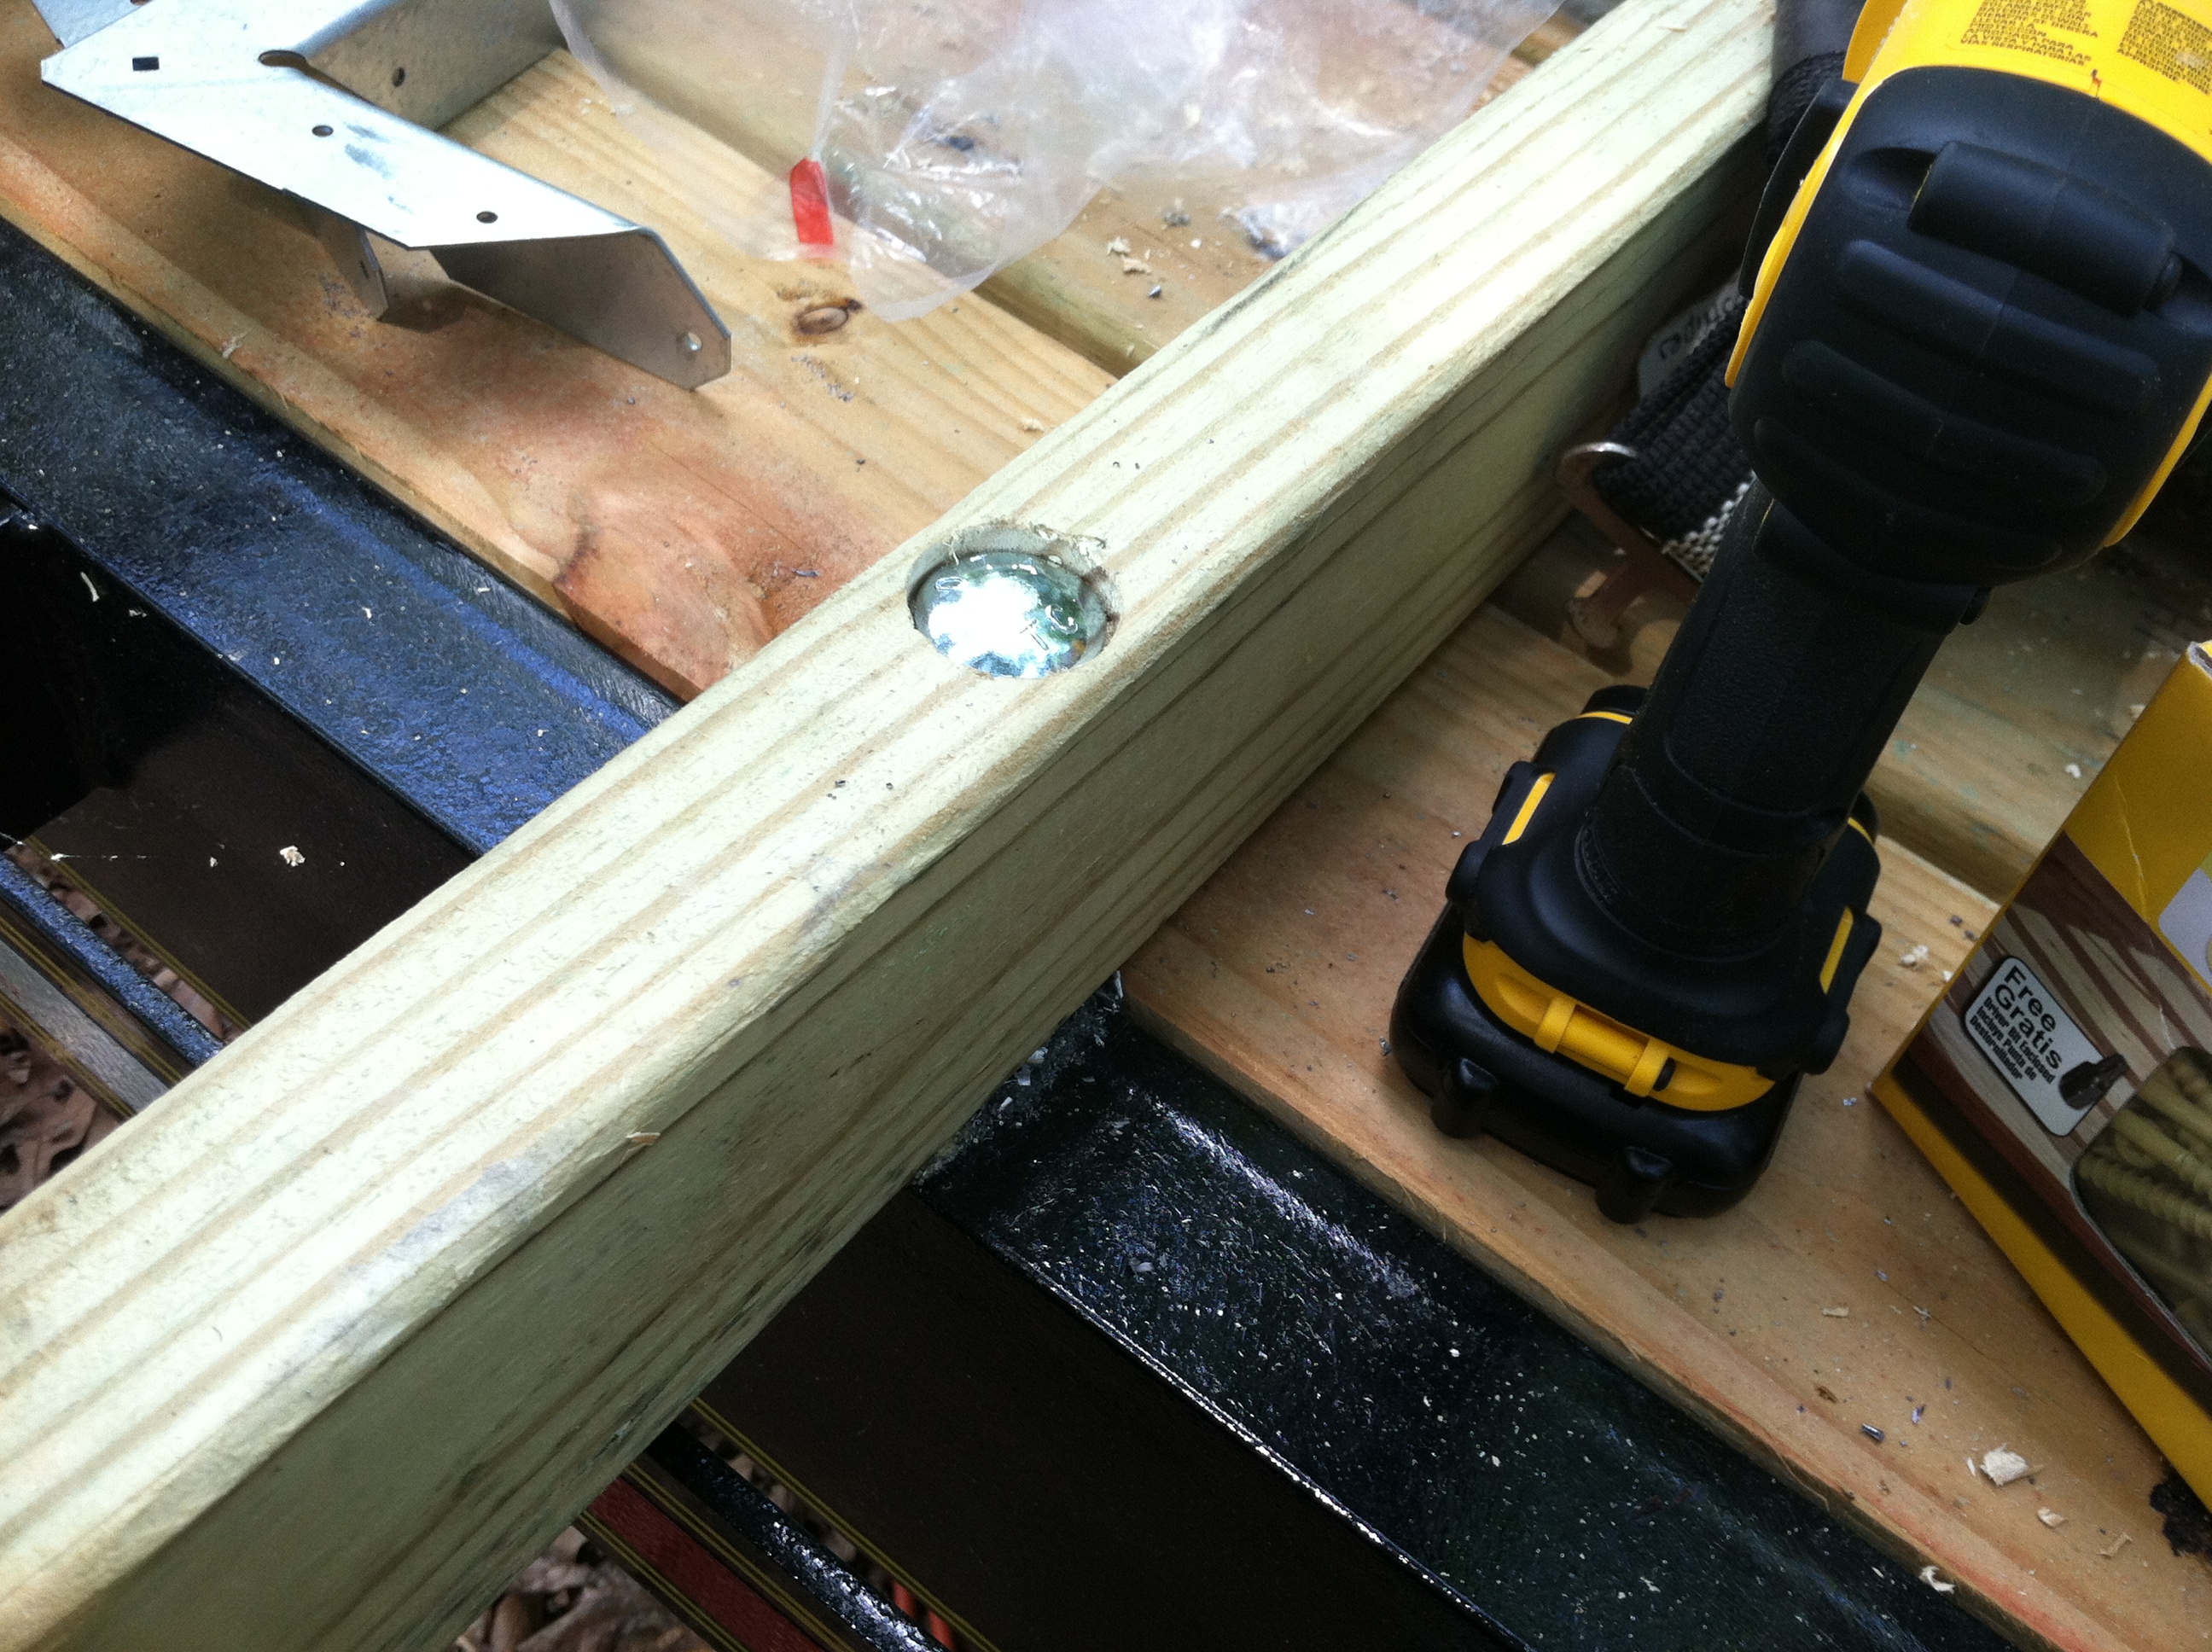
This is the pre-drilled hole that allows the carriage bolt to nestle into the wood, which will allow the subfloor to lie flat against the 2×4 joists.
After drilling the wood over the steel flange (great word, “flange”), we went back to drill through the steel. And like many before us, we also burned out our first drill. (Which was indeed my father’s, and yes — I have now replaced it for him with something way cooler and cordless!)
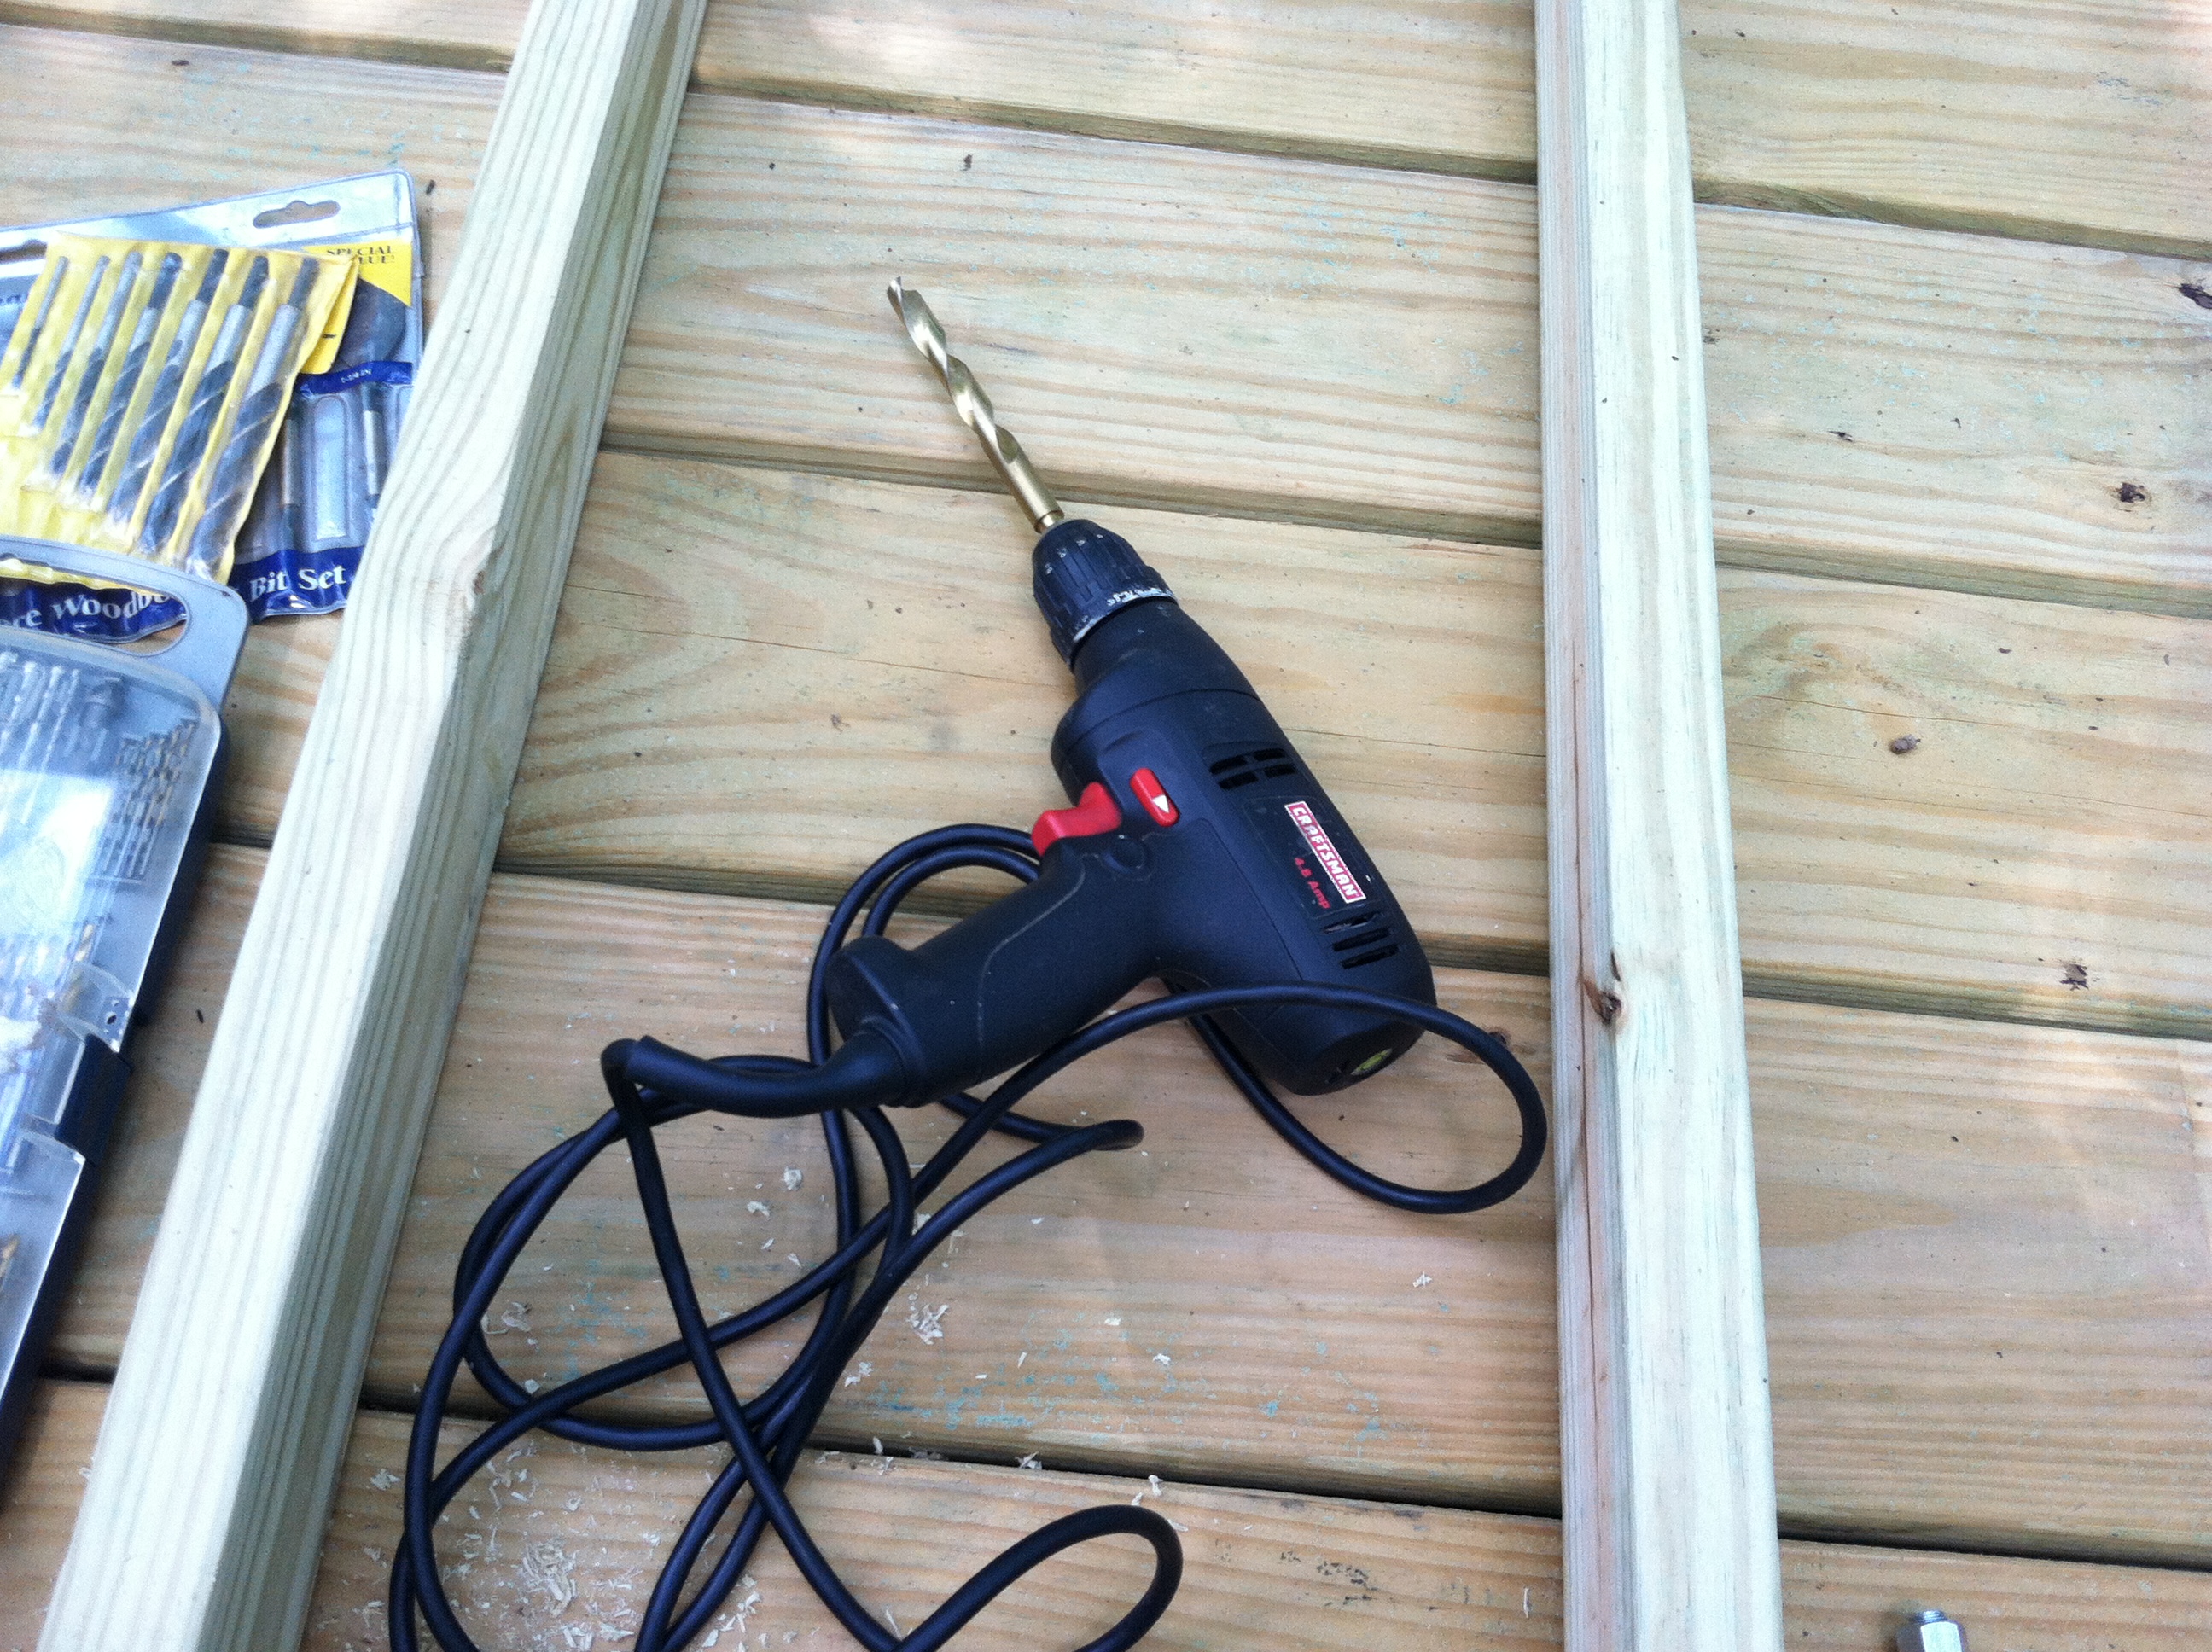
This drill “bit” the dust. (Get it? Drill? “Bit”? Ahem. Moving on. . .)
Before we replaced this dead drill with a newer, better model, however, we needed to just get the job done. We headed into town and rented this heavy-duty 1/2″ chuck Hitachi drill for only $10. This thing was AWESOME. Give it a little spray of WD-40 on the drill bit every now and again while you’re drilling each hole, and it stayed happy and capable without over-heating. Happy to say that it was returned in the same condition it was when we borrowed it. That was a HUGE relief.
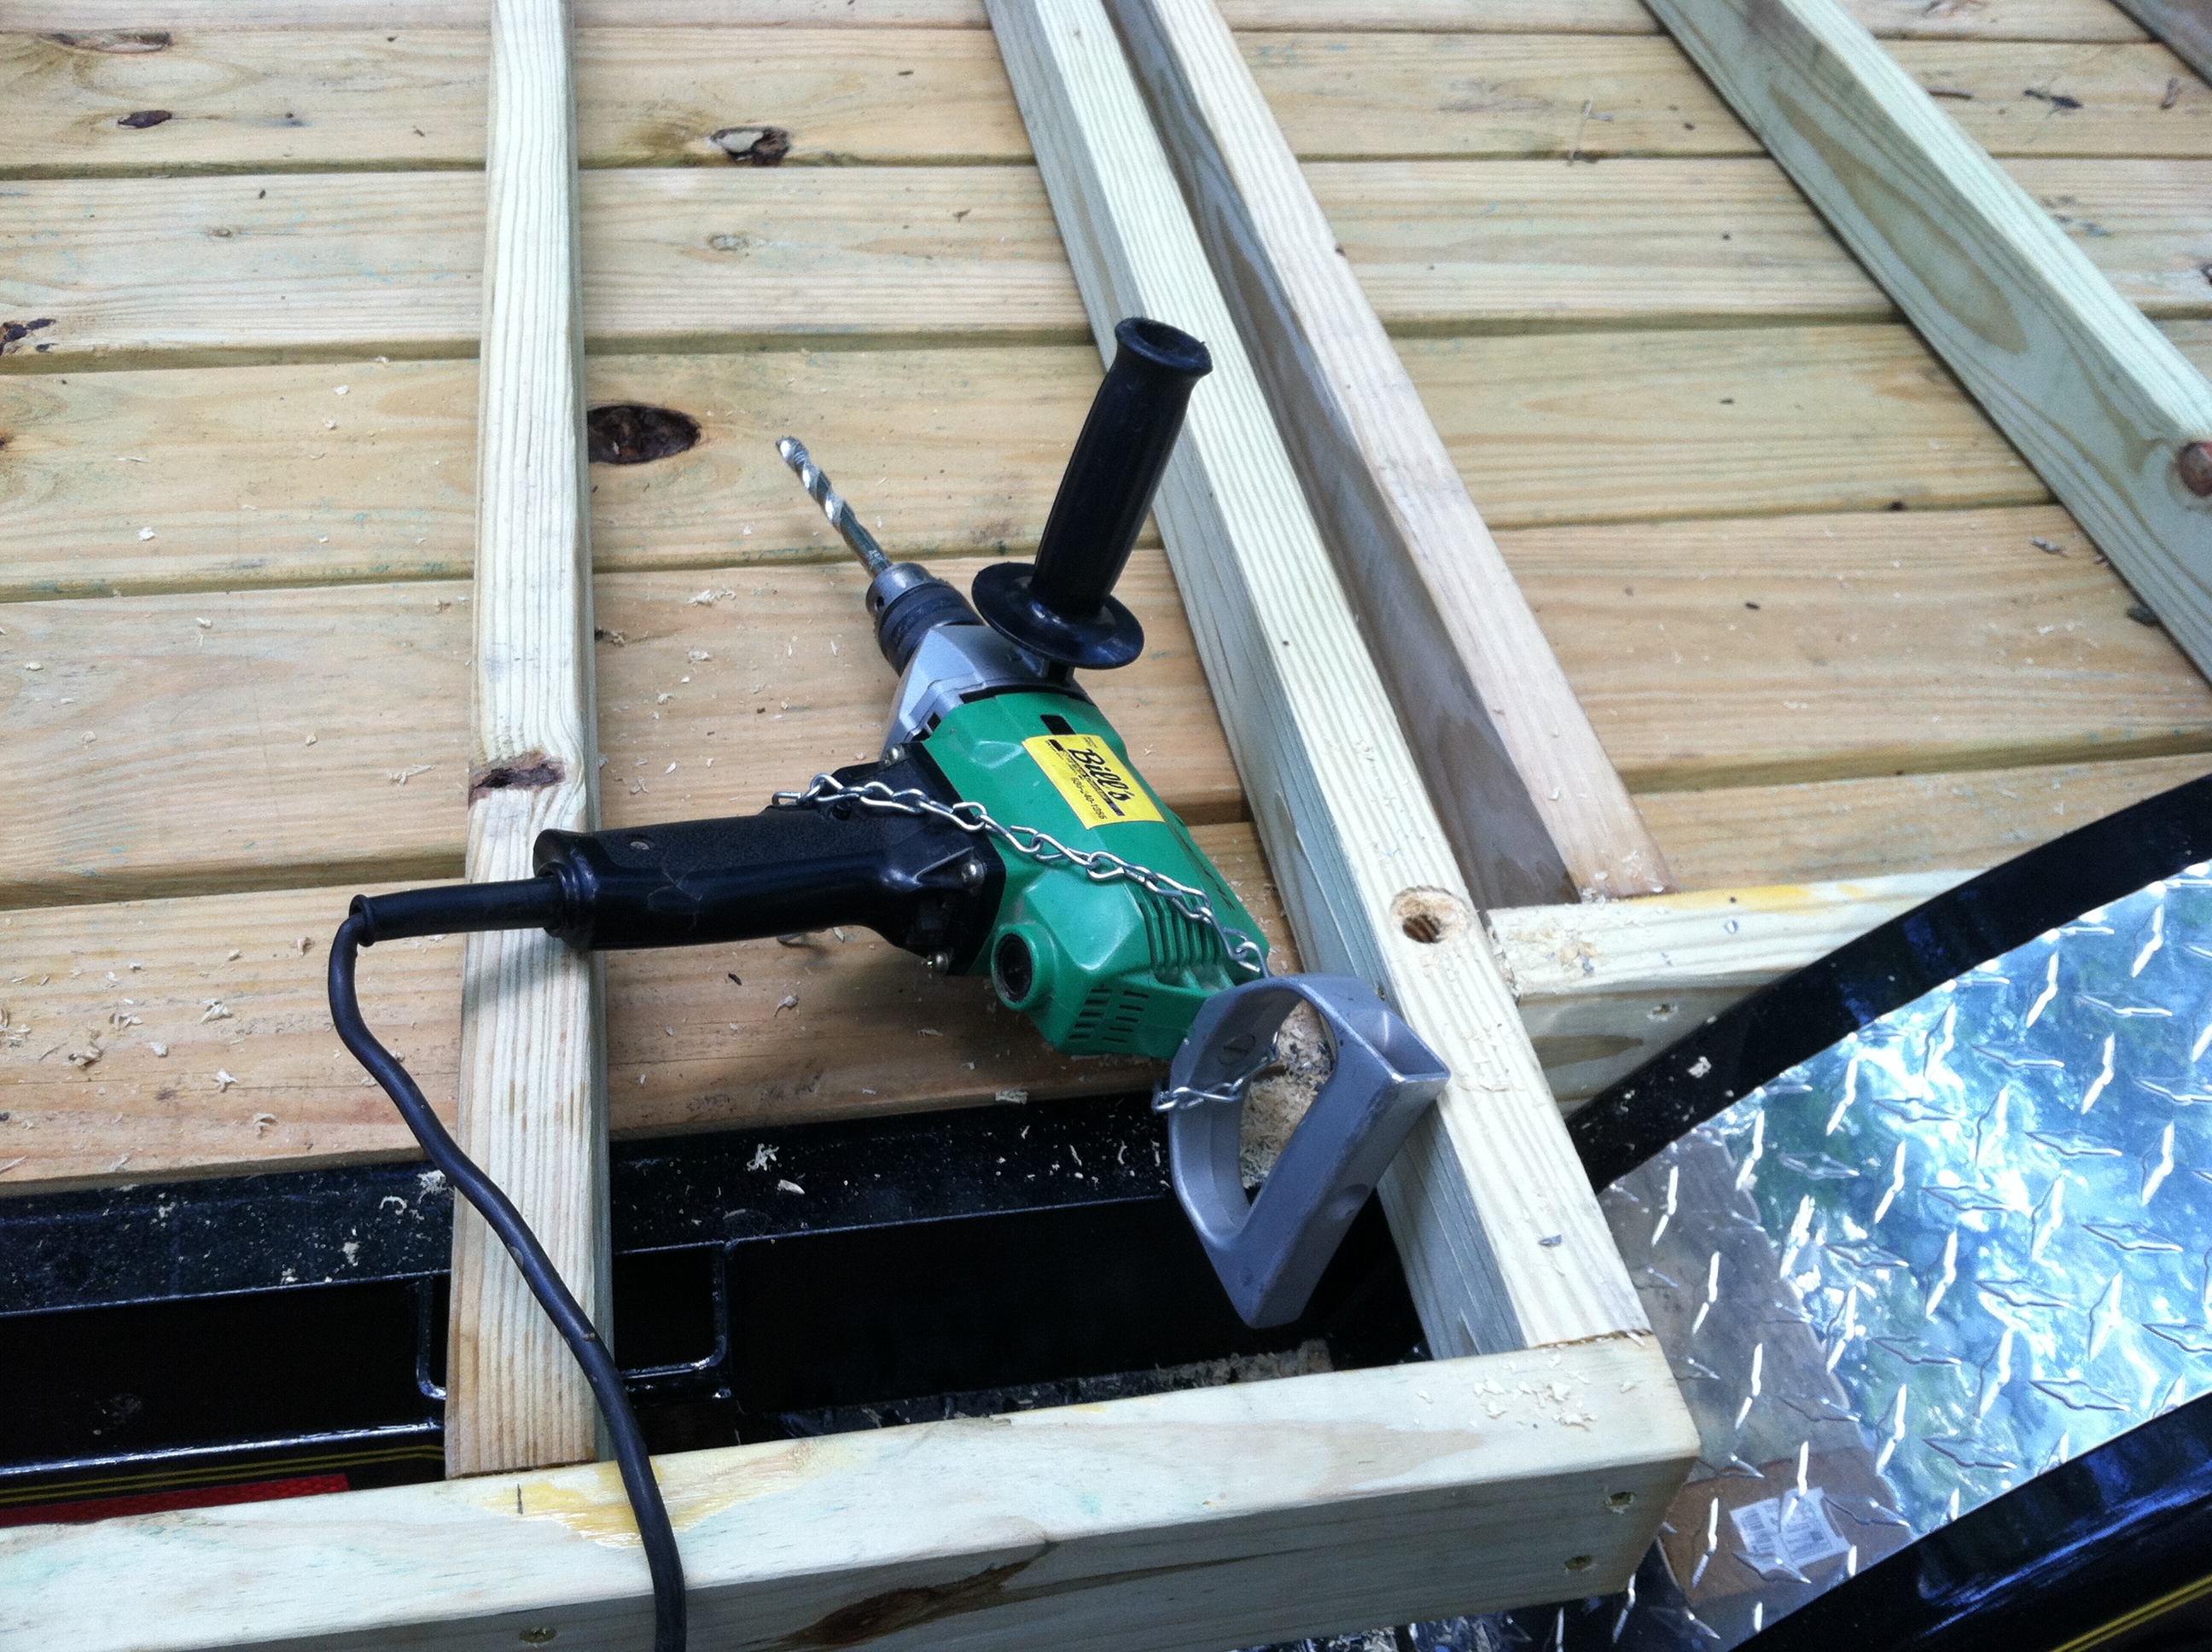
The drill that did the job.
Once we could successfully get all of the bolts into their selected holes (there are 14 of them around the perimeter which bolt the floor frame to the trailer), we were faced with getting the nuts onto them underneath. I did pretty well with the drilling. The nuts, however, were what got me. I haven’t cussed that much in a long, long time. Suffice it to say that crawling underneath of the trailer and reaching into a tiny space between the steel flanges was rough. It wasn’t possible to see very well at all, and once the nut was on the bolt, screwing it in created further challenges.
Let me just say that axel grease does NOT make that an easier task (don’t ask!), and if you’re a woman about to crawl under a trailer to nut a bolt, don’t do it in a tank top wearing a sports bra. Two words: metal shavings. And they will go. . . everywhere. In all seriousness, however, if you do go under there, protective eyewear is a must.
Unsurprisingly, it was my father who came up with the most creative idea for solving the problem by using a wrench and masking tape. It took two of us to put each nut in place, one above and one below, but we got it. The part of that task that’s left is to actually tighten each of the nuts, which required another MacGuyver-esque move by my dad, who ground down an old wrench so that it’s thin enough to fit in there and turn. When we get the guts up to go back under there and do it, there’ll be a special post dedicated to it!
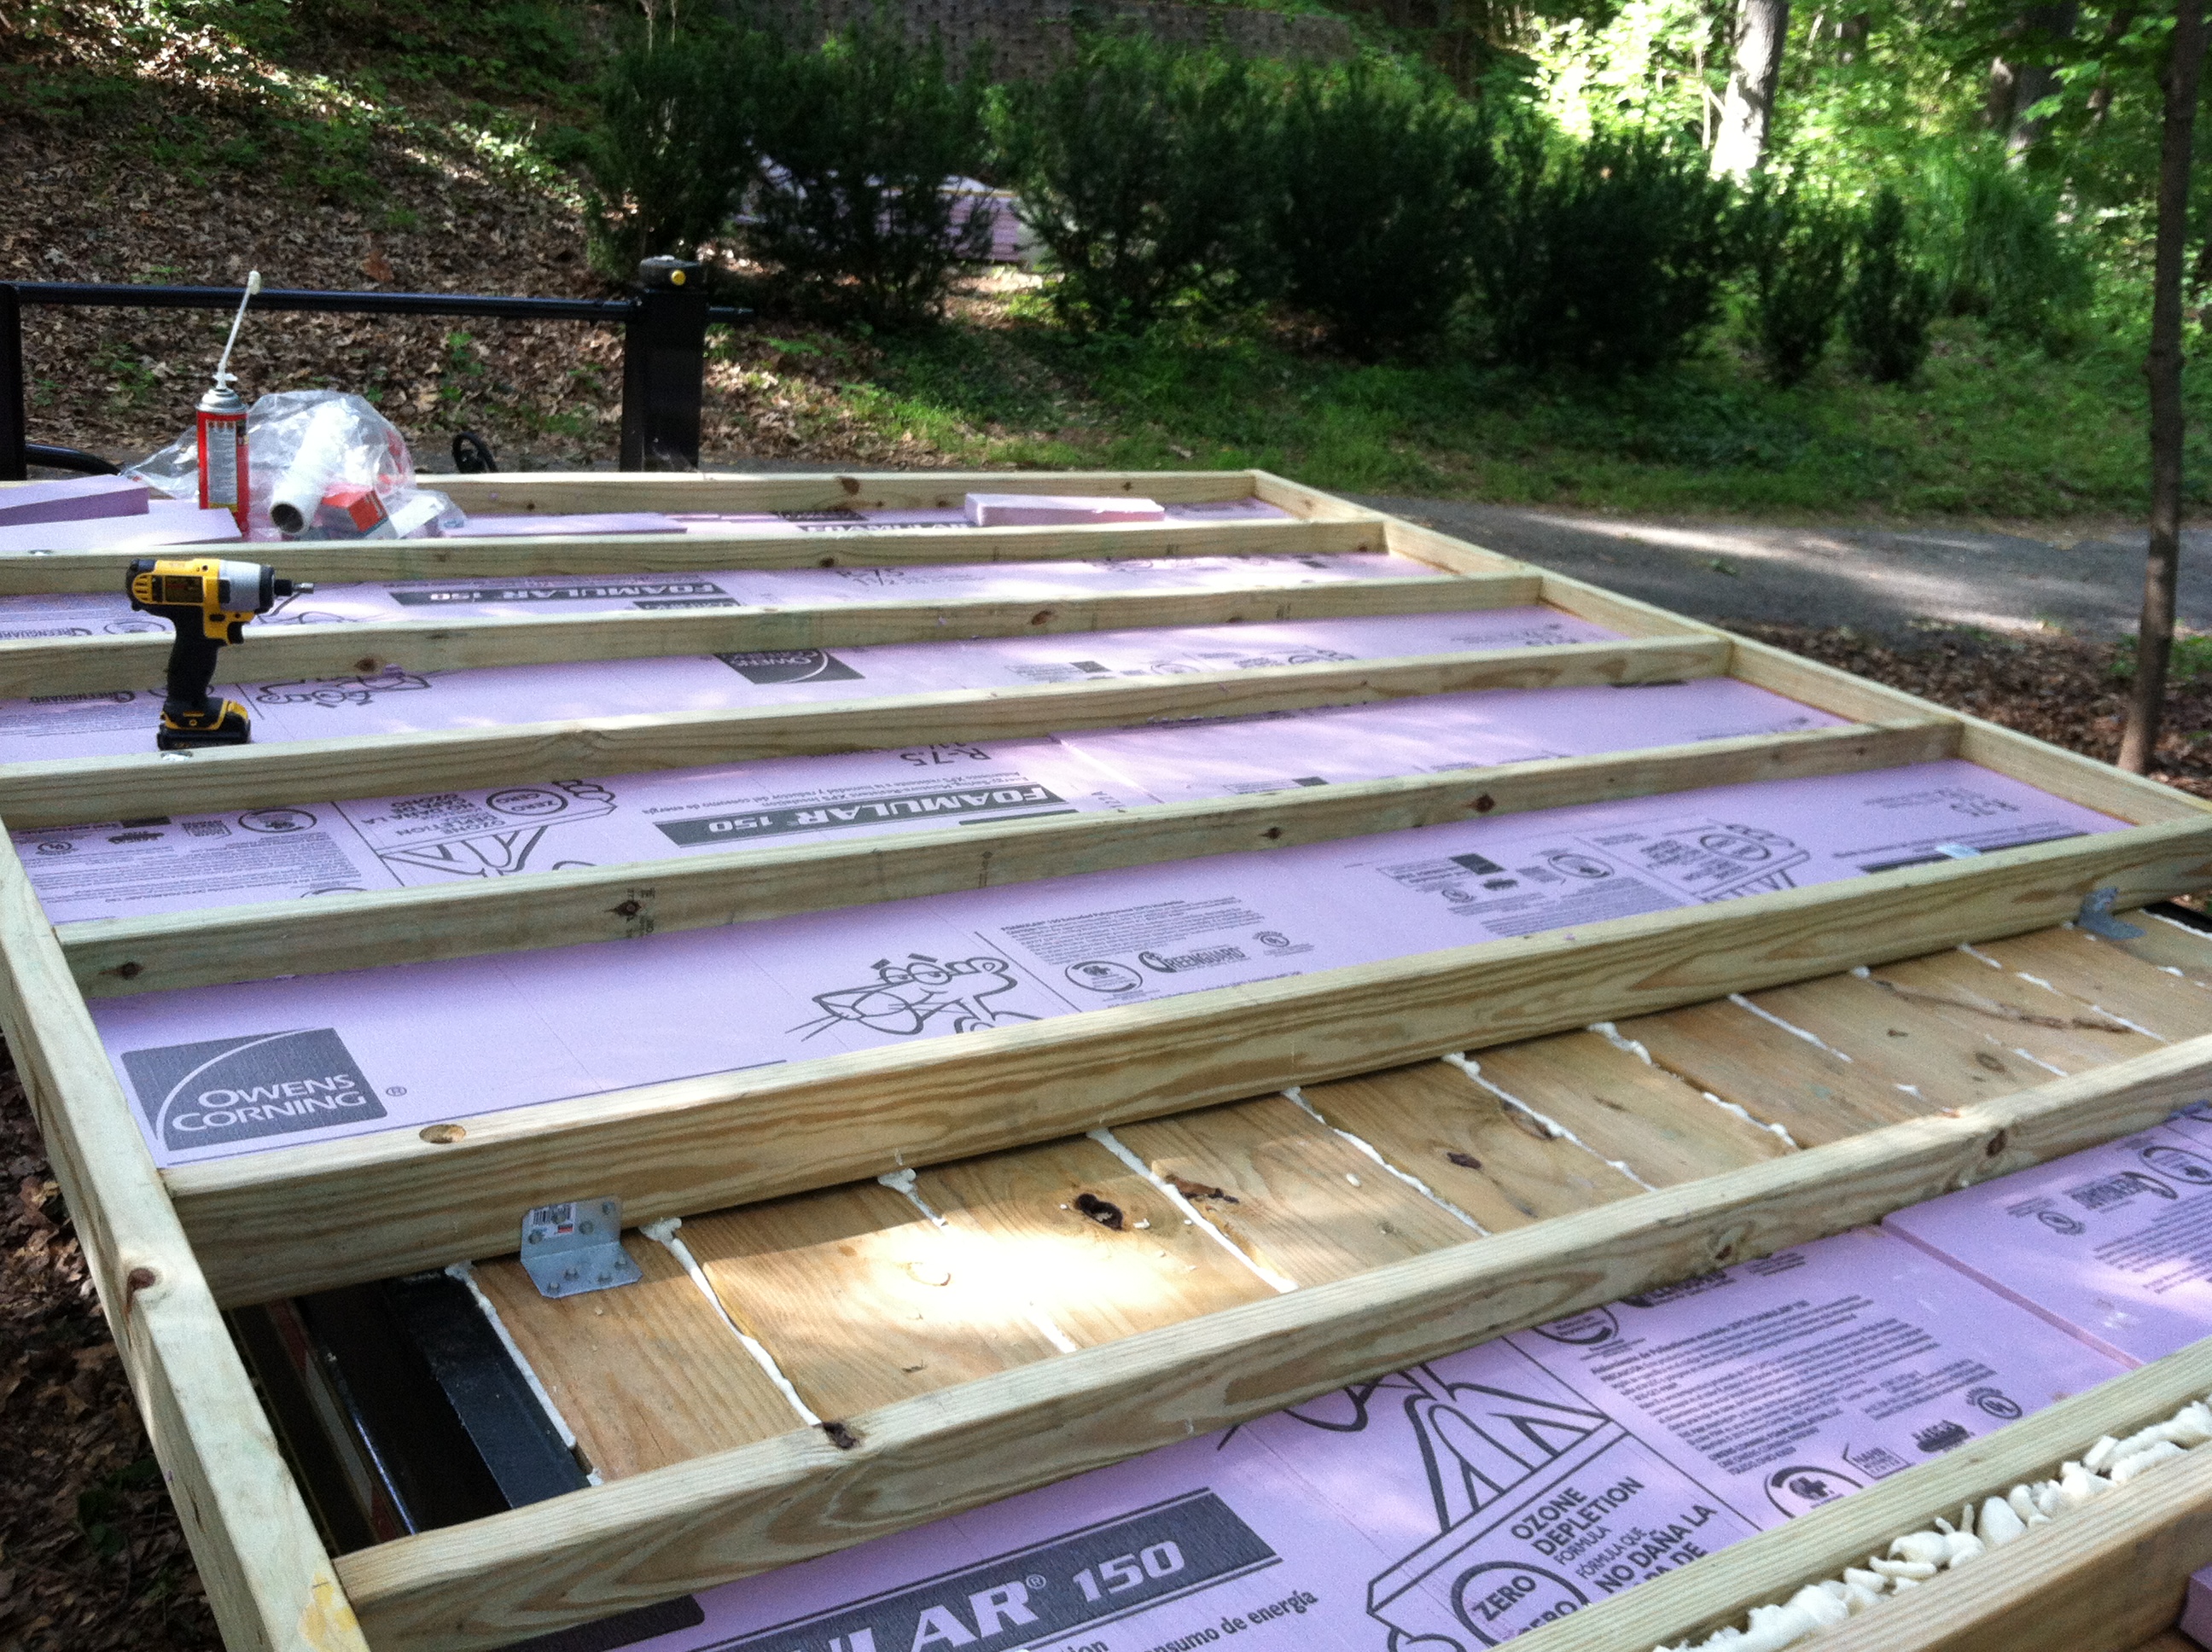
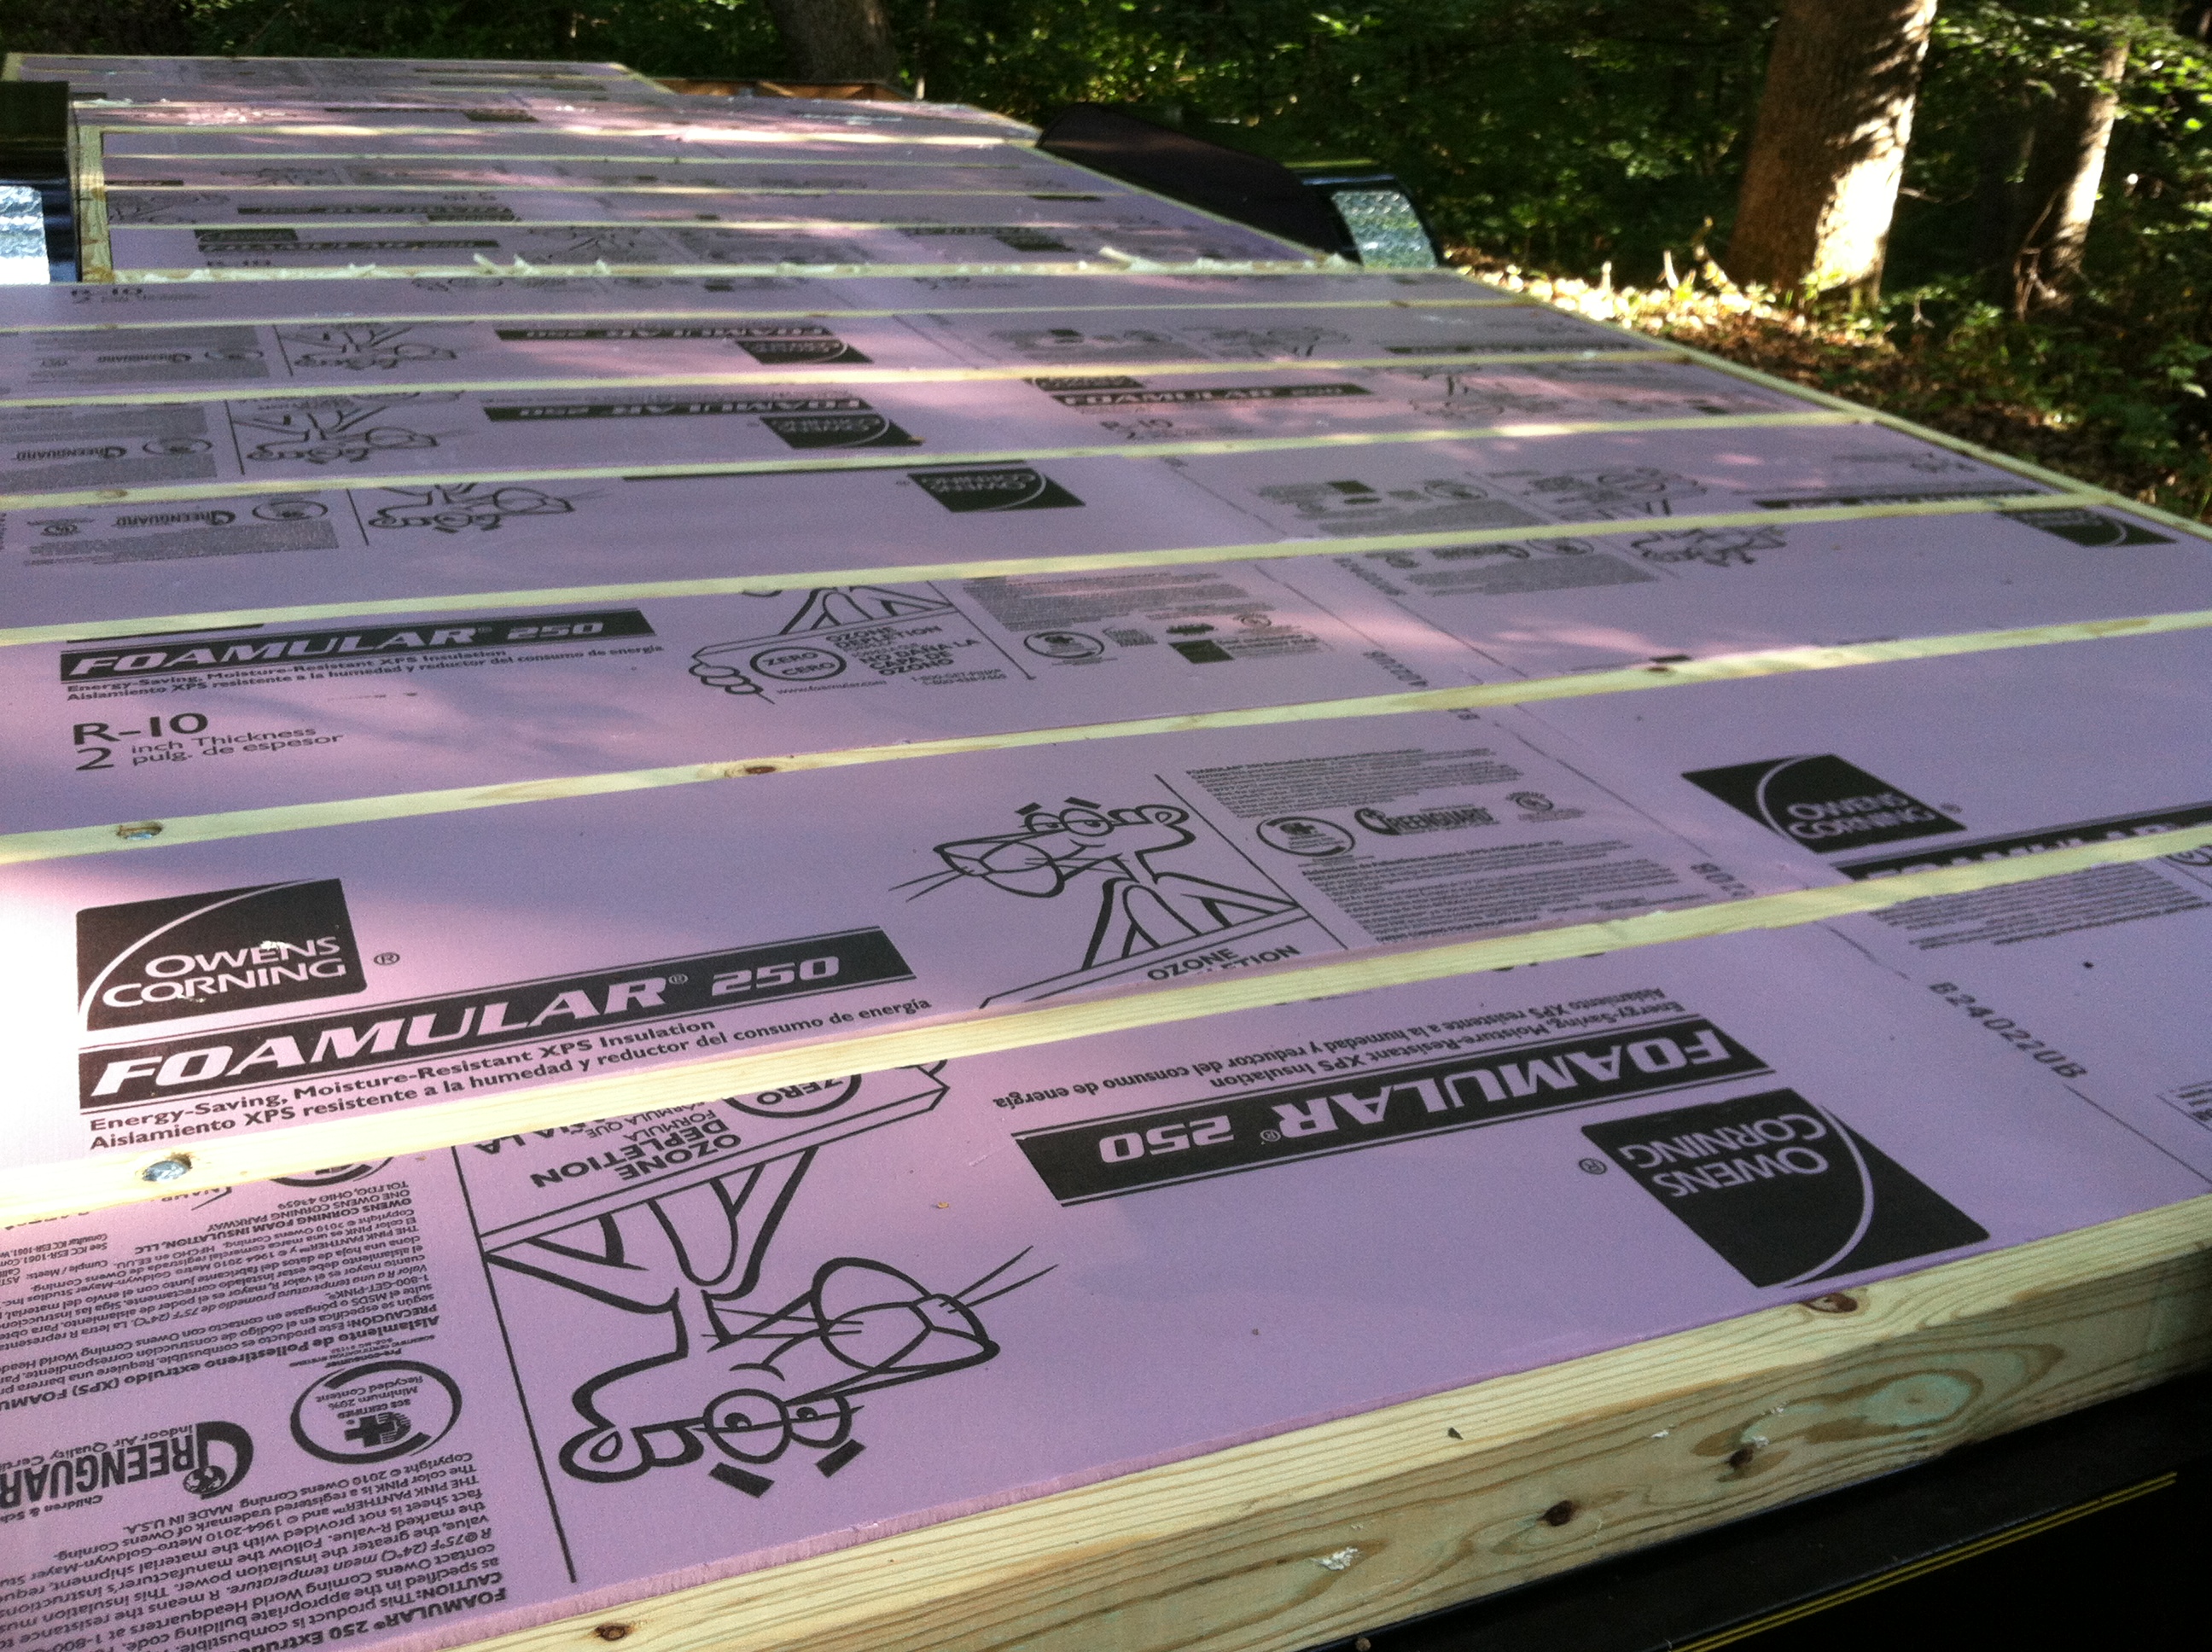
Once the bolt situation was more or less under control, we filled the gaps between the boards on the floor of the trailer itself with spray foam to seal them, scraped off the excess, and then filled the space between the joists with foam insulation. The precision cutting involved here is very time consuming (took about two days), but should hopefully be worth it. It’s light-weight and has a solid R rating.
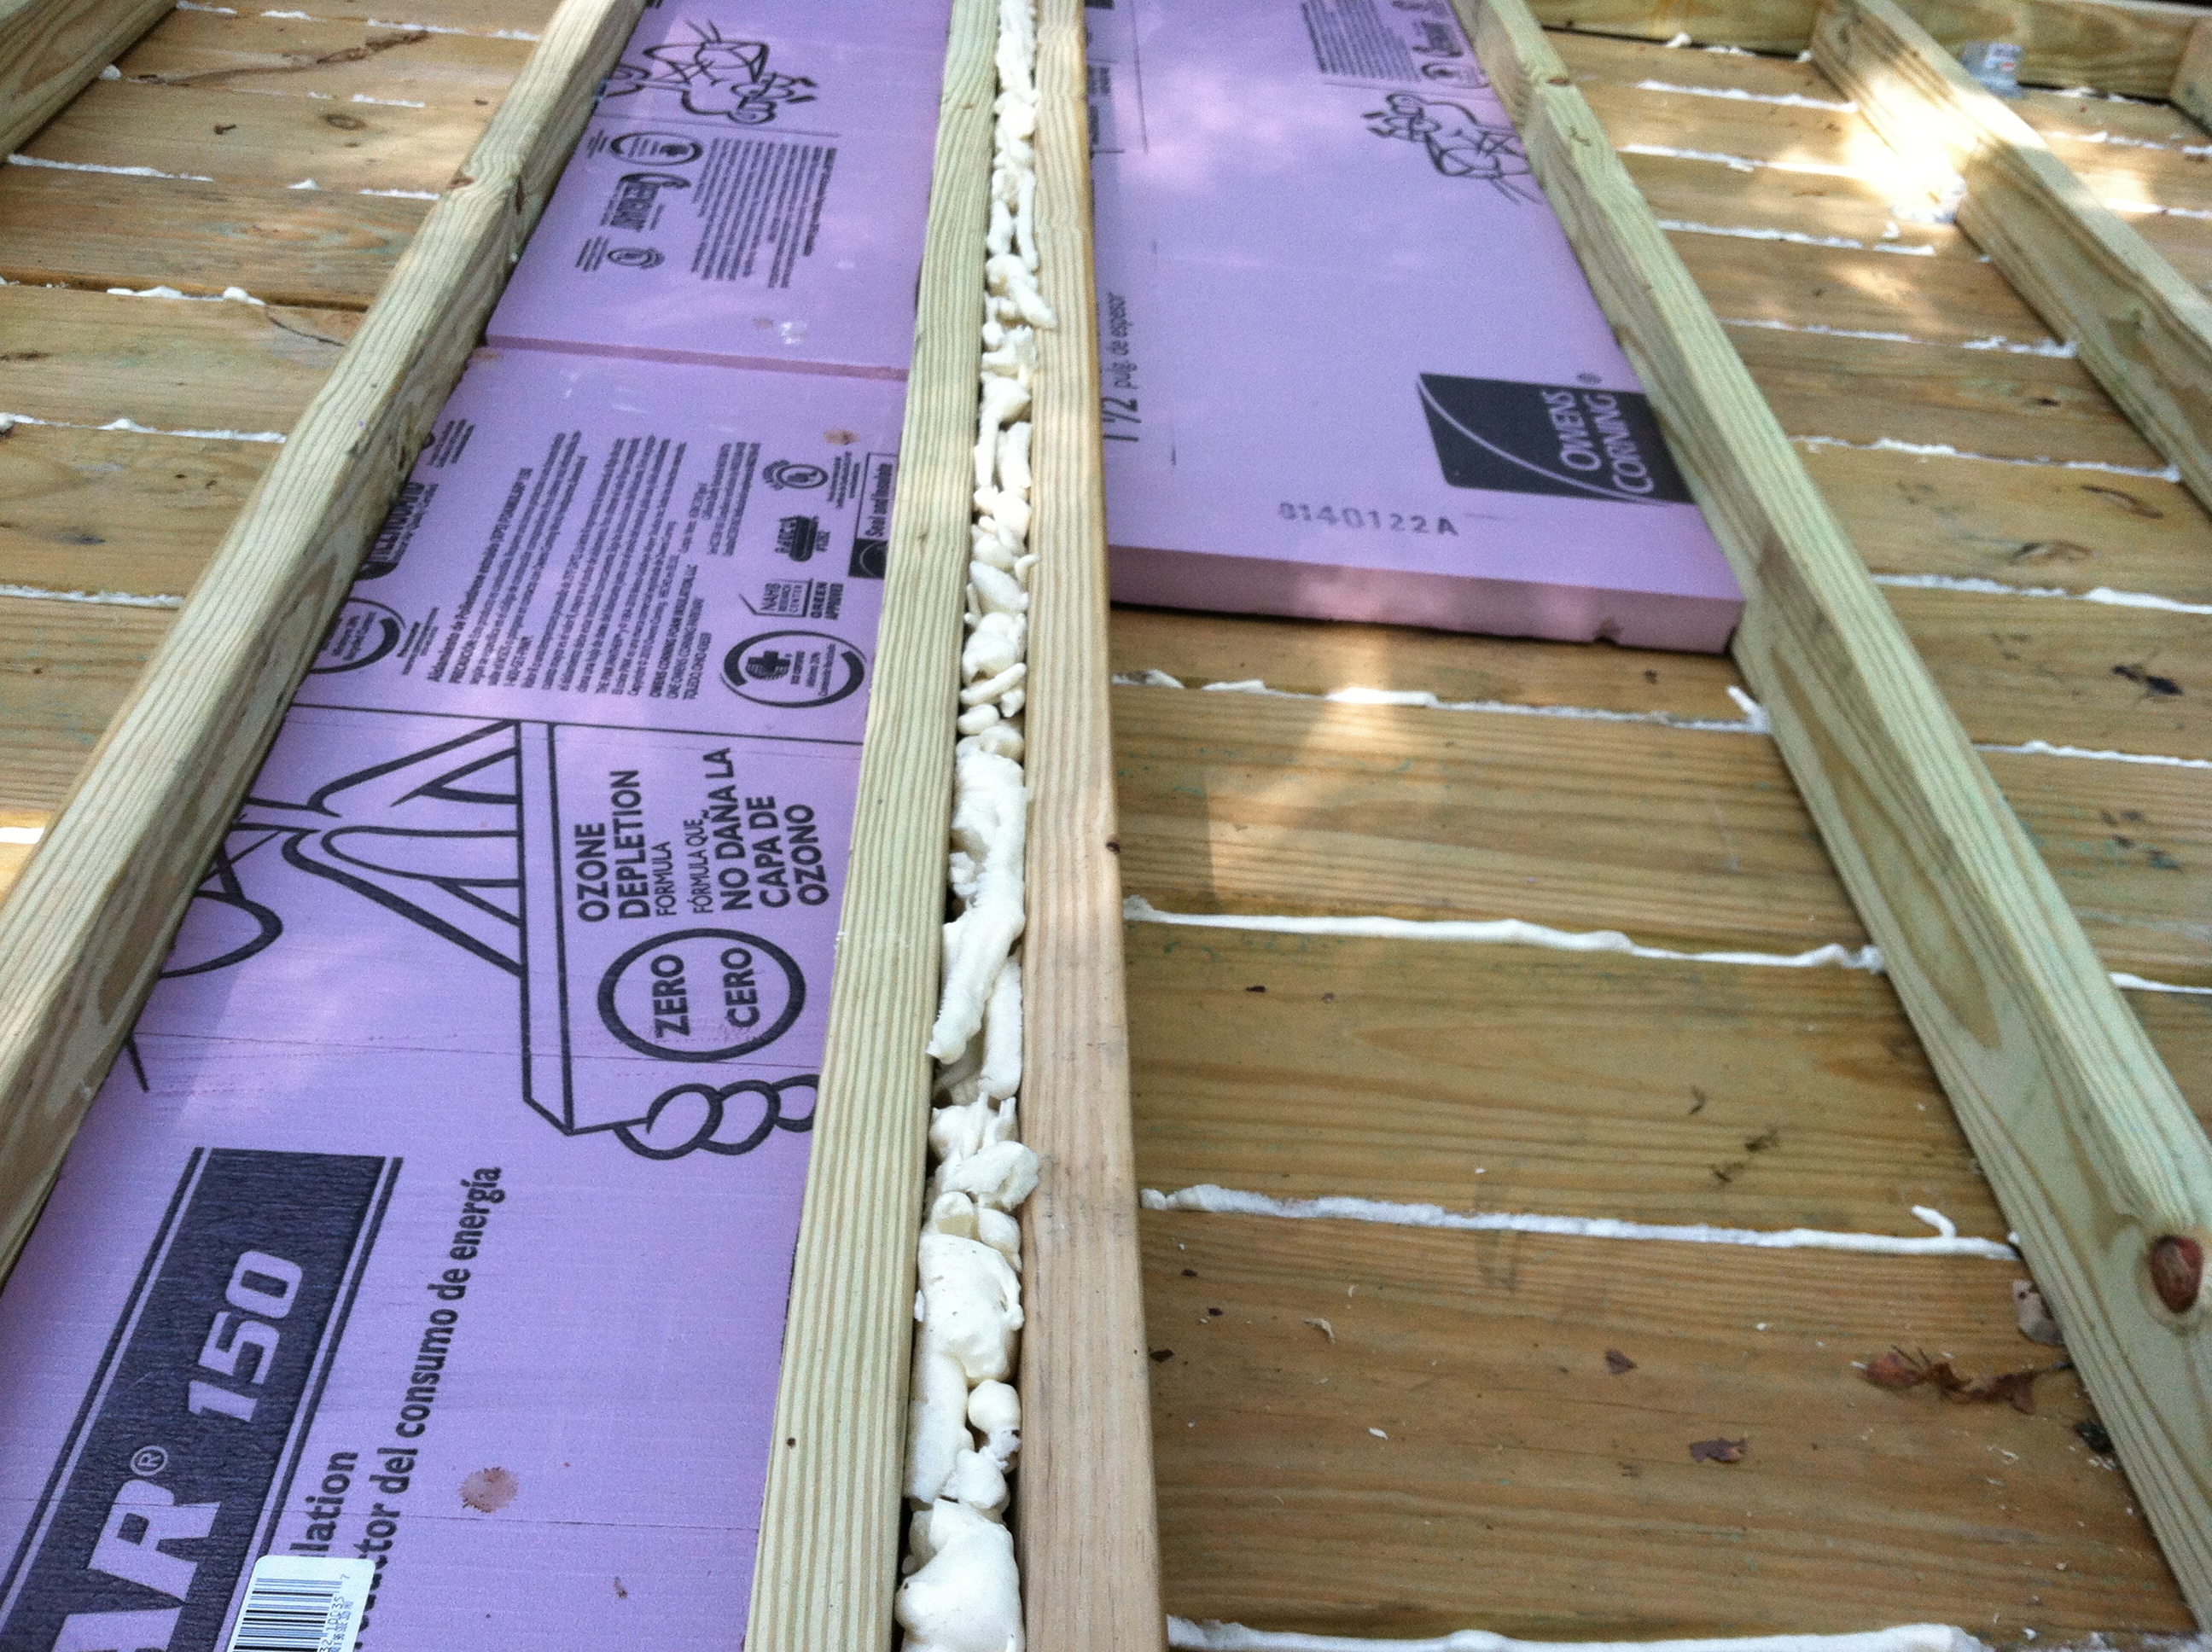
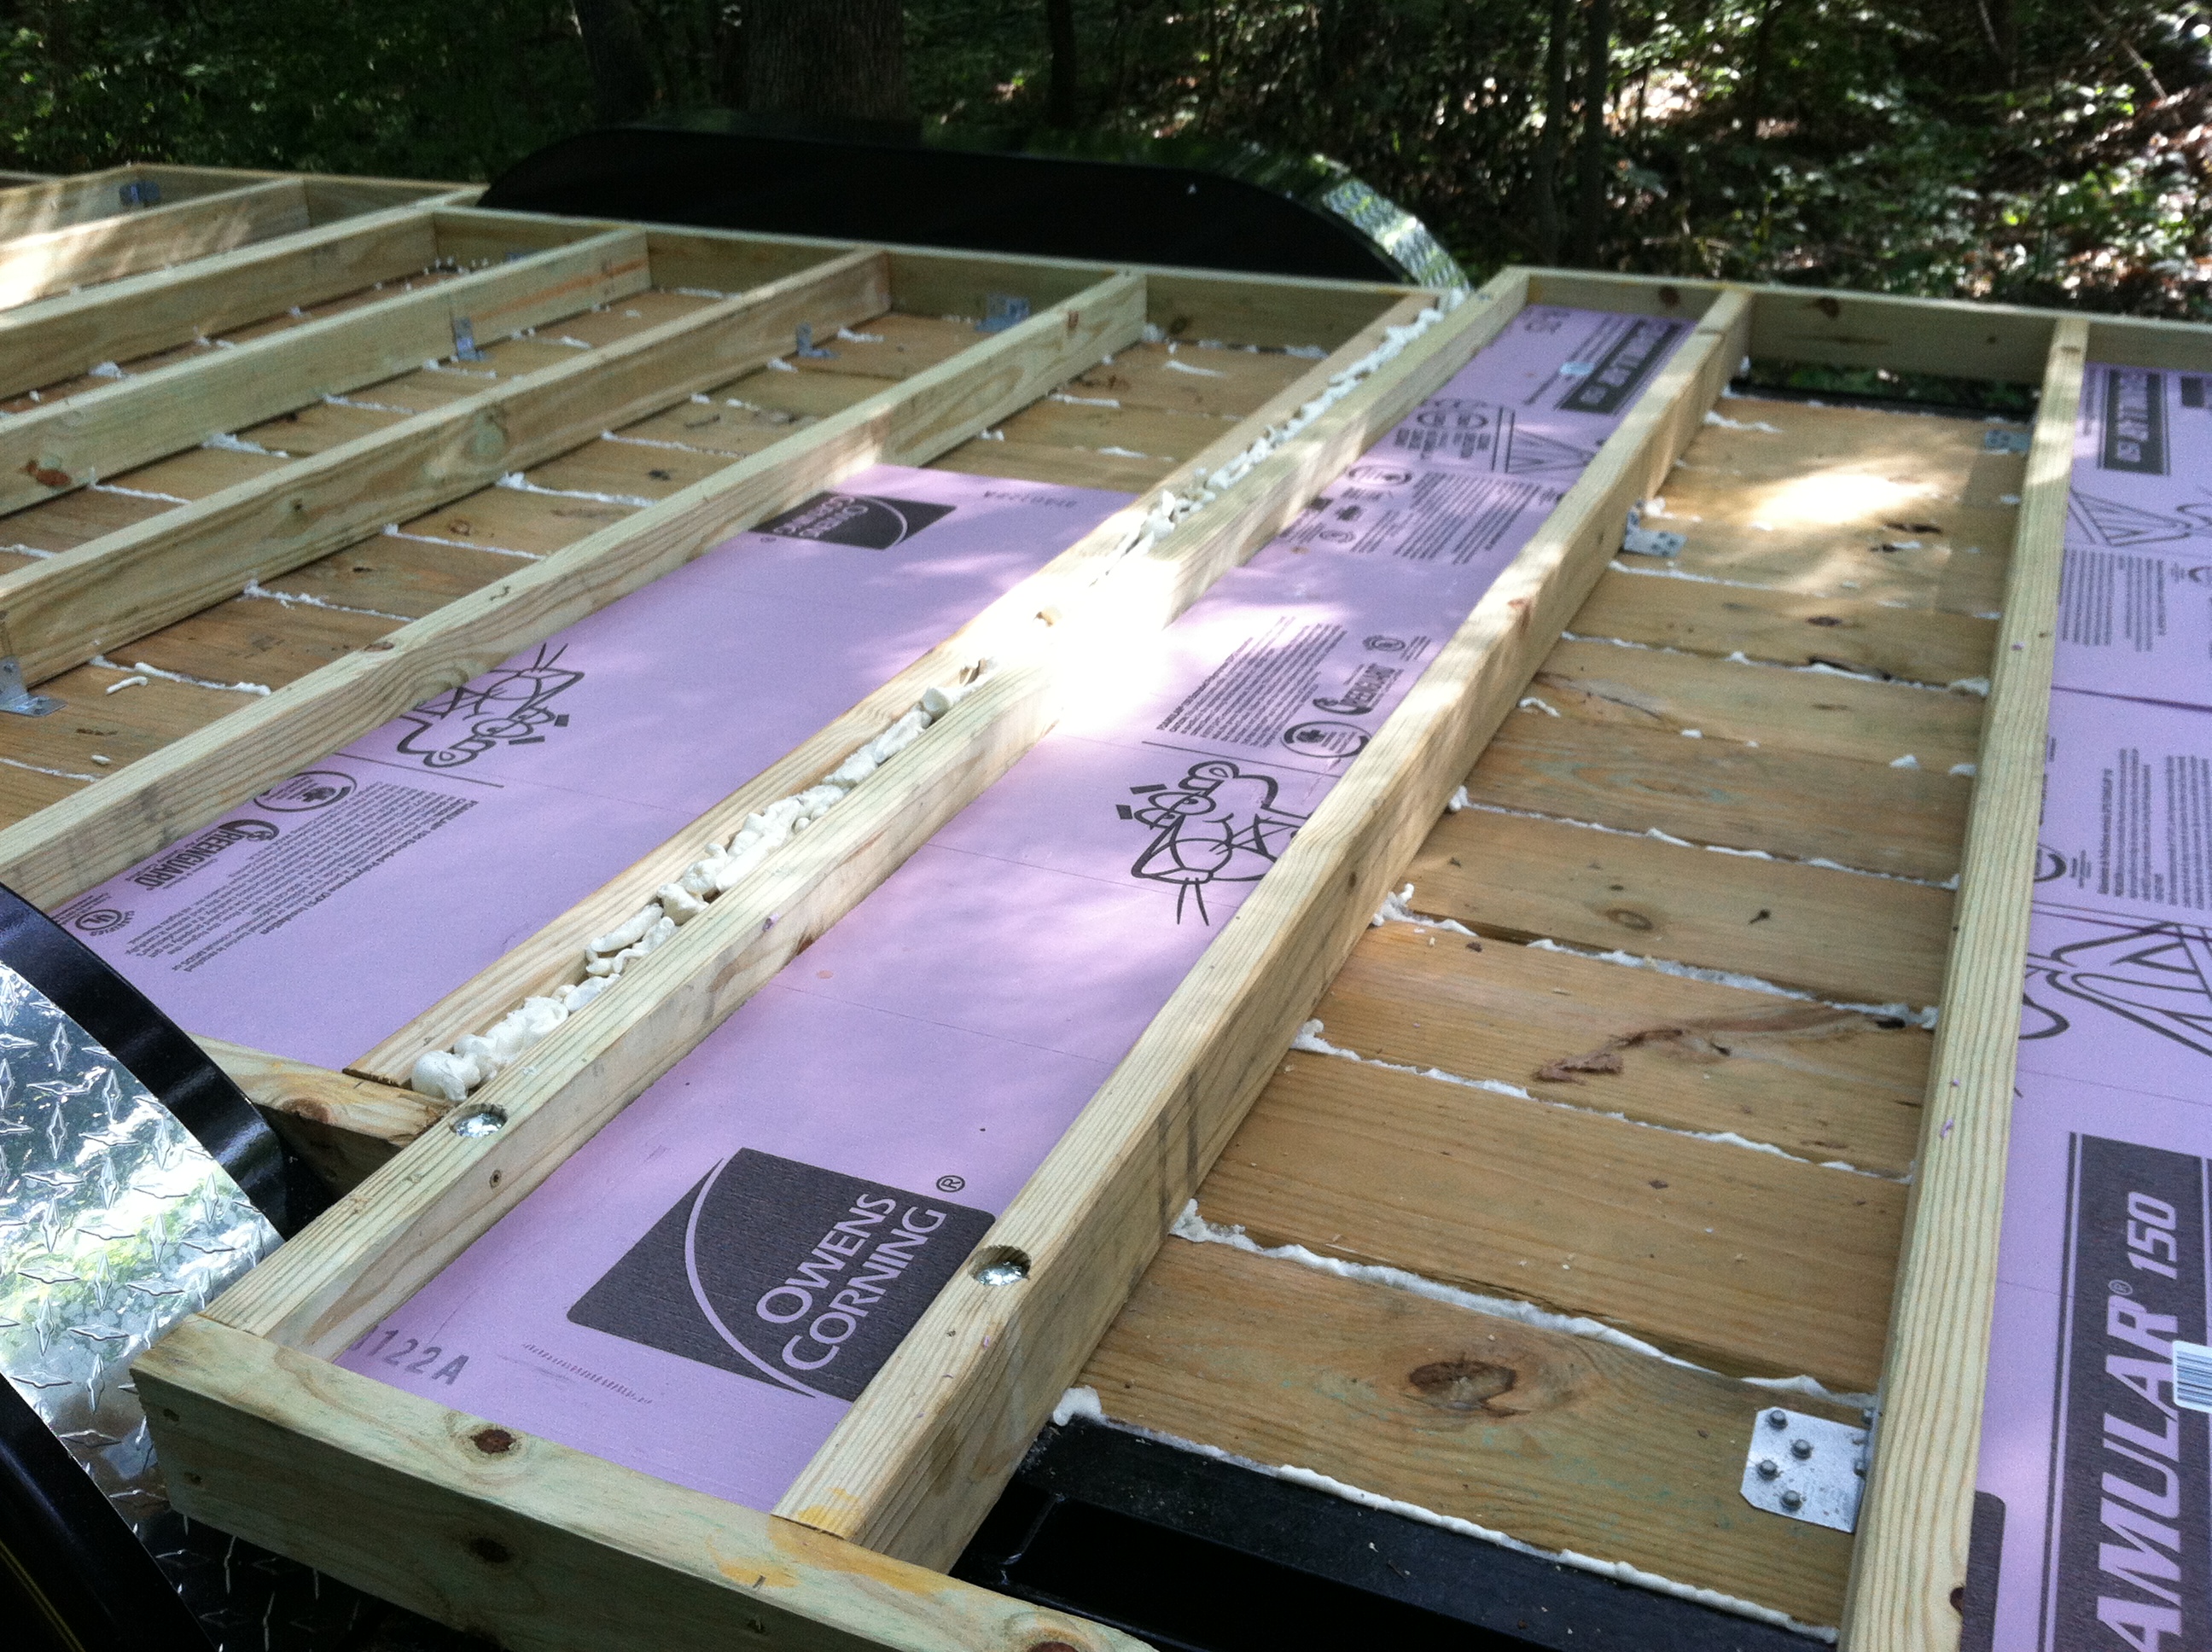
The bits that were scraped off the top of the gaps could be used to fill in a space where the pink foam sheets wouldn’t fit. In the photo on the right, you’ll notice that there’s a 90 degree angle tie. I attached dozens of them to the floor joists and trailer to stabilize it, and used right angle ties at every corner of the floor structure to strengthen it. The entire structure of the floor is glued and screwed to add further structural integrity and stability. My impact driver and I are having a wonderful time together.
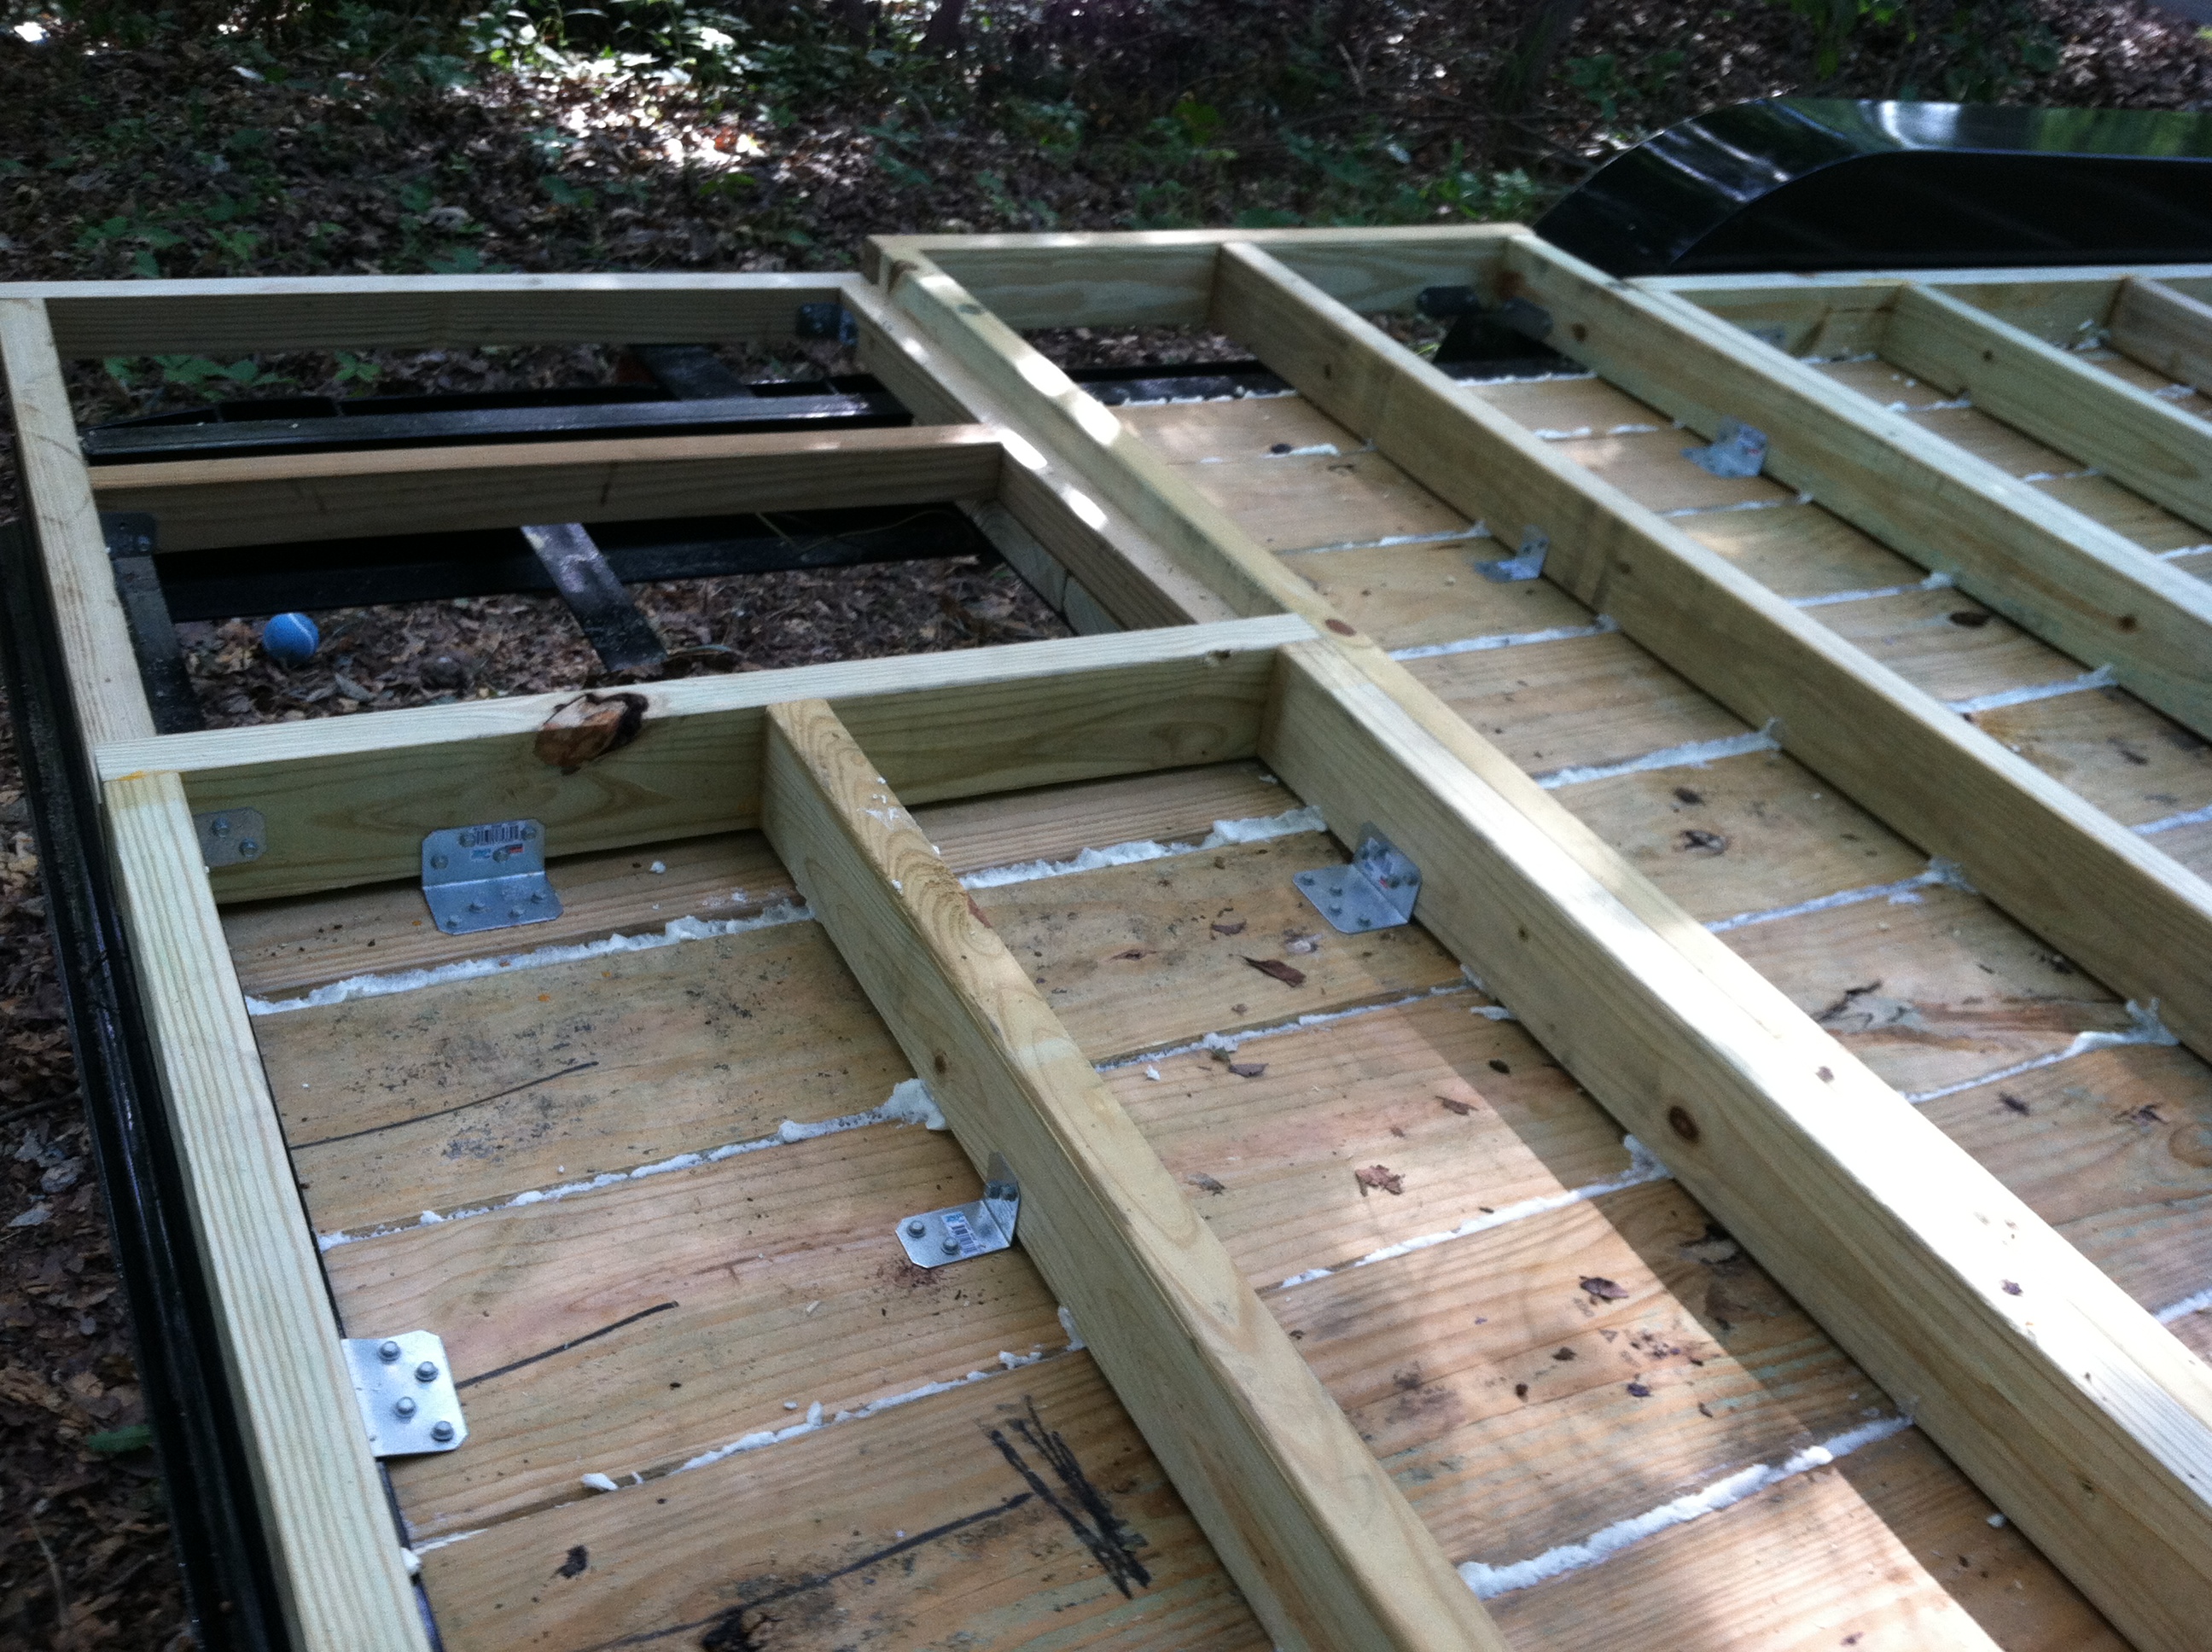
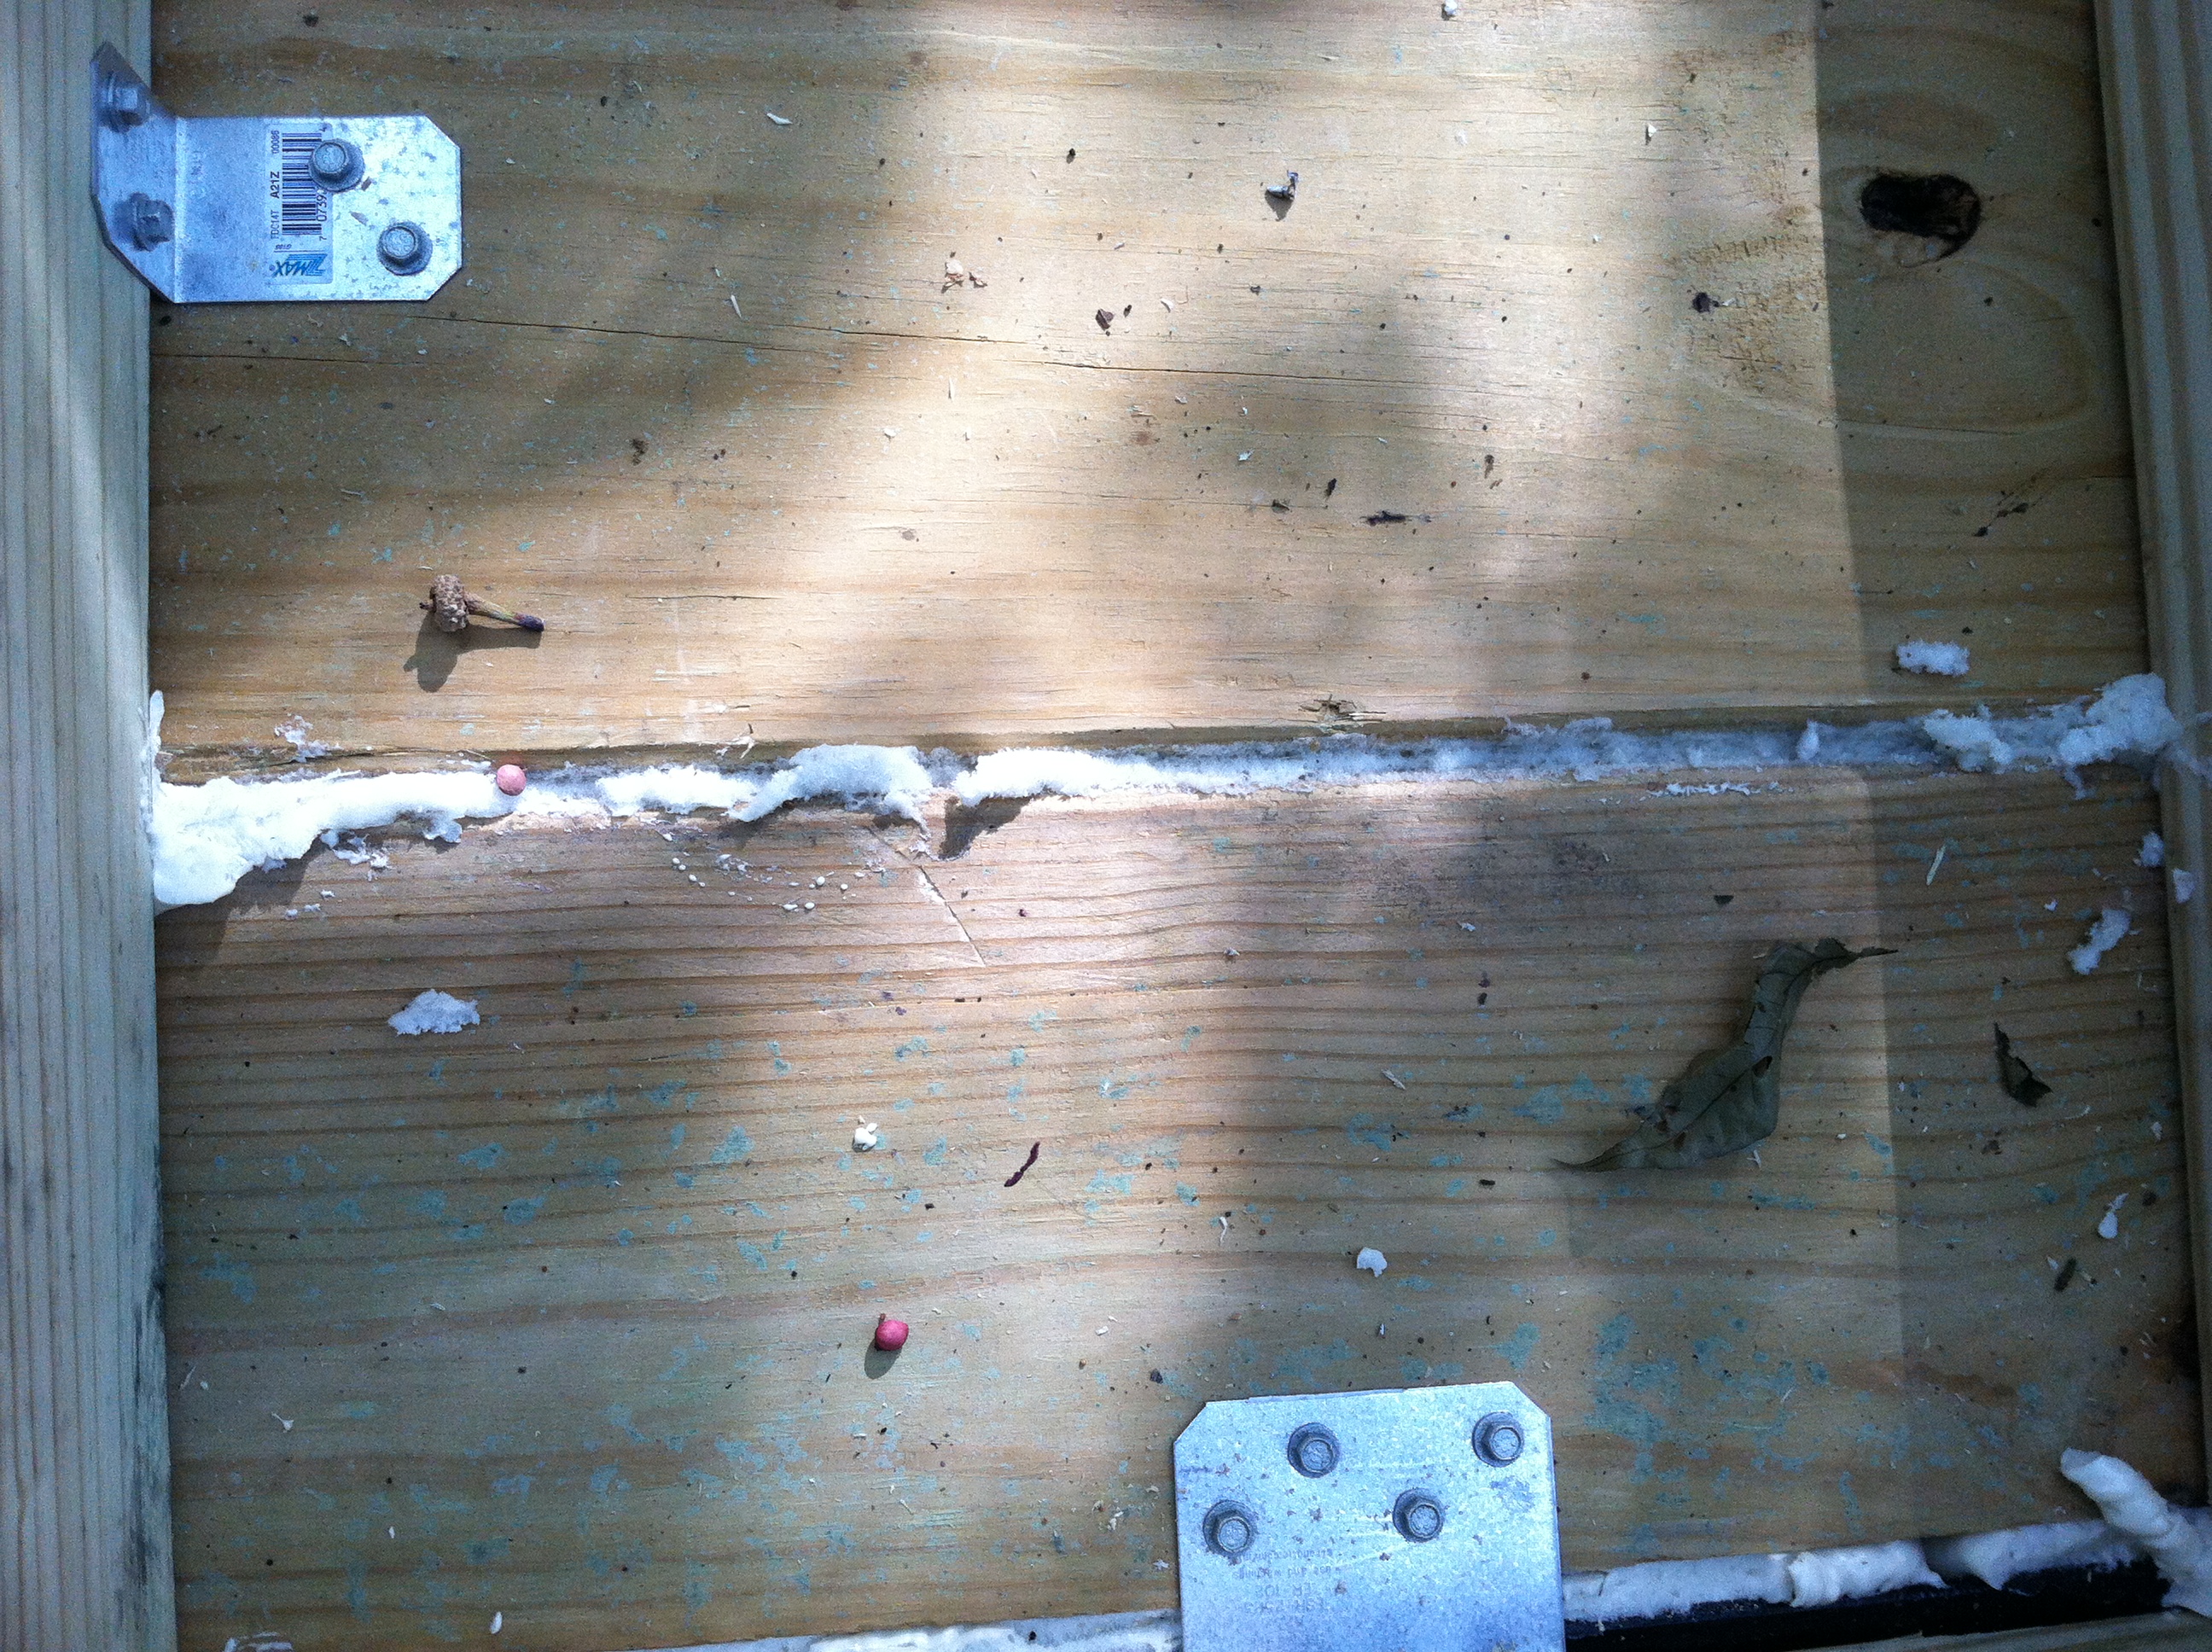
As you can see, they’re everywhere. There were 8-hole ties and 4-hole angle ties. The majority that I used were 8-hole ties. Between the angle ties and bolts, that floor ain’t leaving the trailer!
There are two layers of insulation that make up the floor, so each section had to be cut twice, and layered, the cracks filled in with more spray foam.
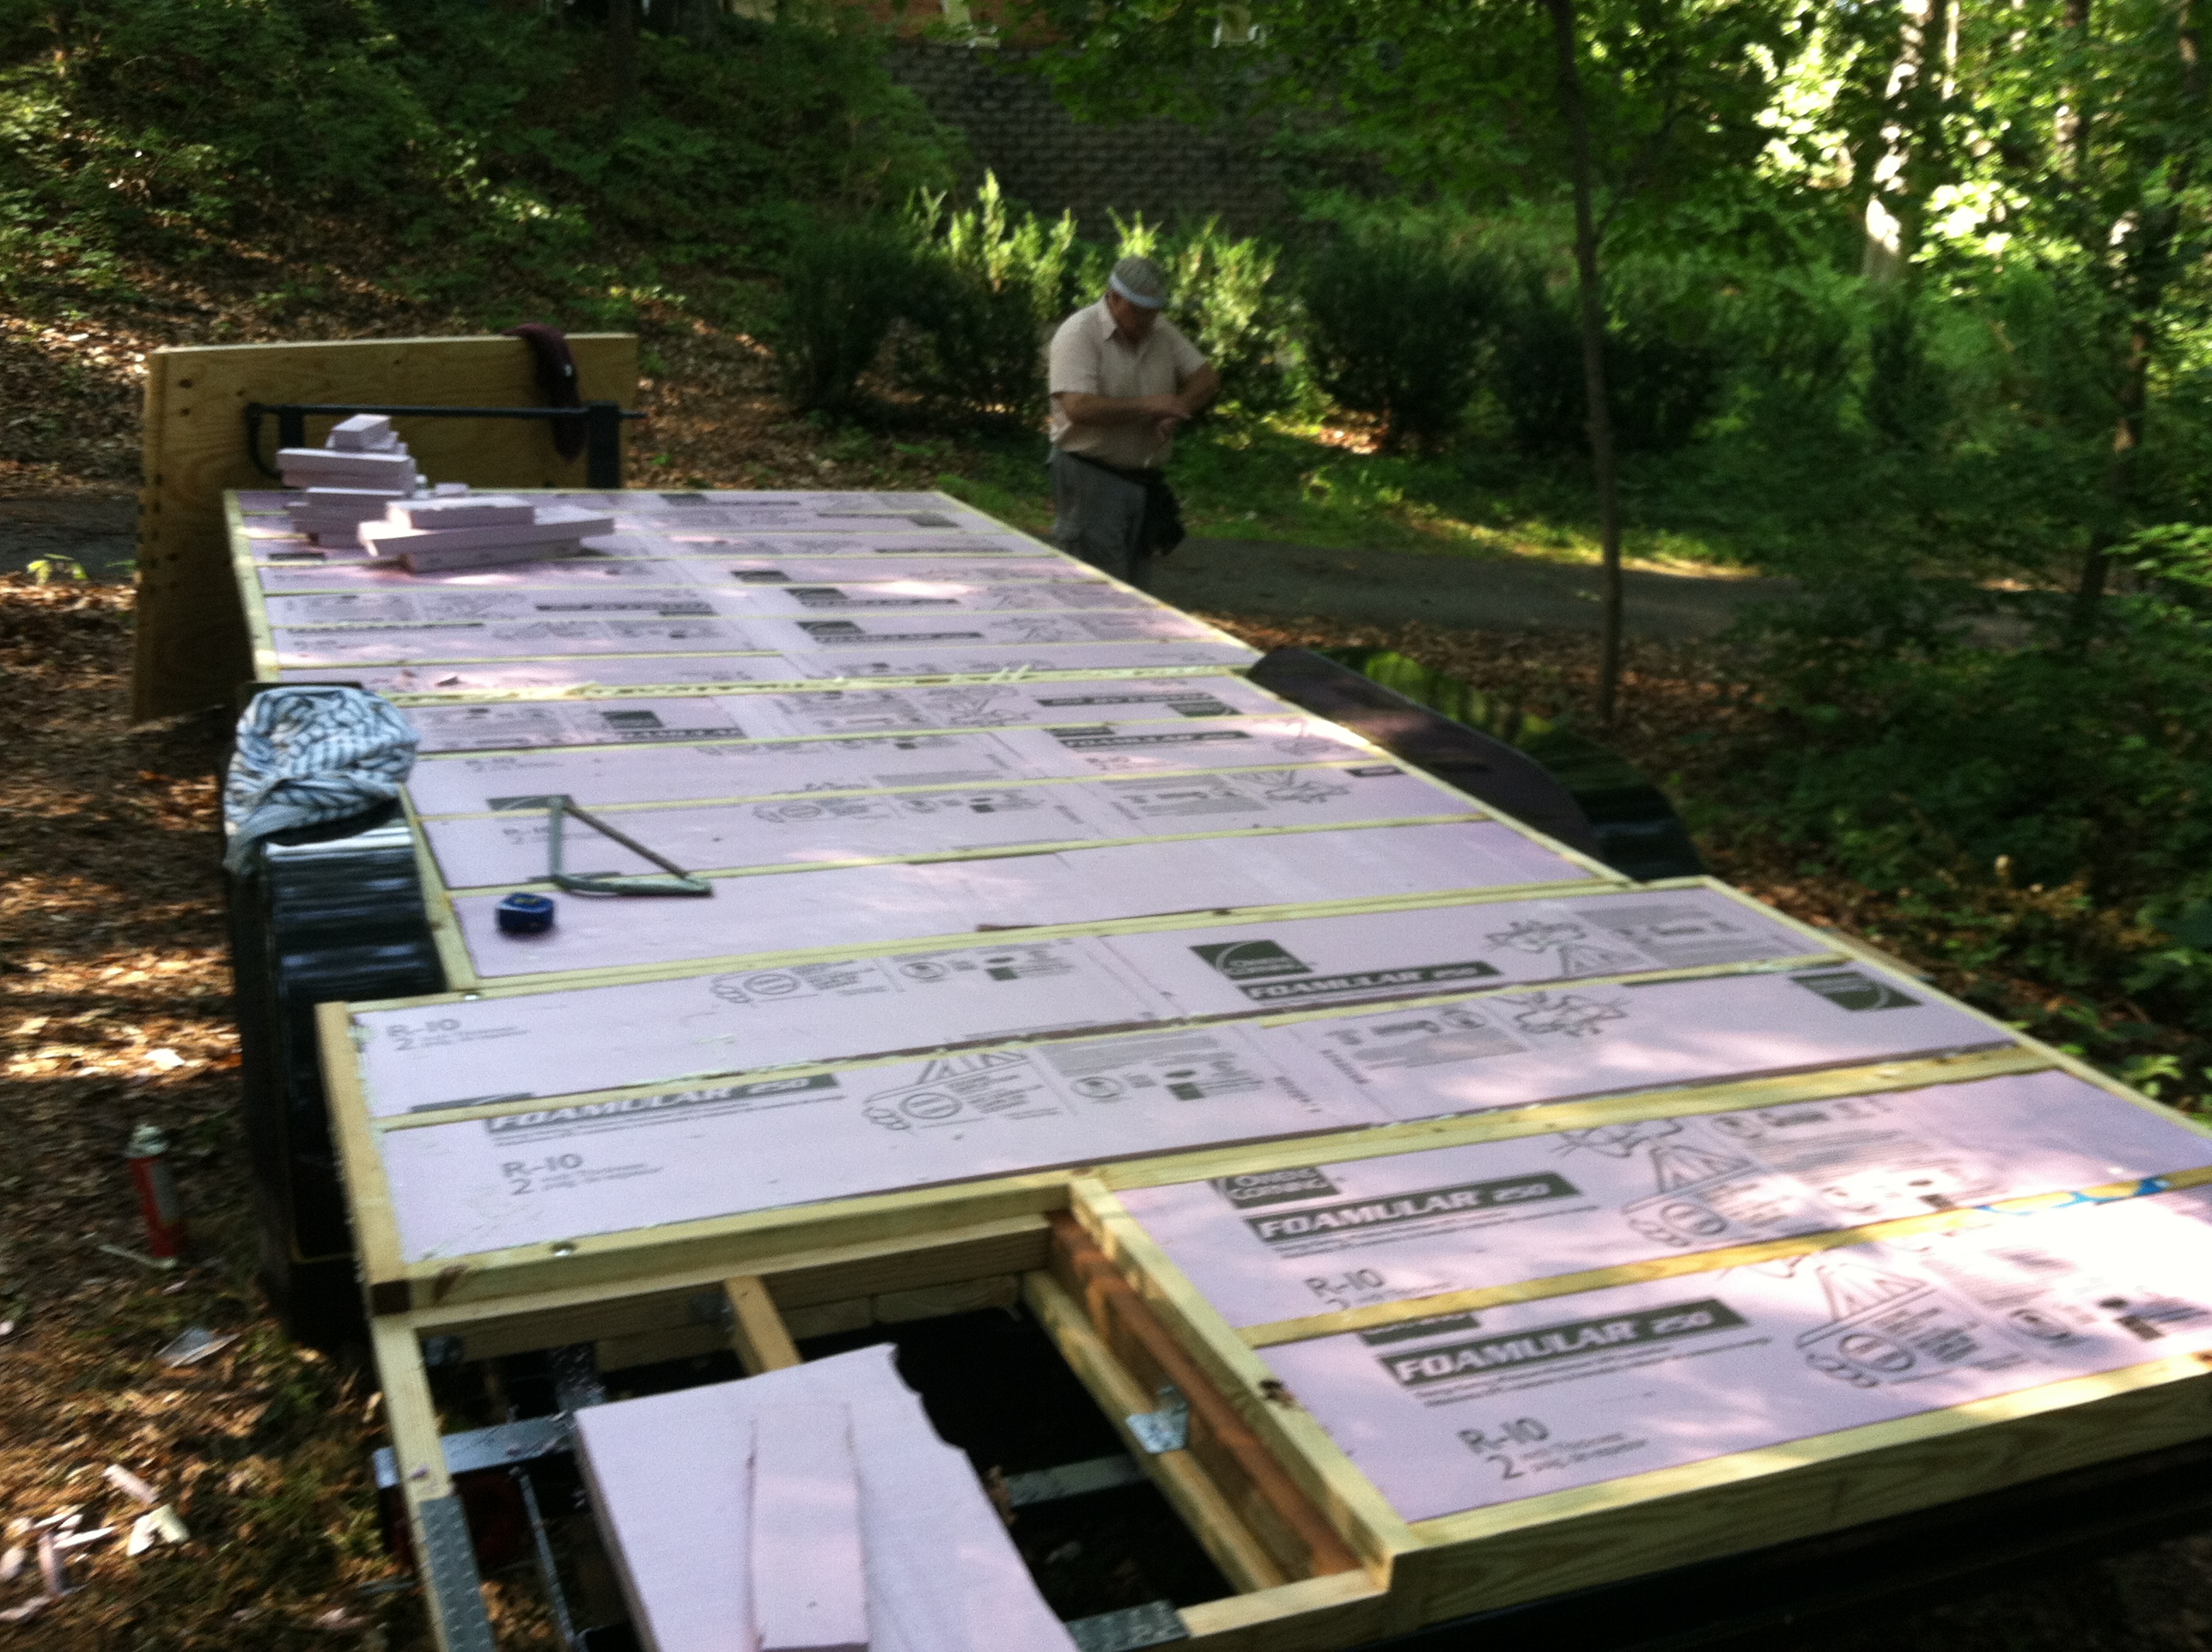
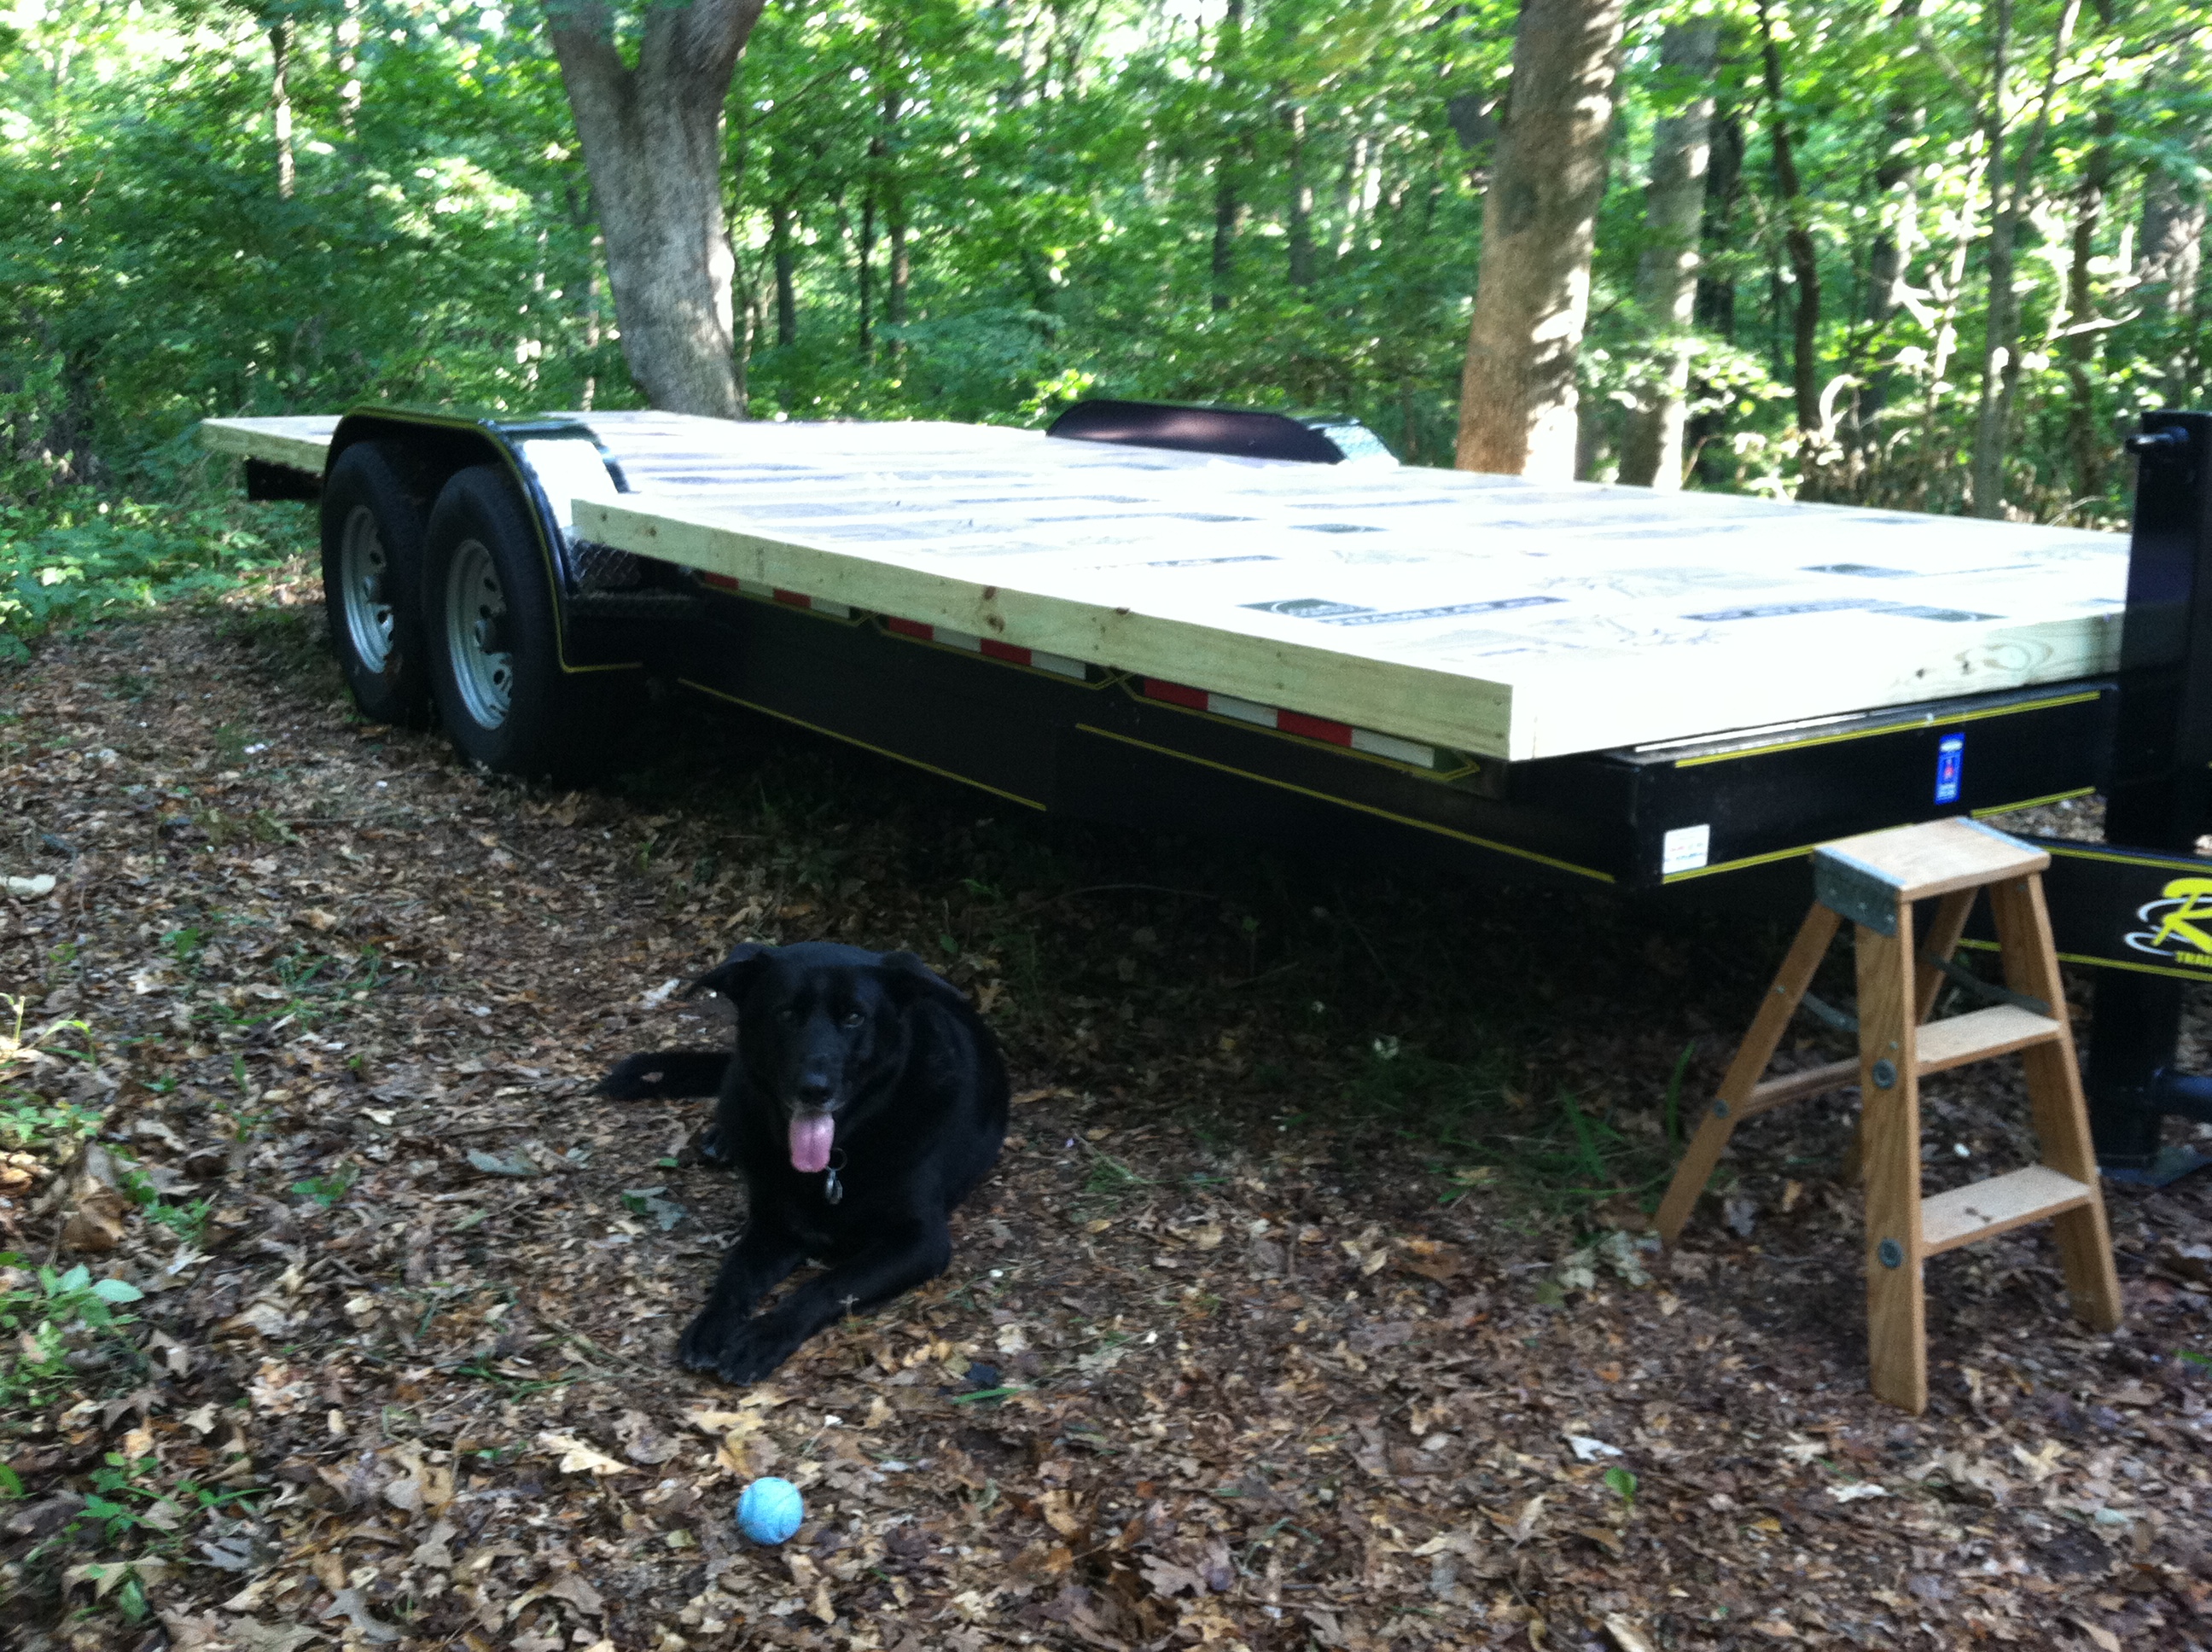
As usual, Noah was on hand to provide company, laughs, and to have his ball thrown at every available opportunity. Next task: installing the sub-floor!
