Category Archives: Tiny House

Full House

*Sigh*

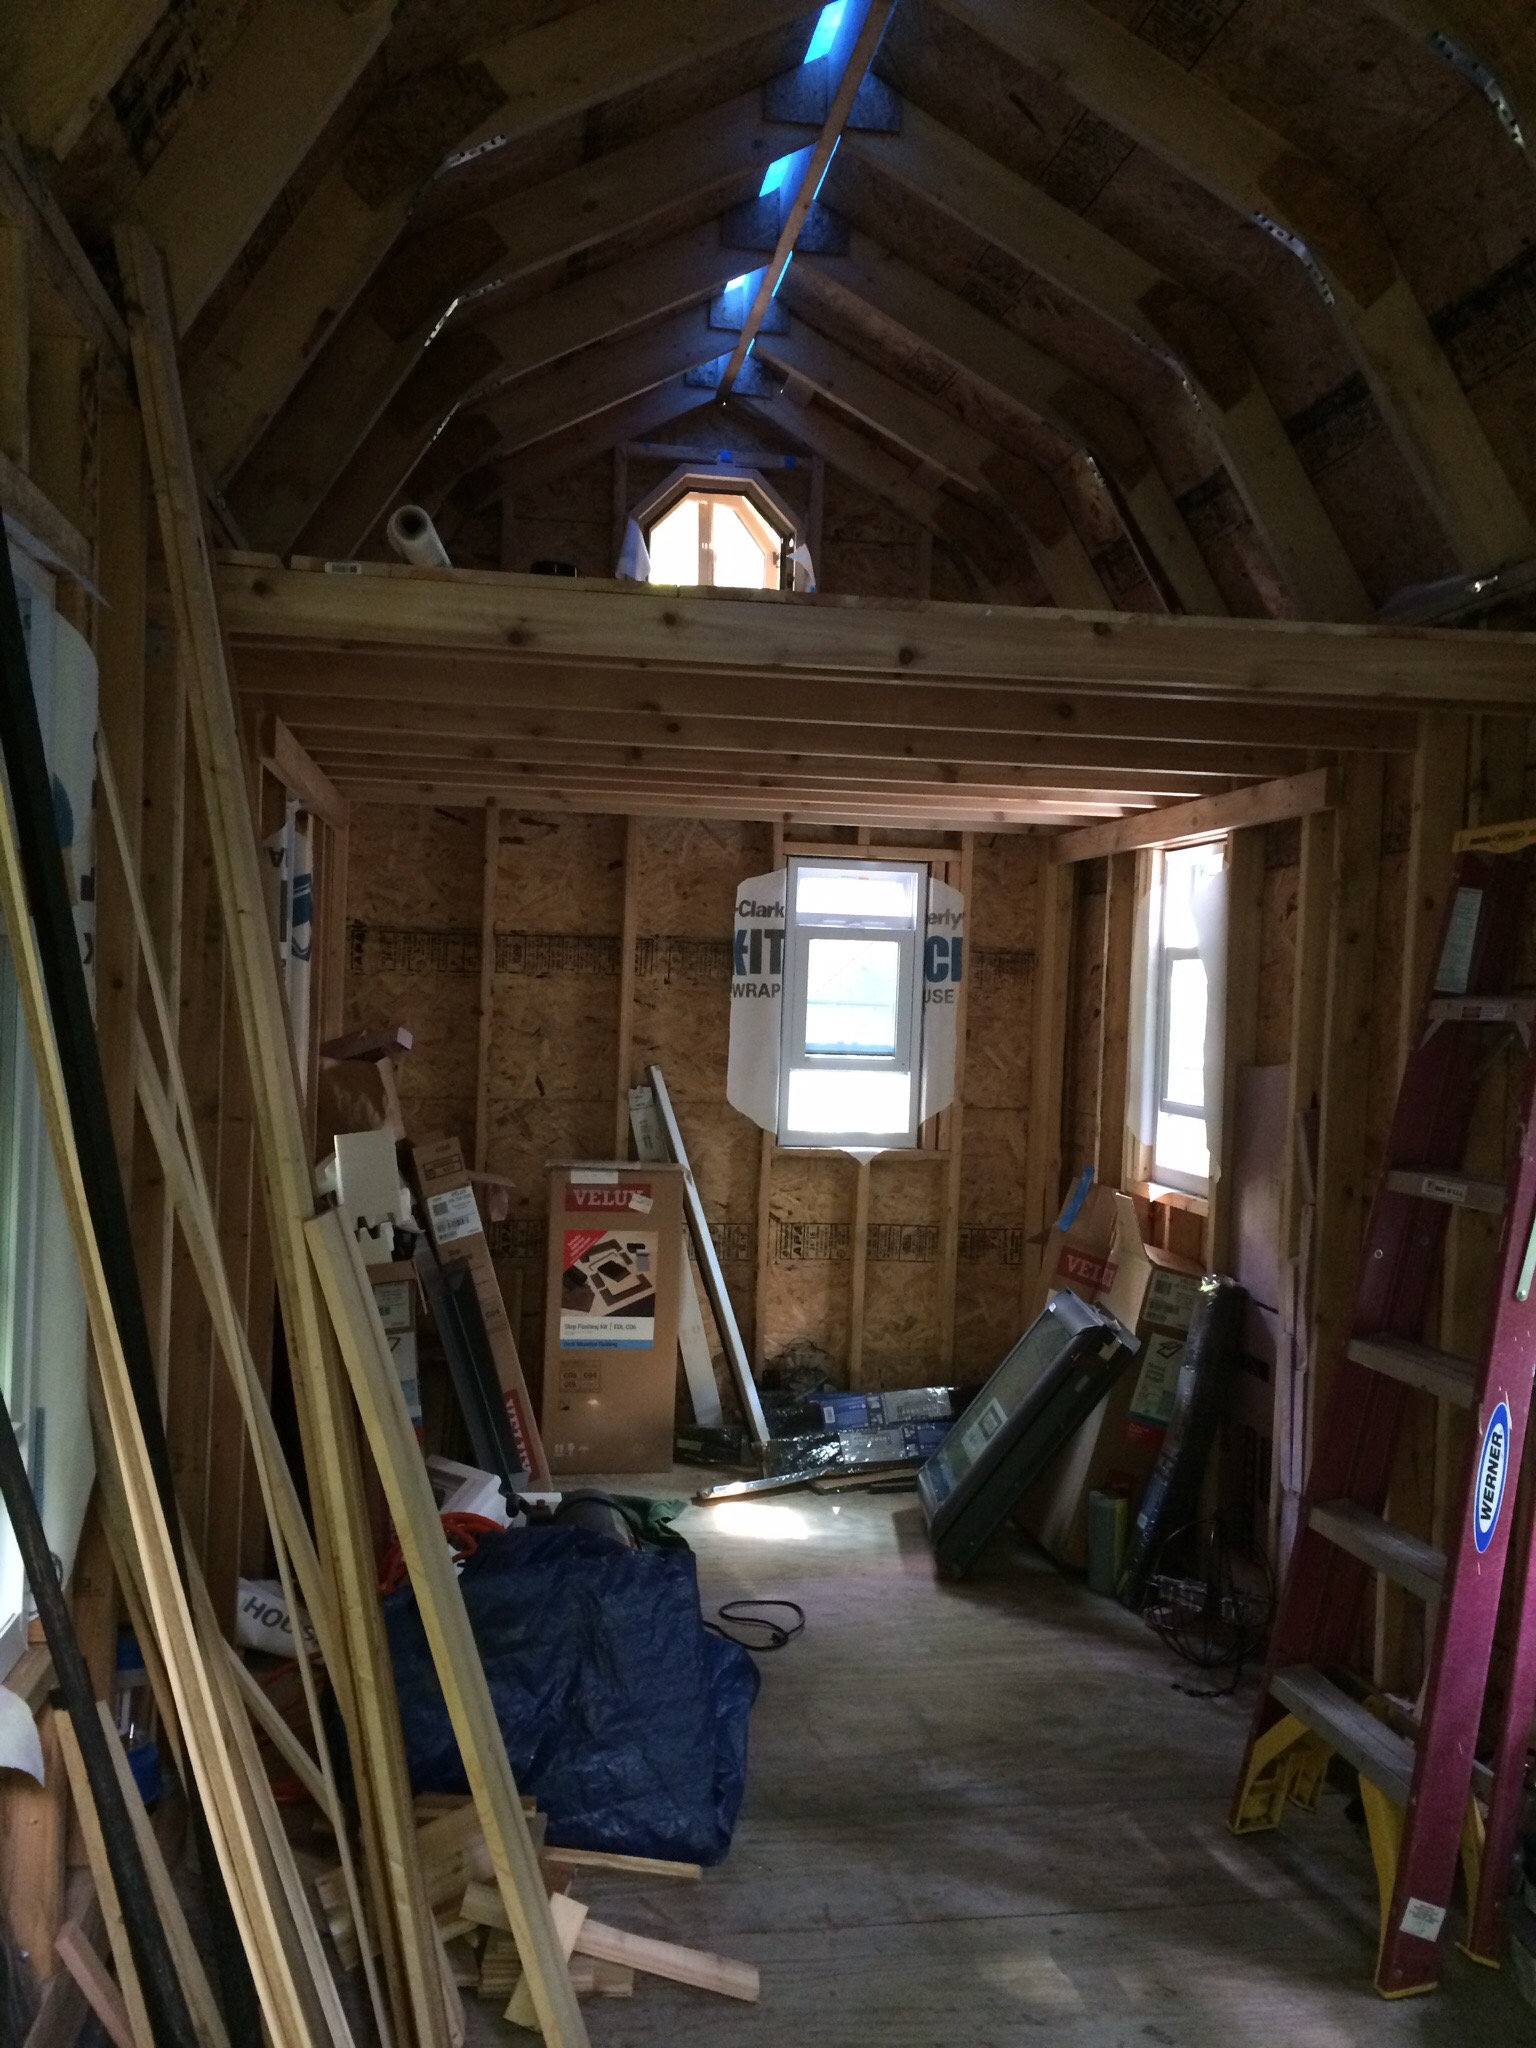
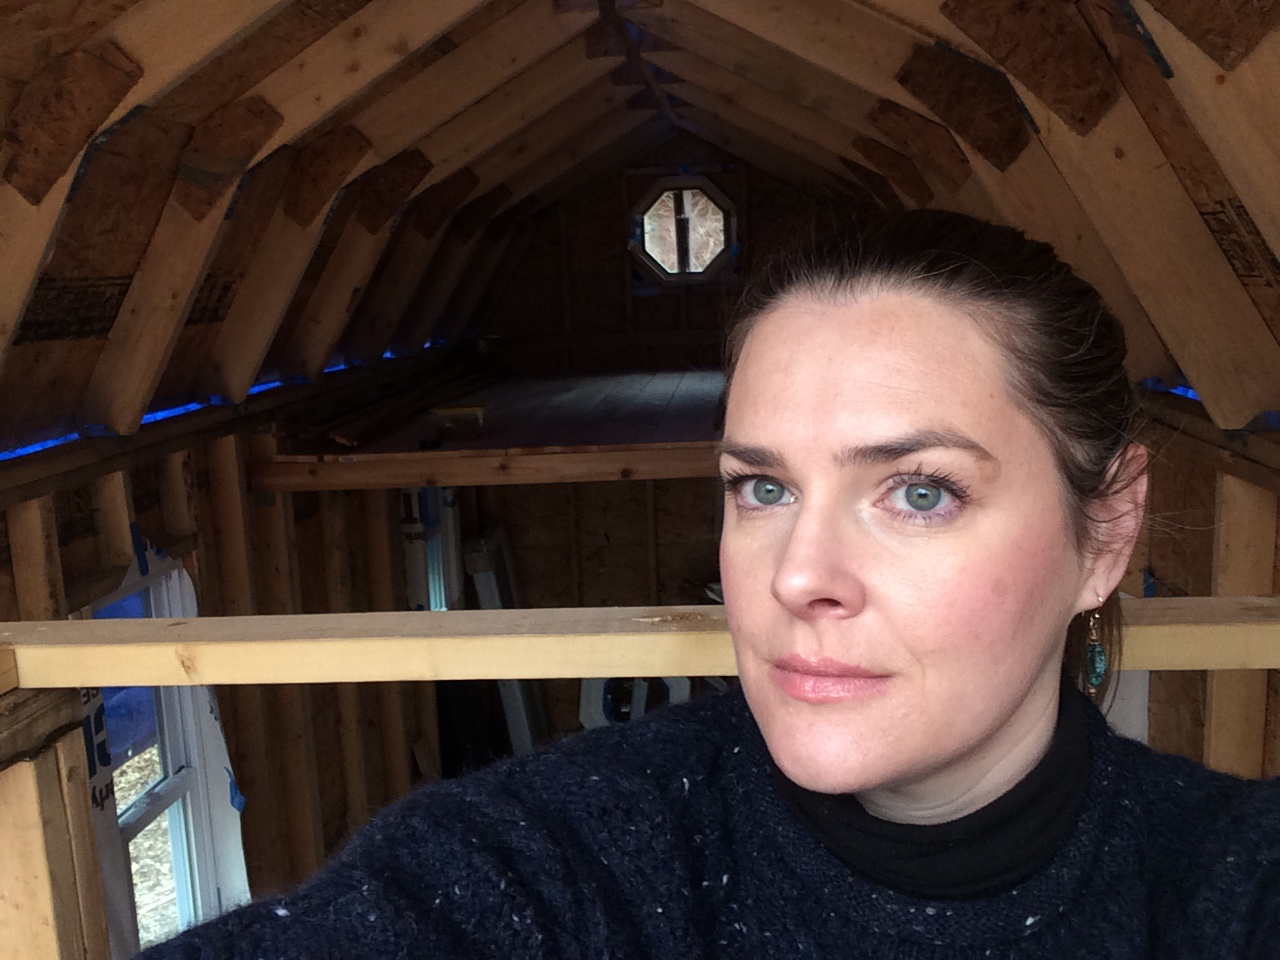
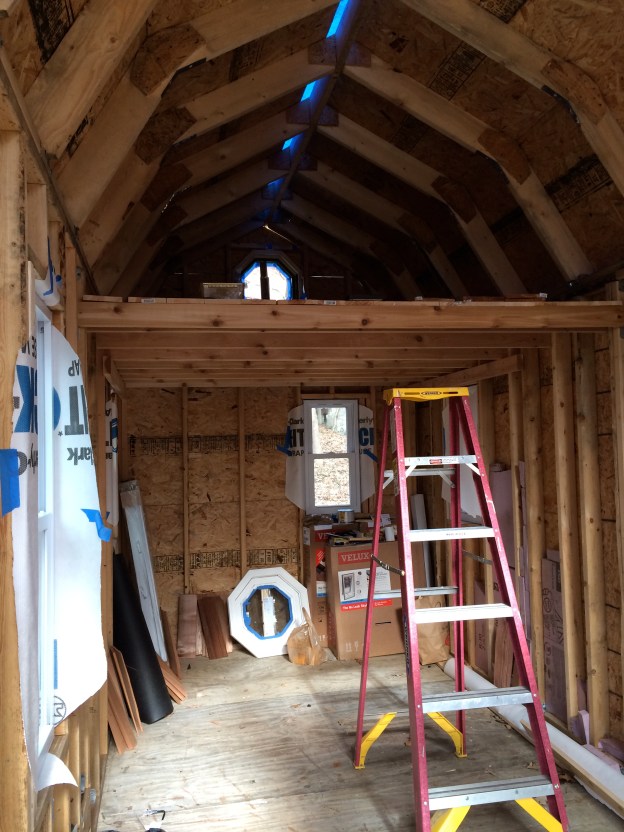
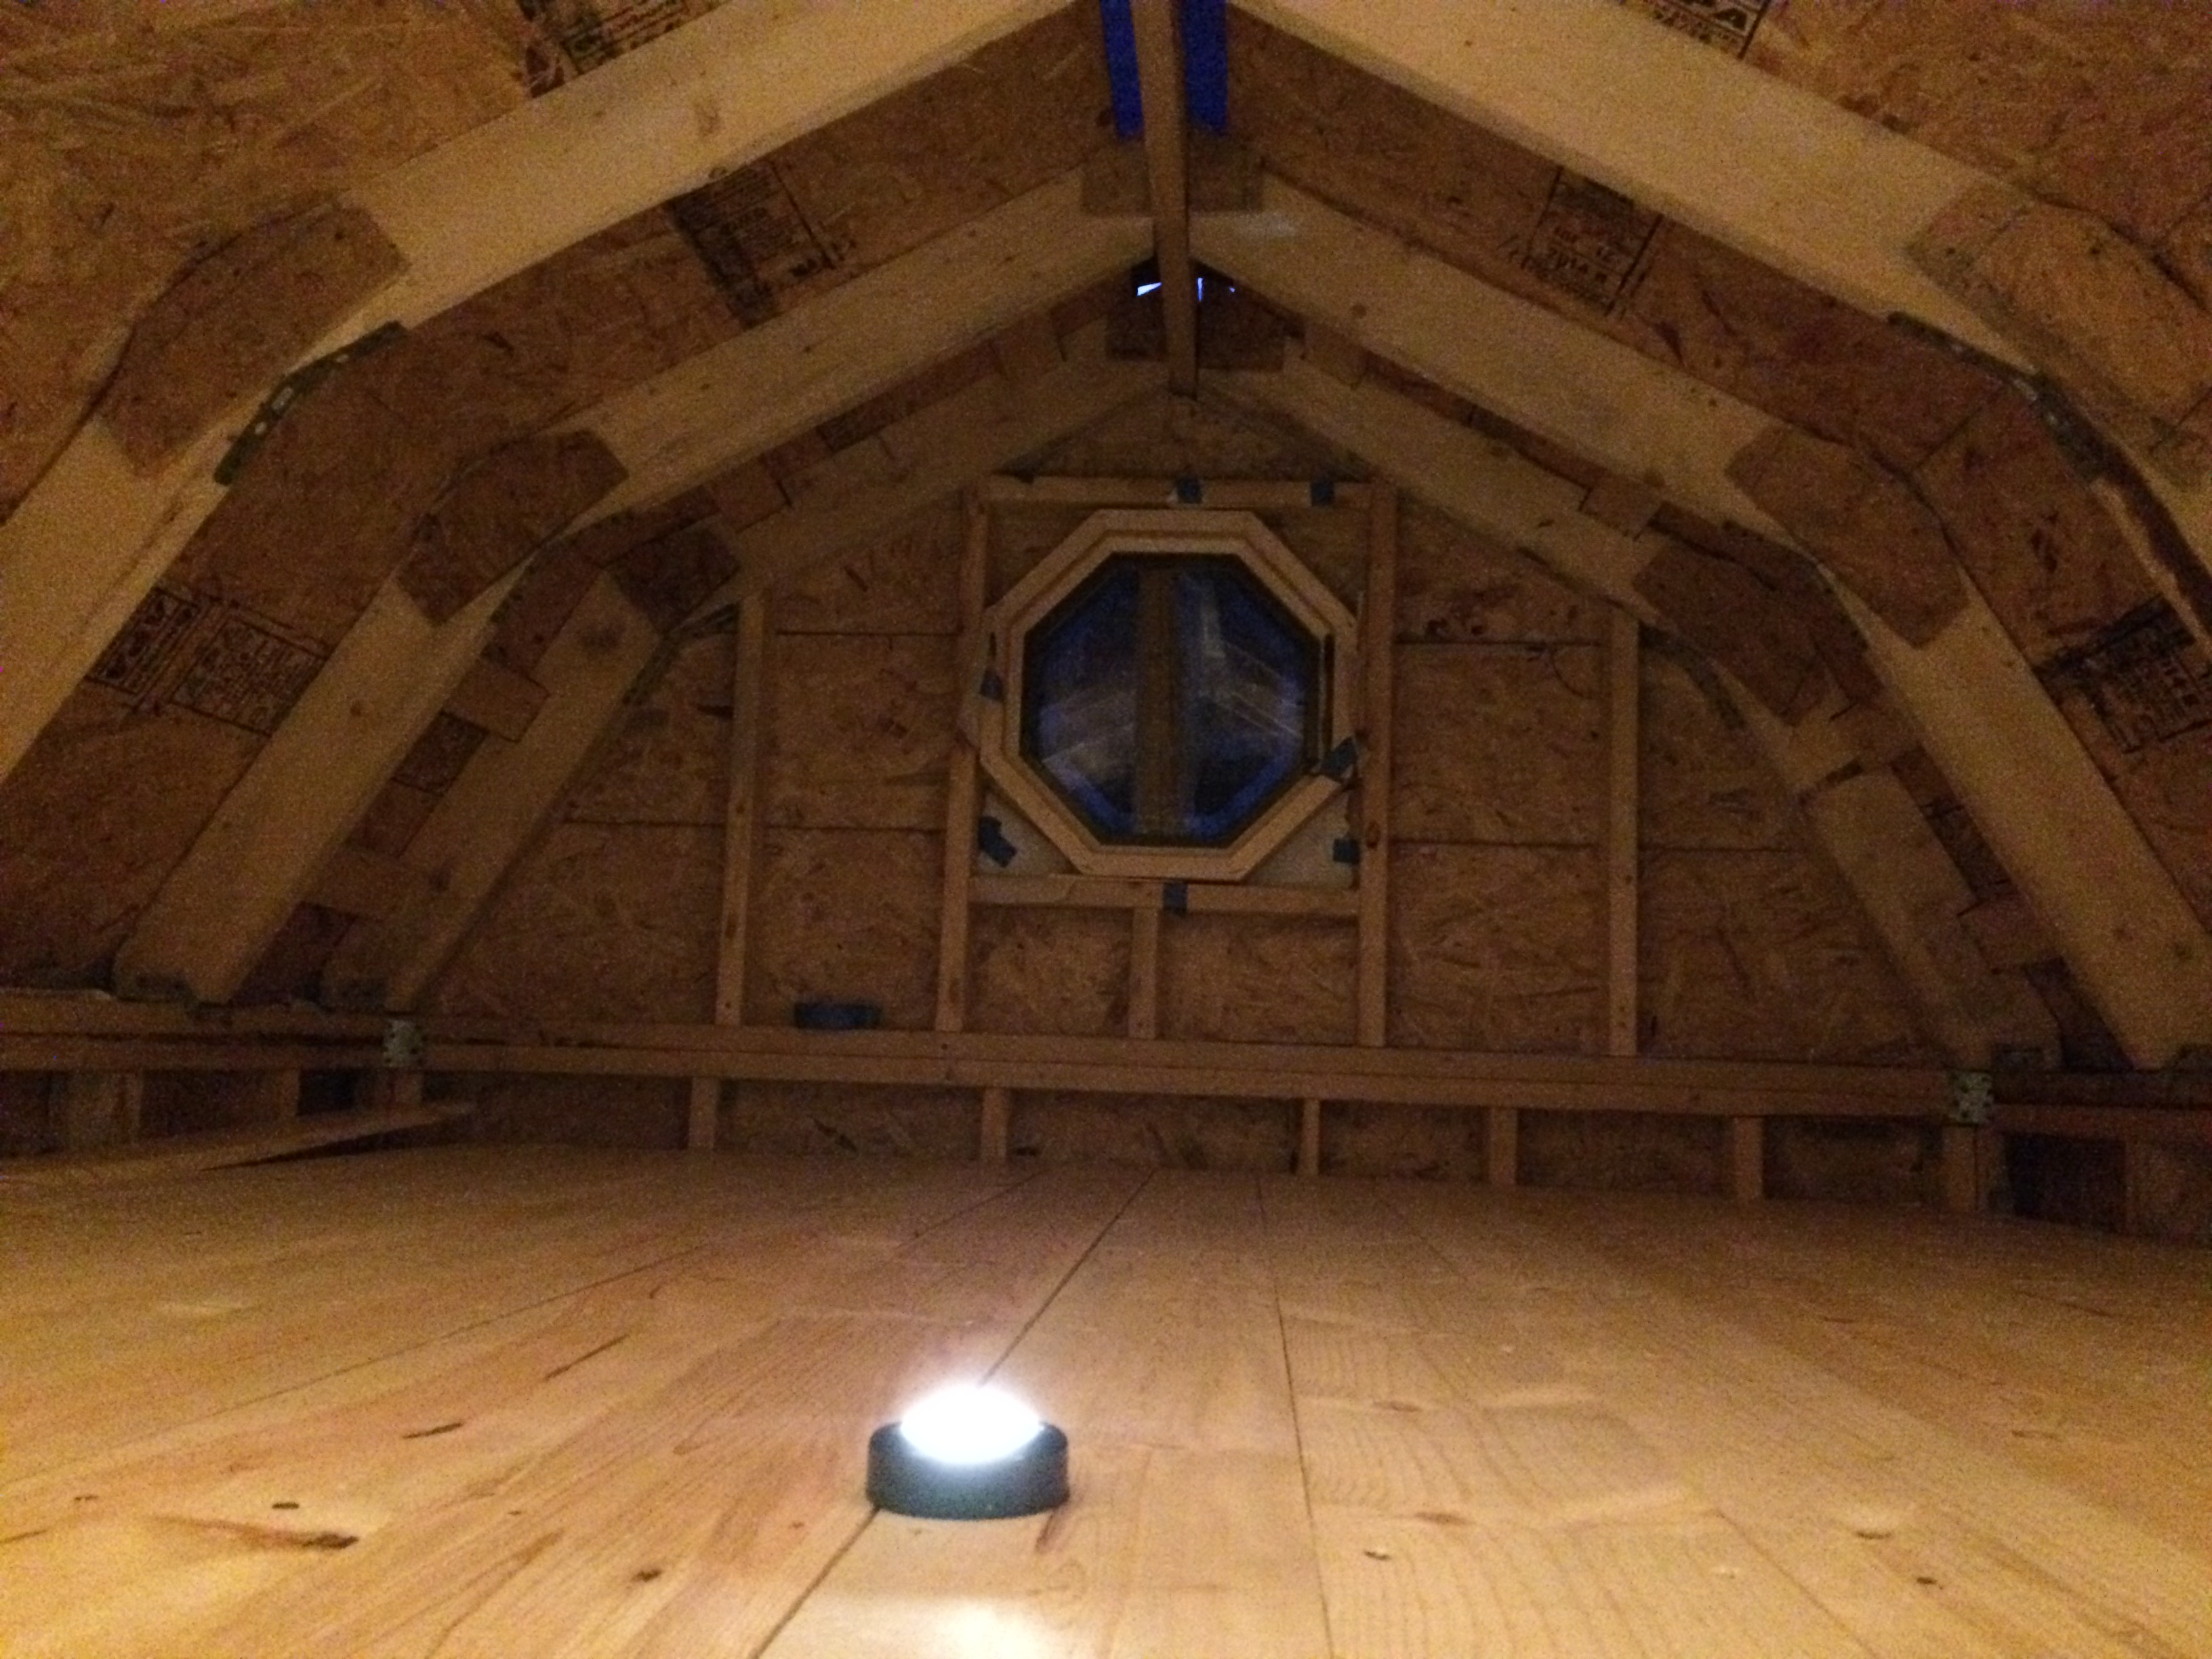
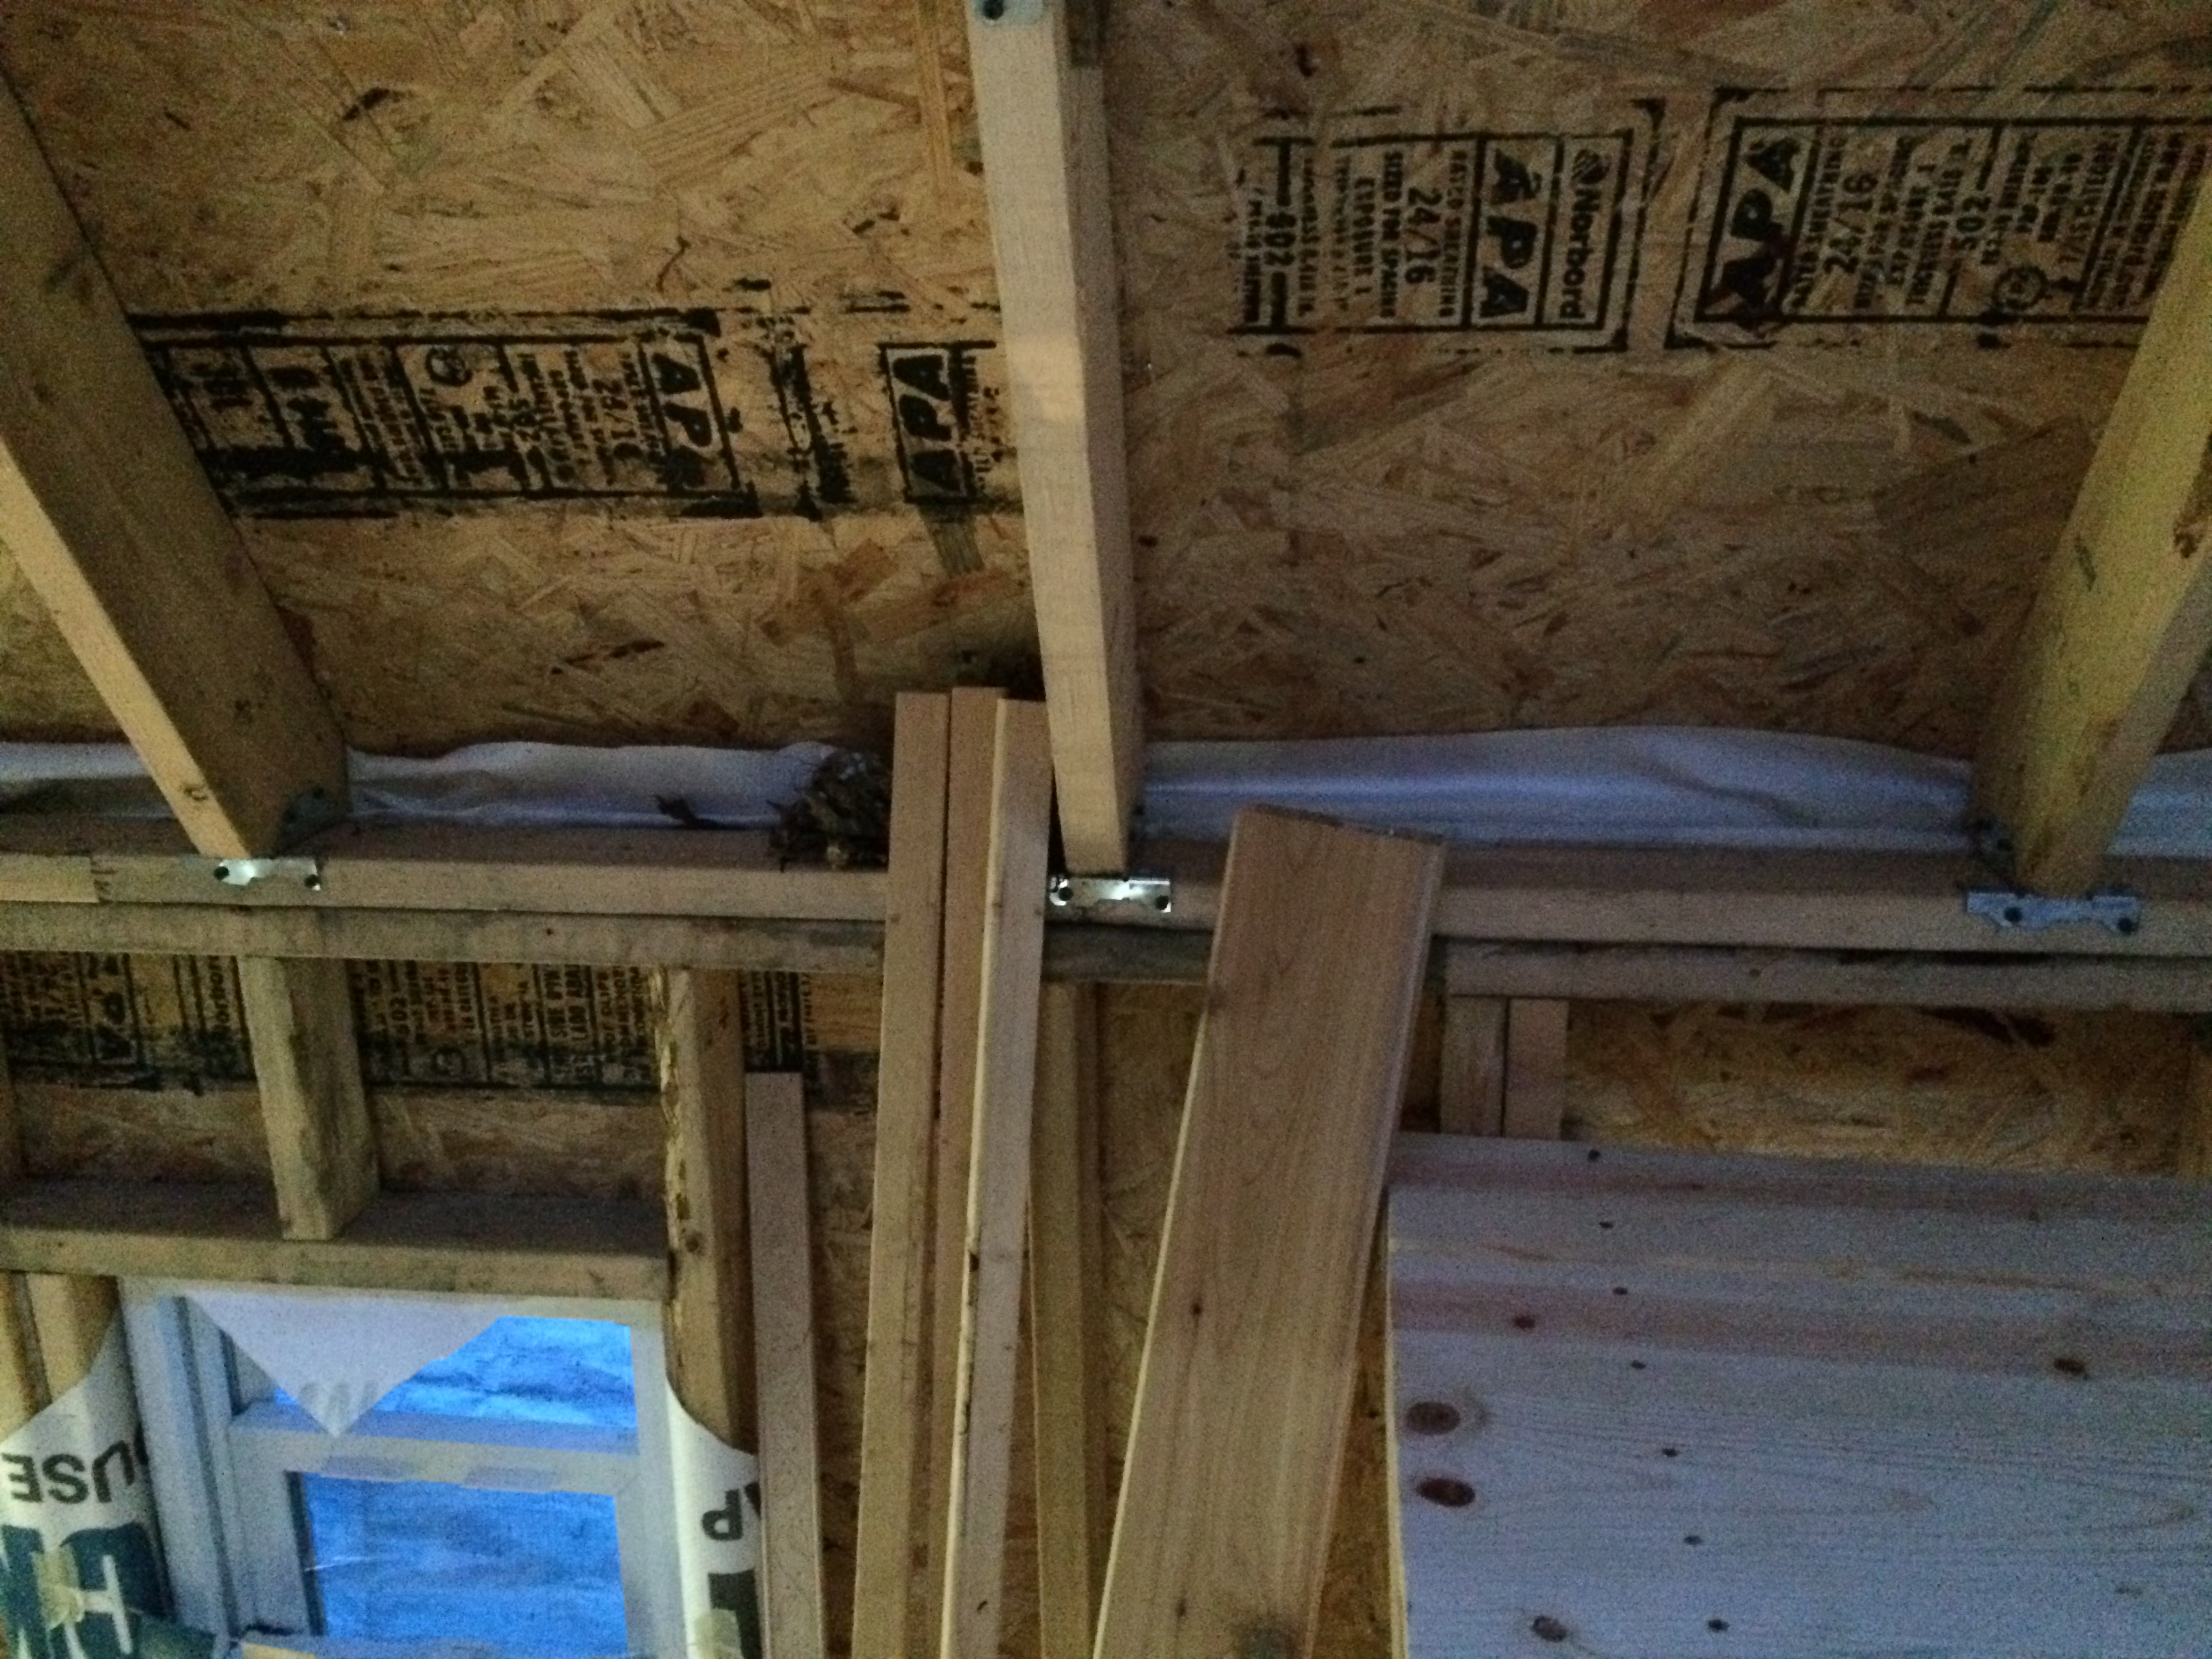
Well — here’s what I found when I climbed up in the loft and hung my camera over the nest:

IMG_6185

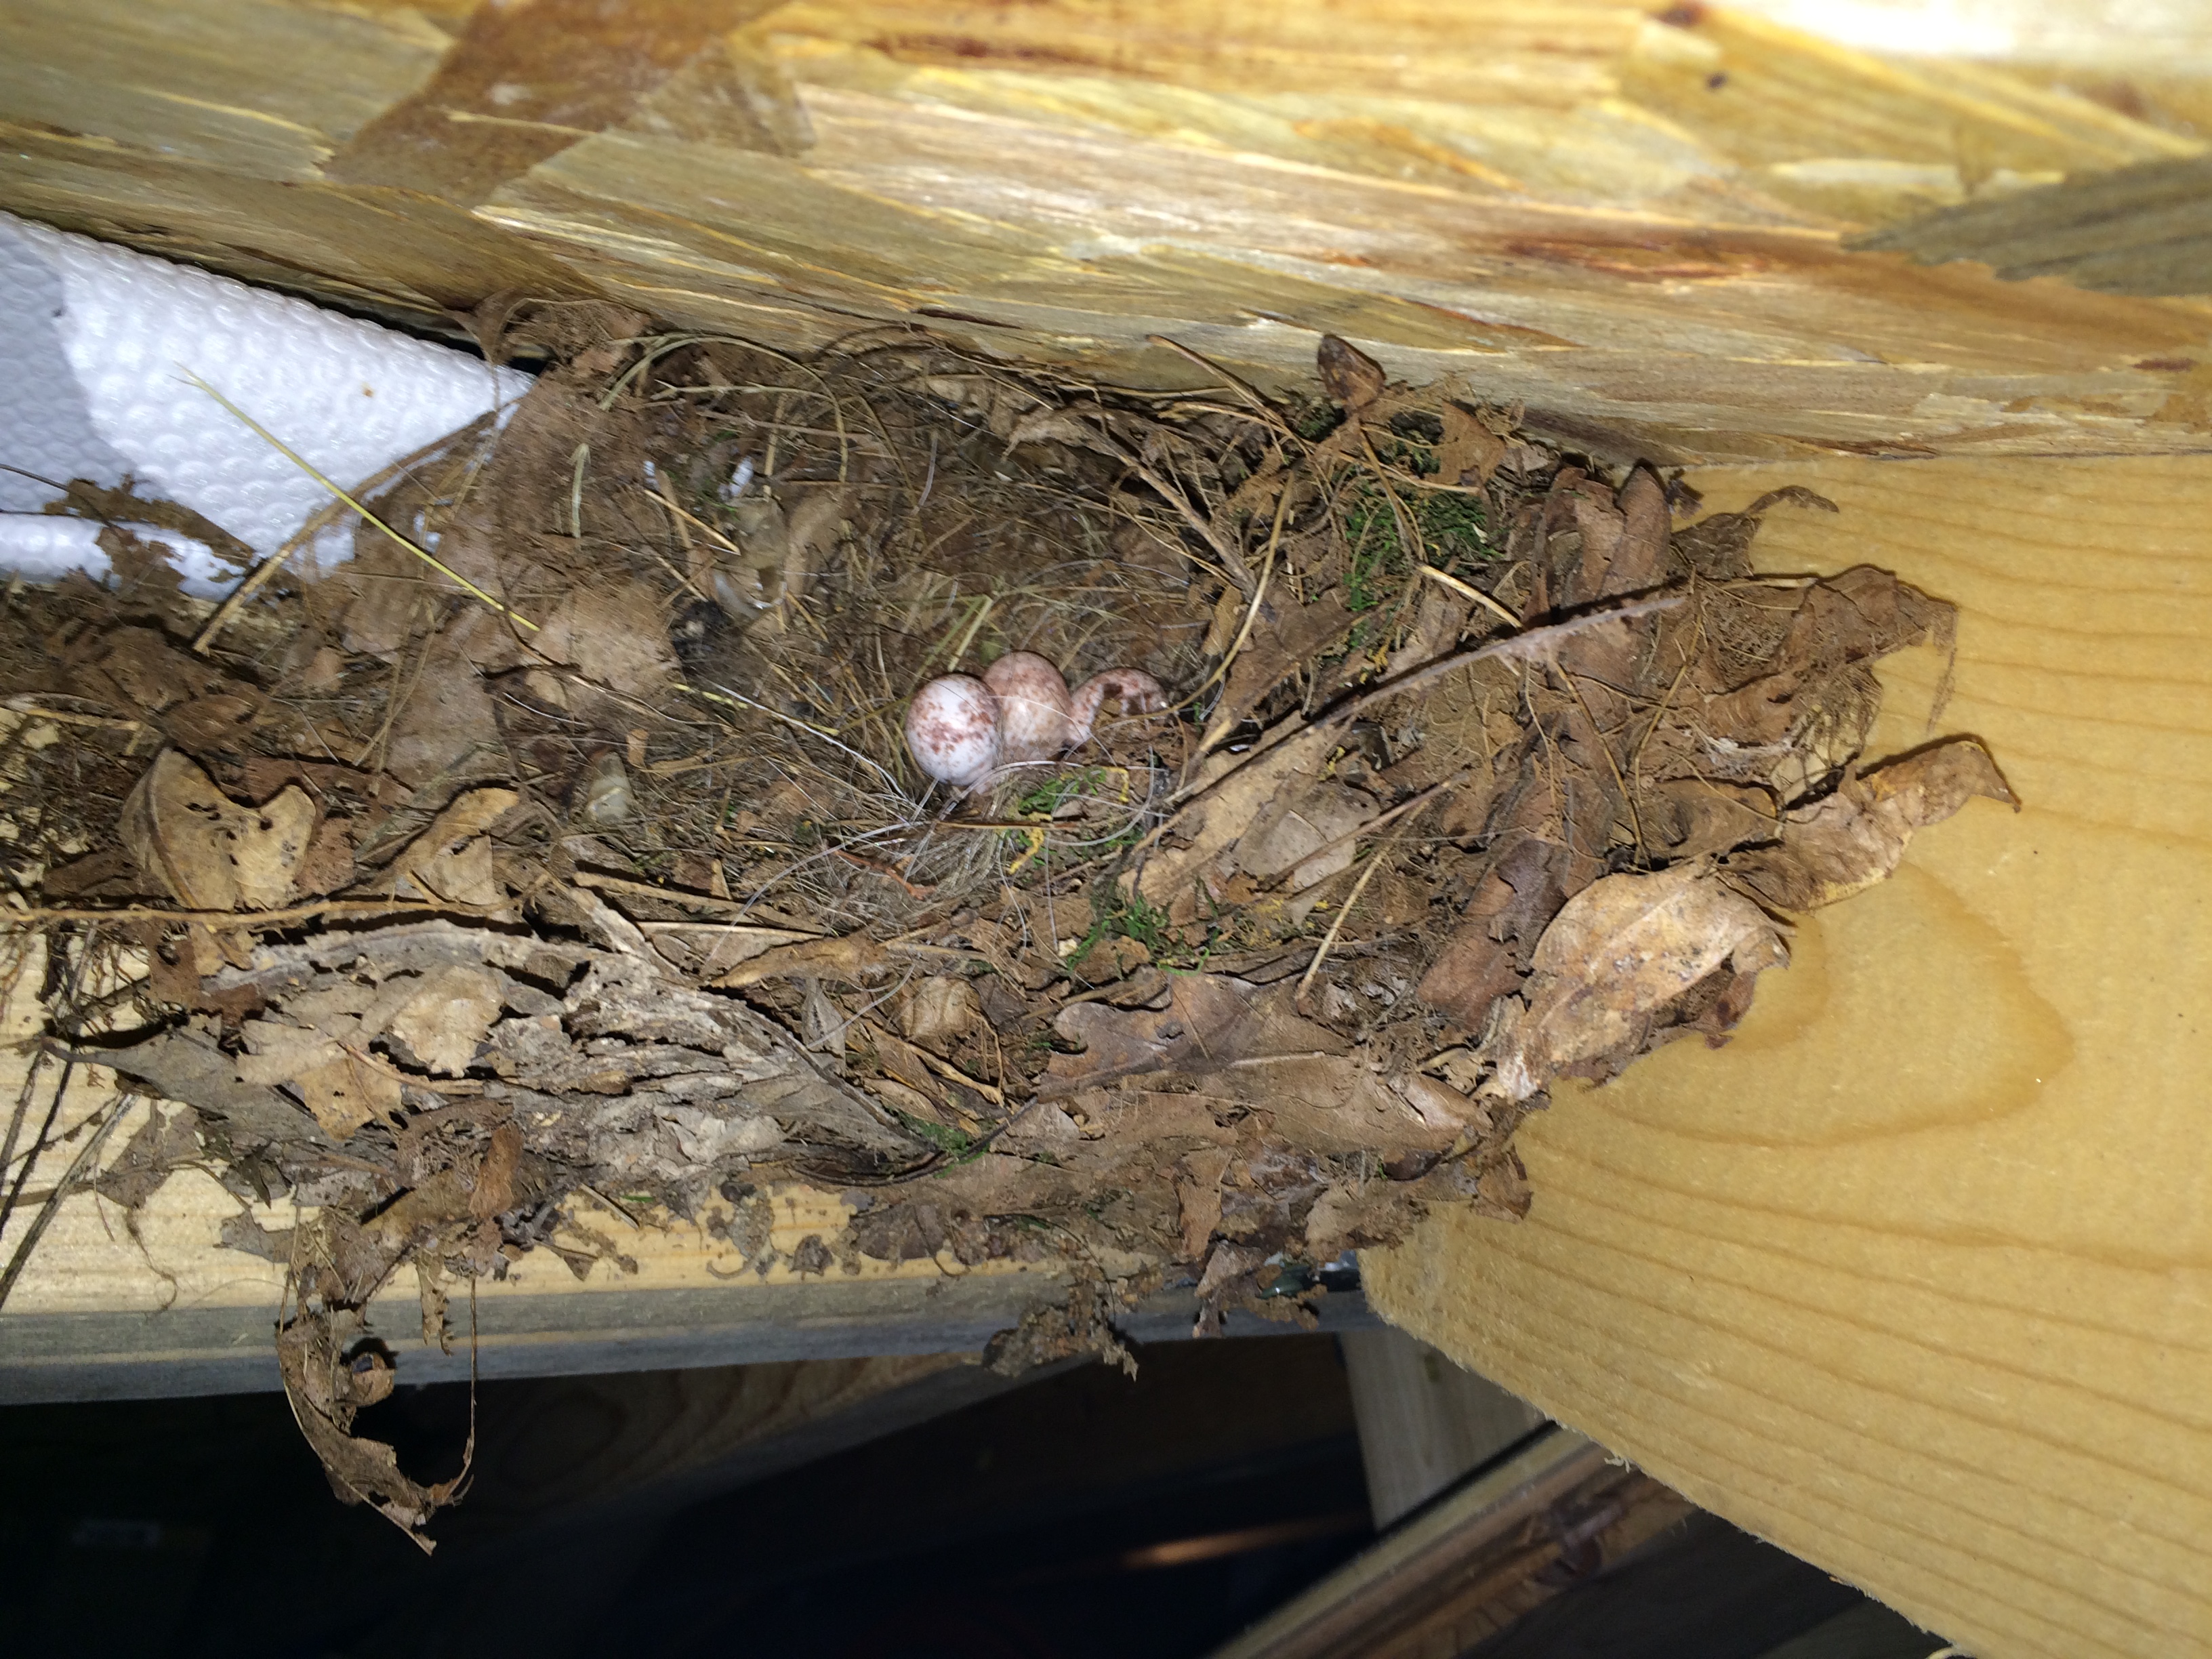
I could see a few eggs, but on the small screen of my cell phone, it wasn’t entirely clear. I made a second pass and got this picture:

IMG_6187

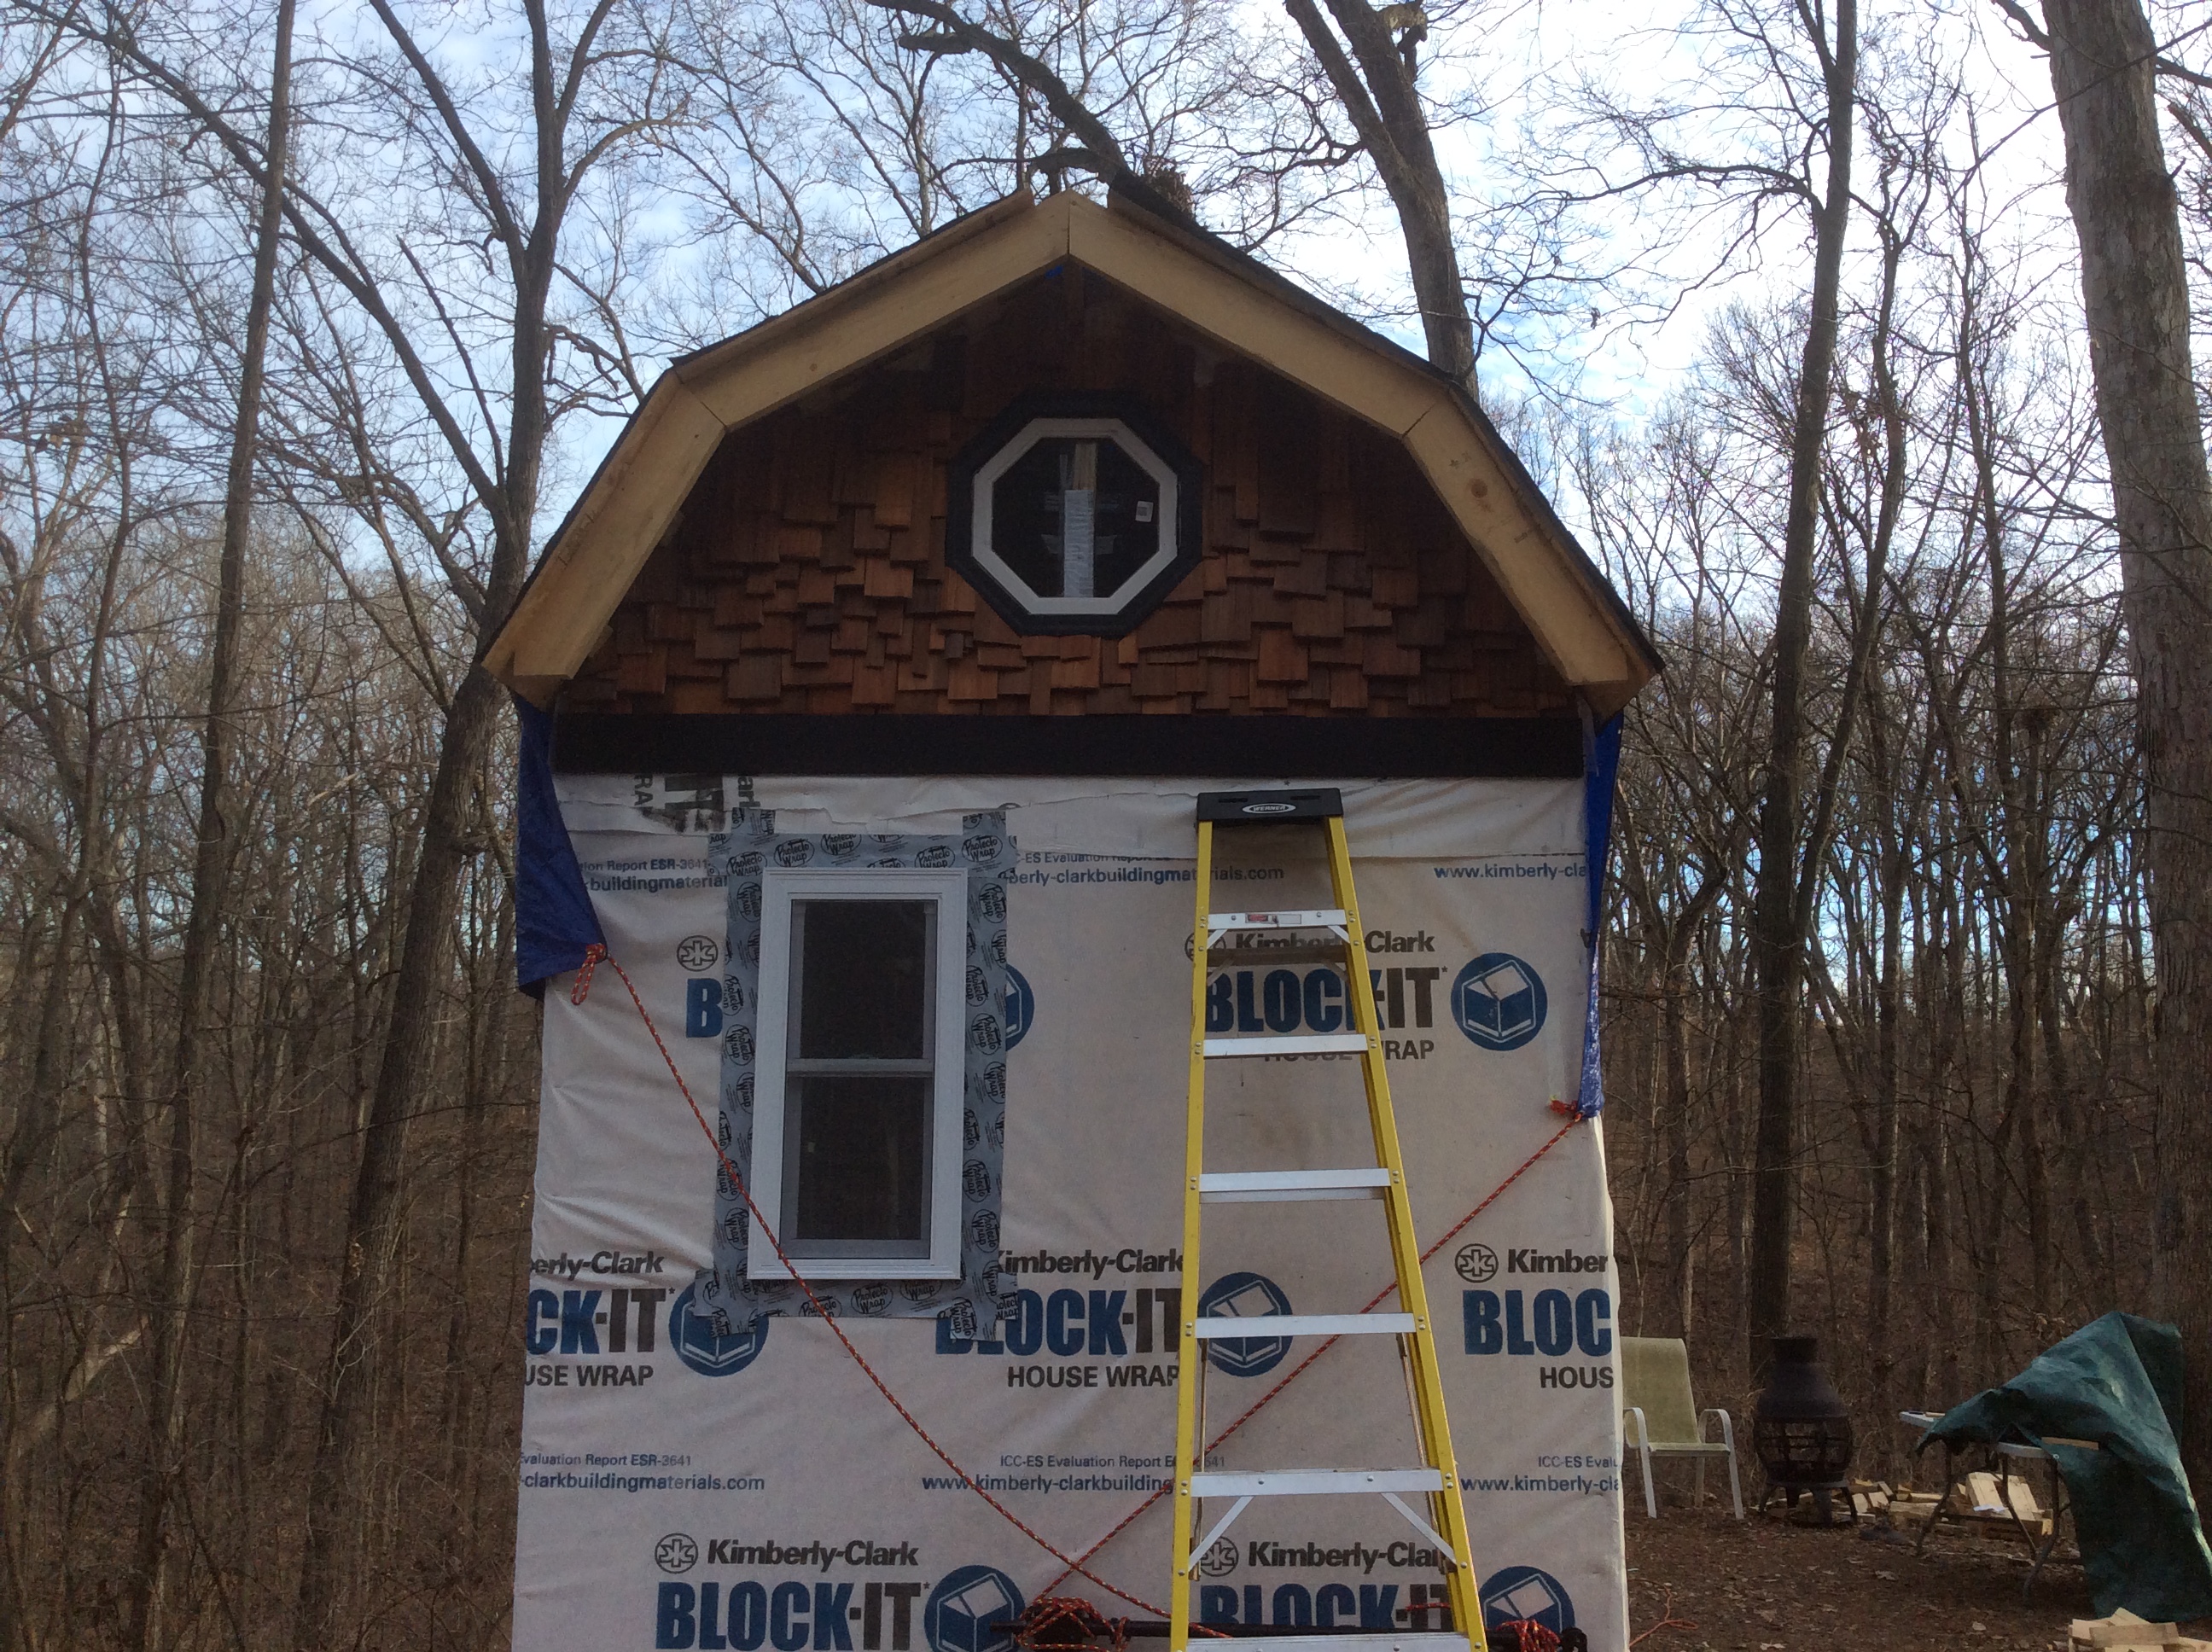
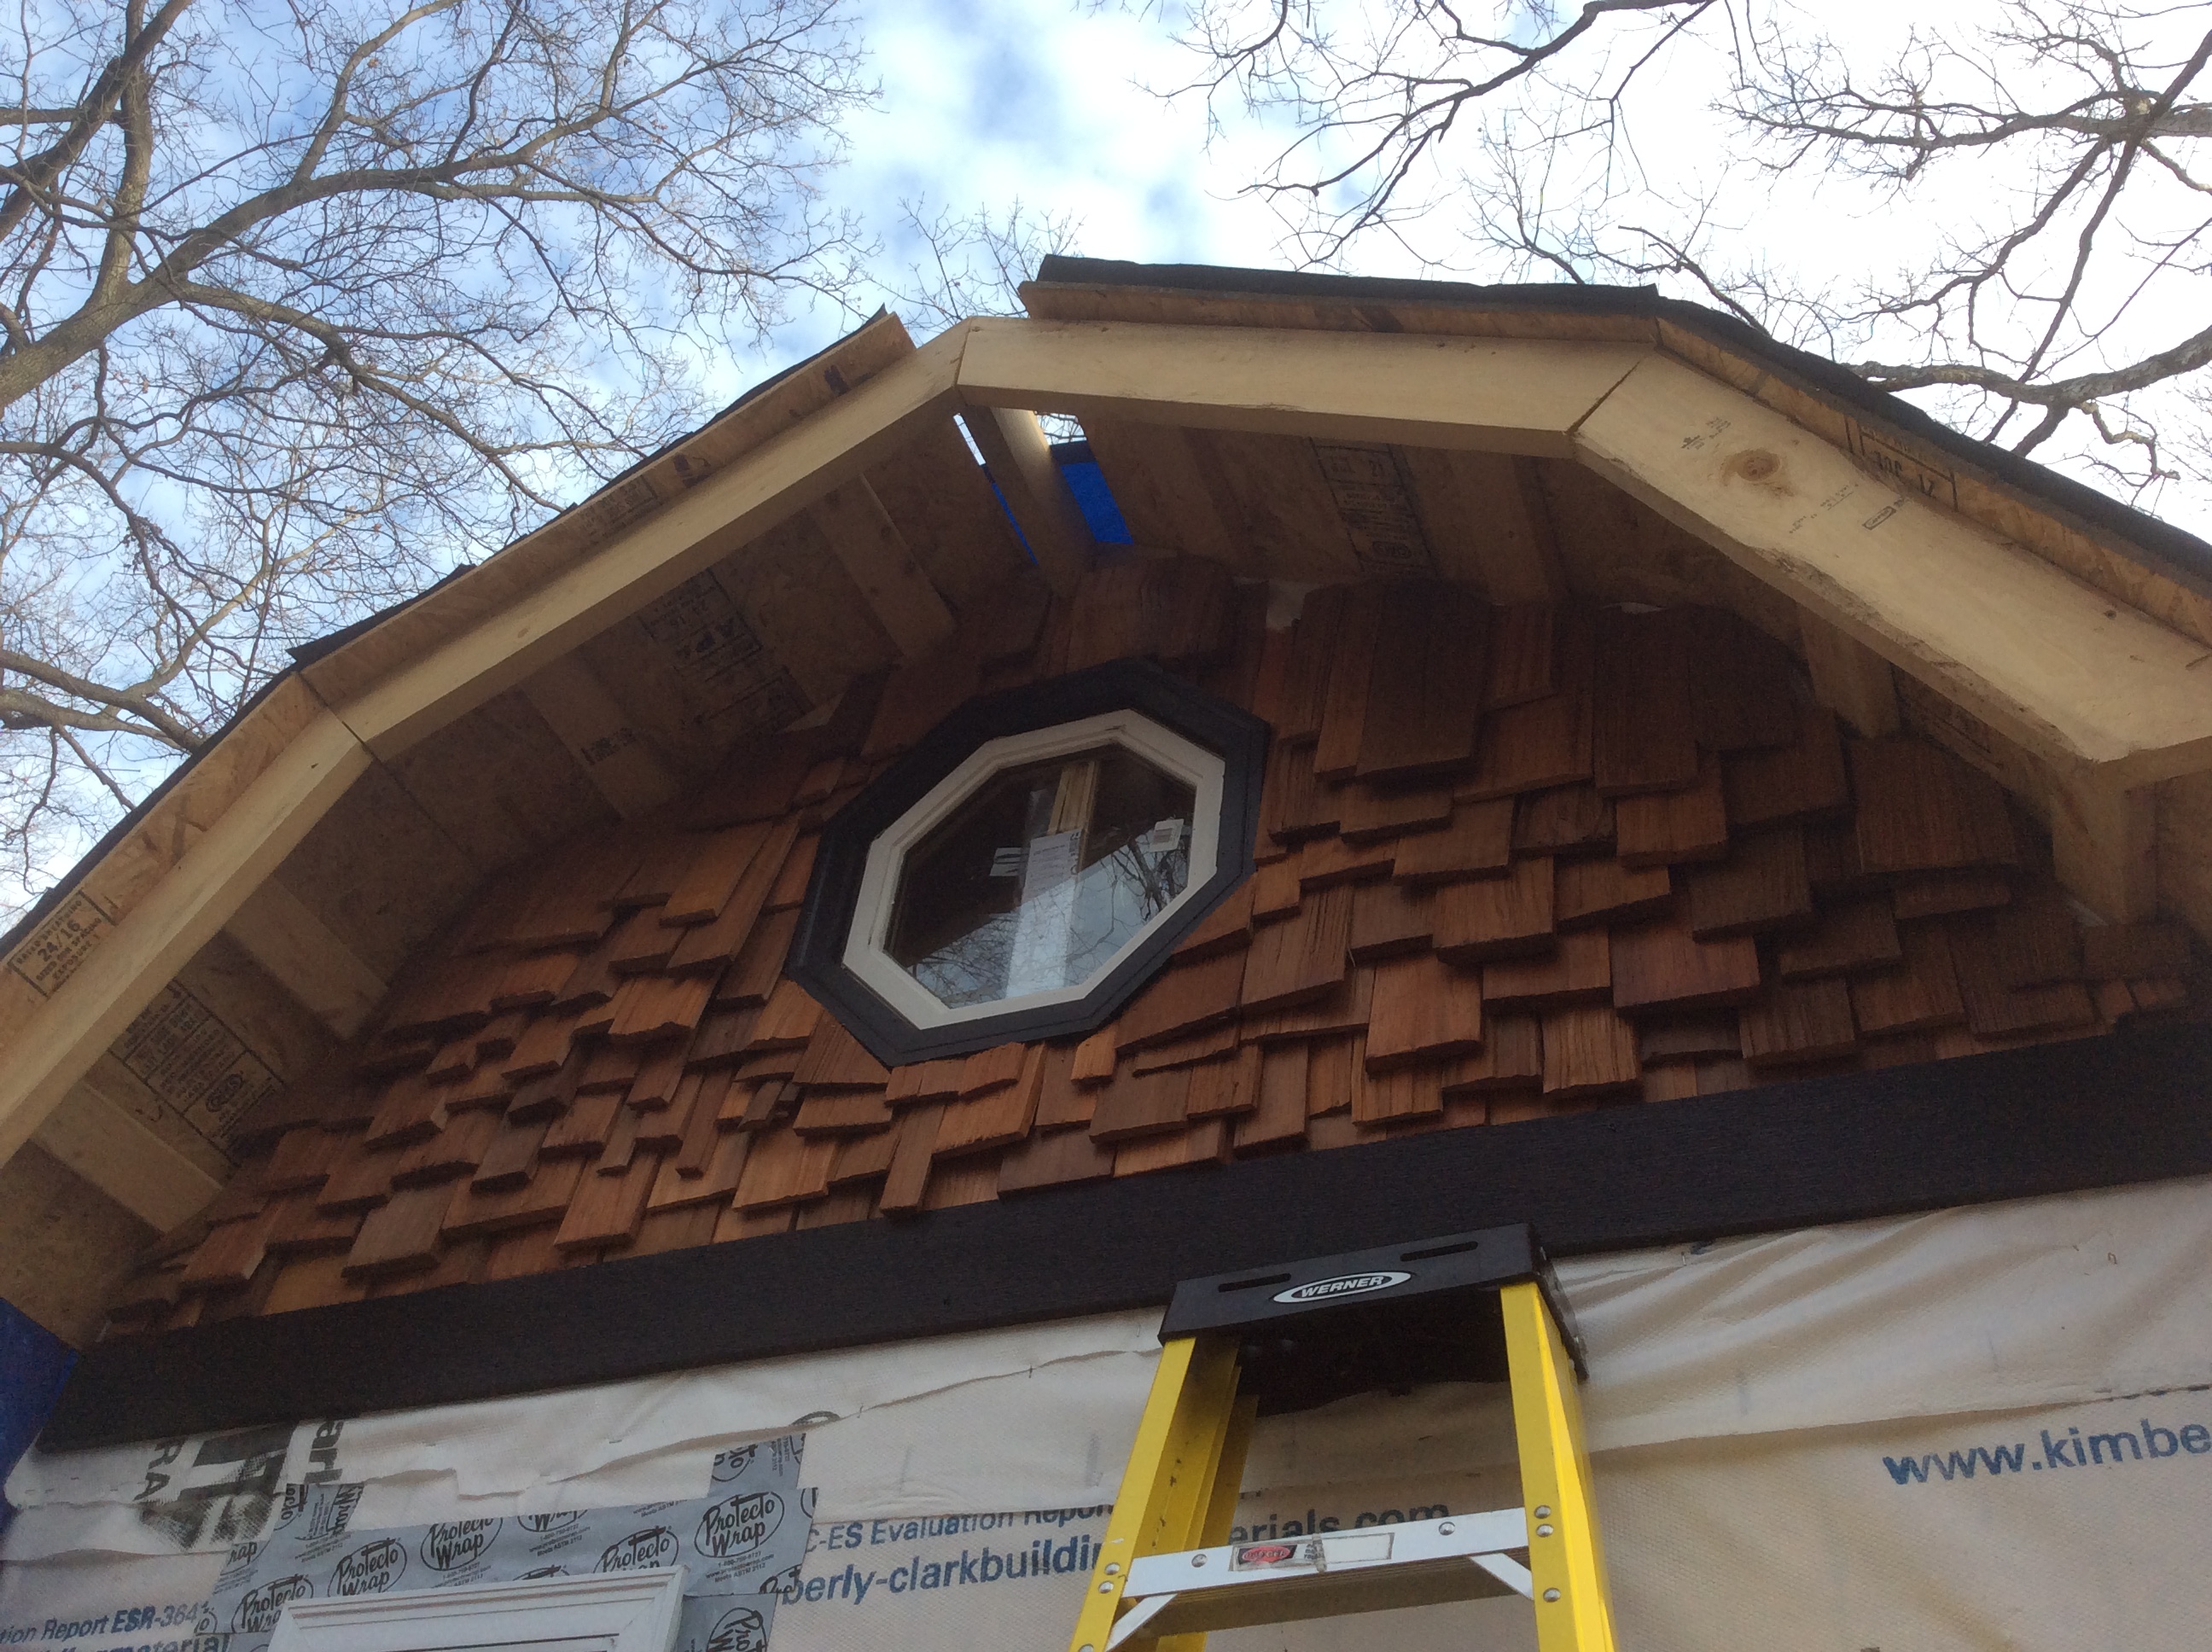
So the “squatter is now officially a “renter”. She’s a wren. These are wrens’ eggs. All 5 of them.

*Sigh*

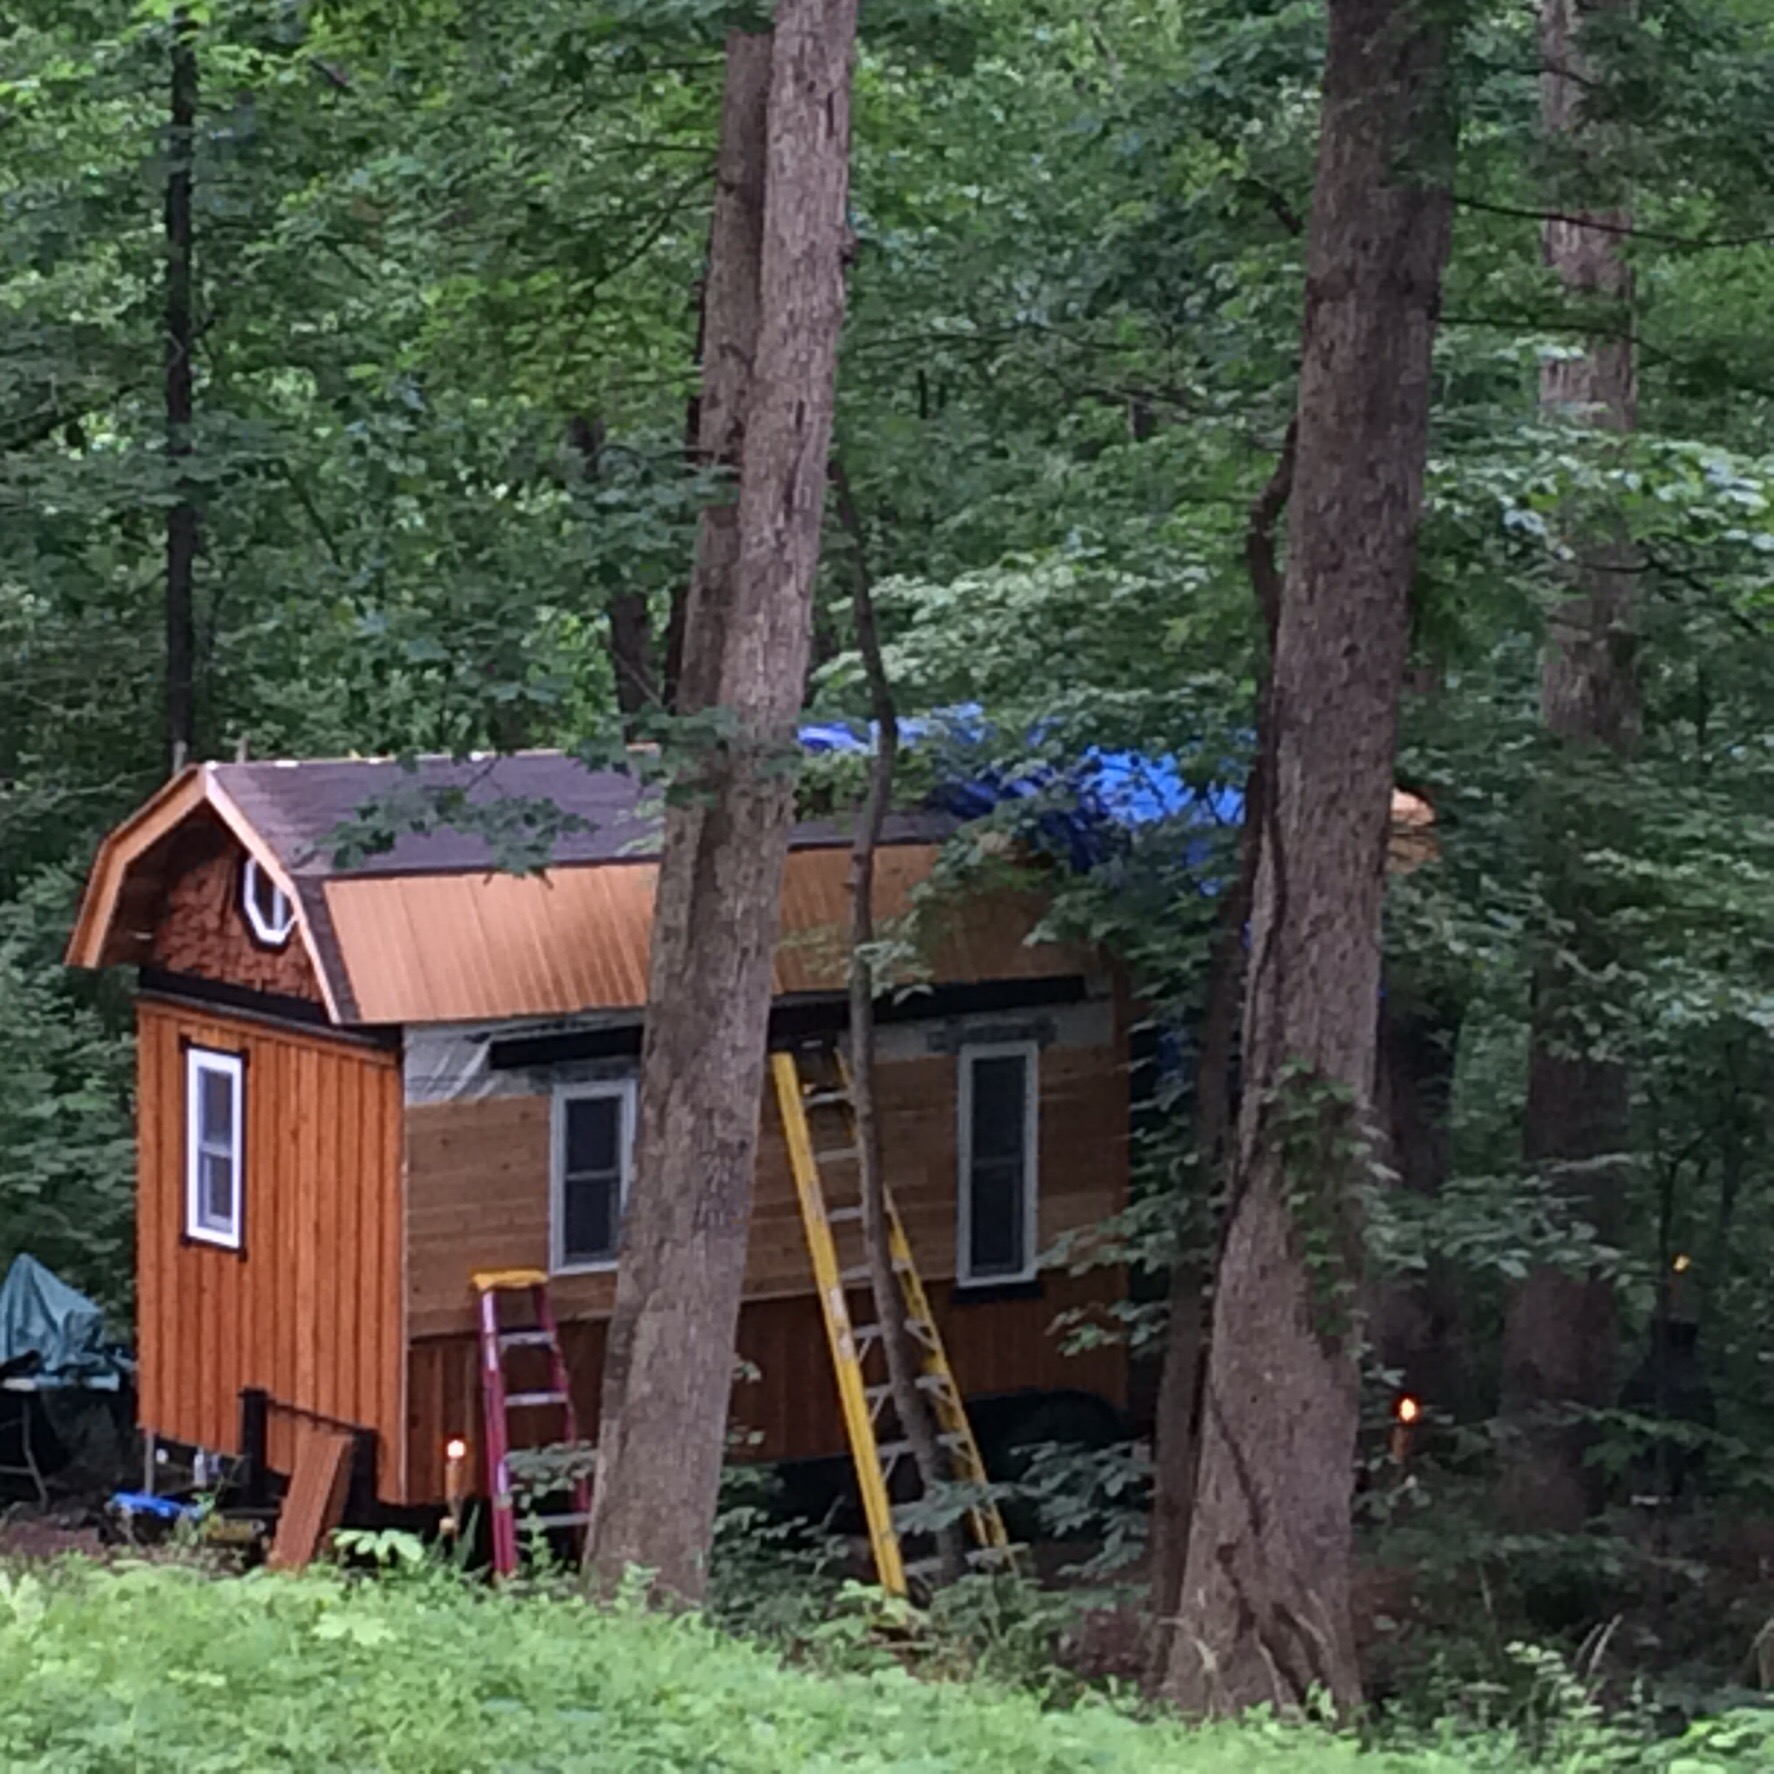
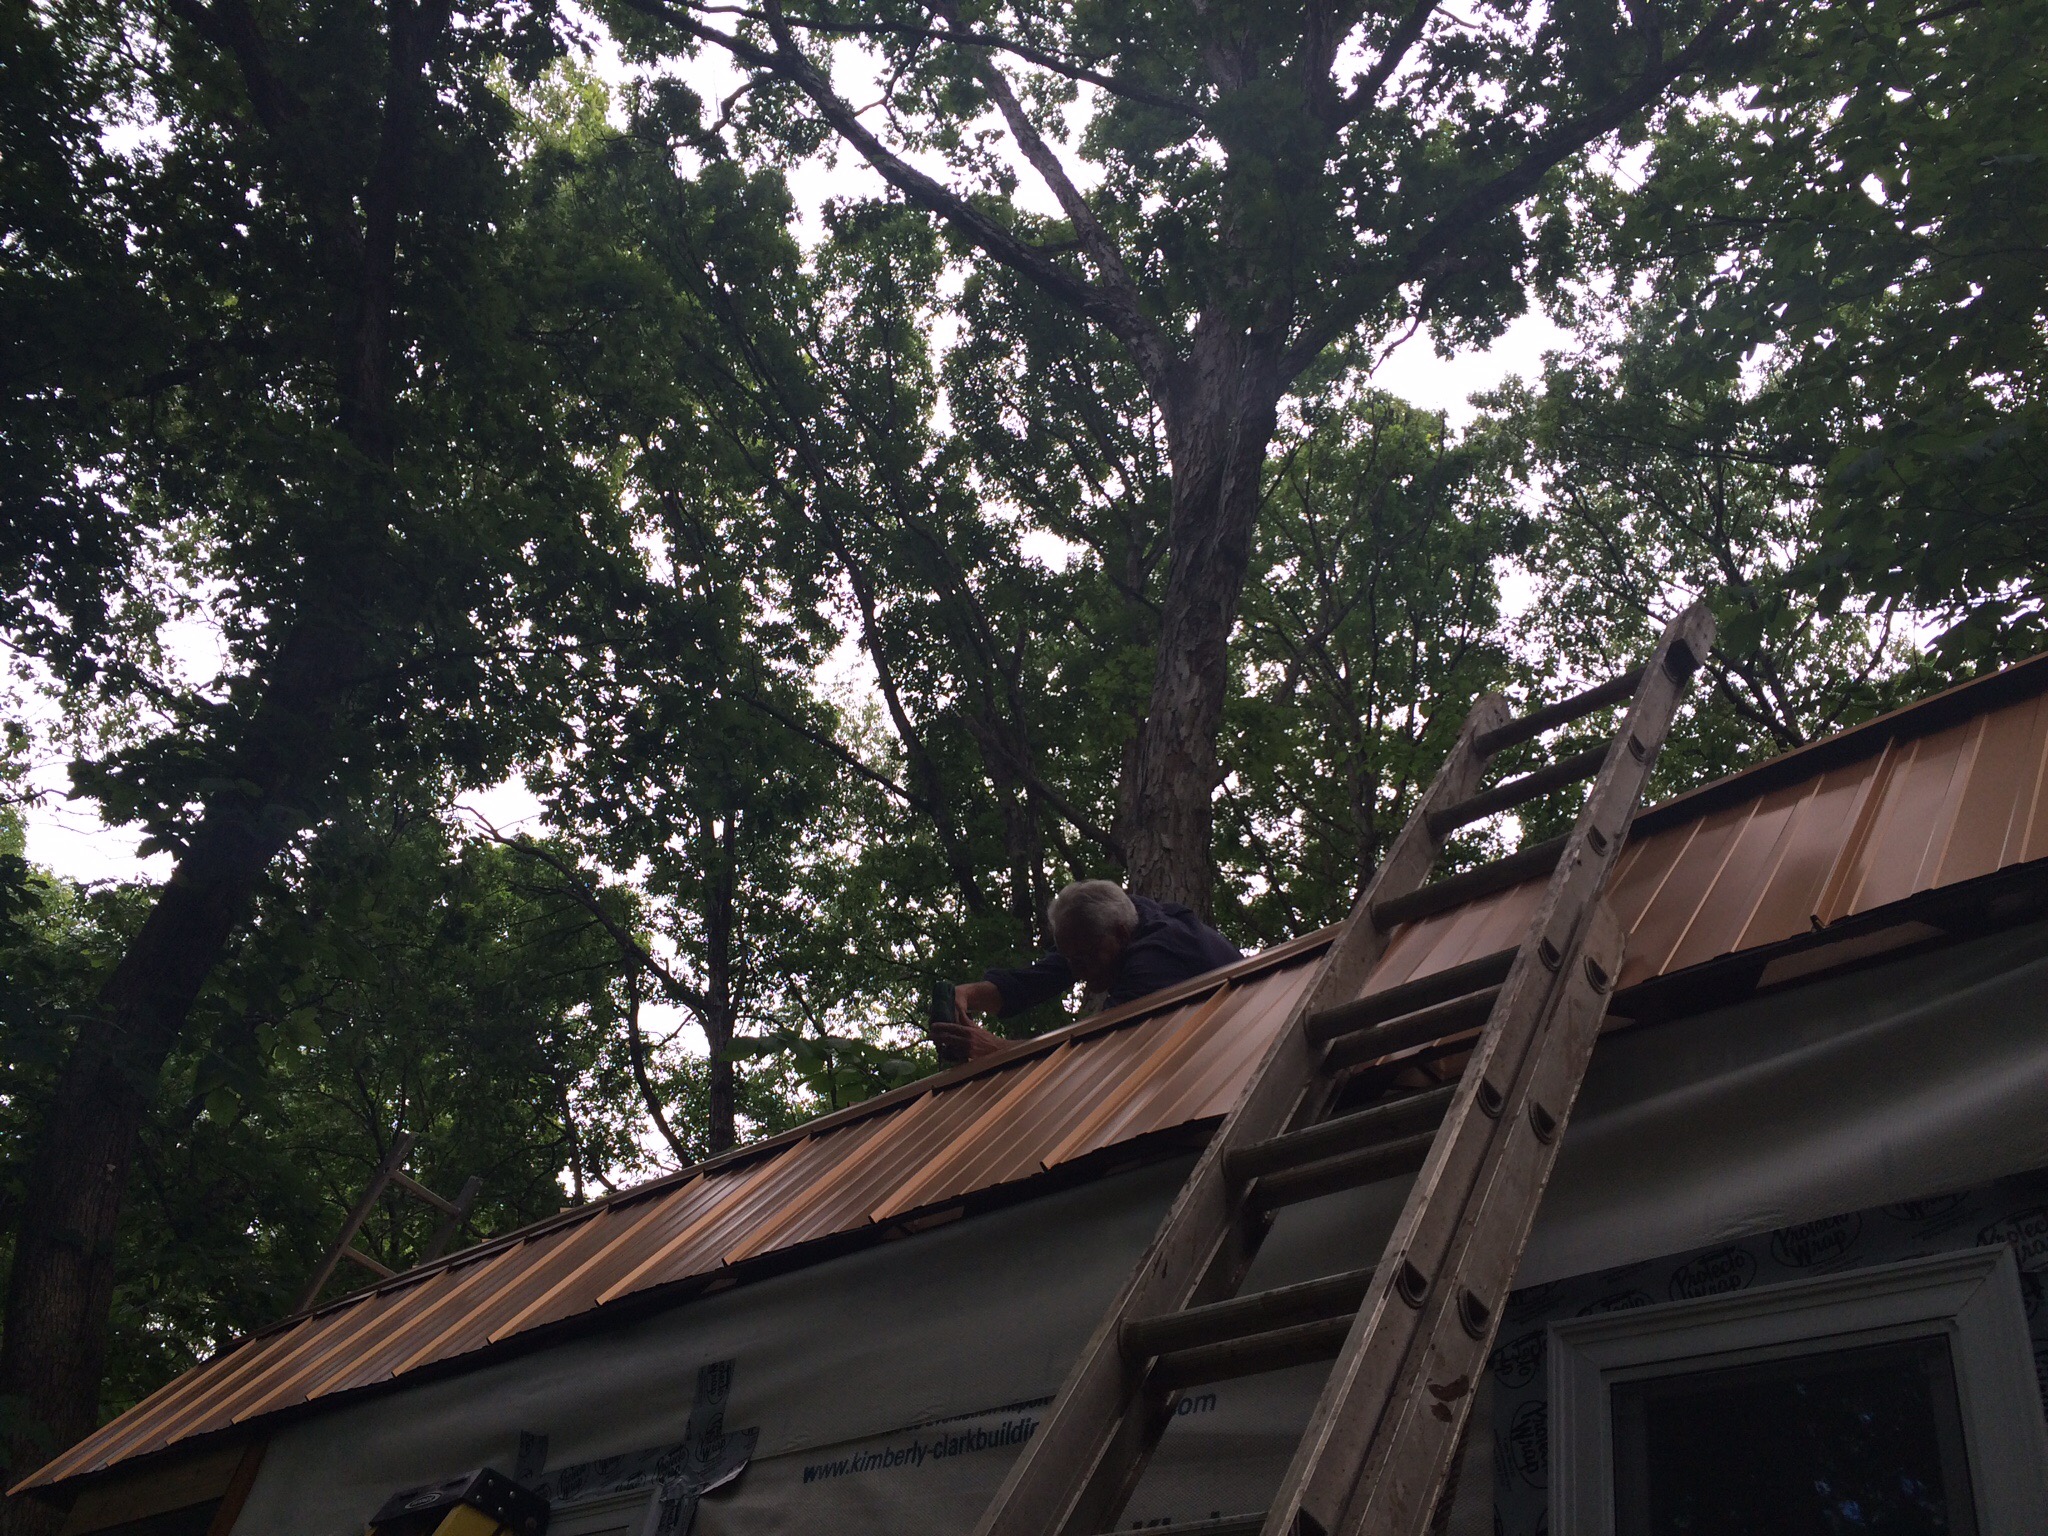
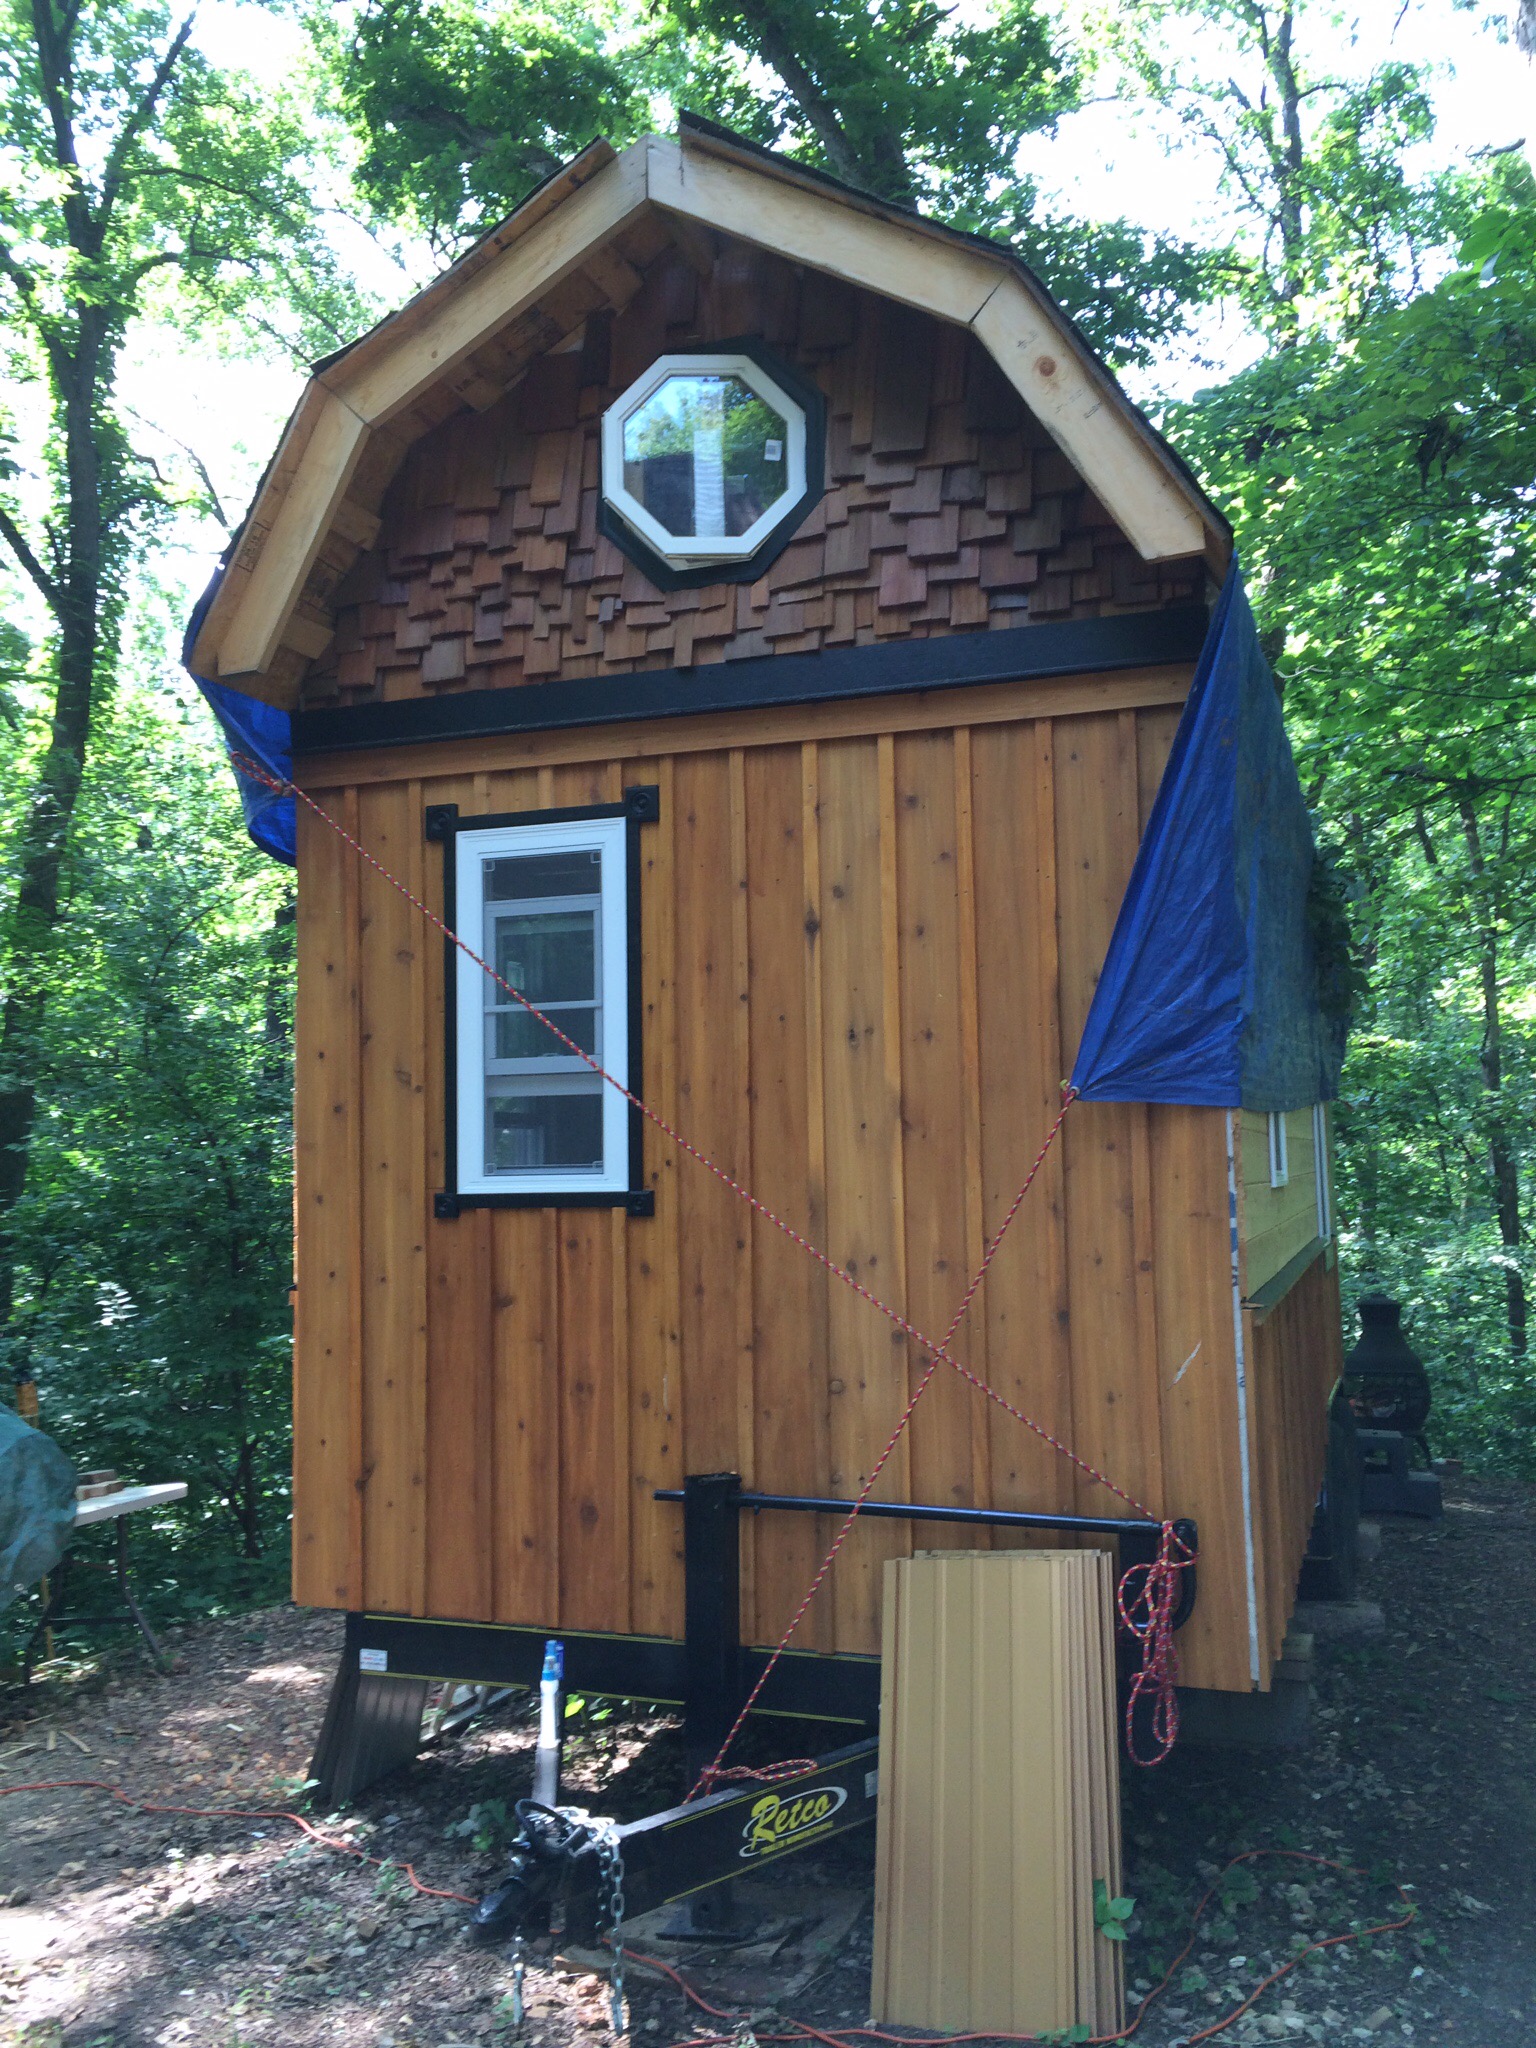
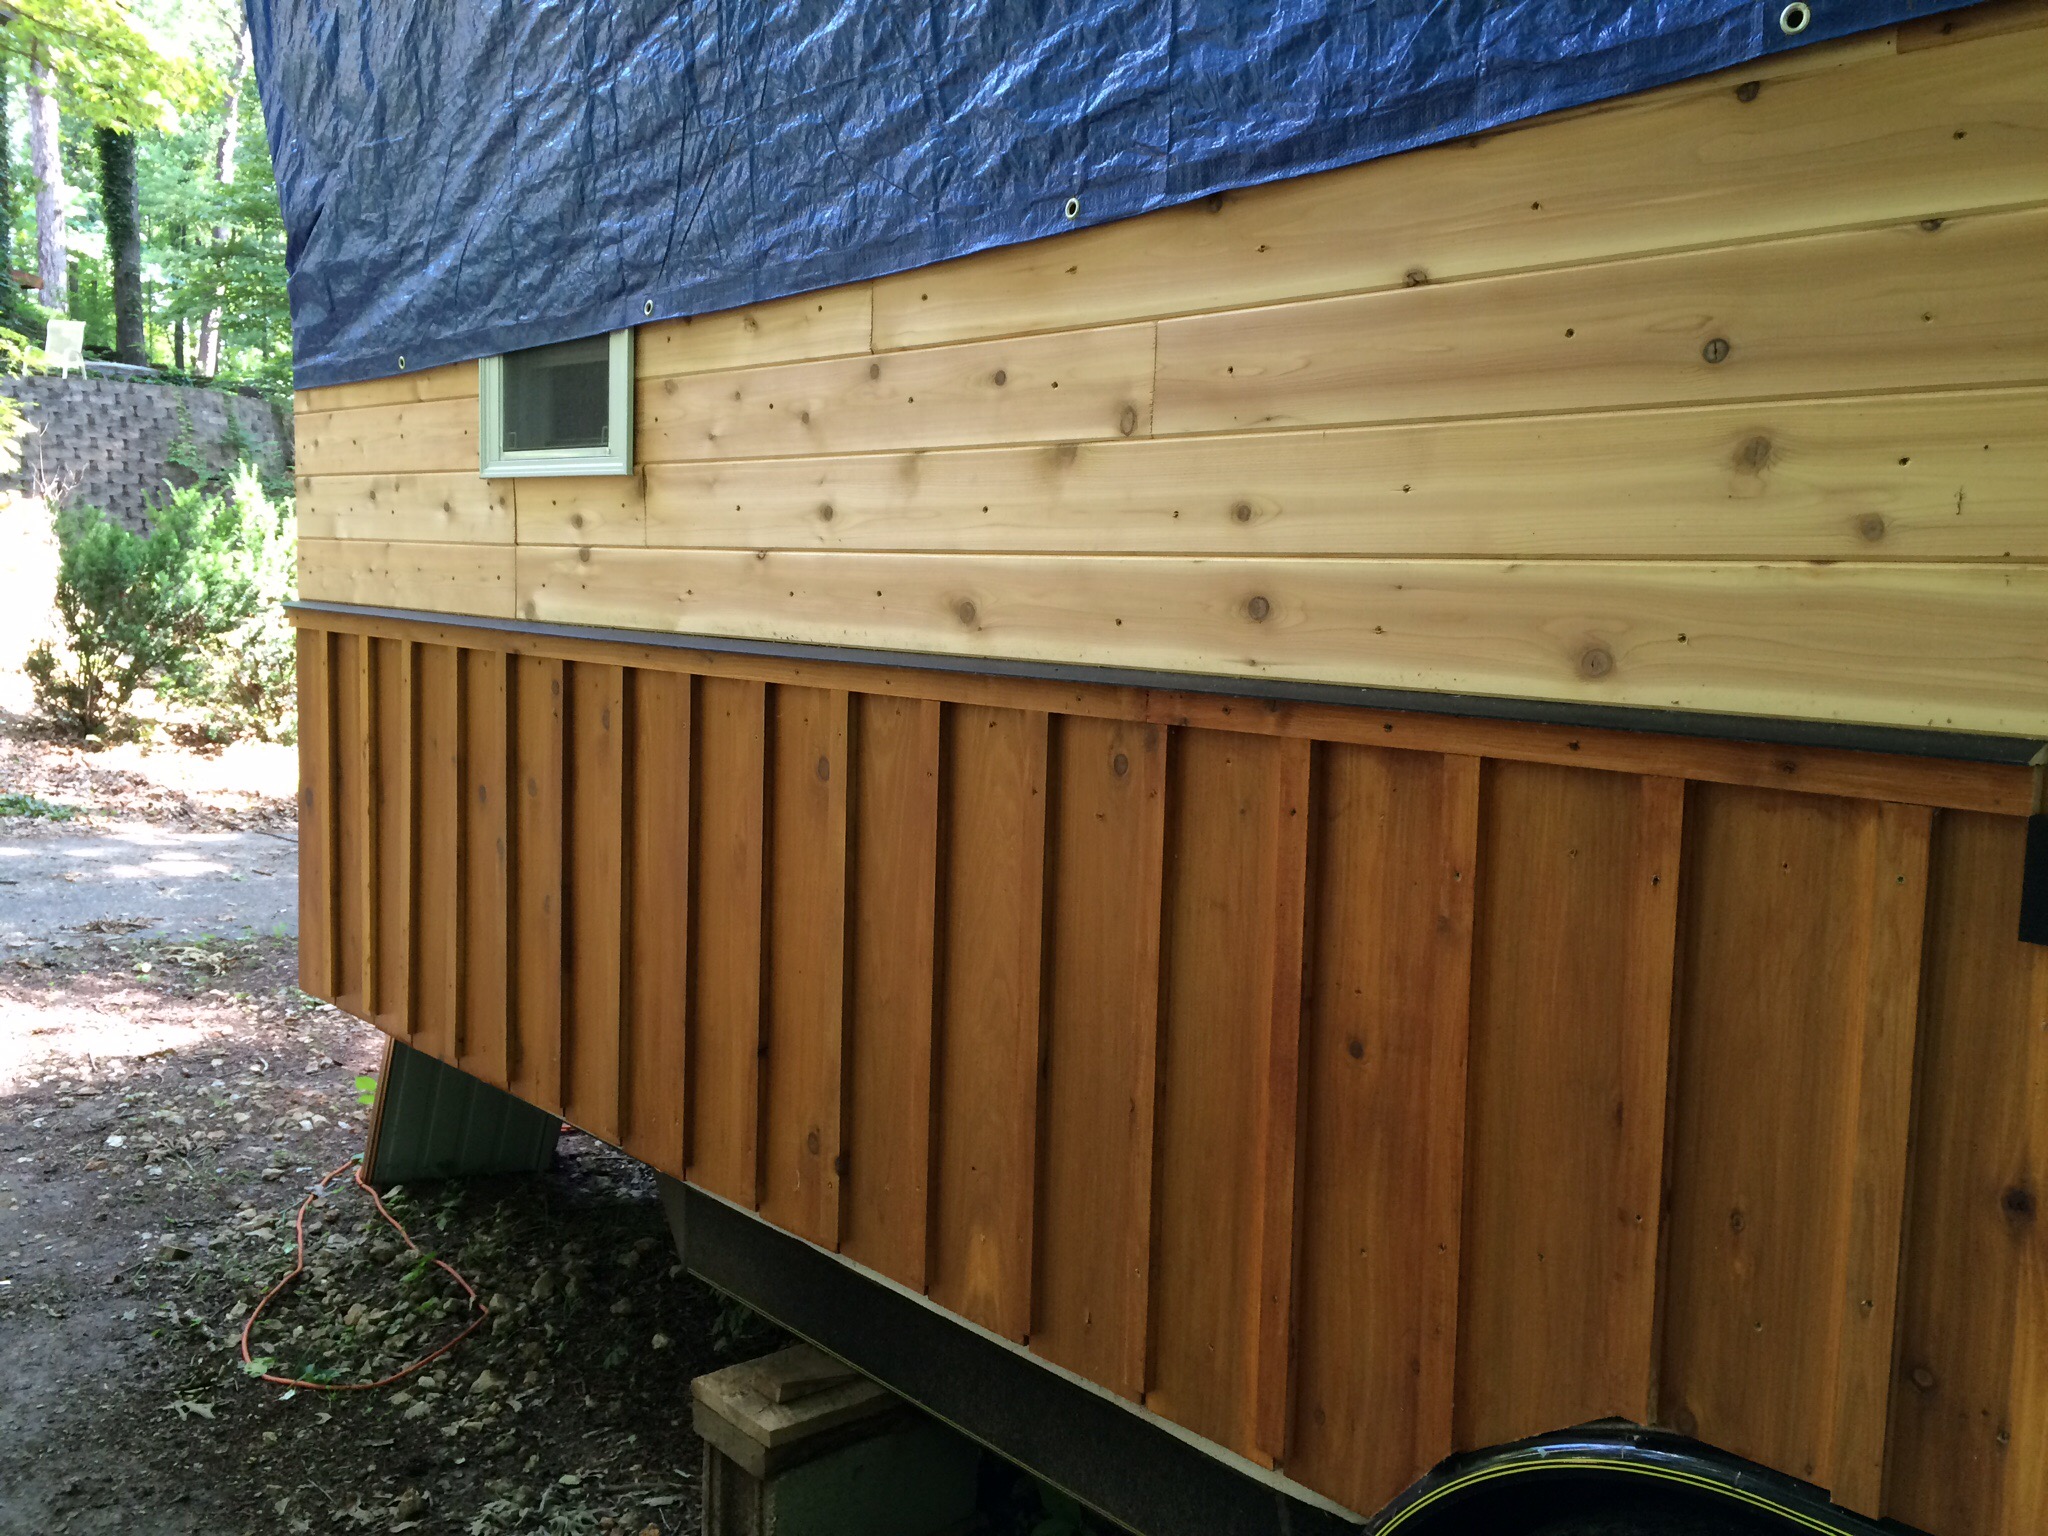
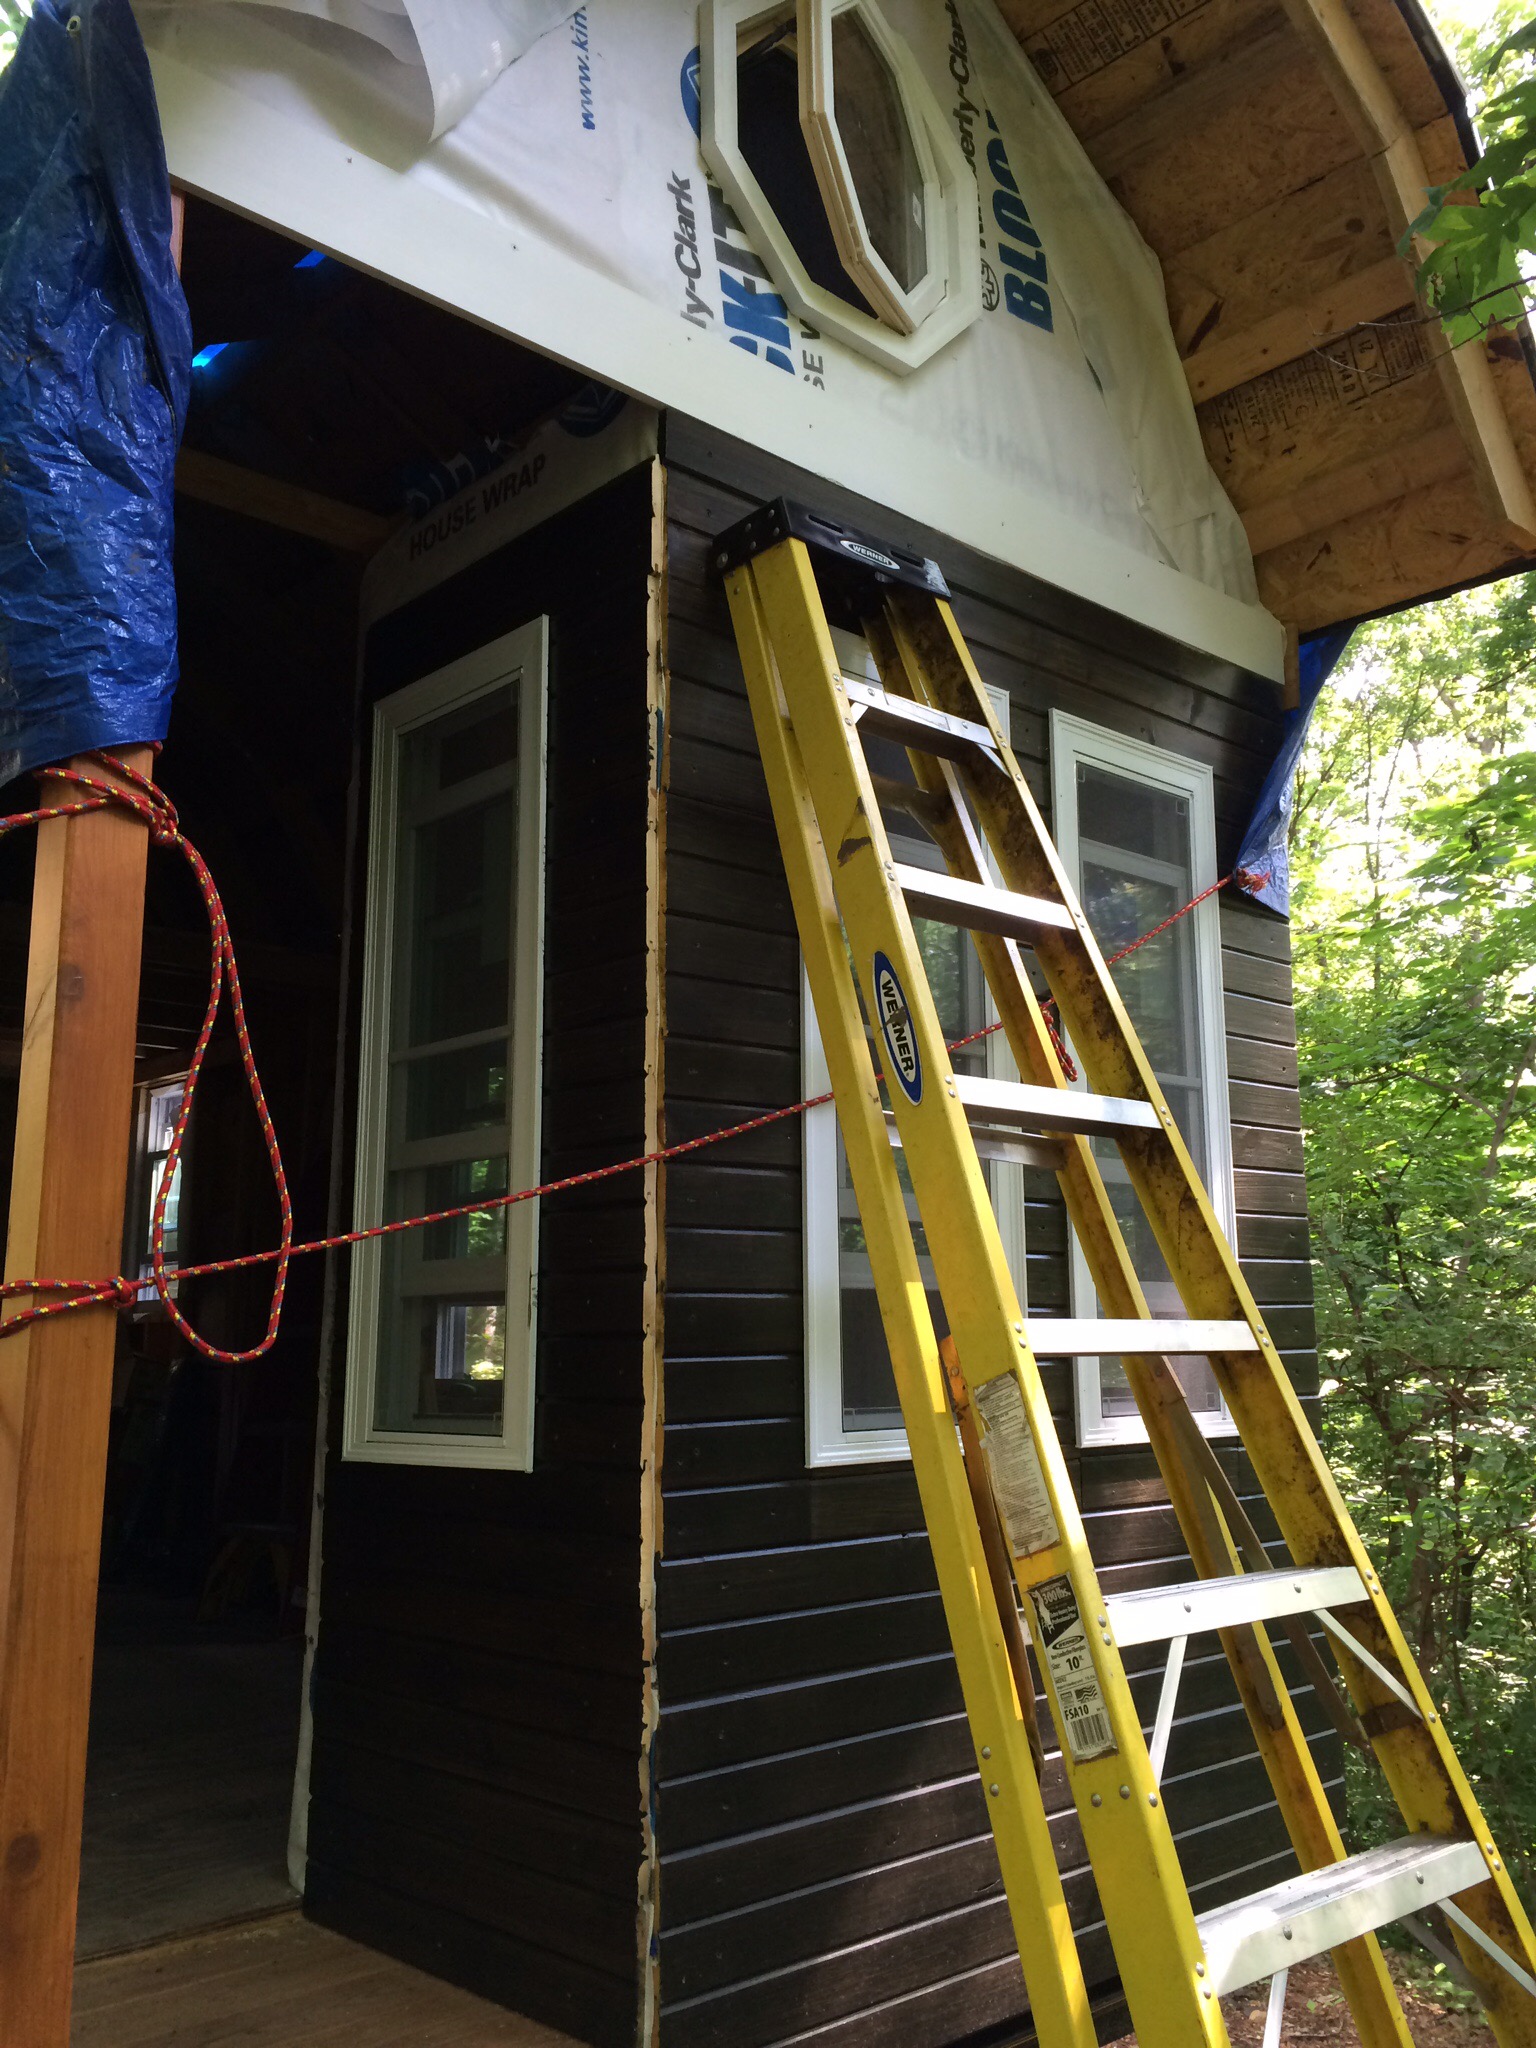
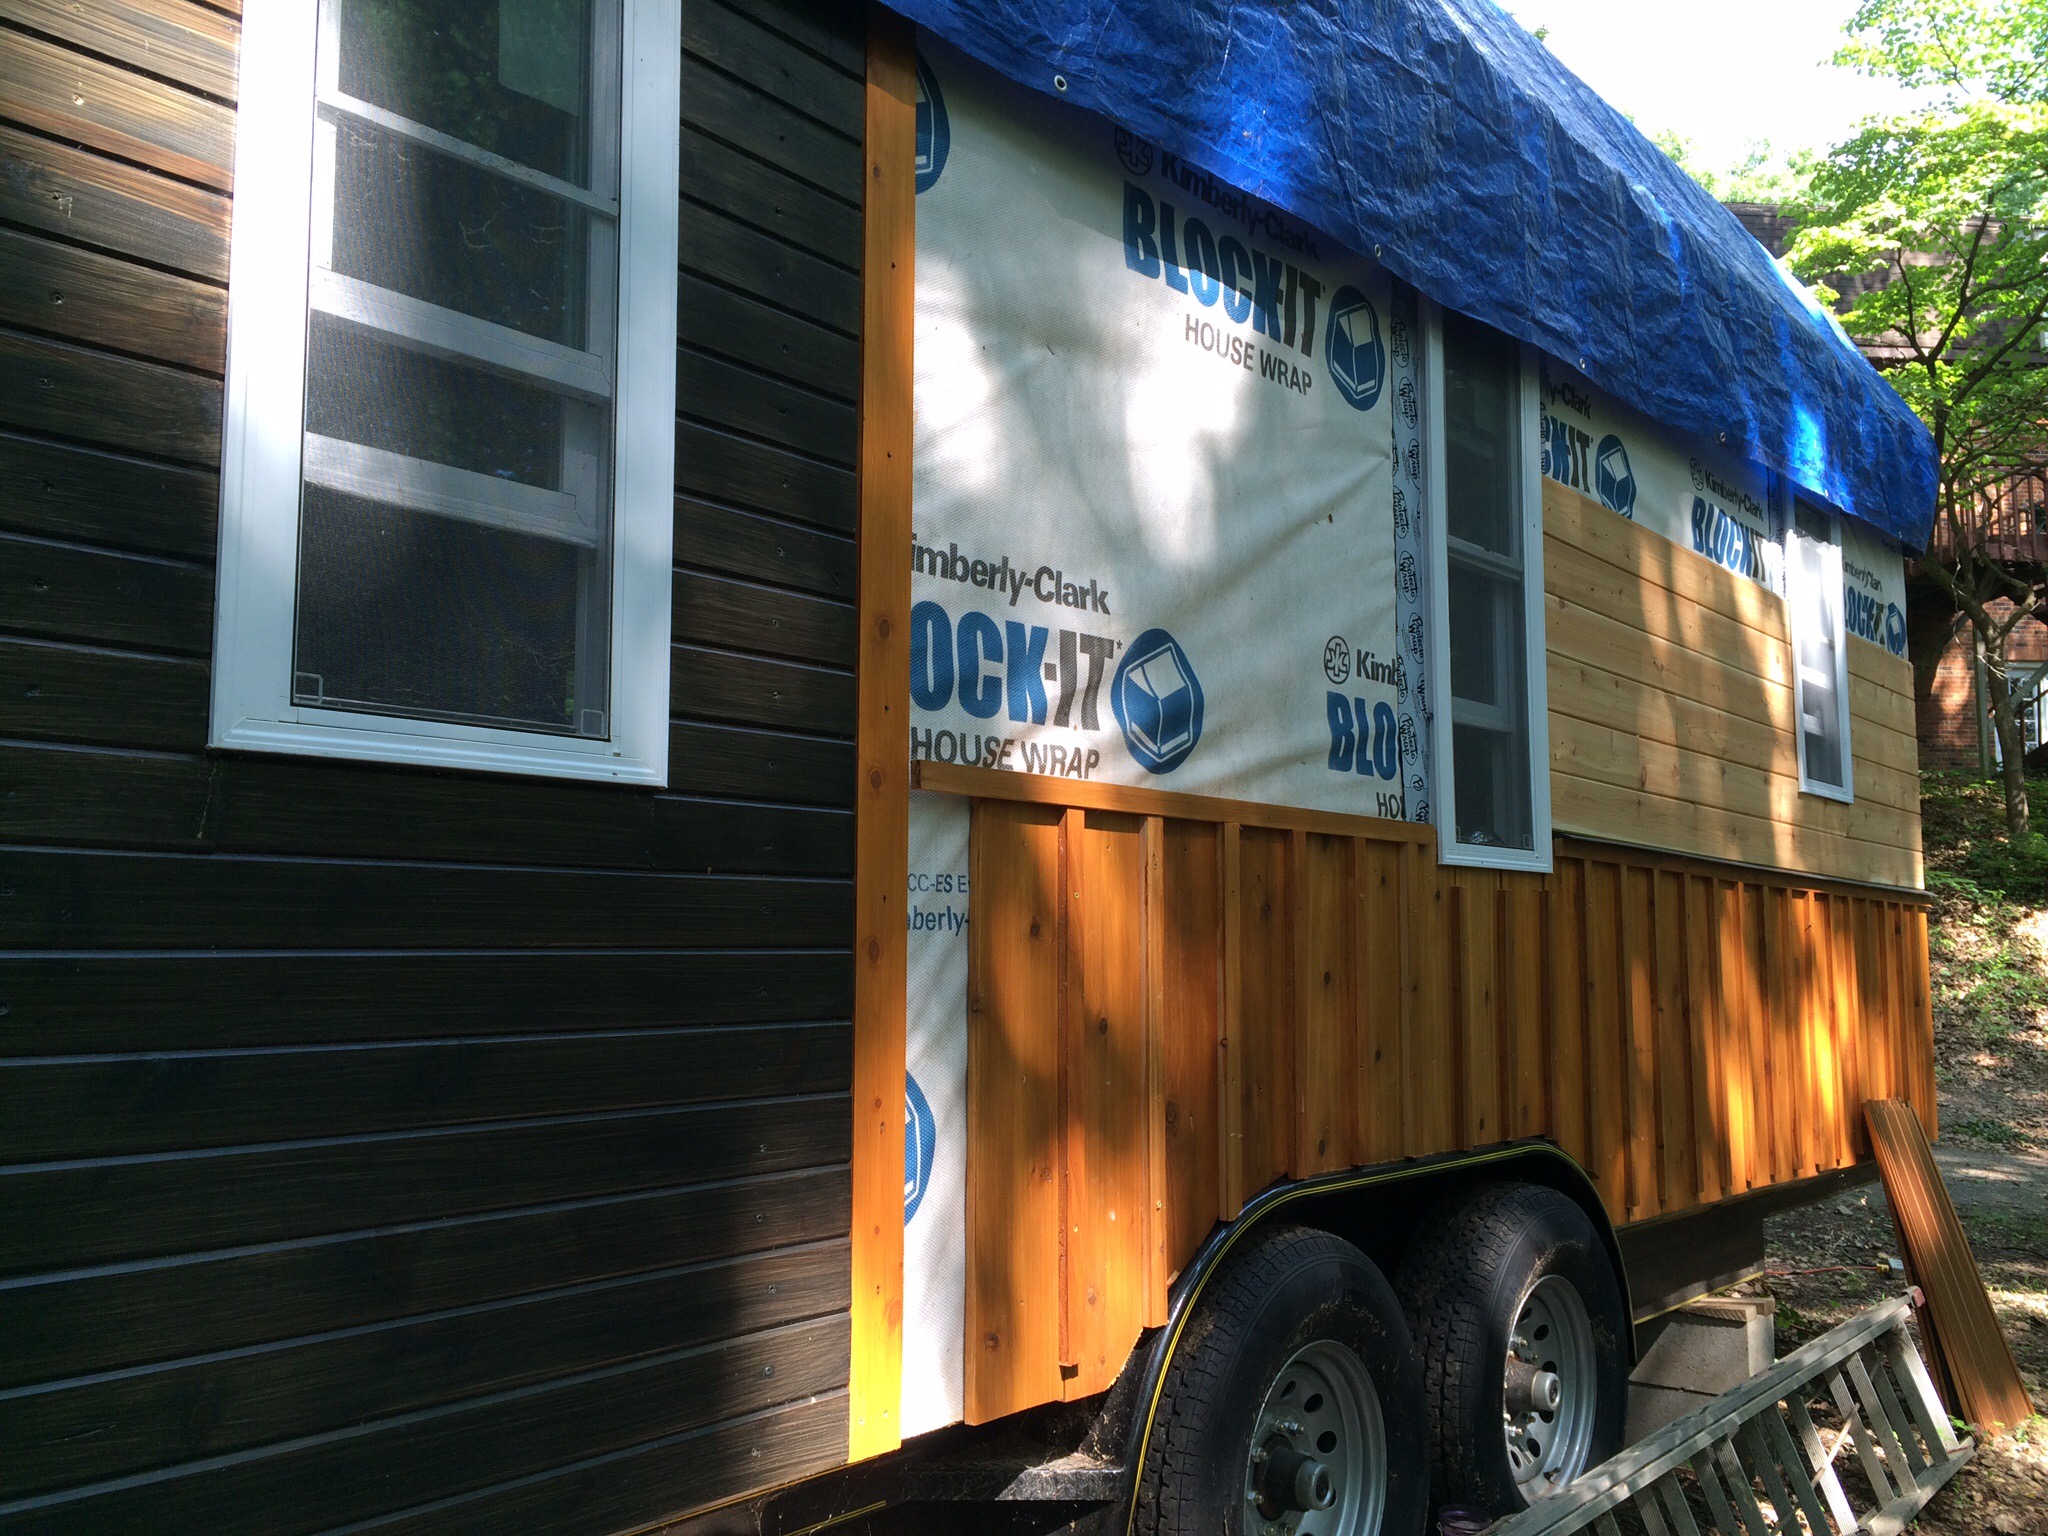
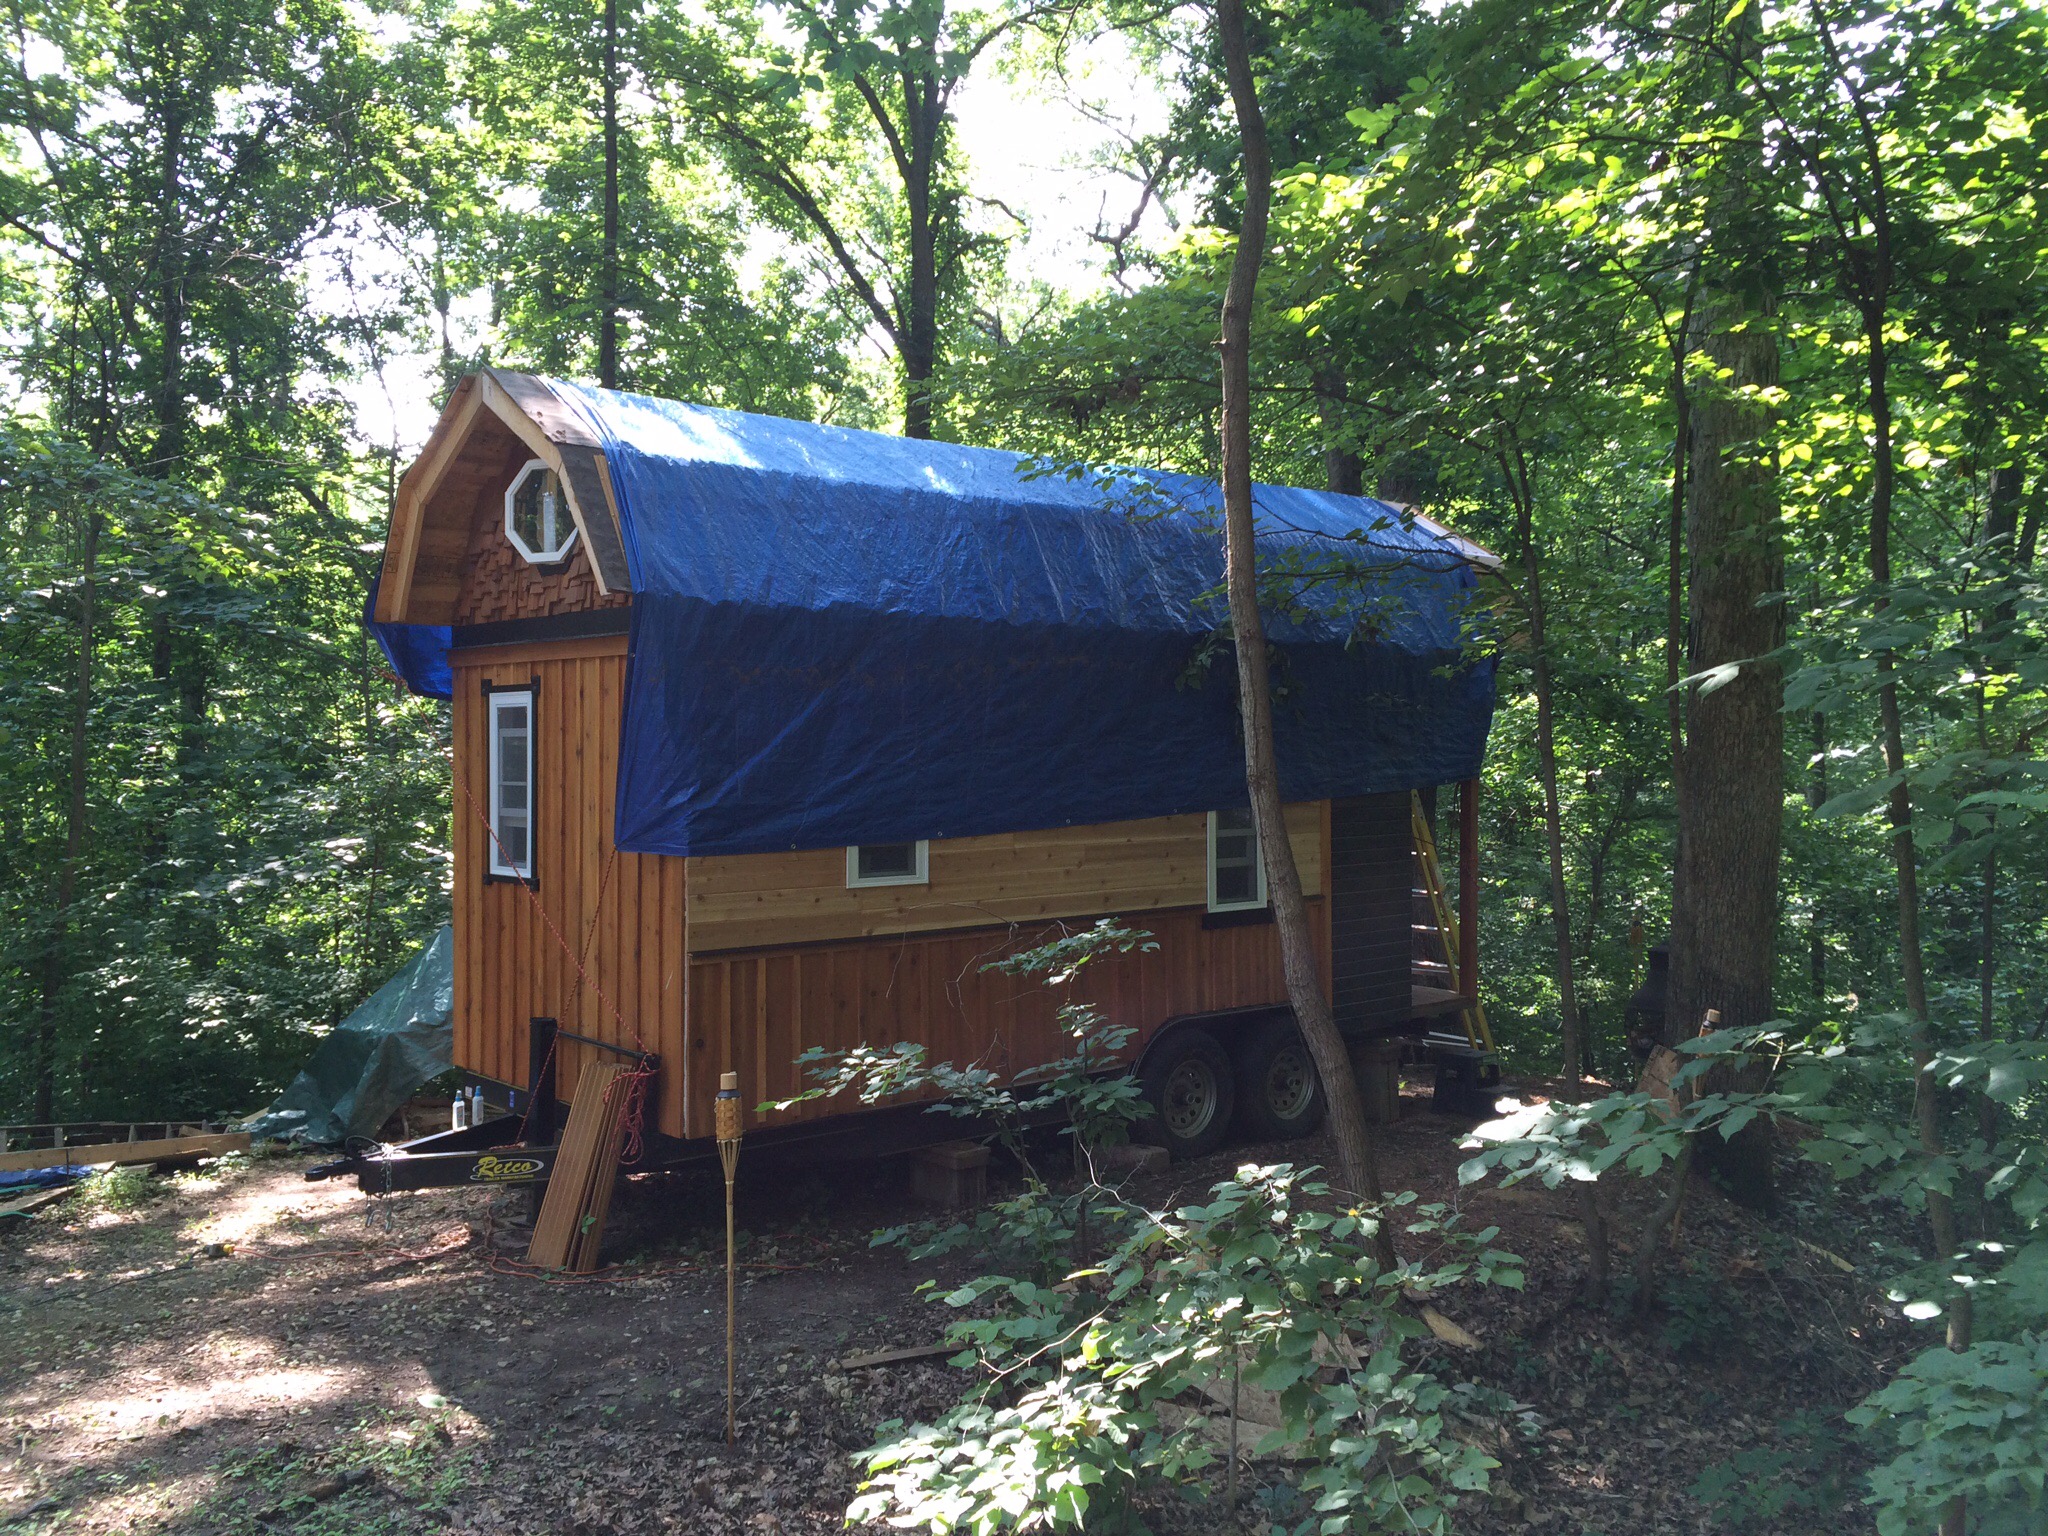
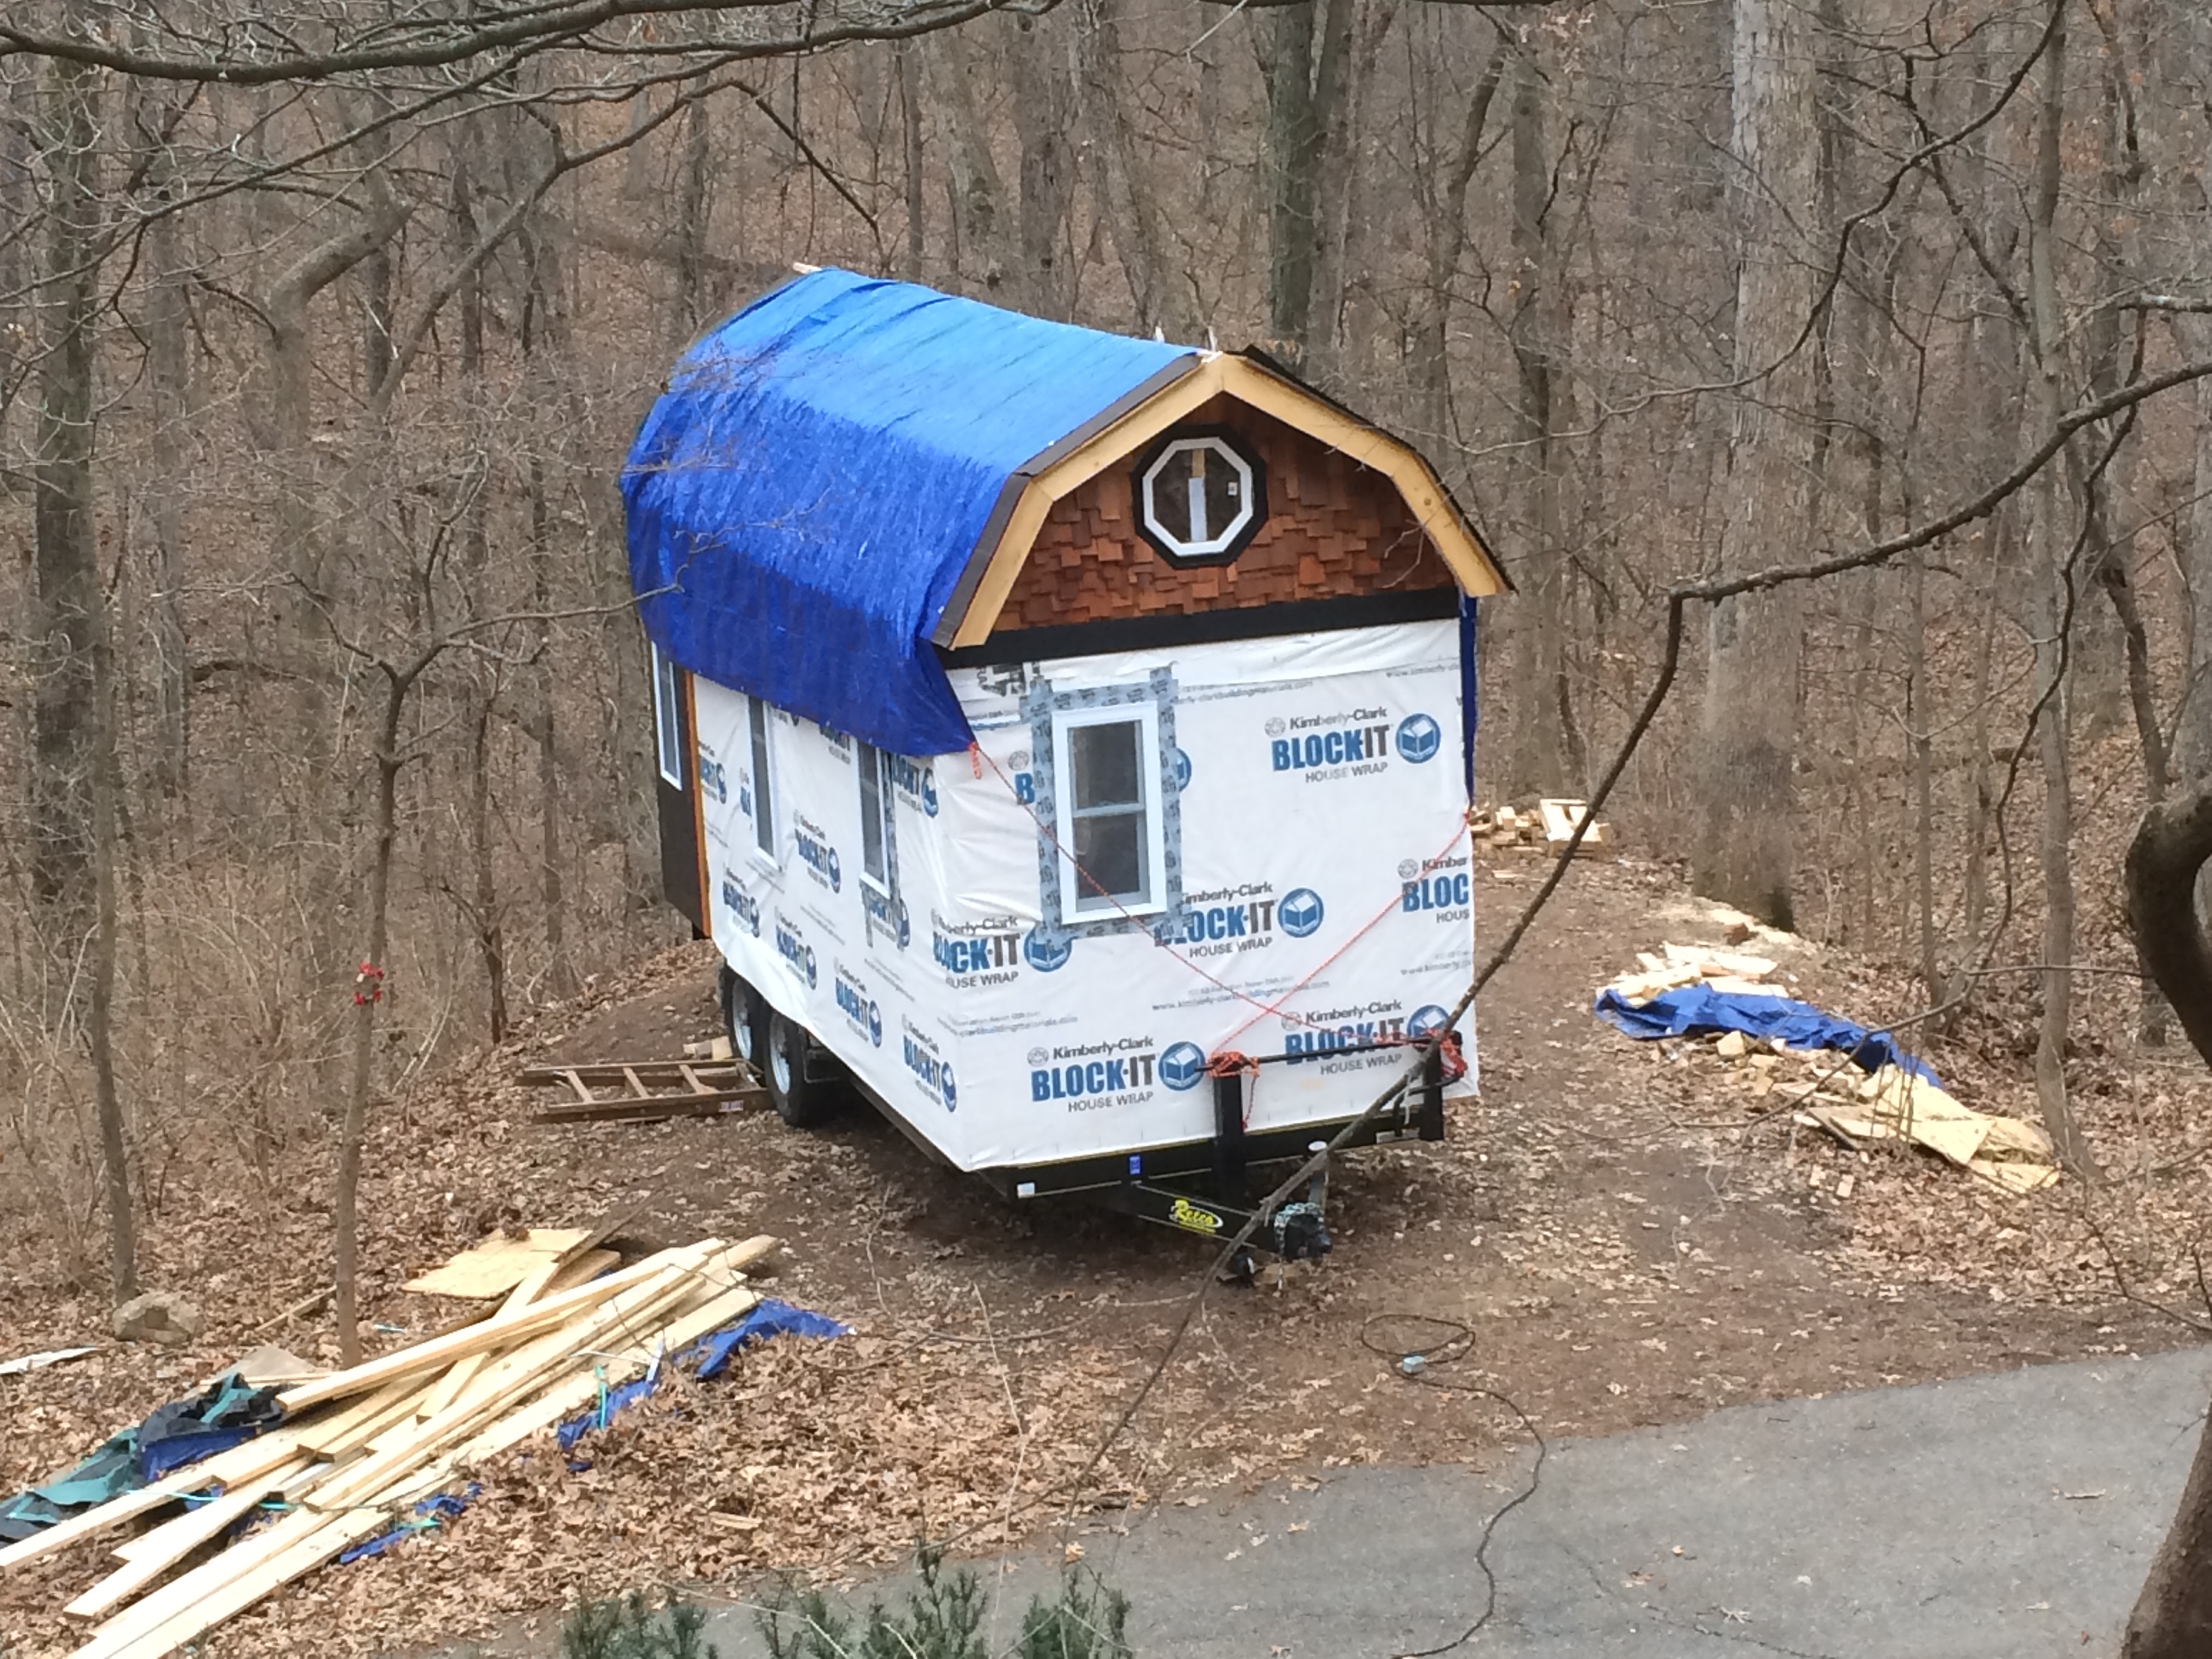
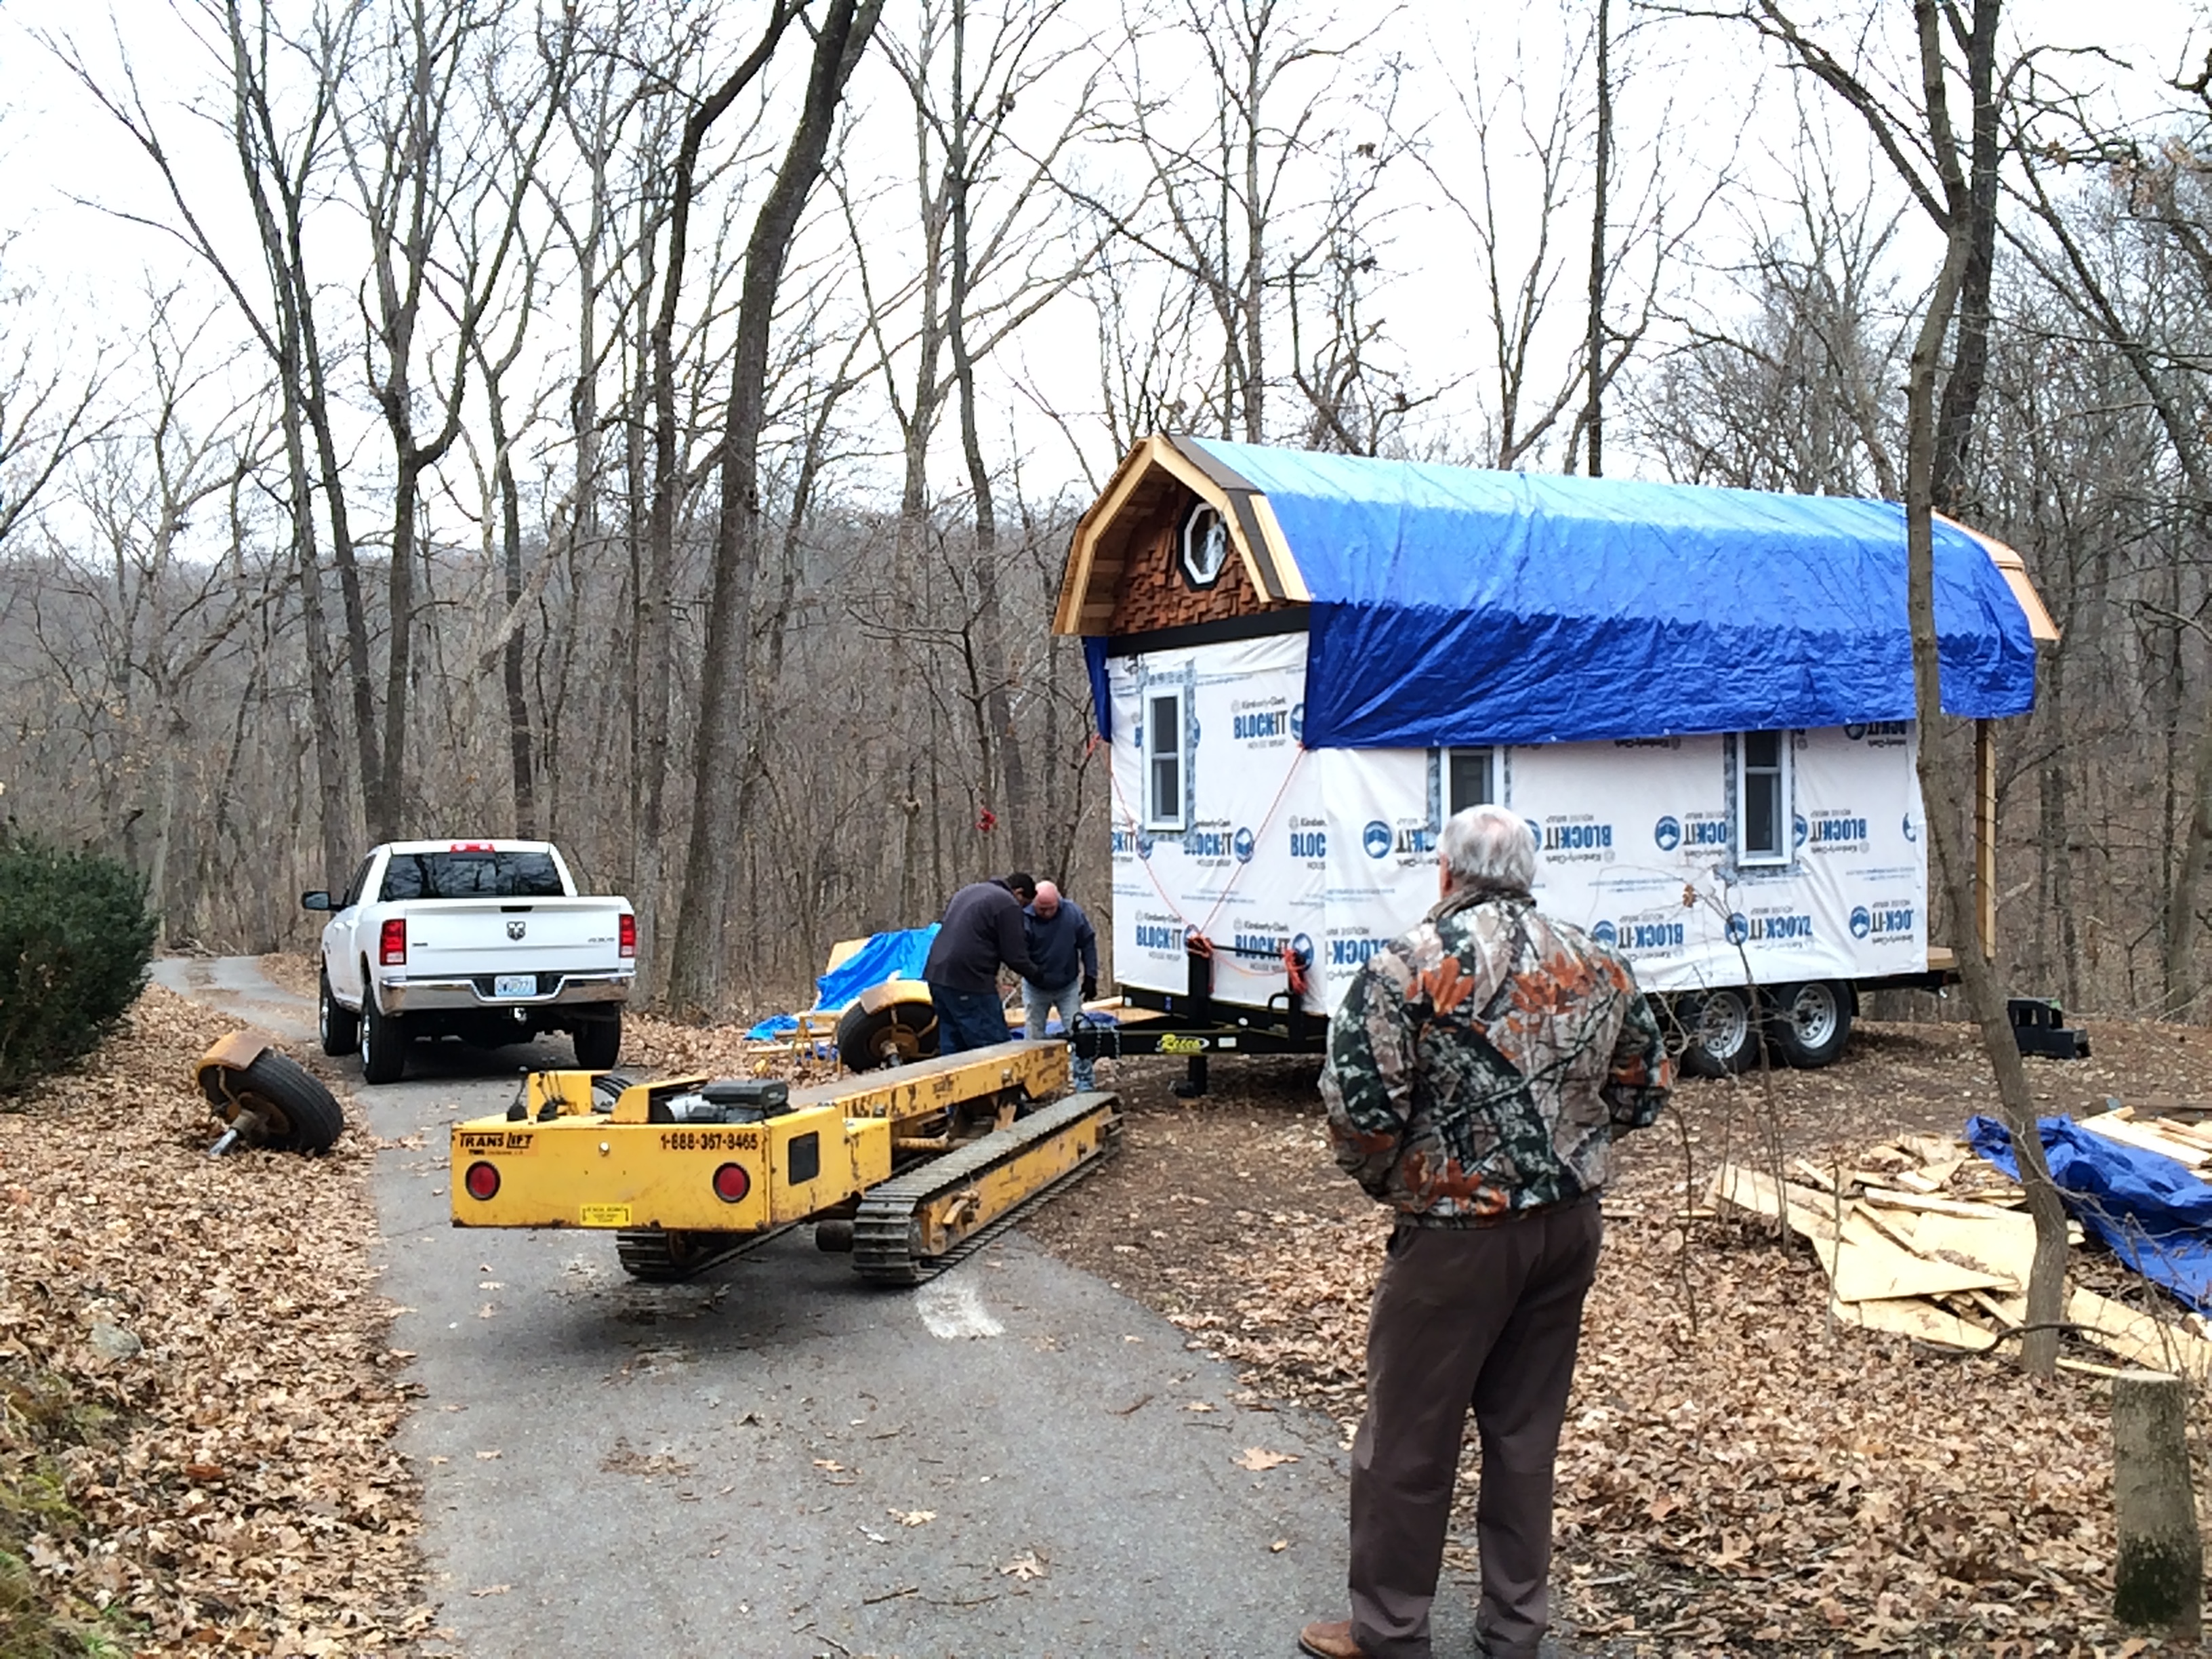
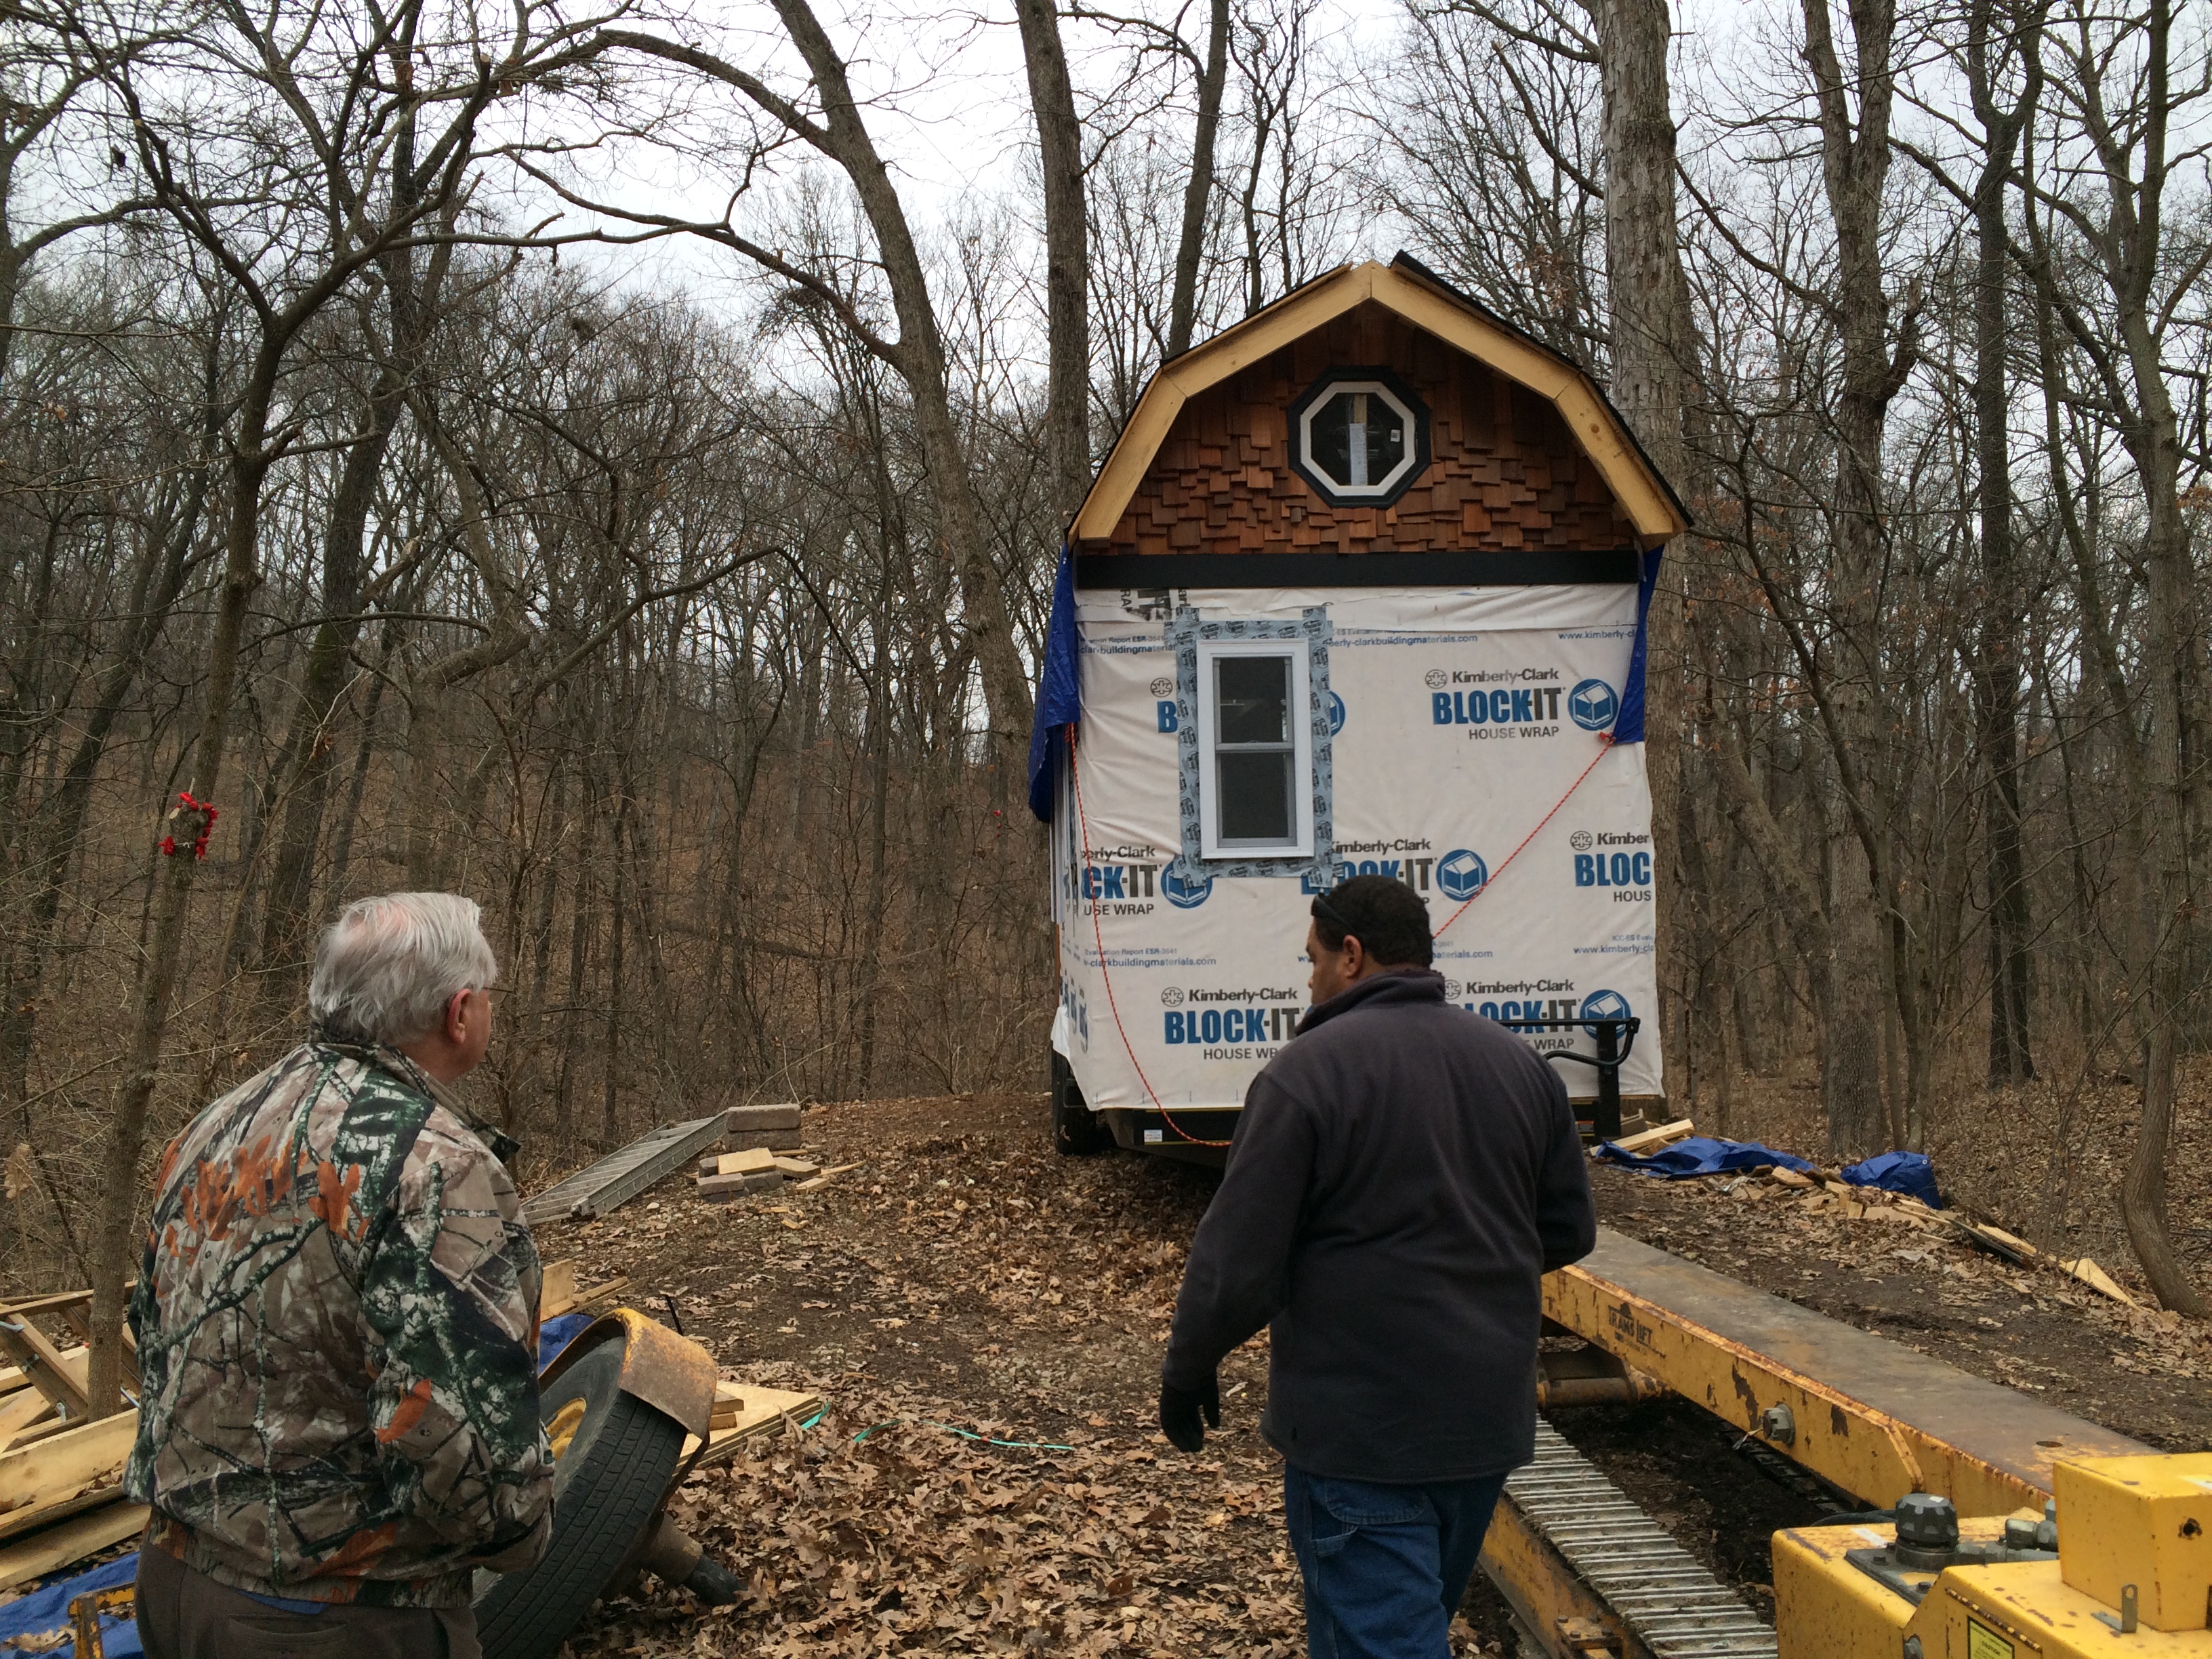
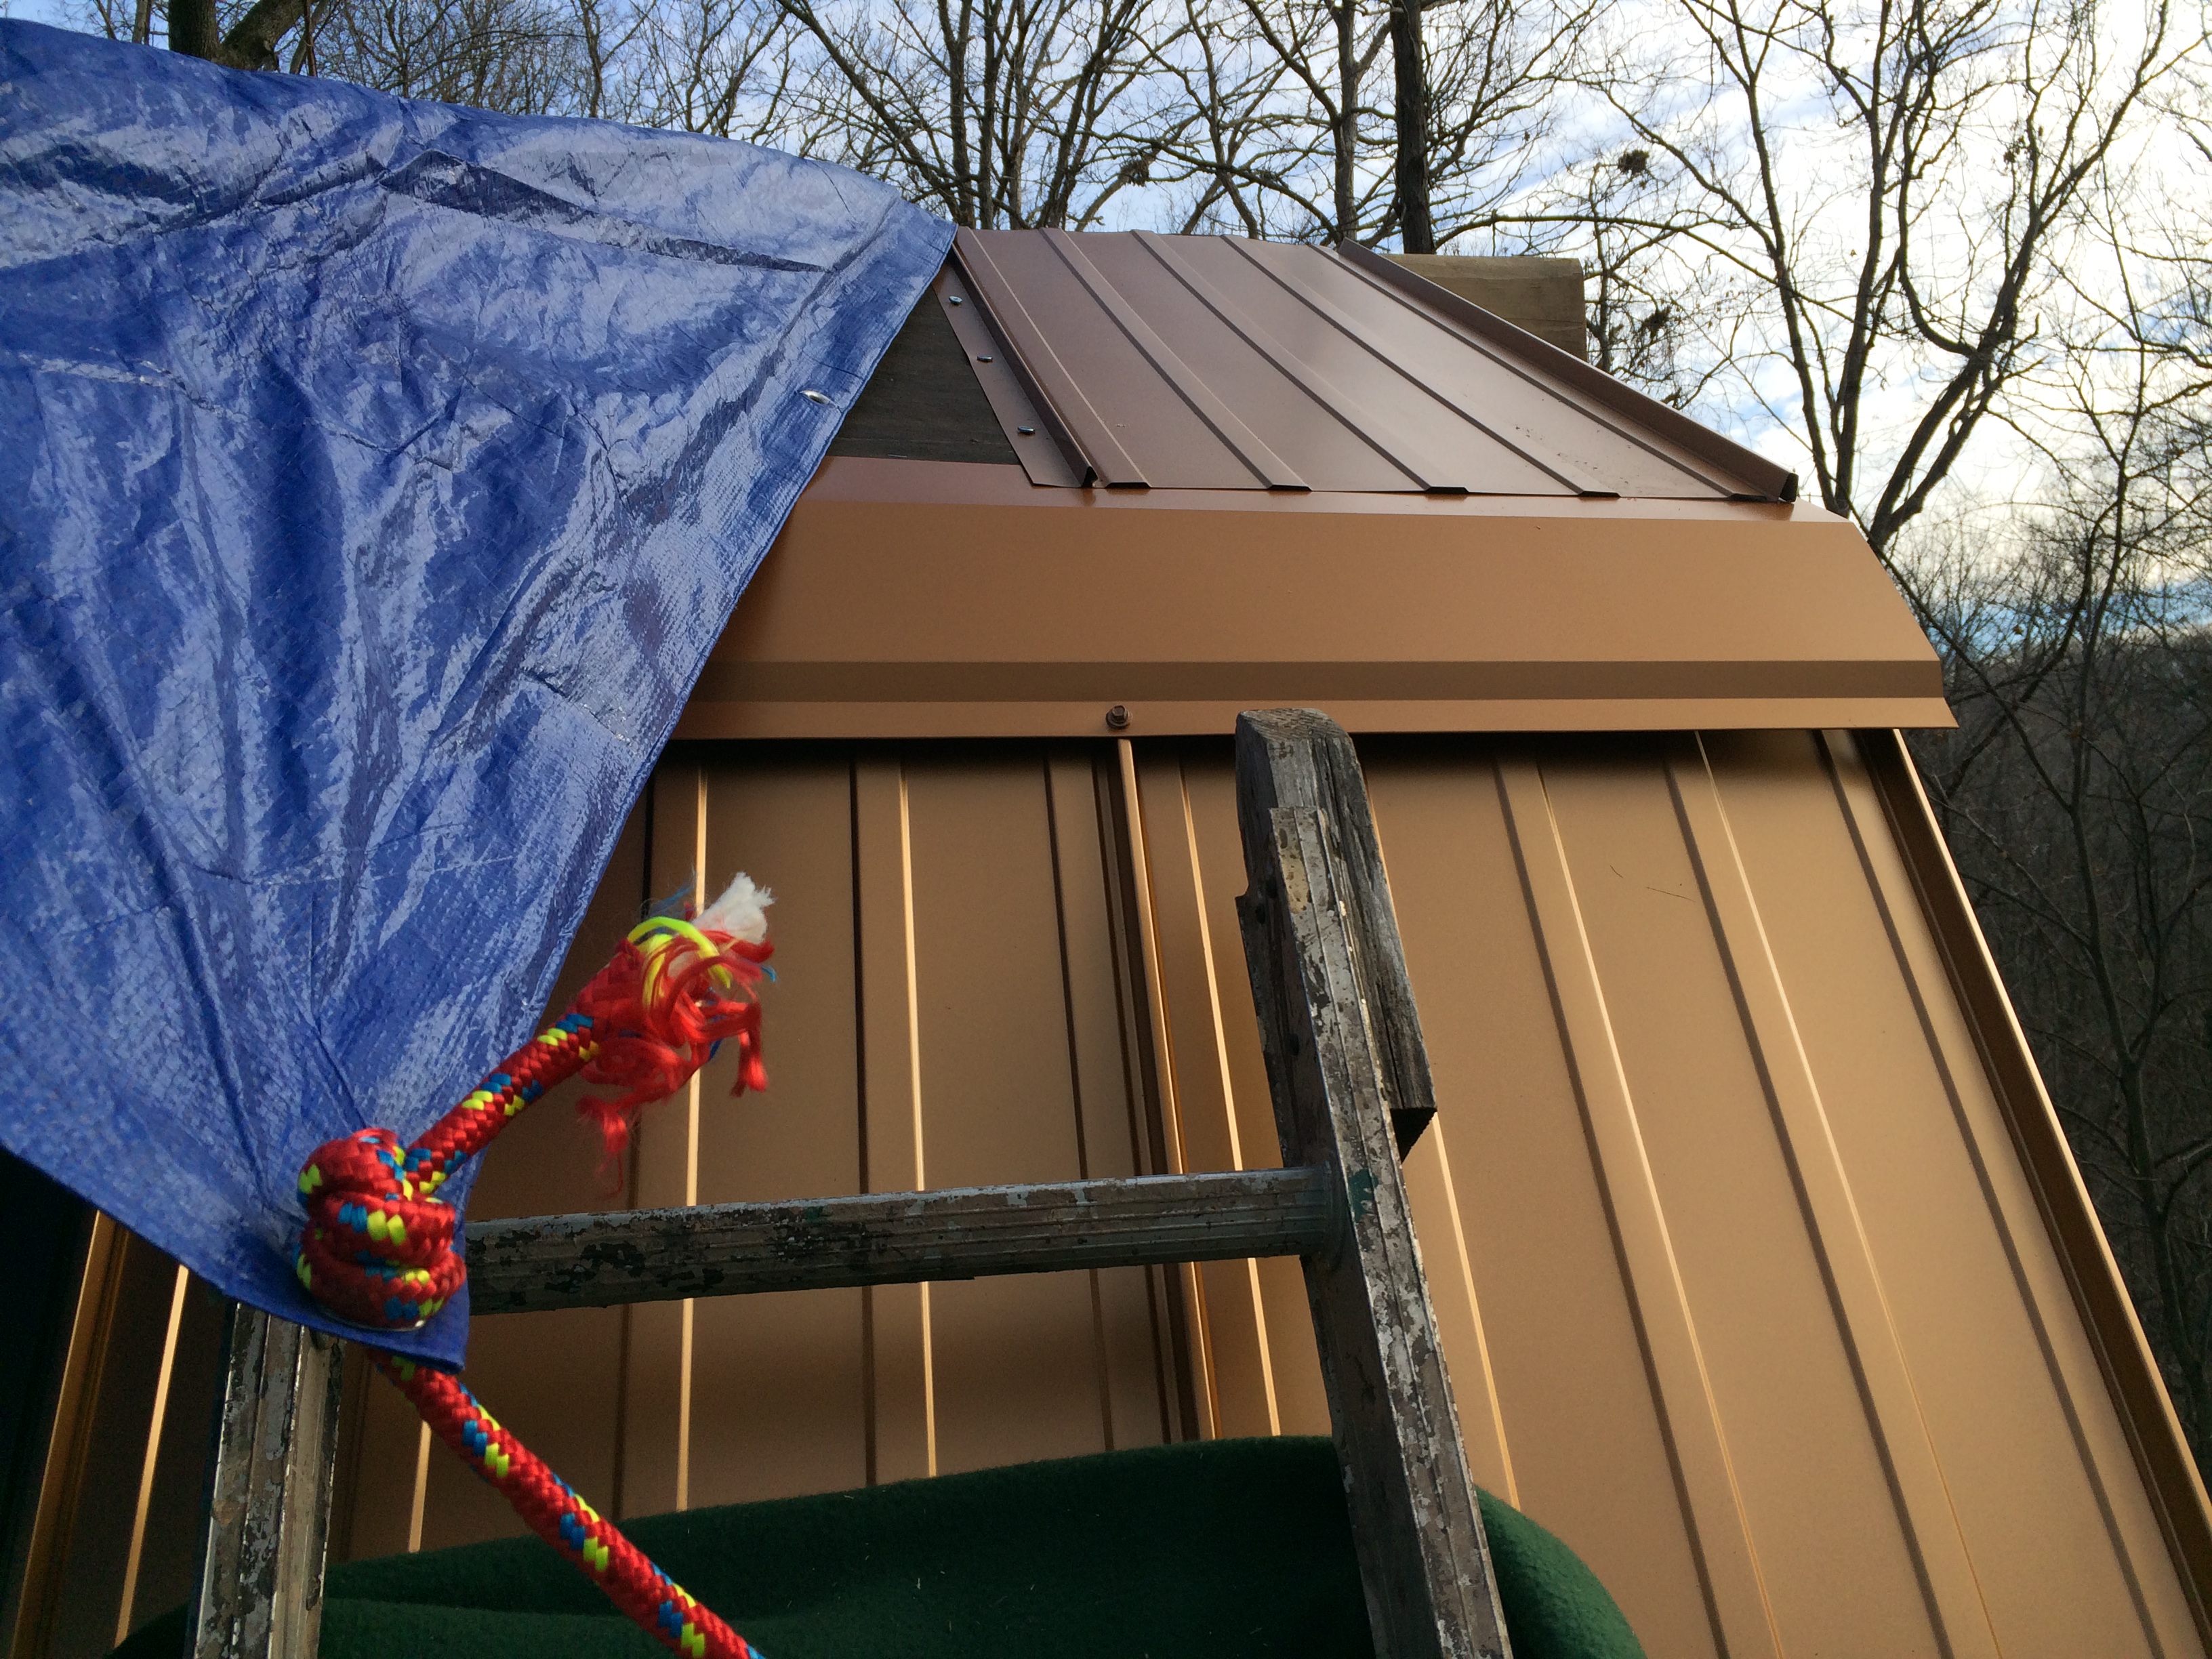
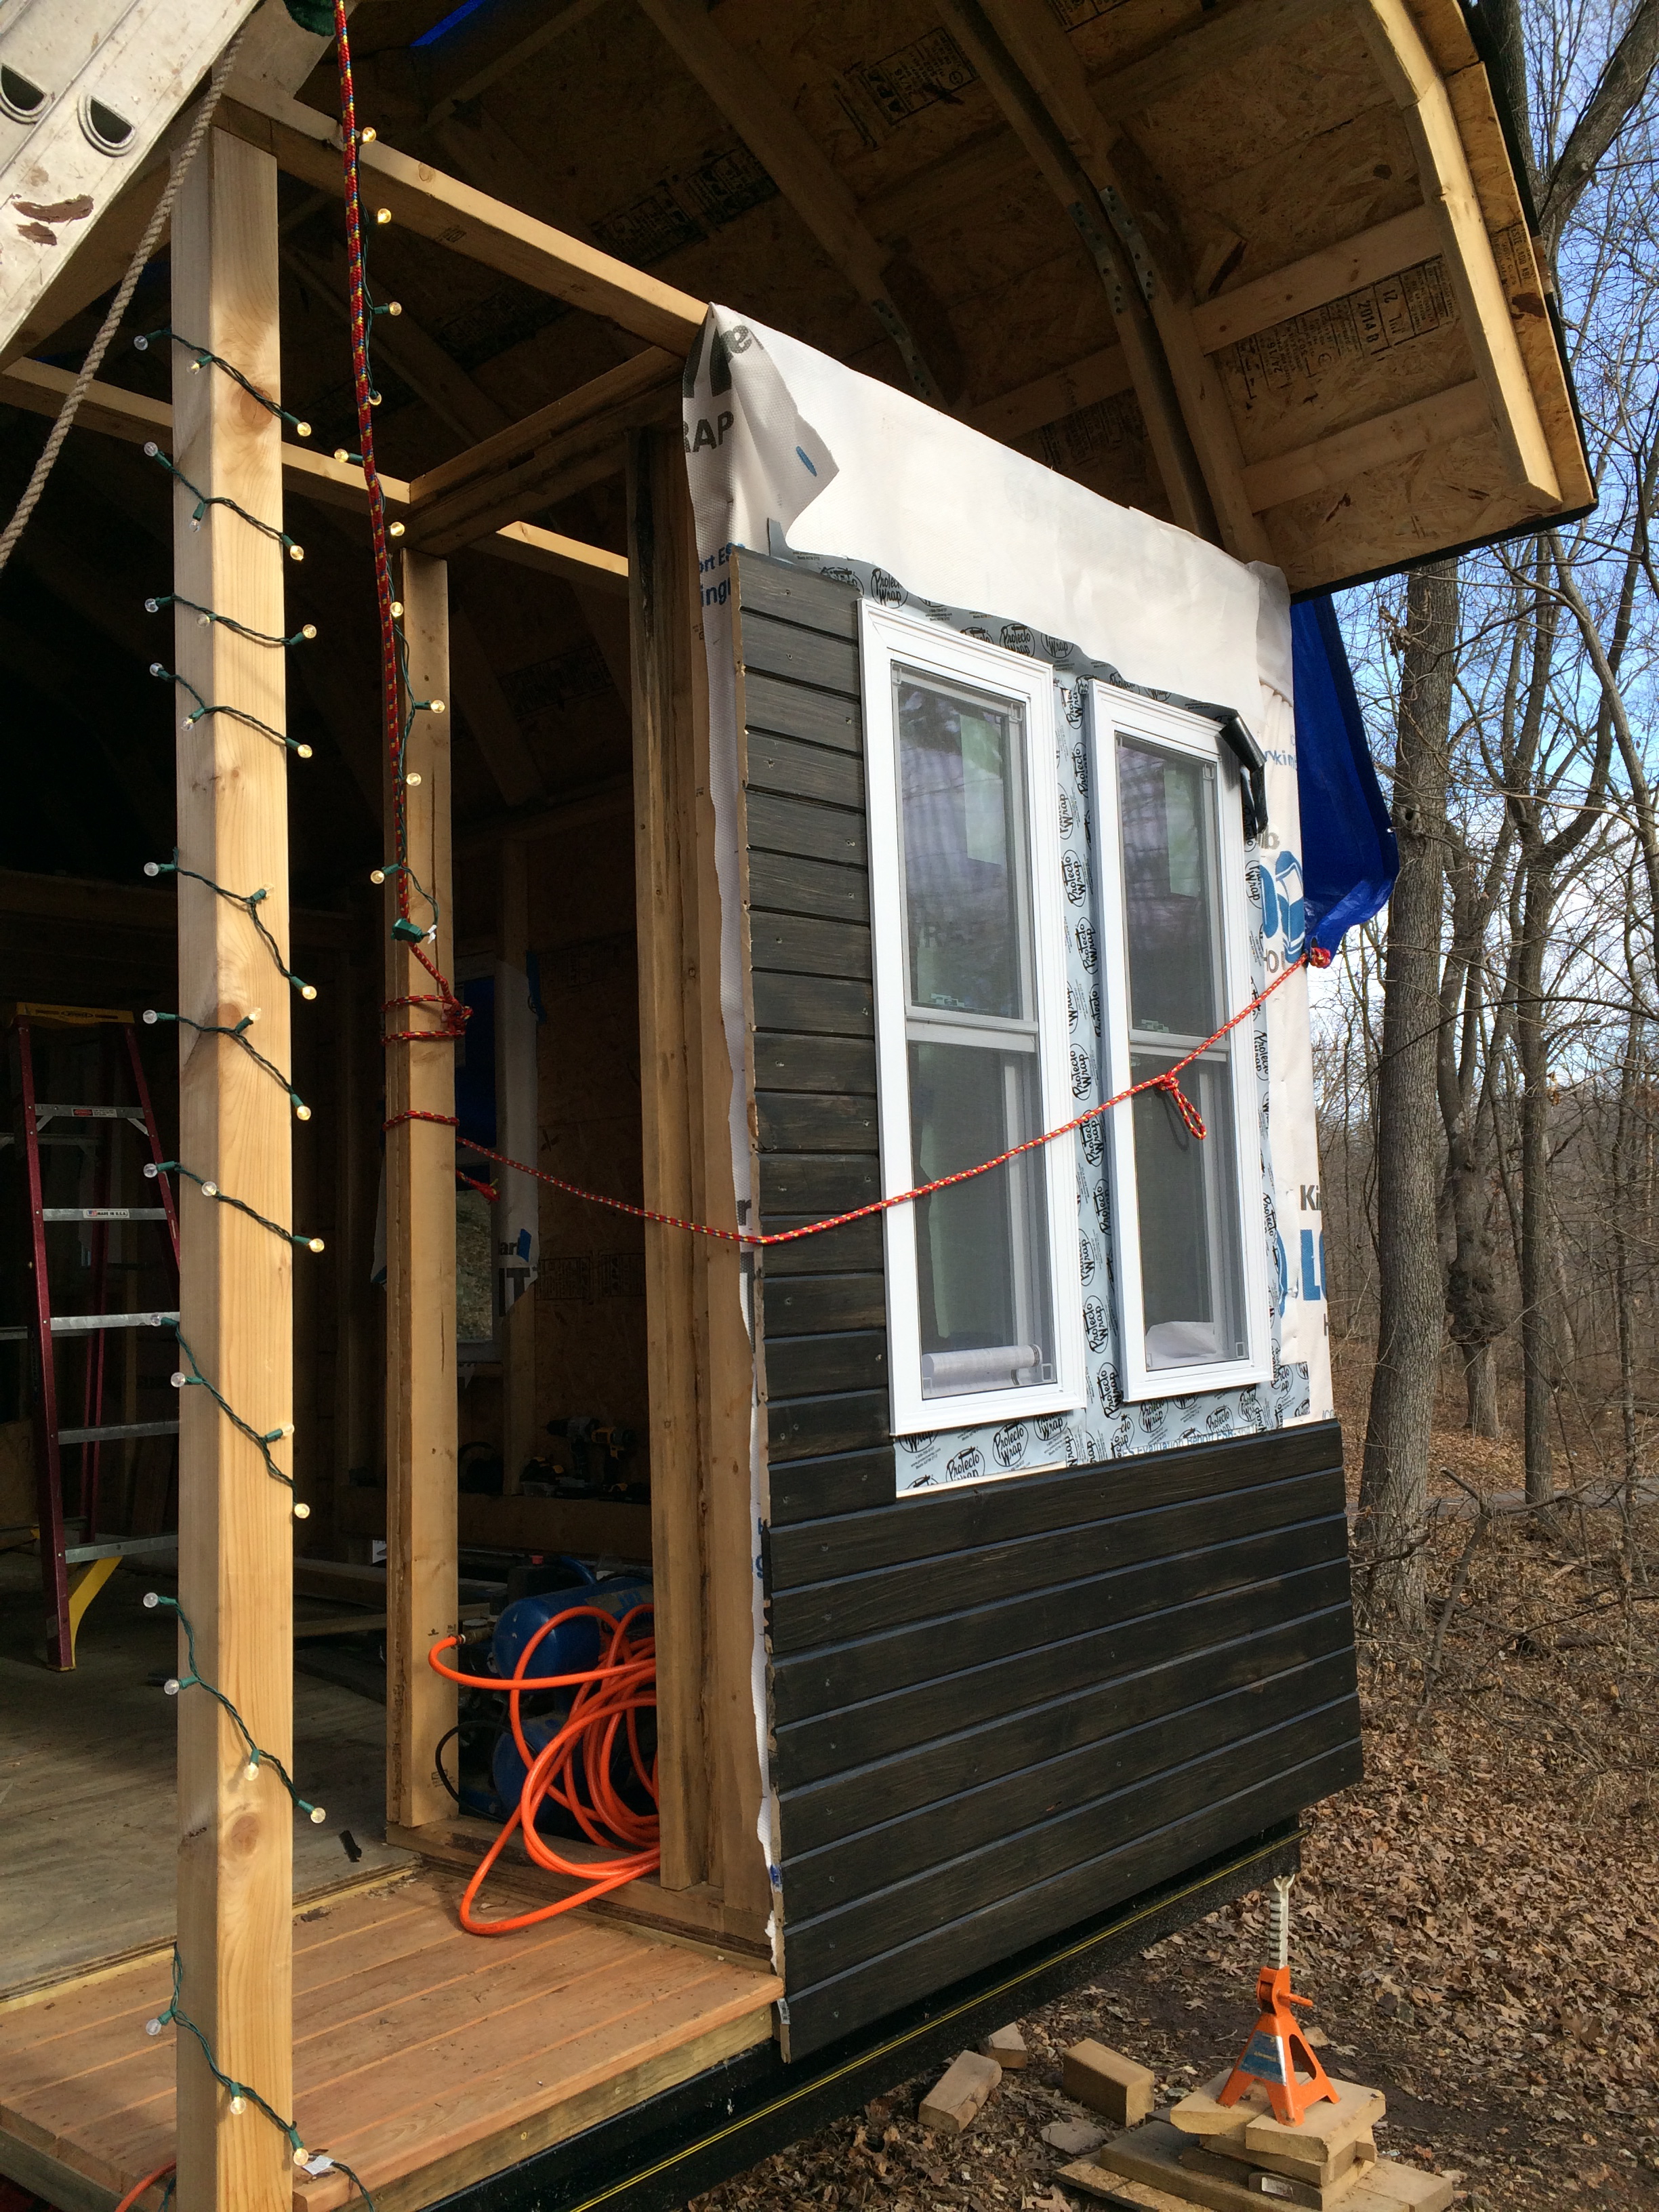
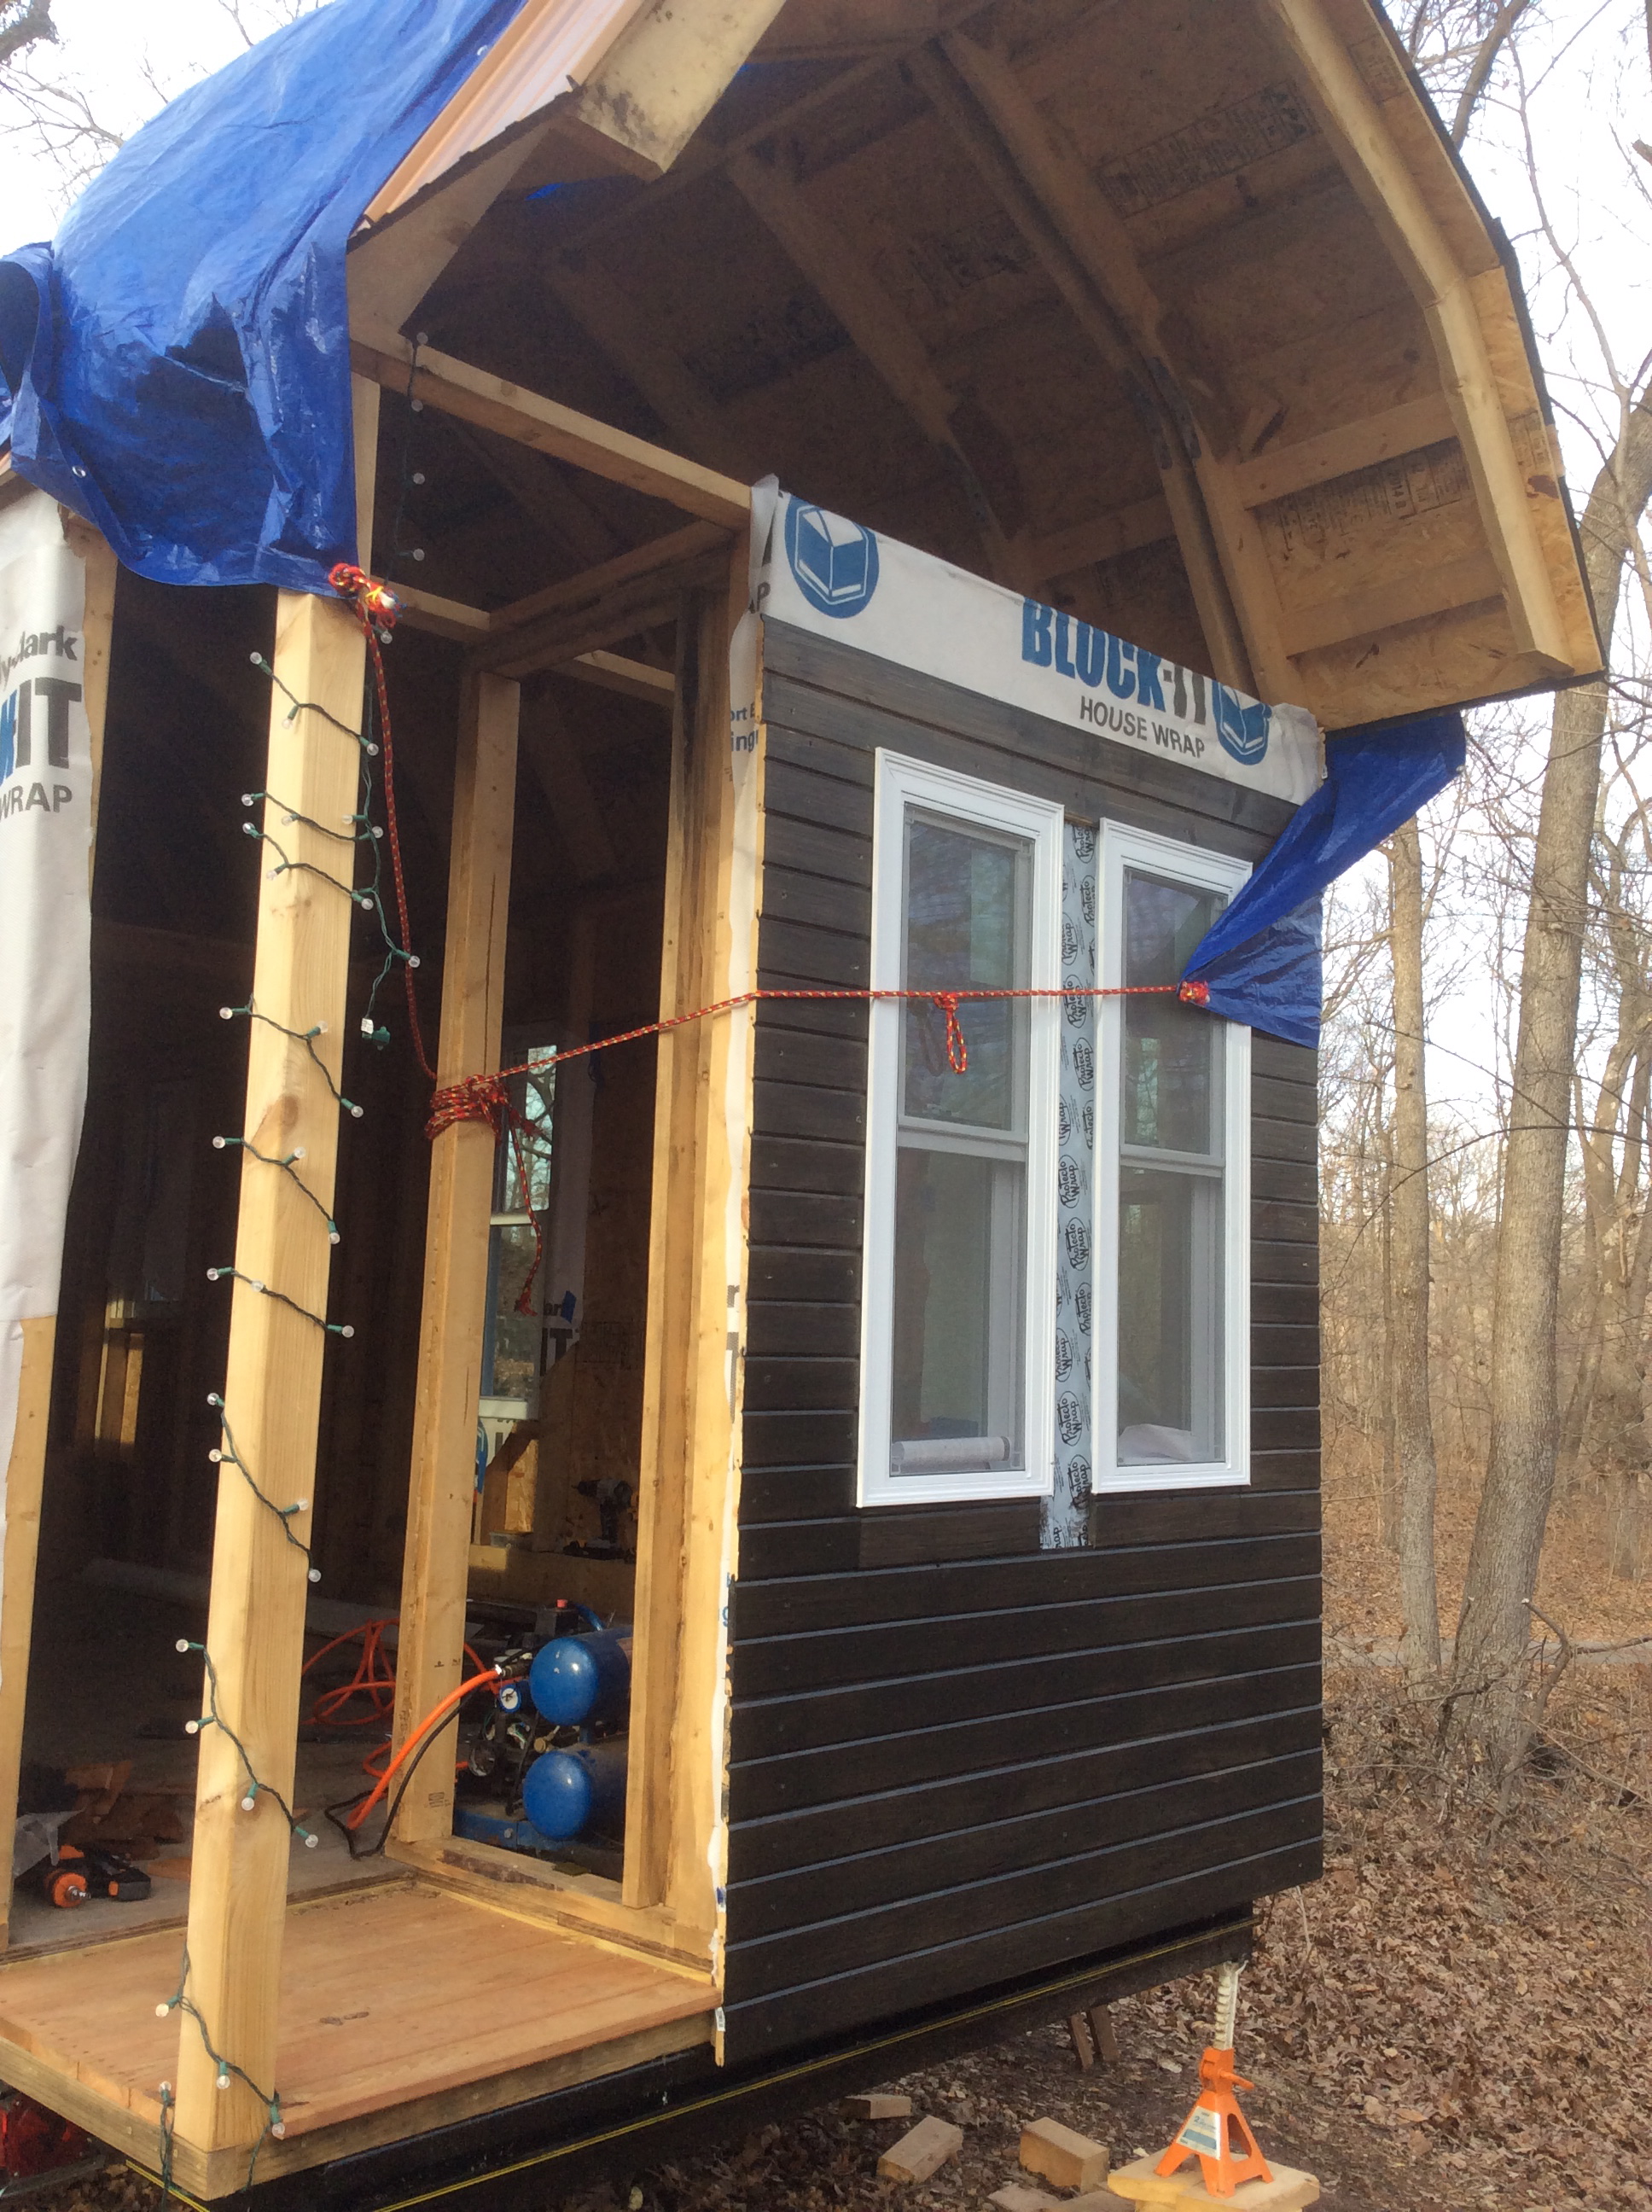
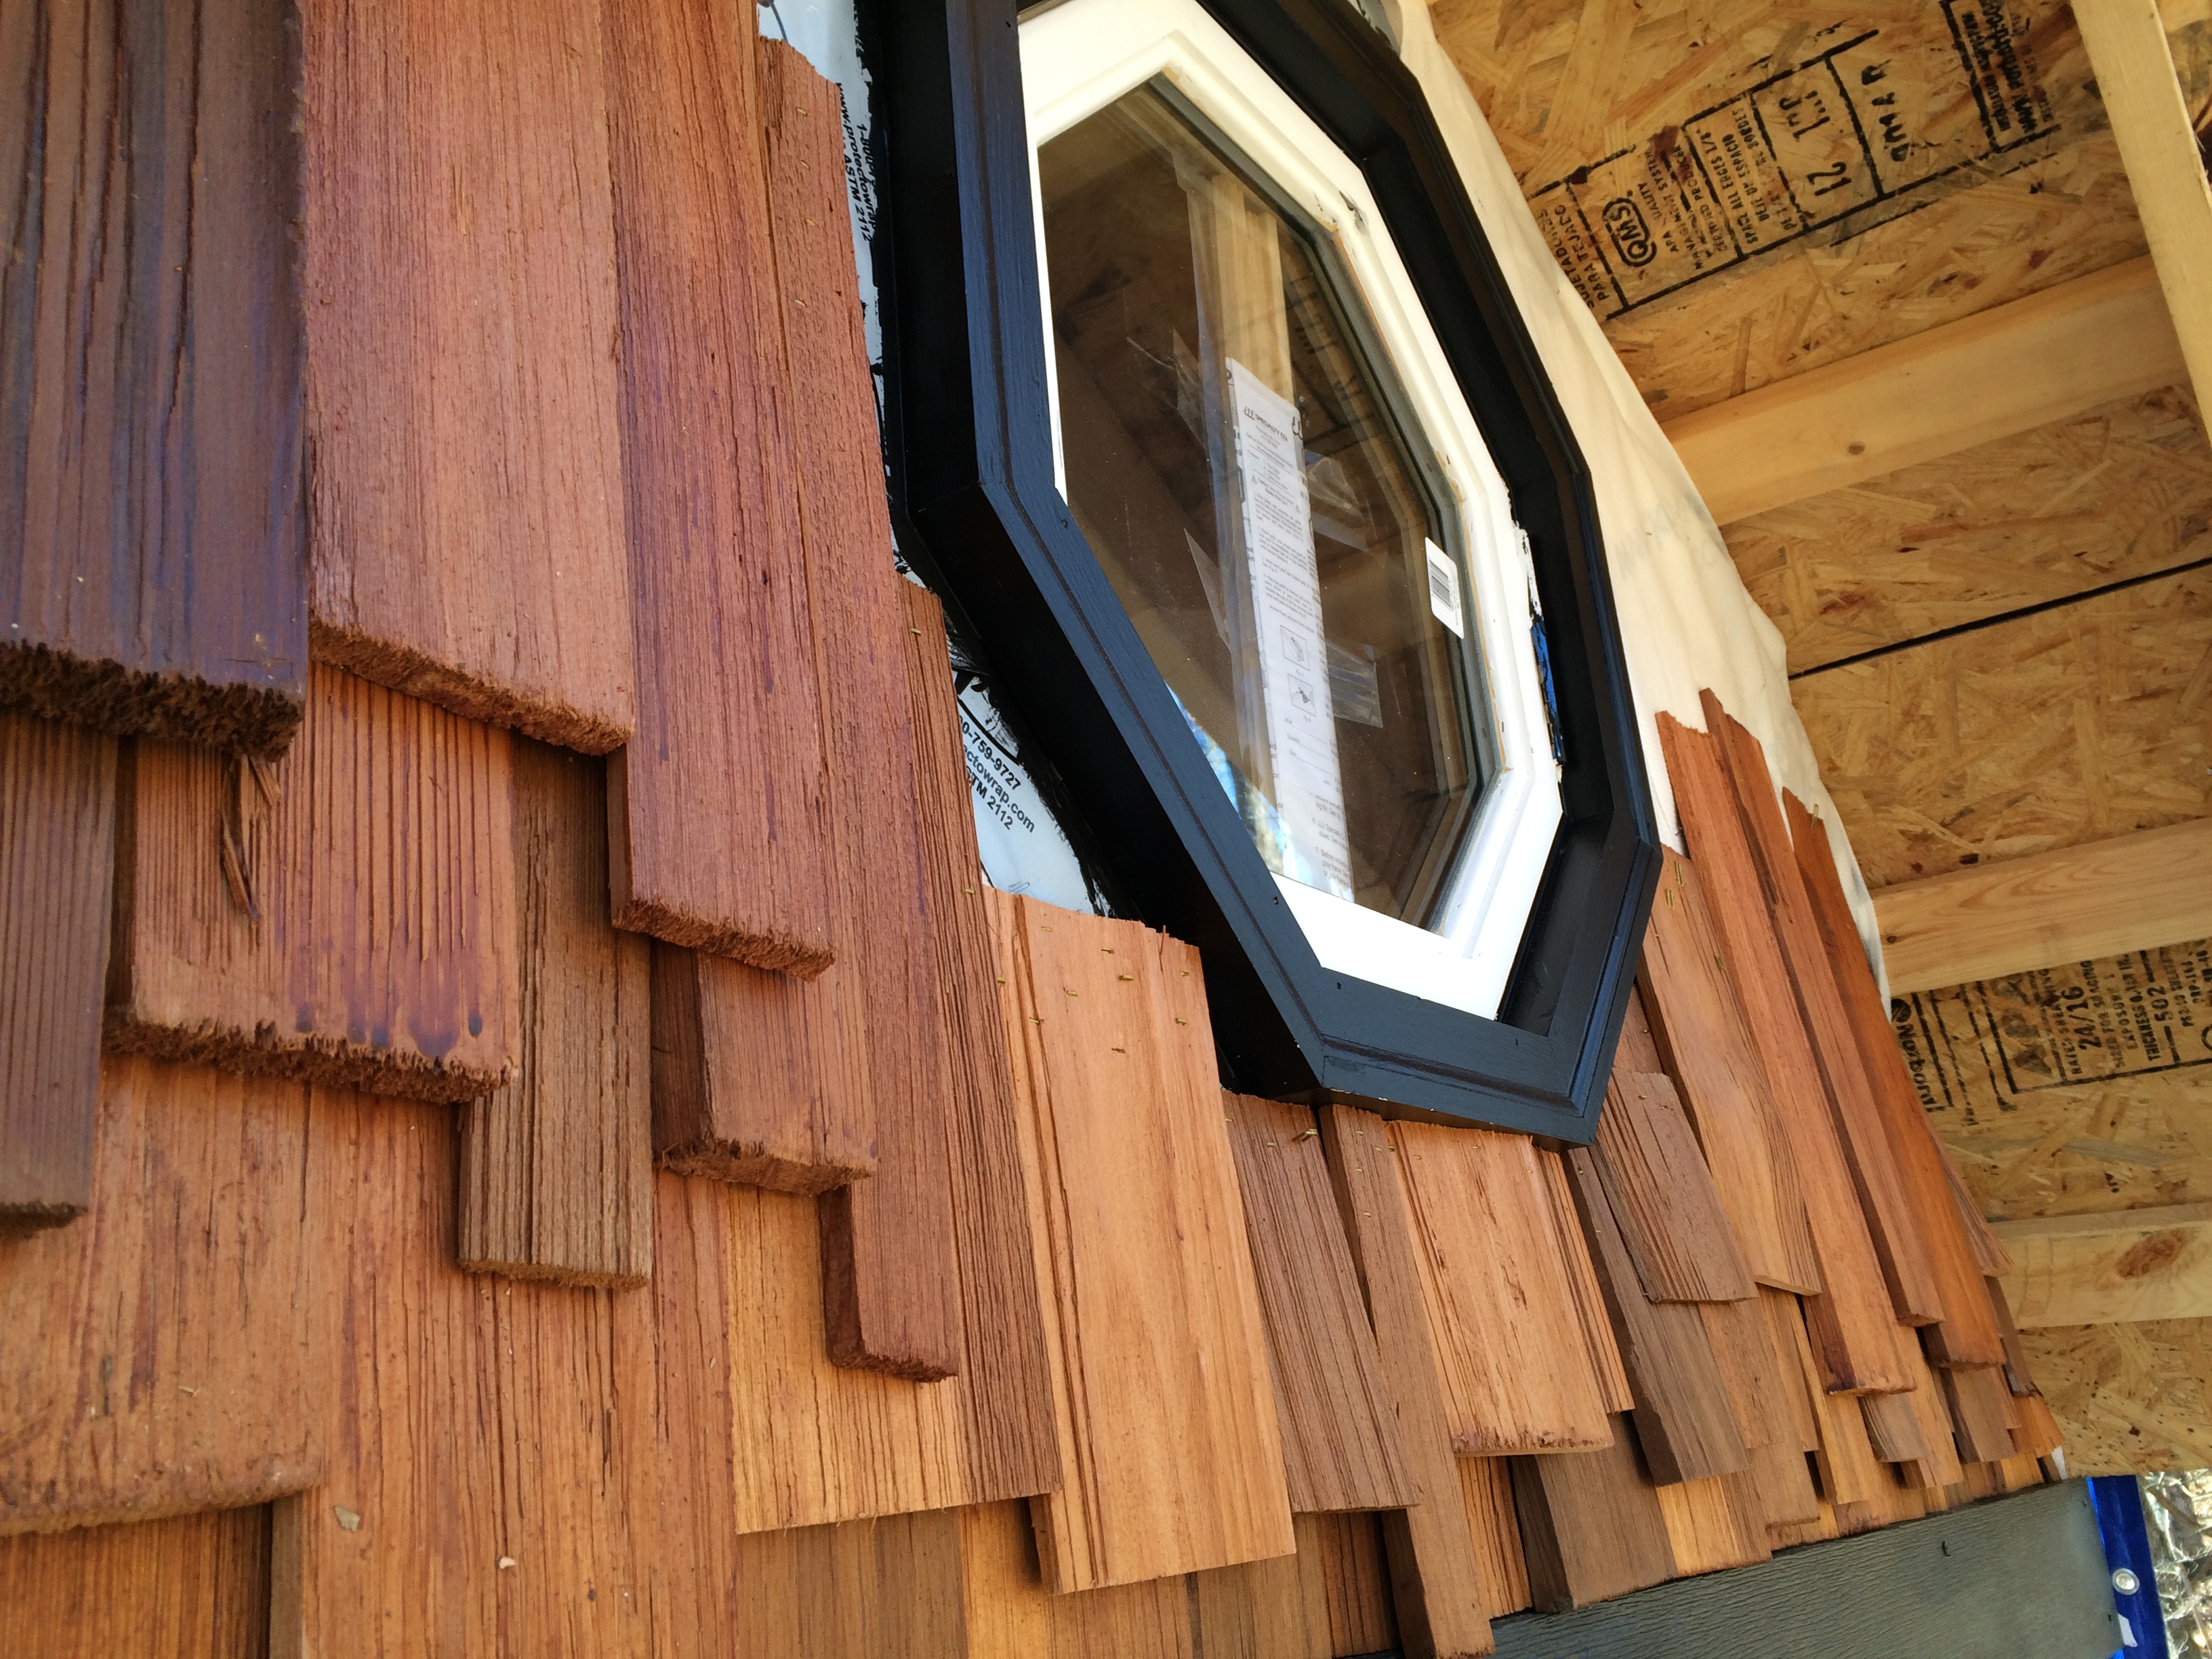
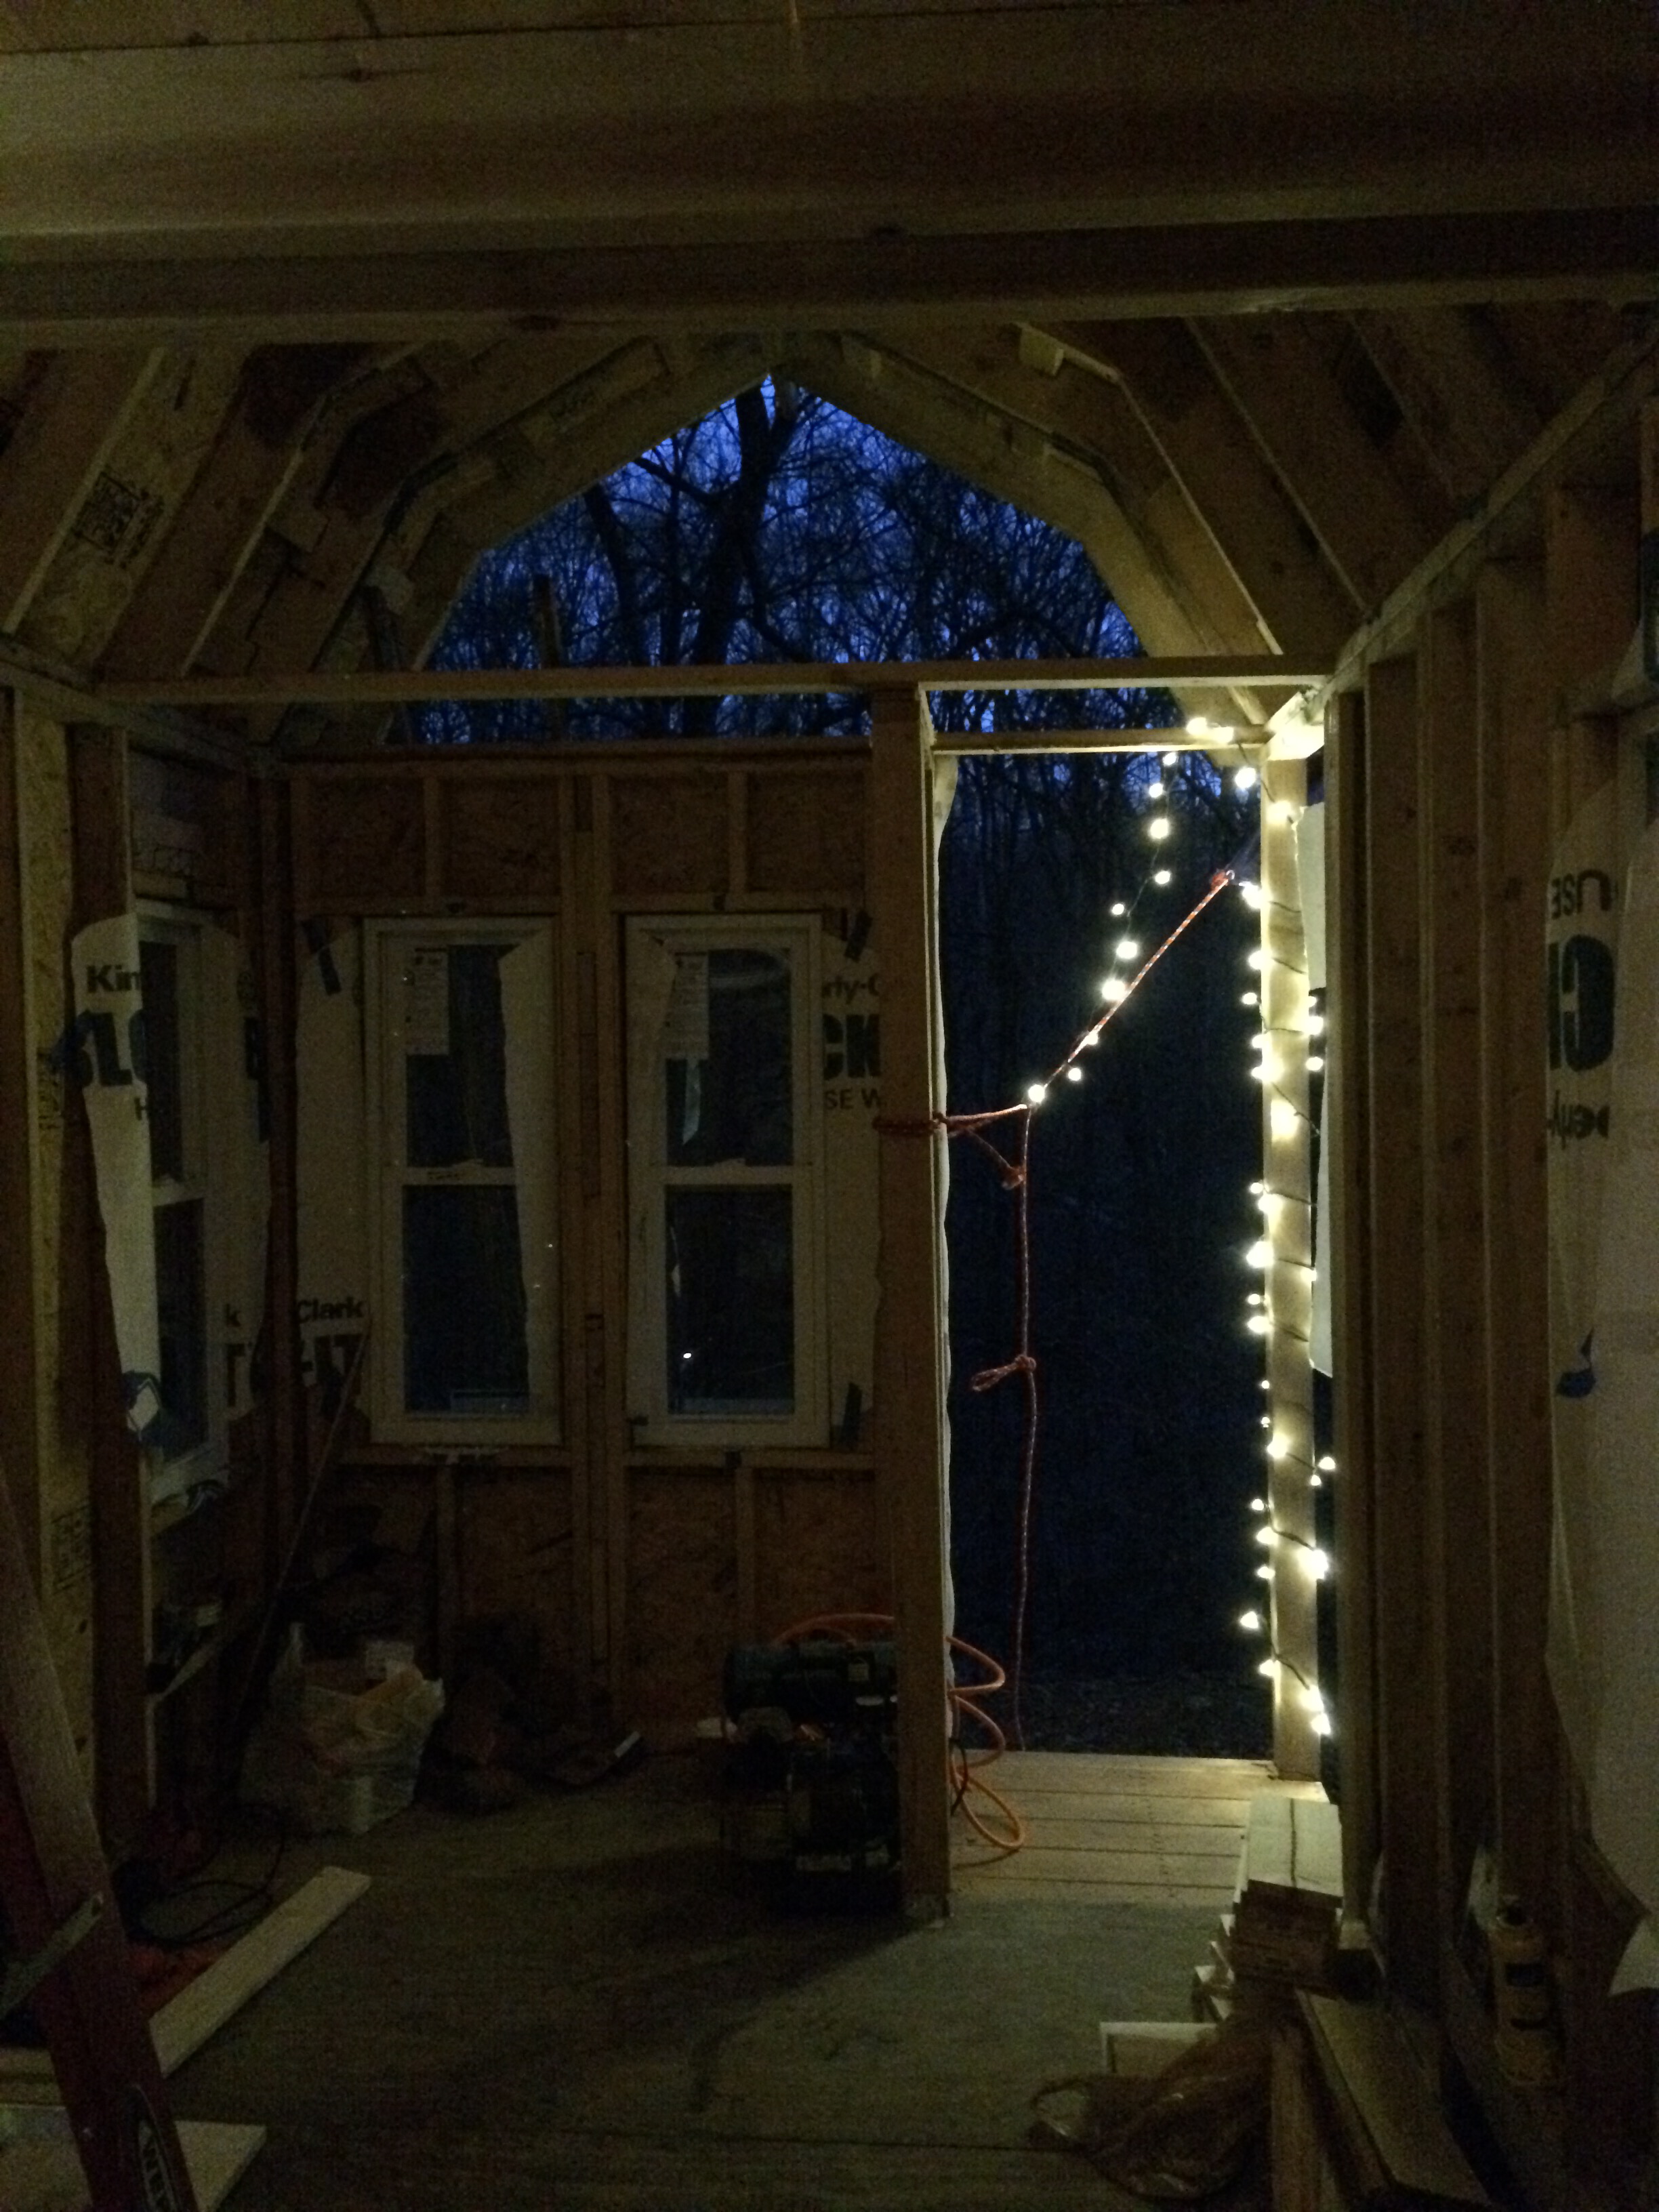
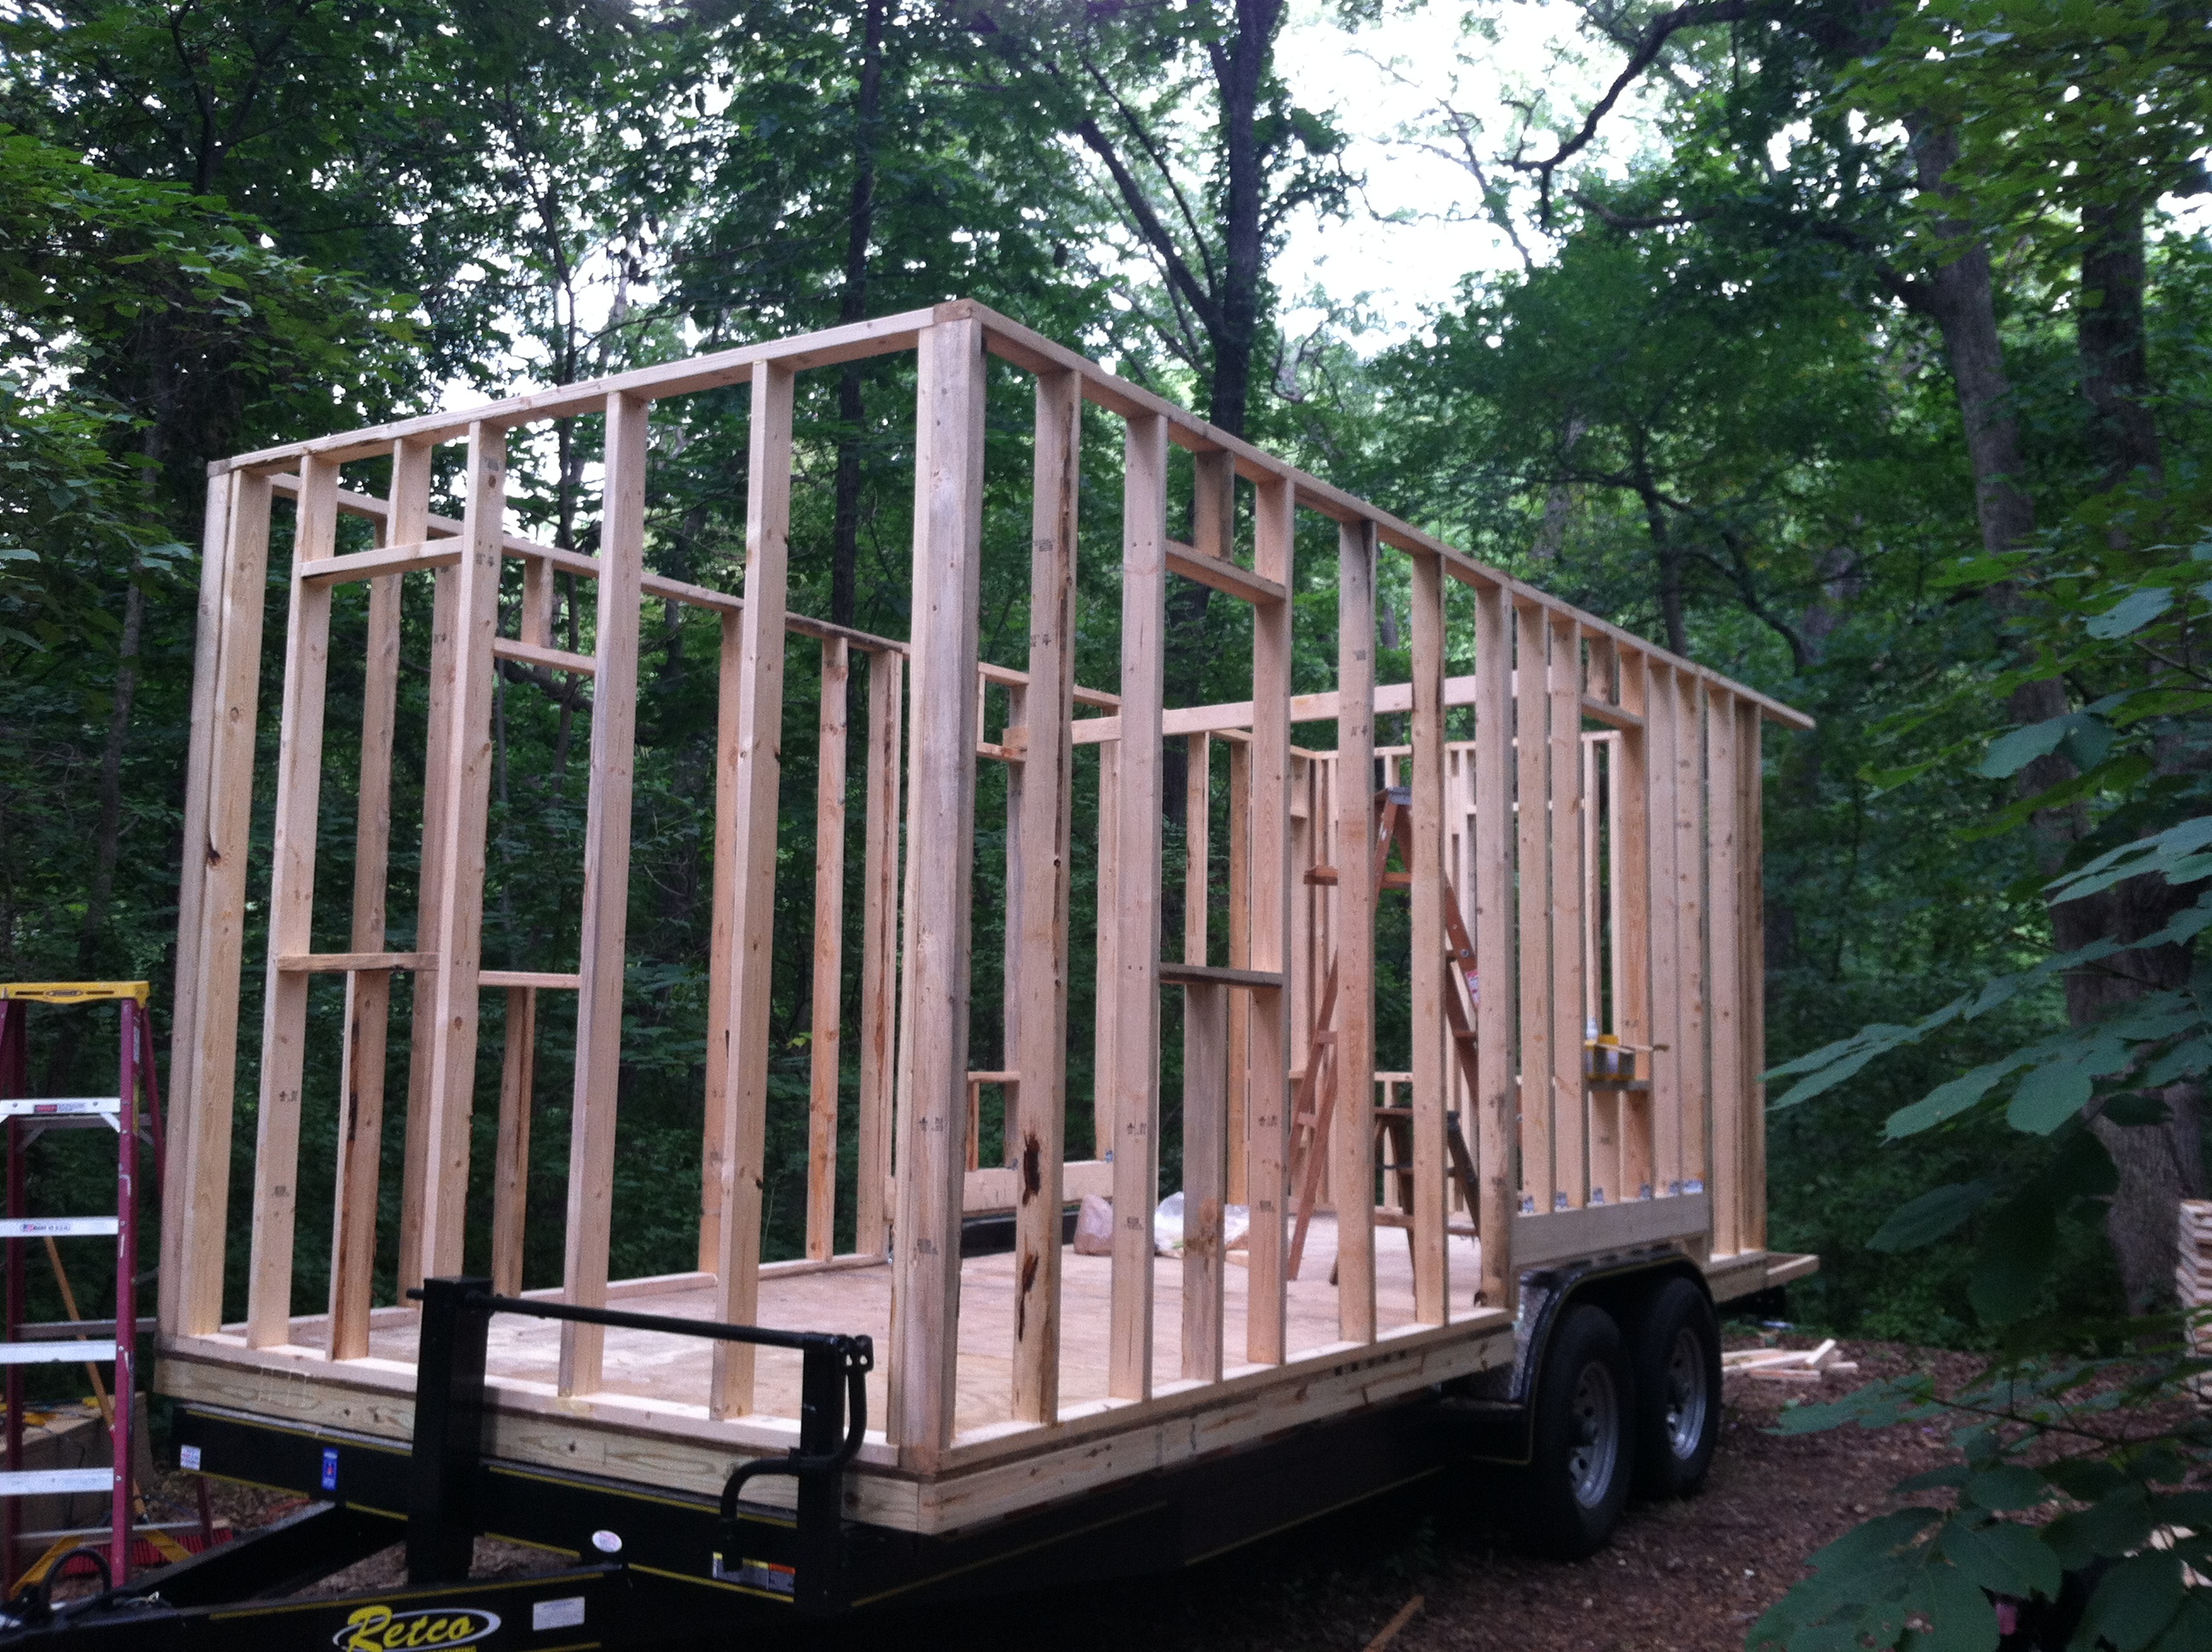
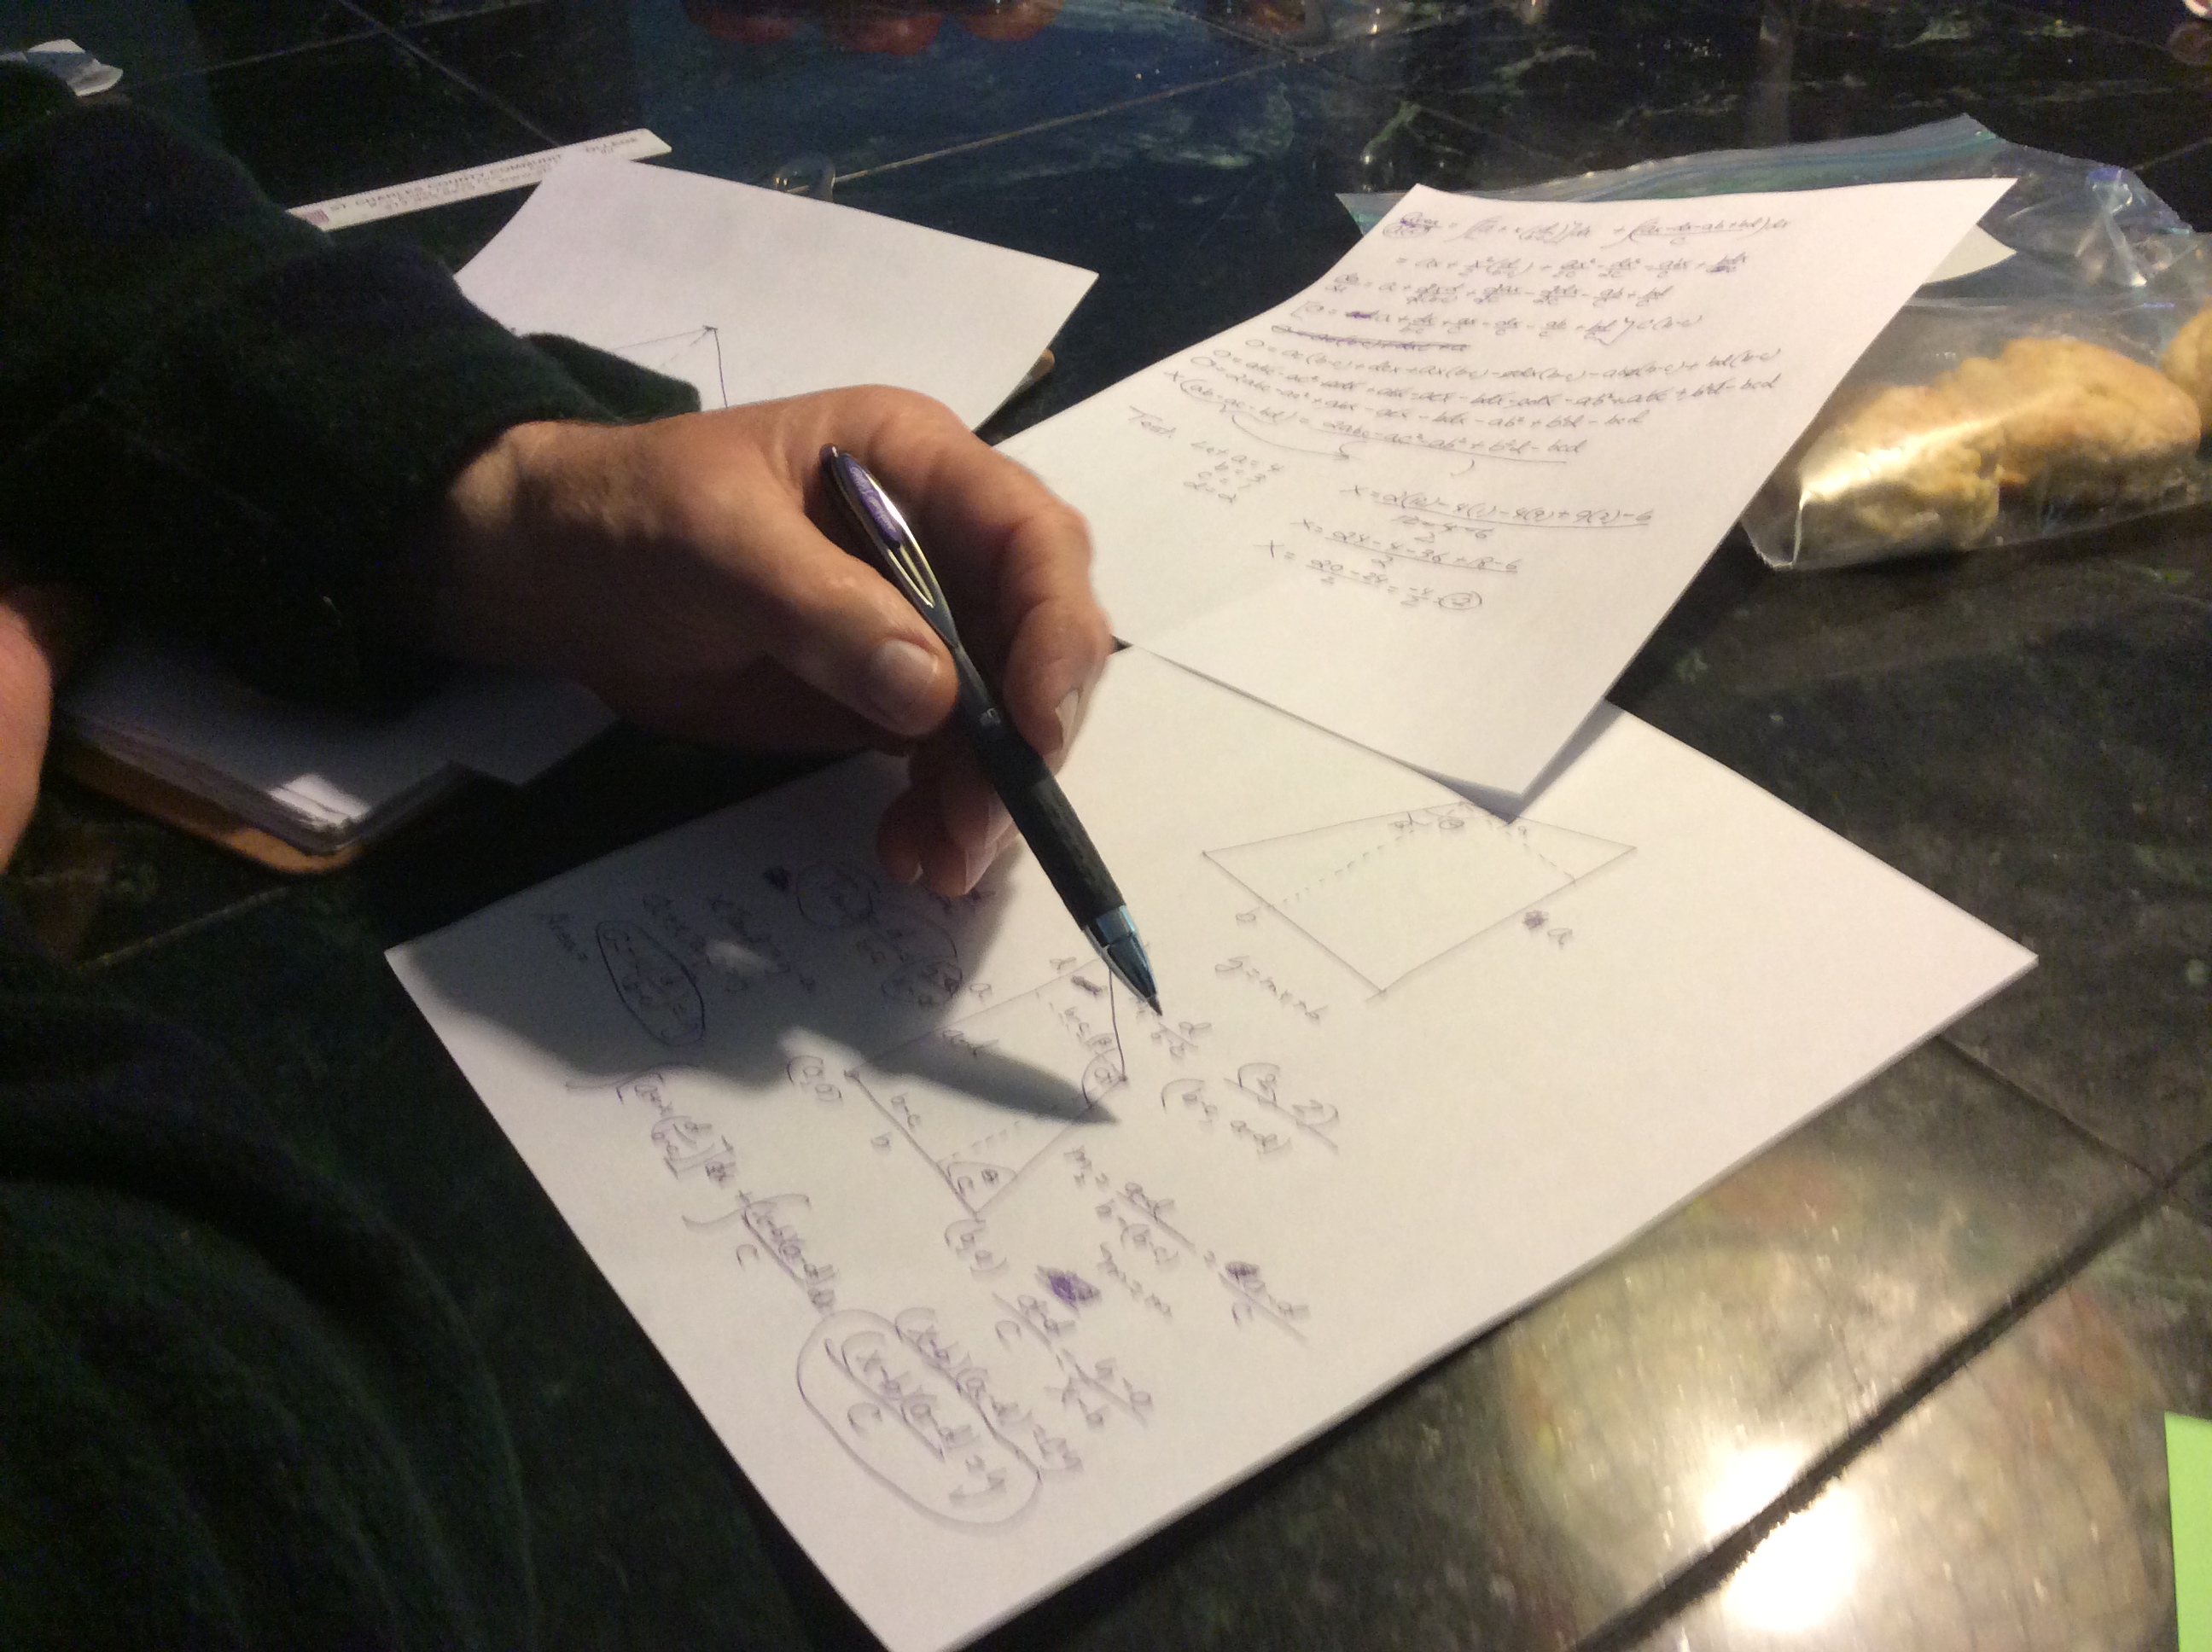
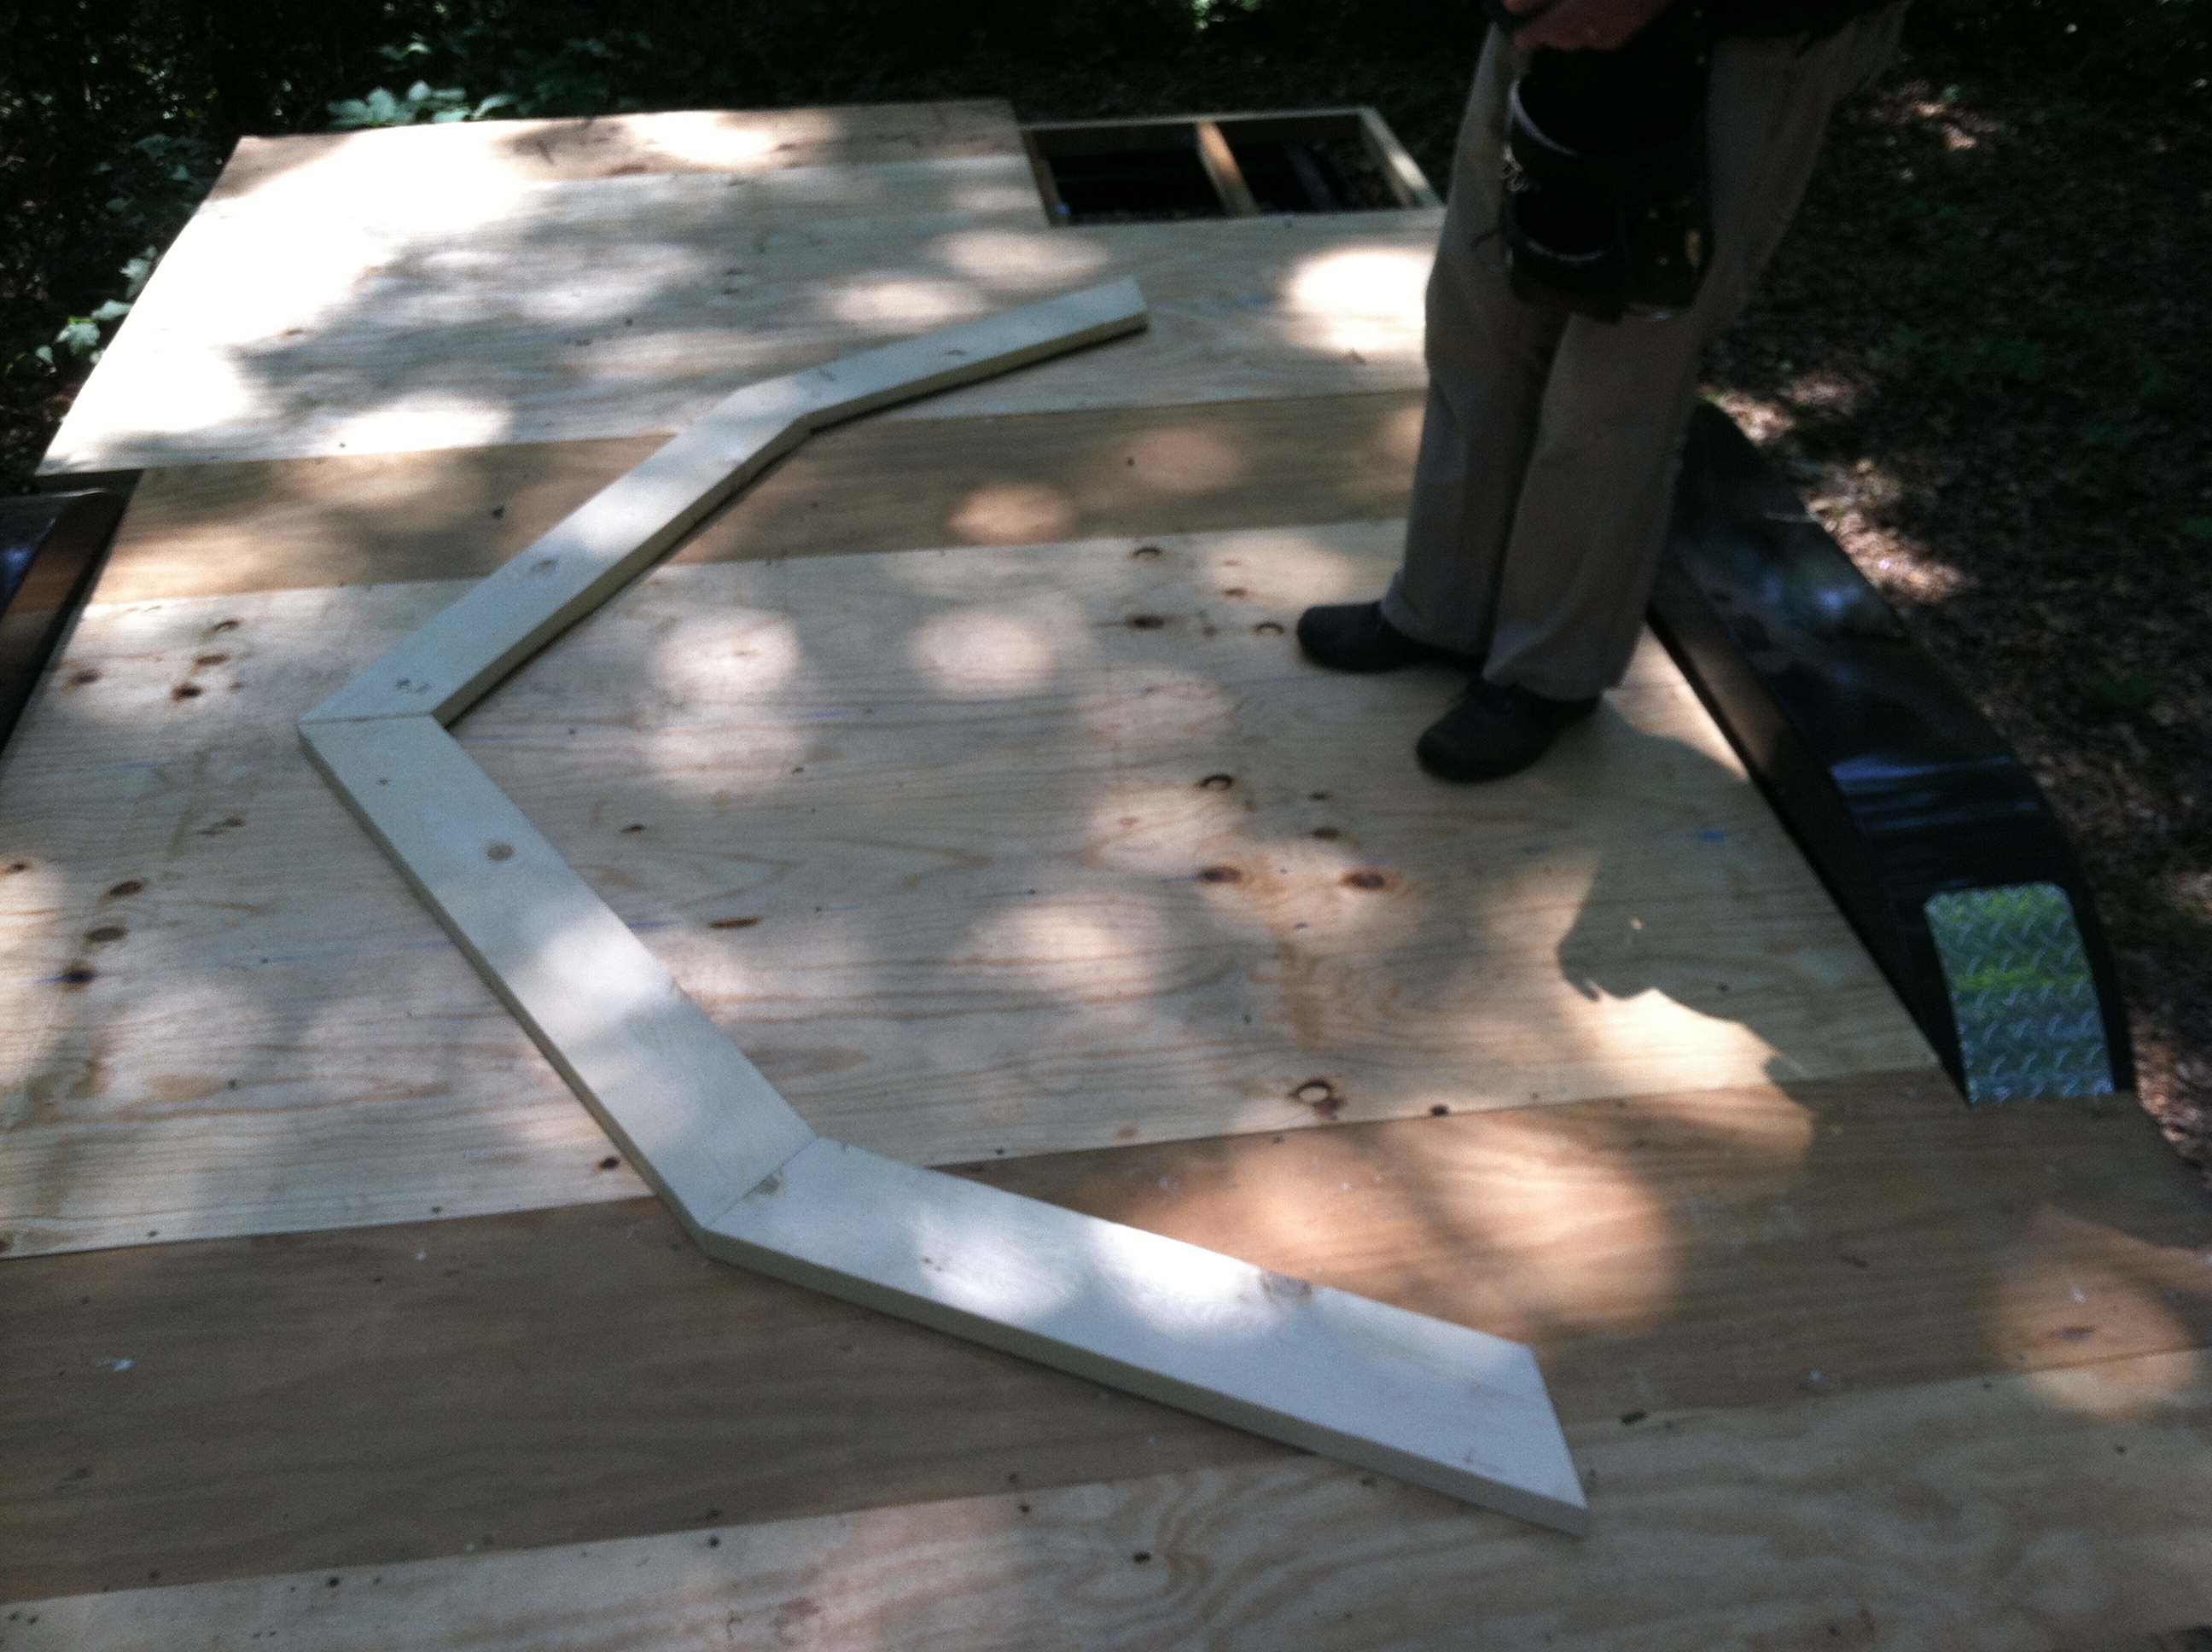
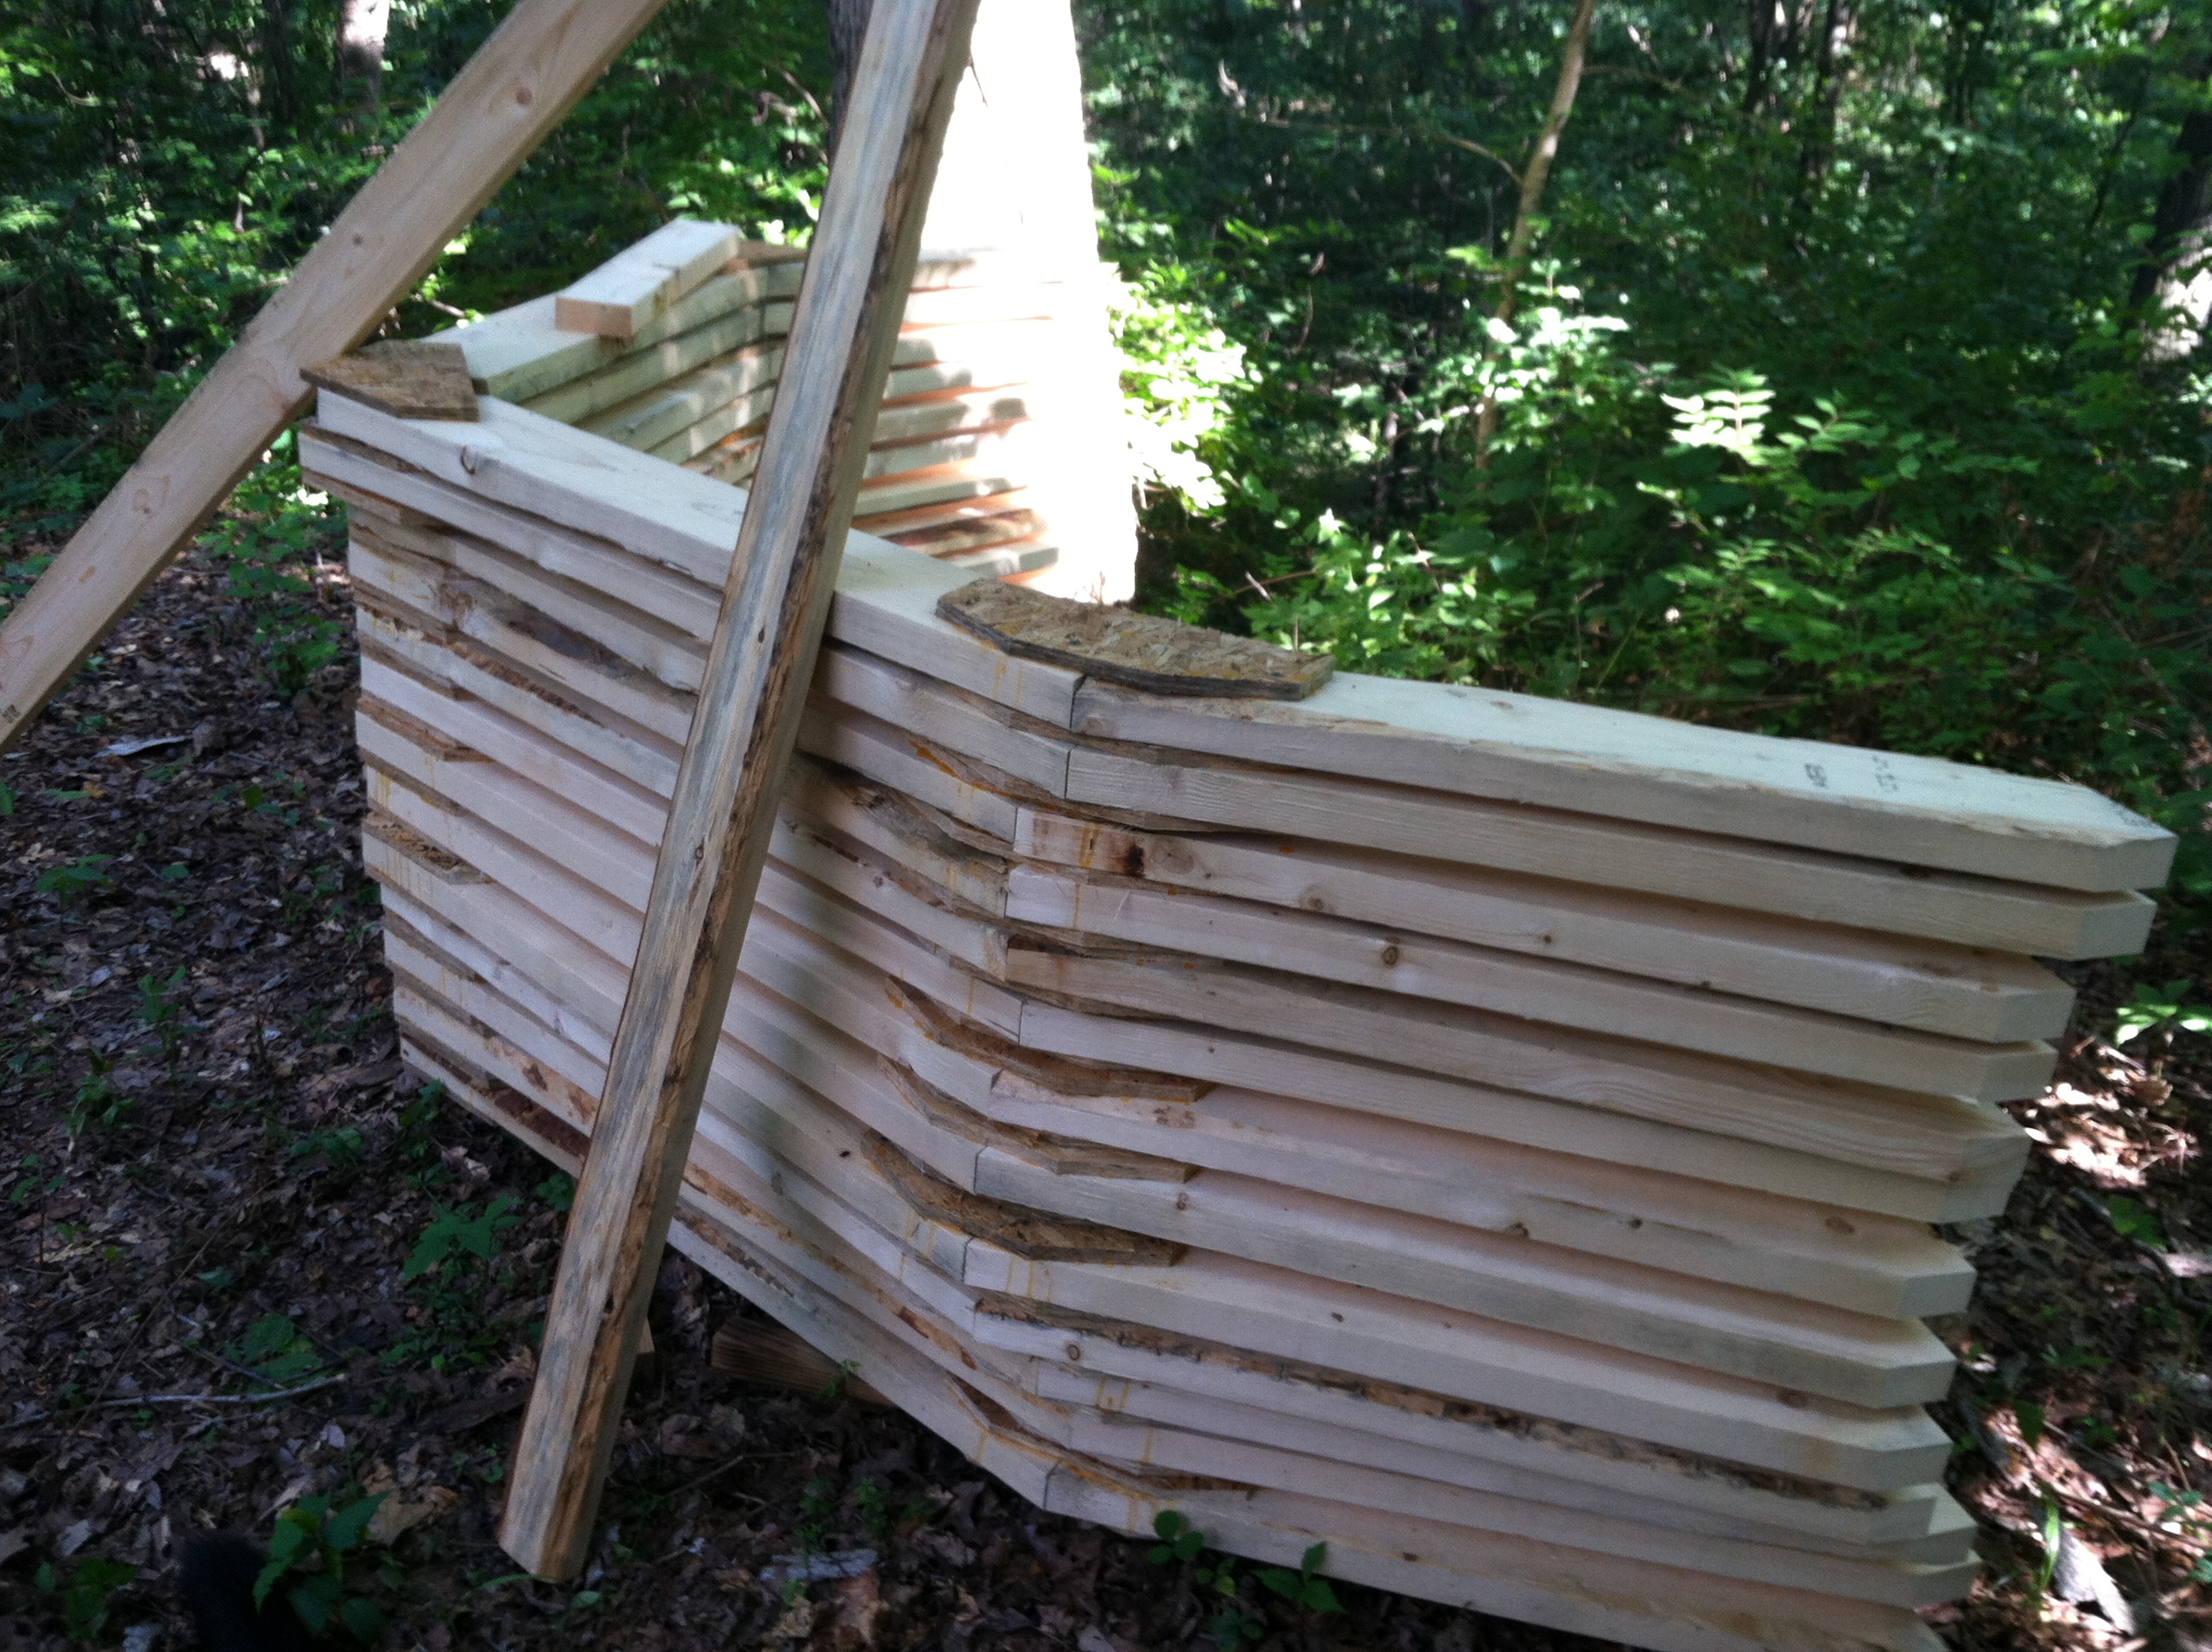
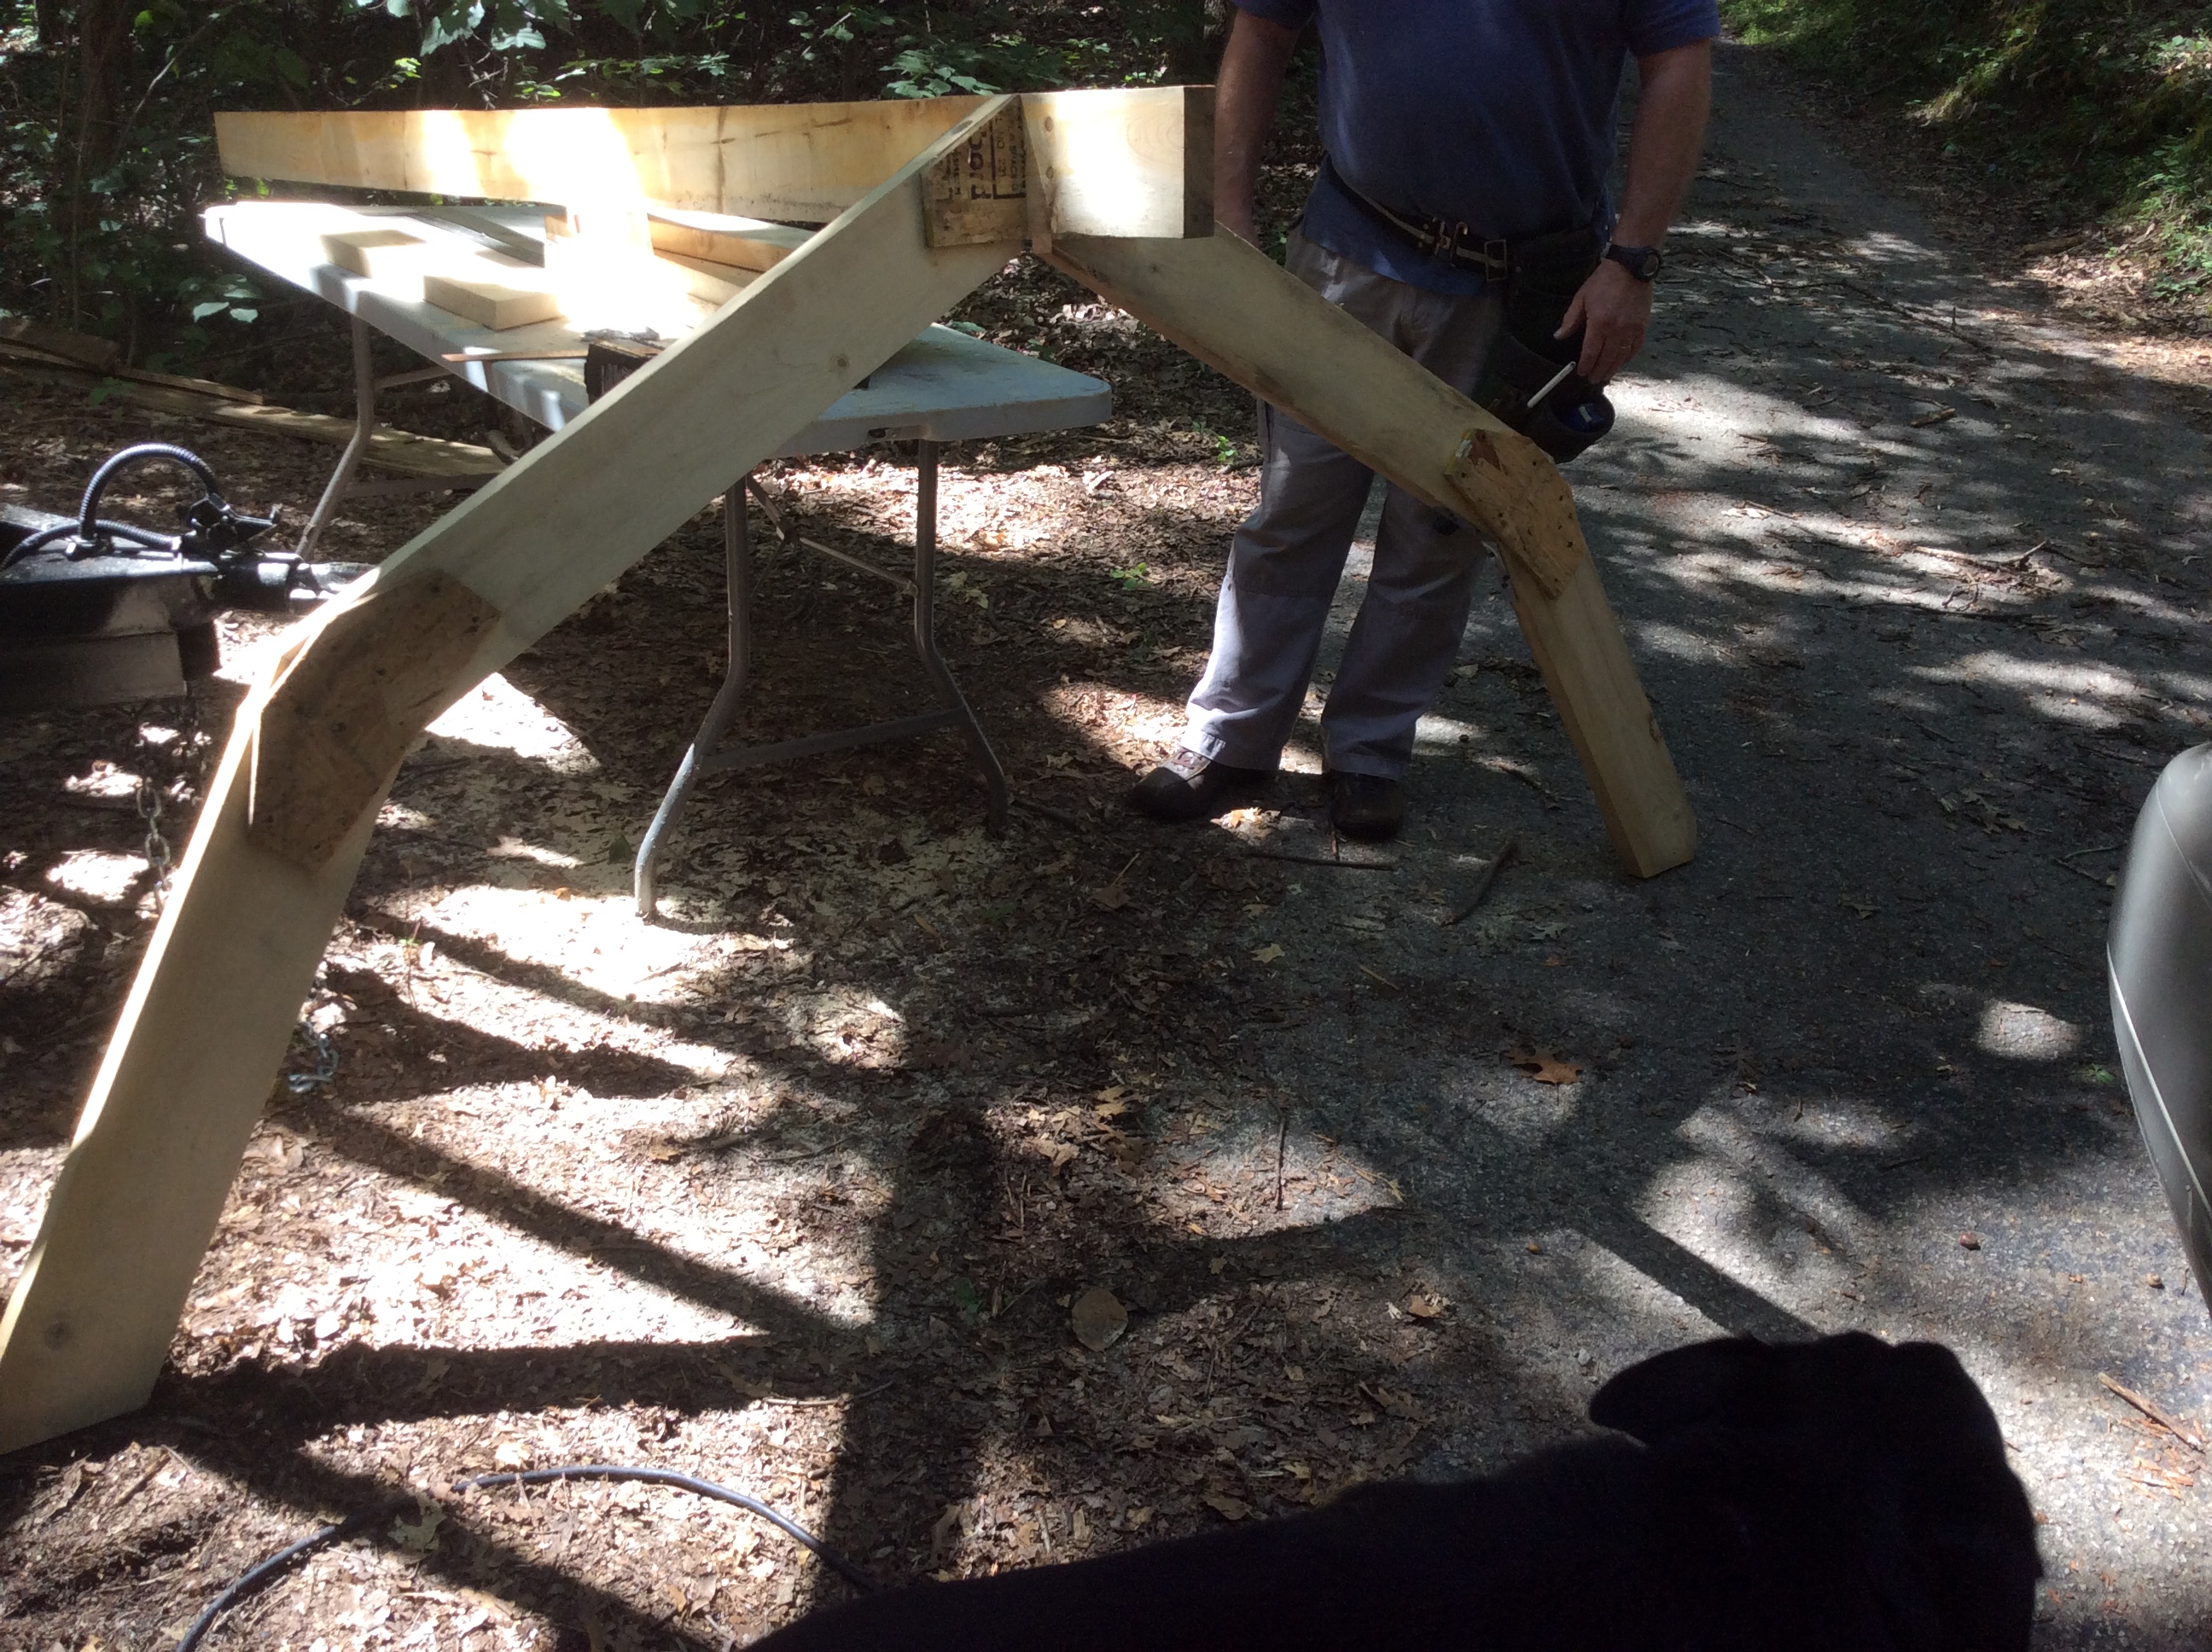
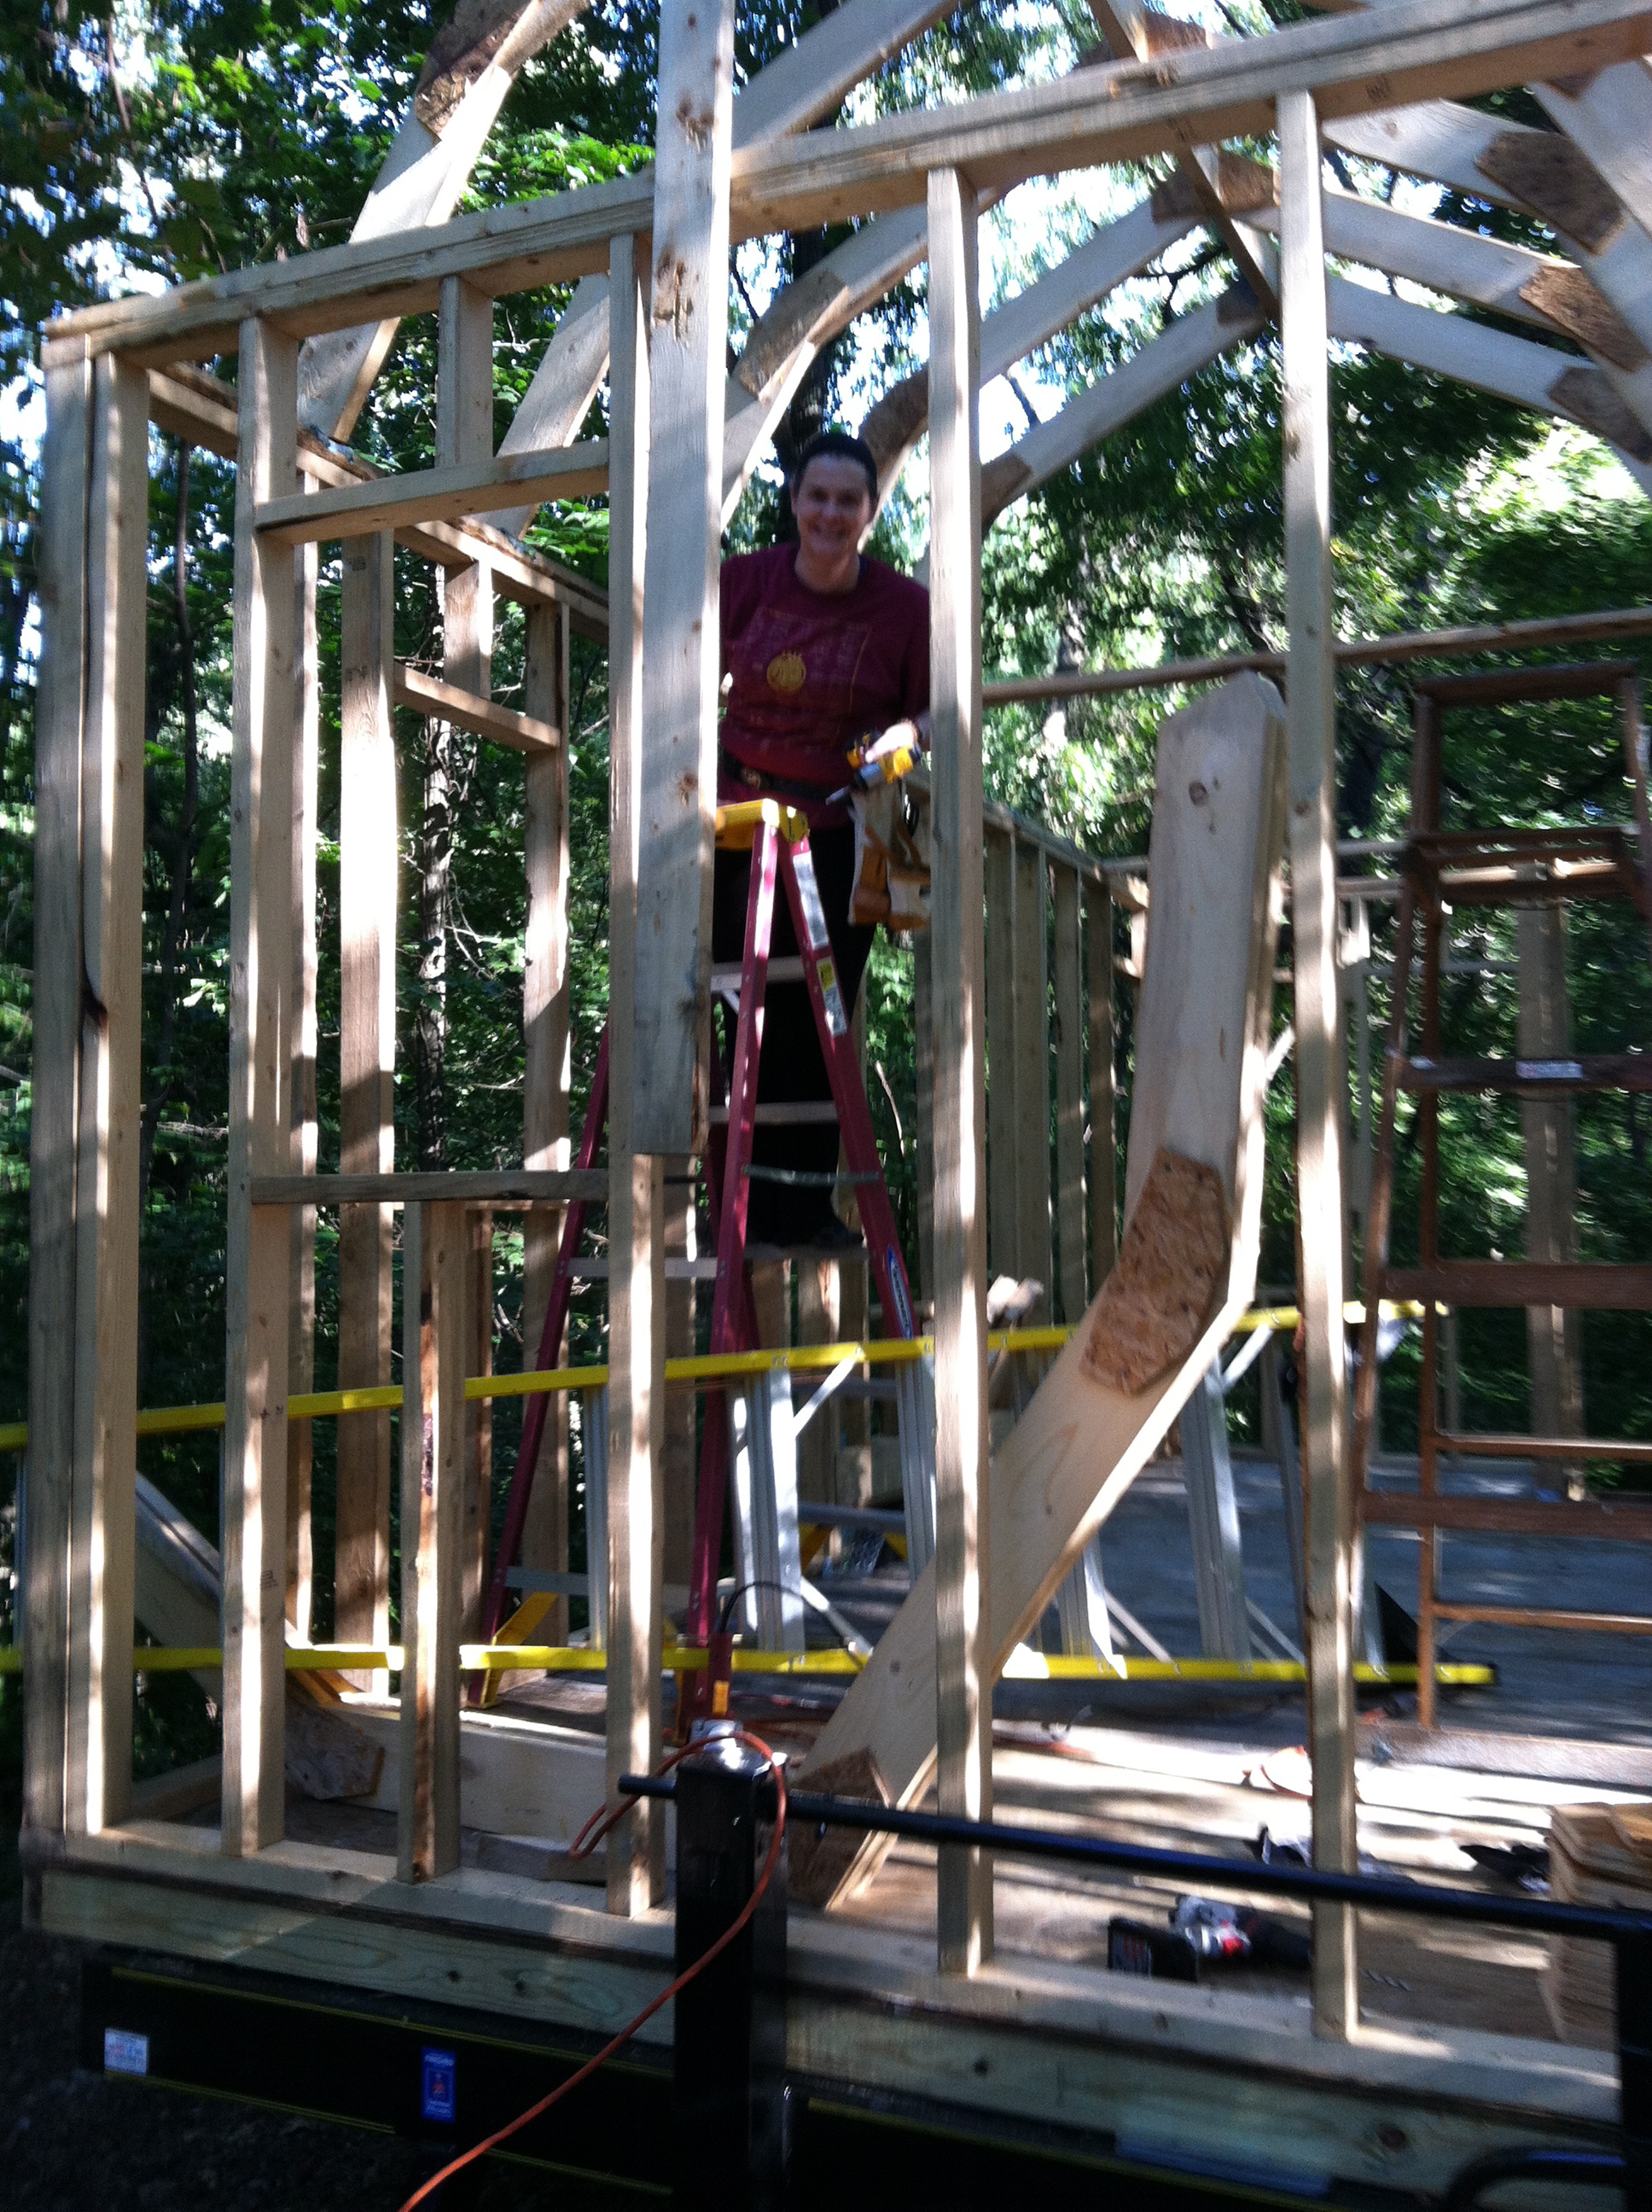
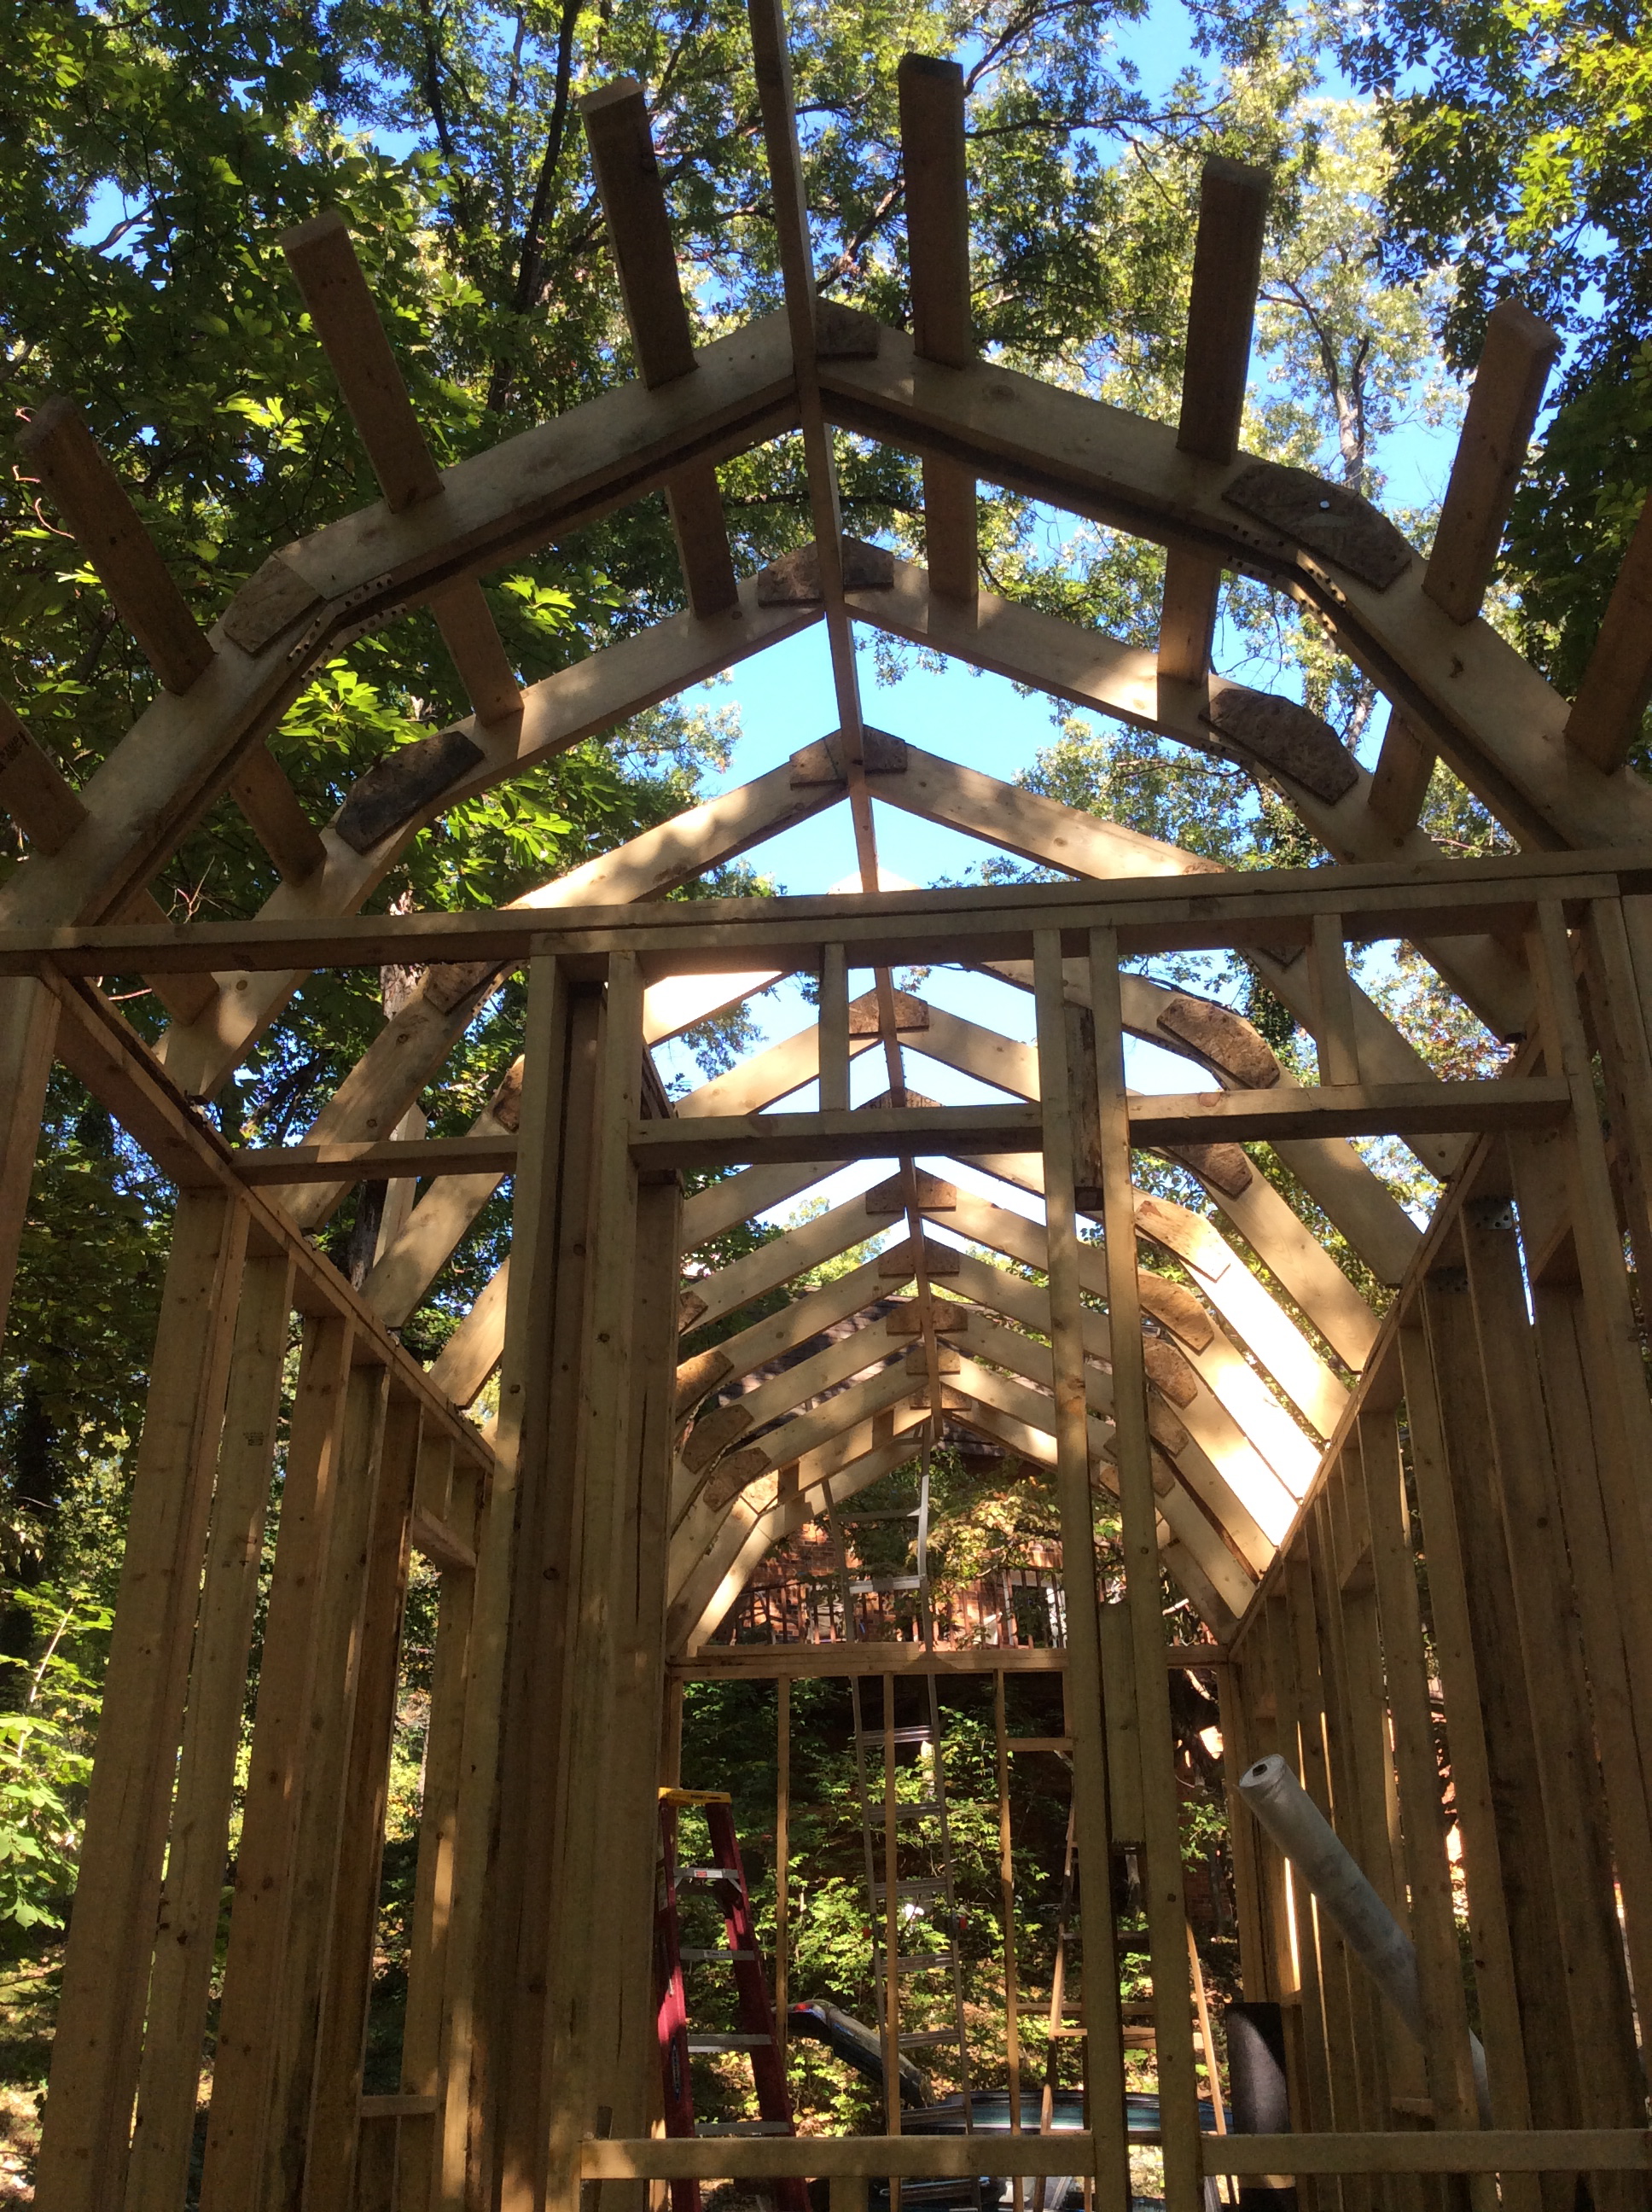
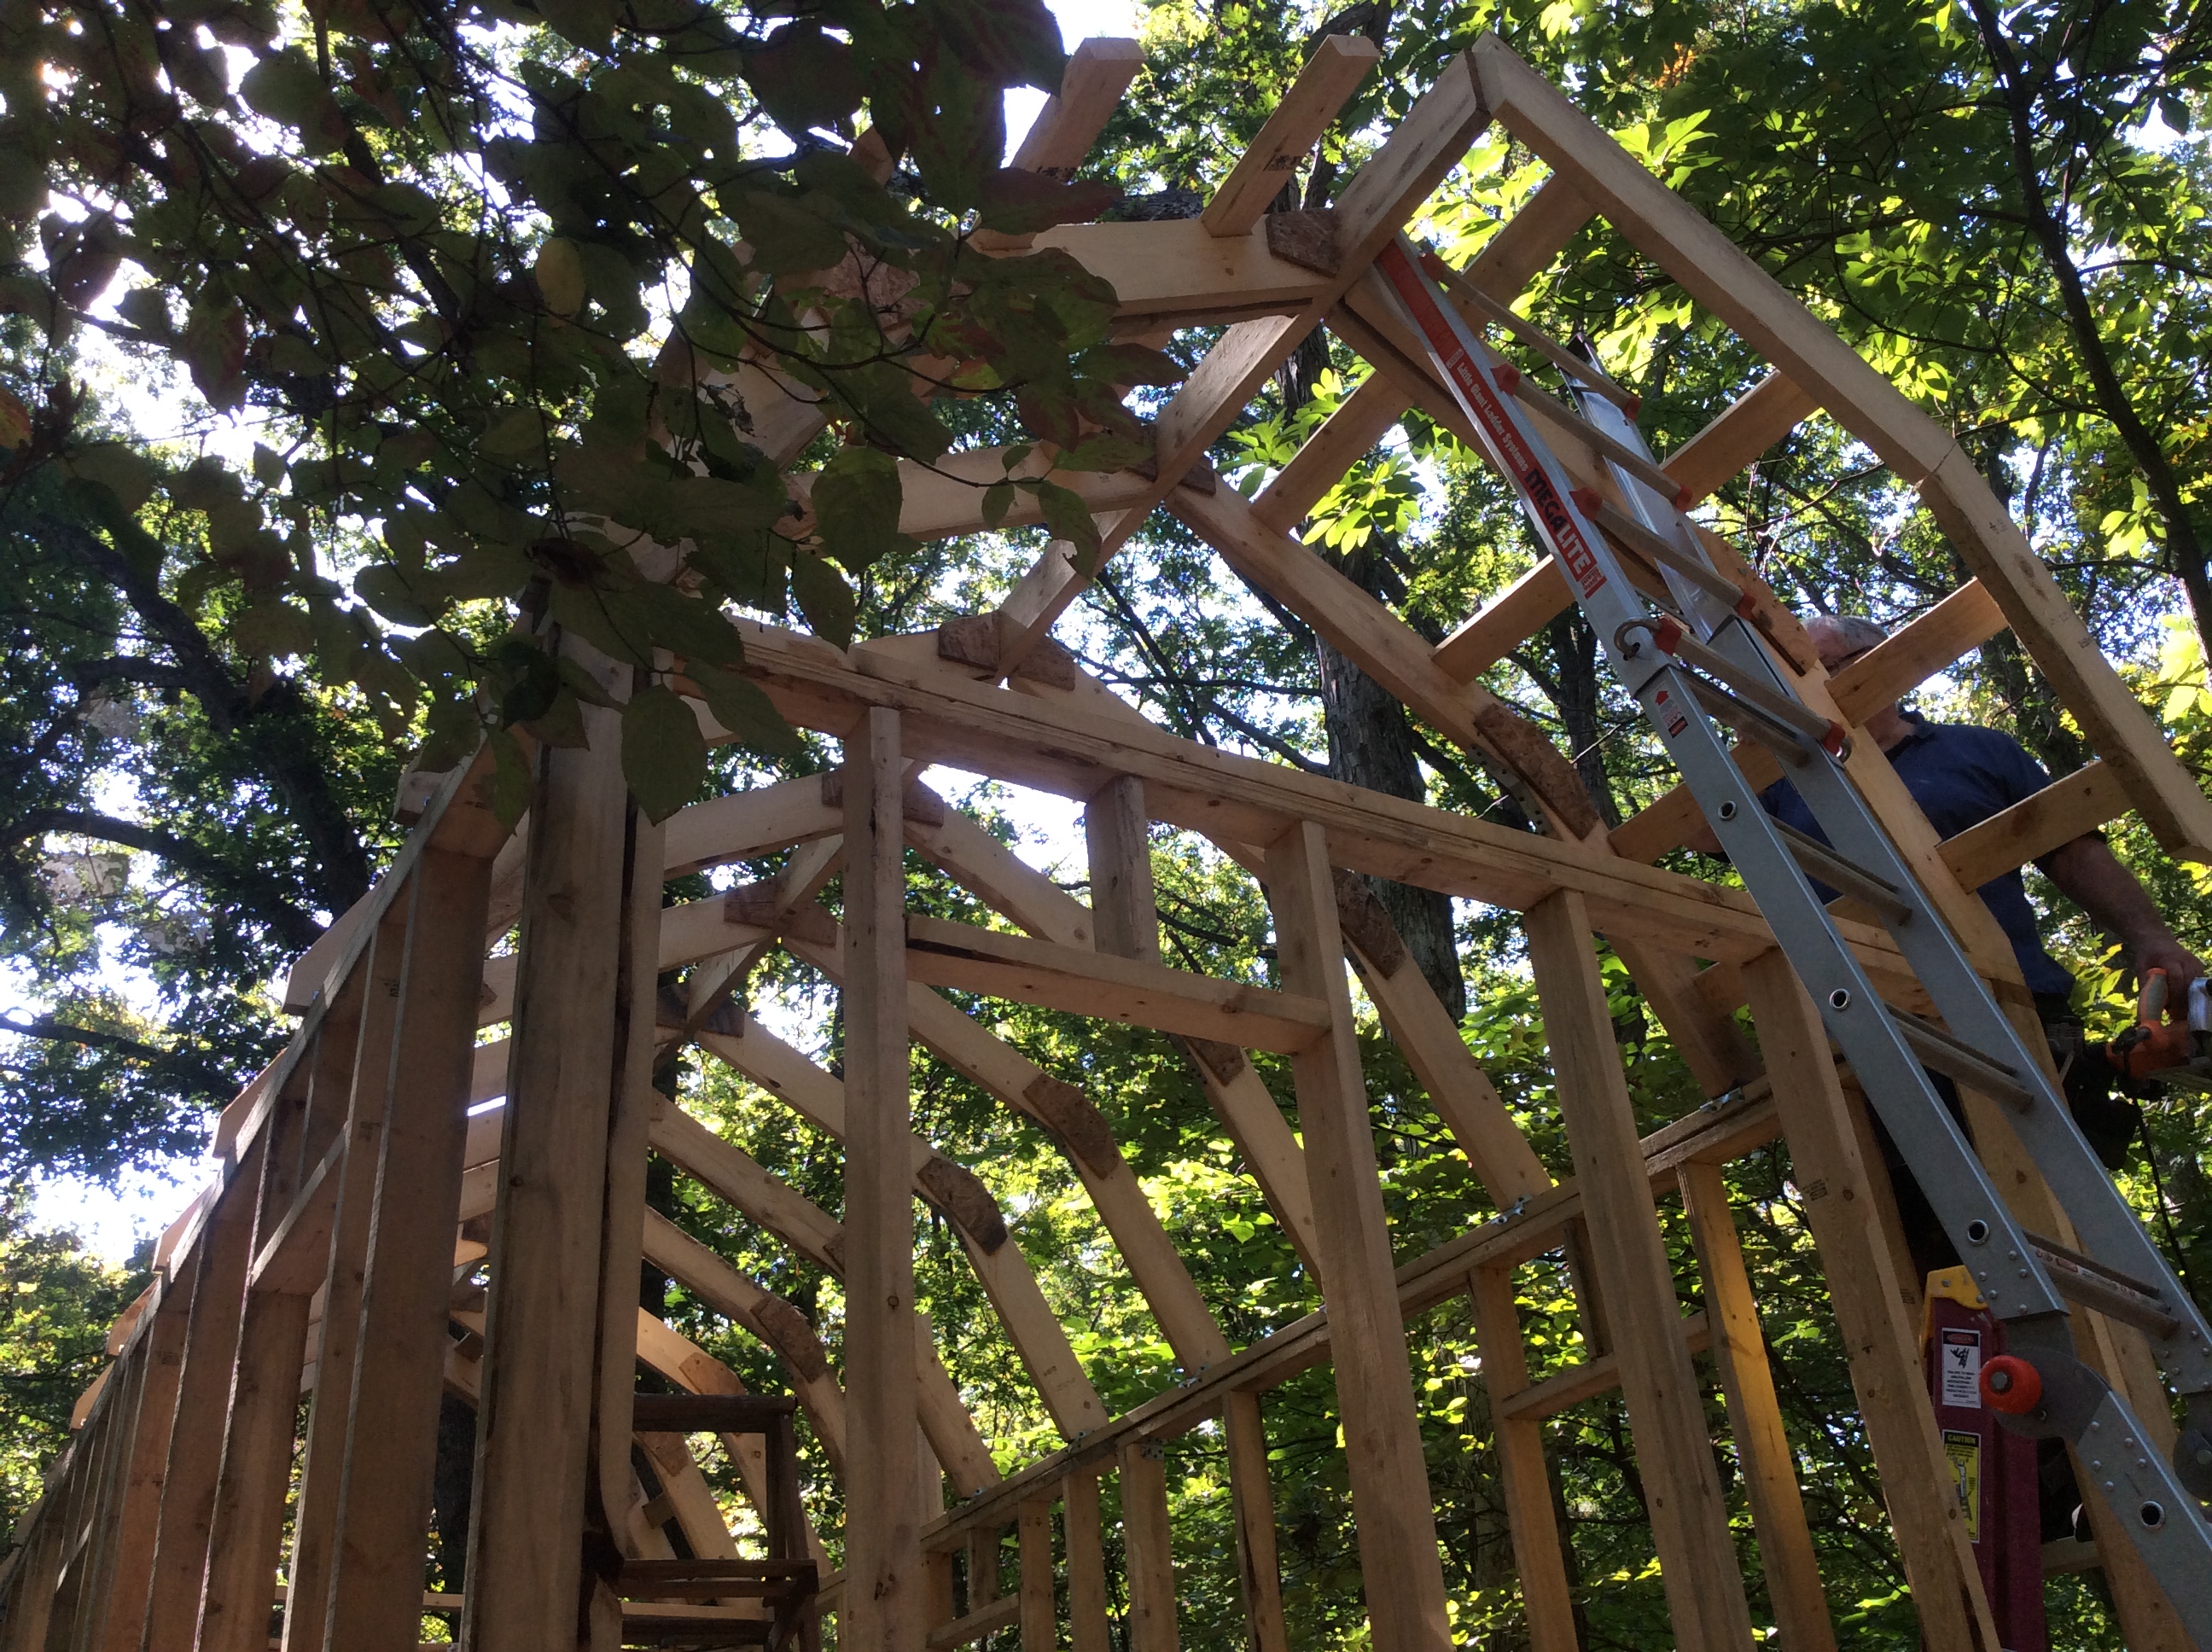
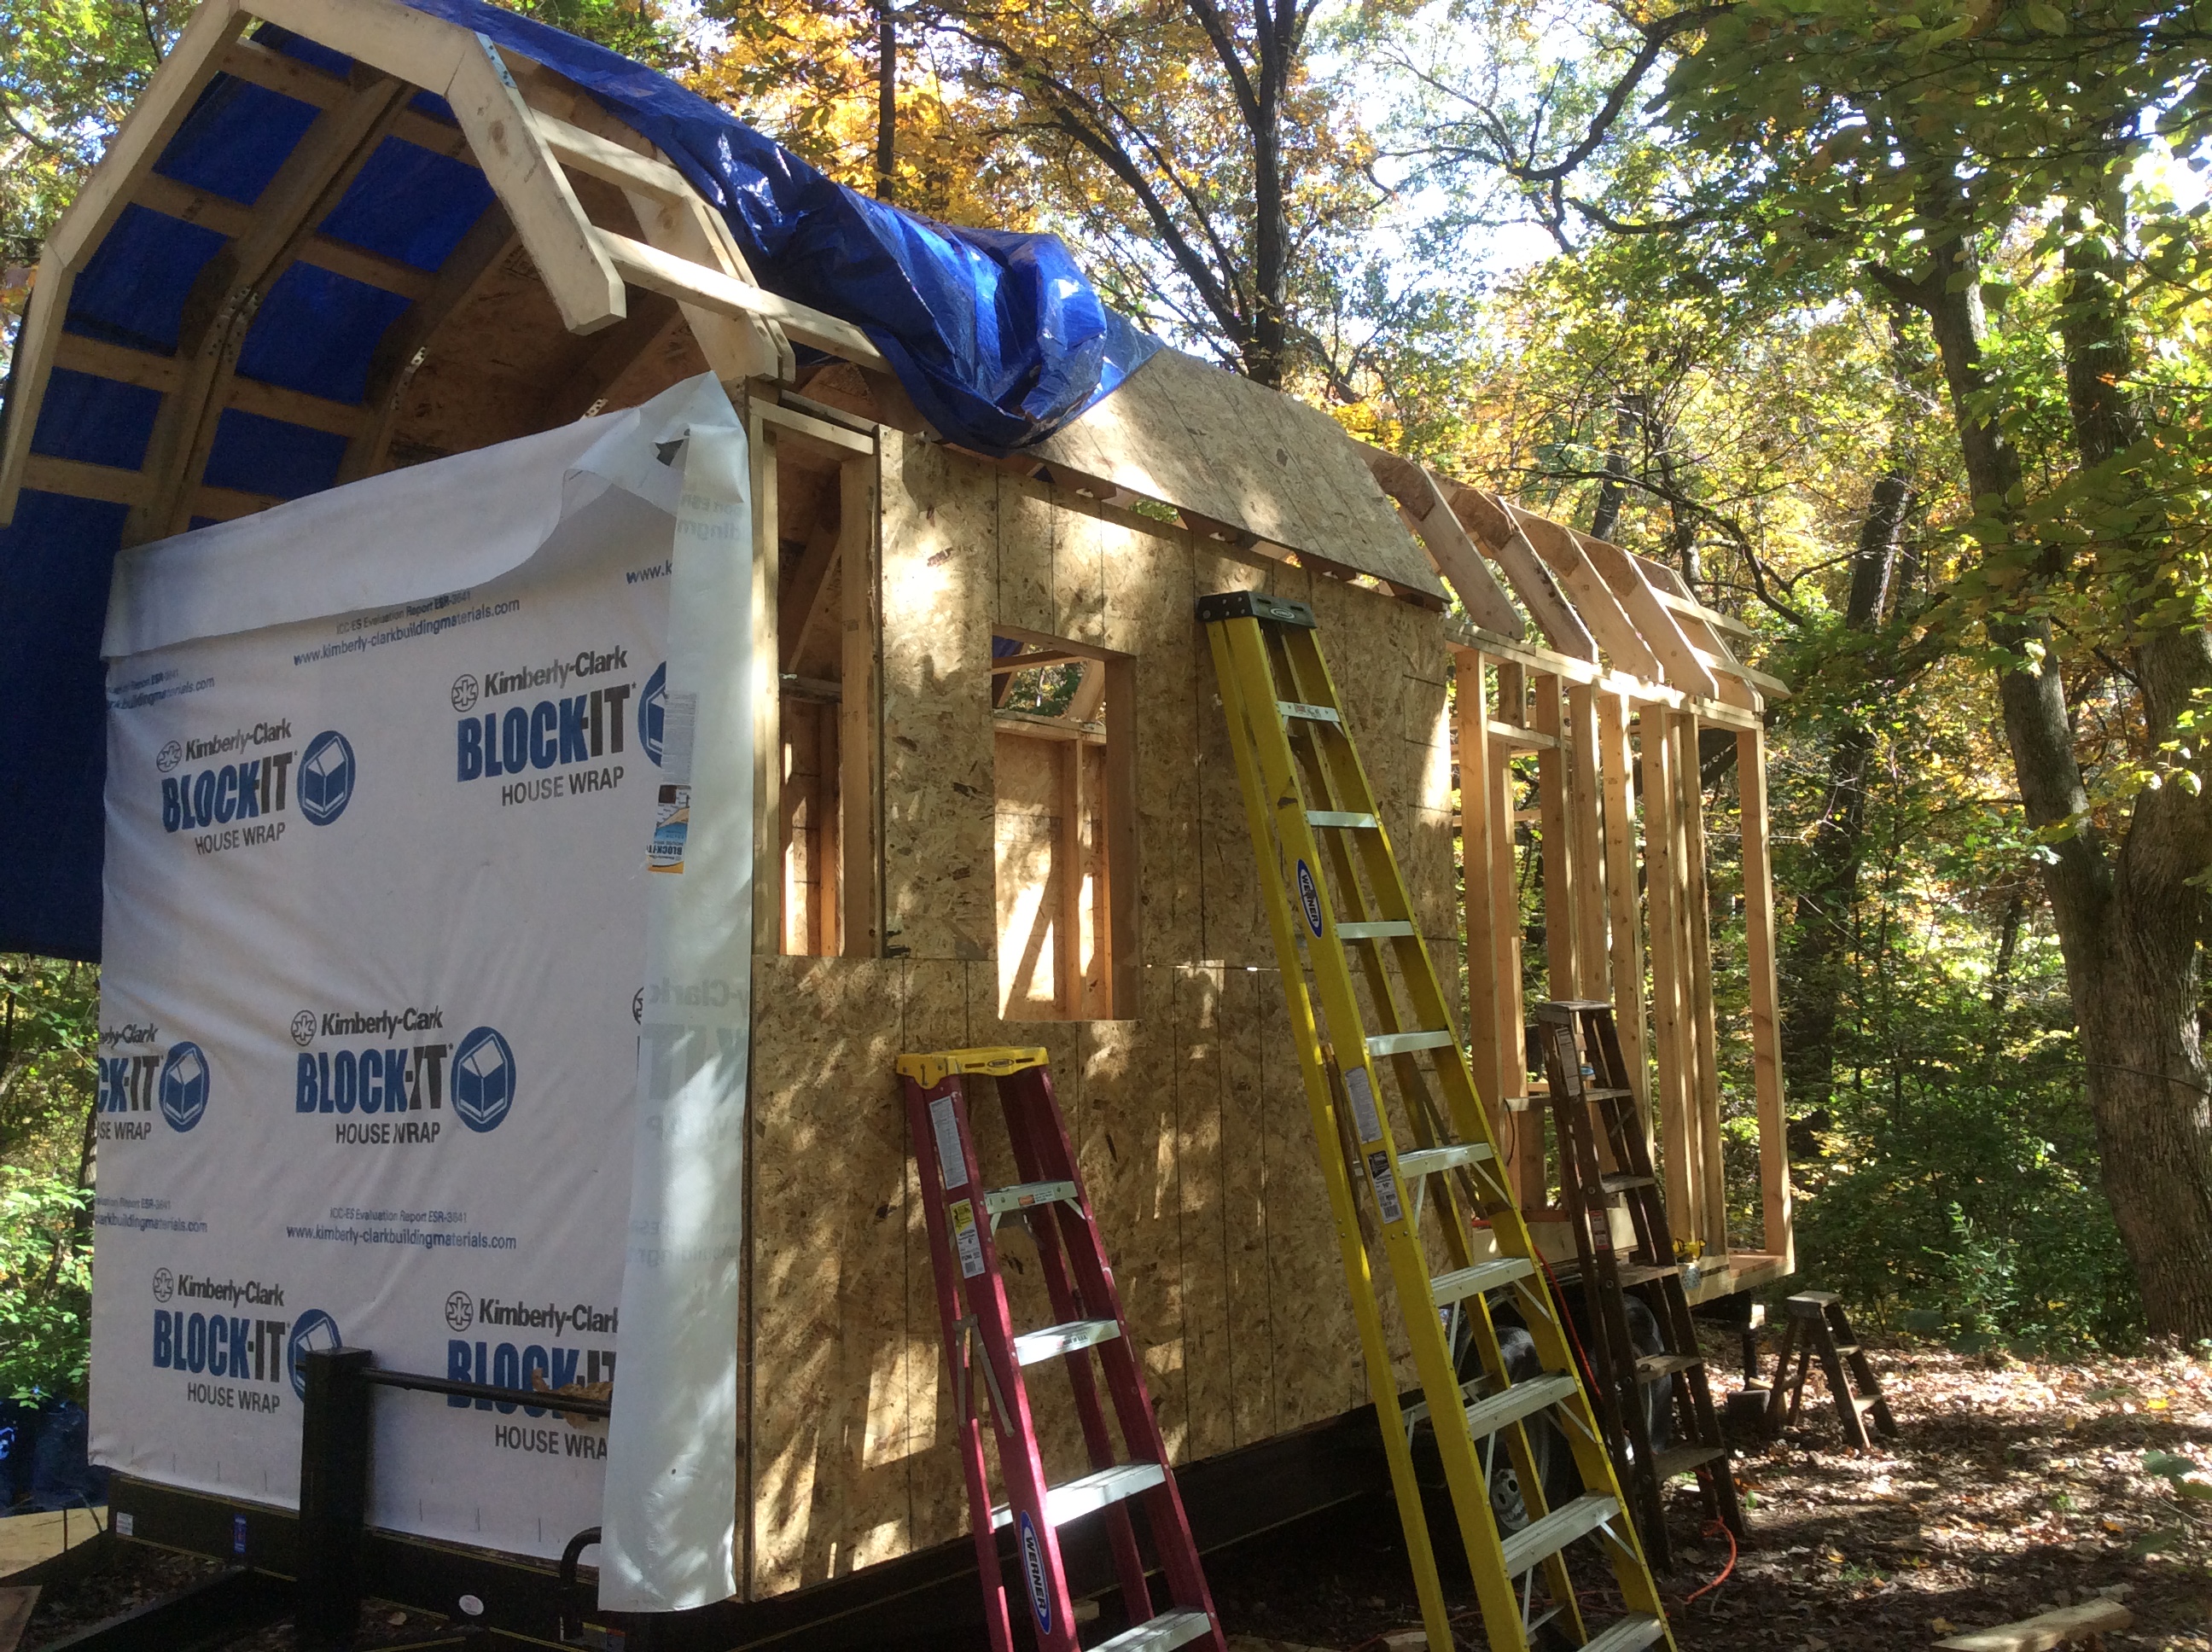
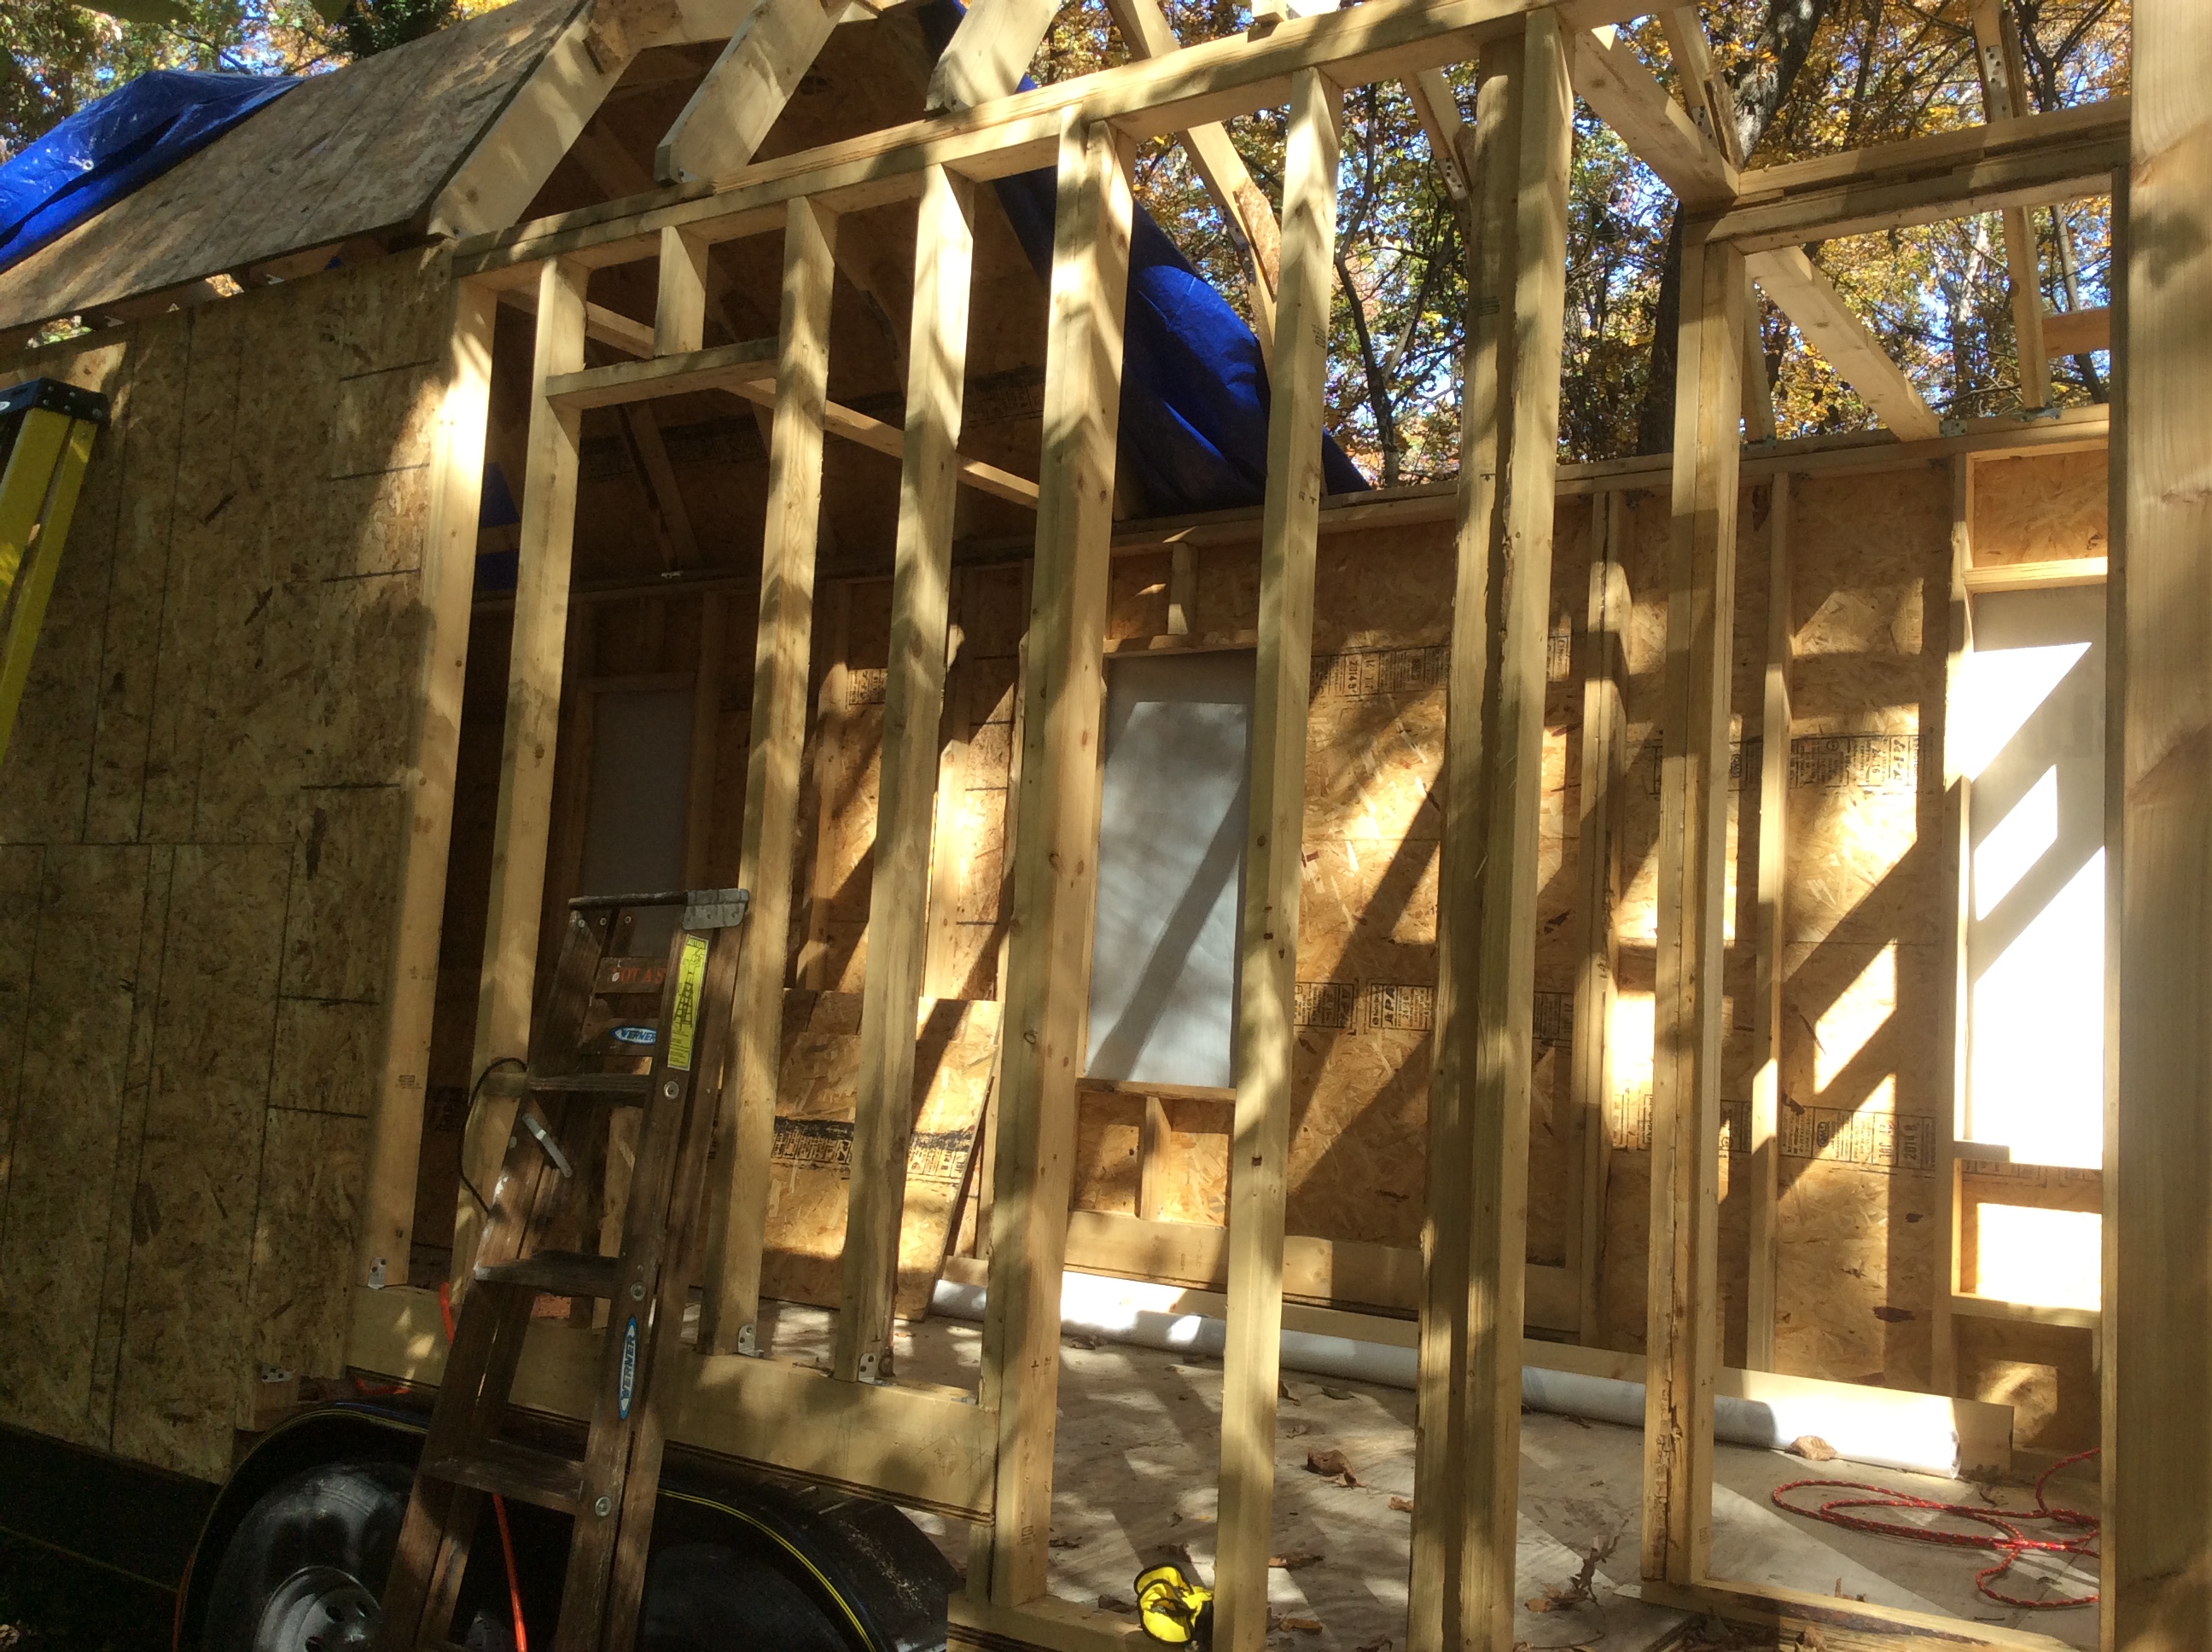
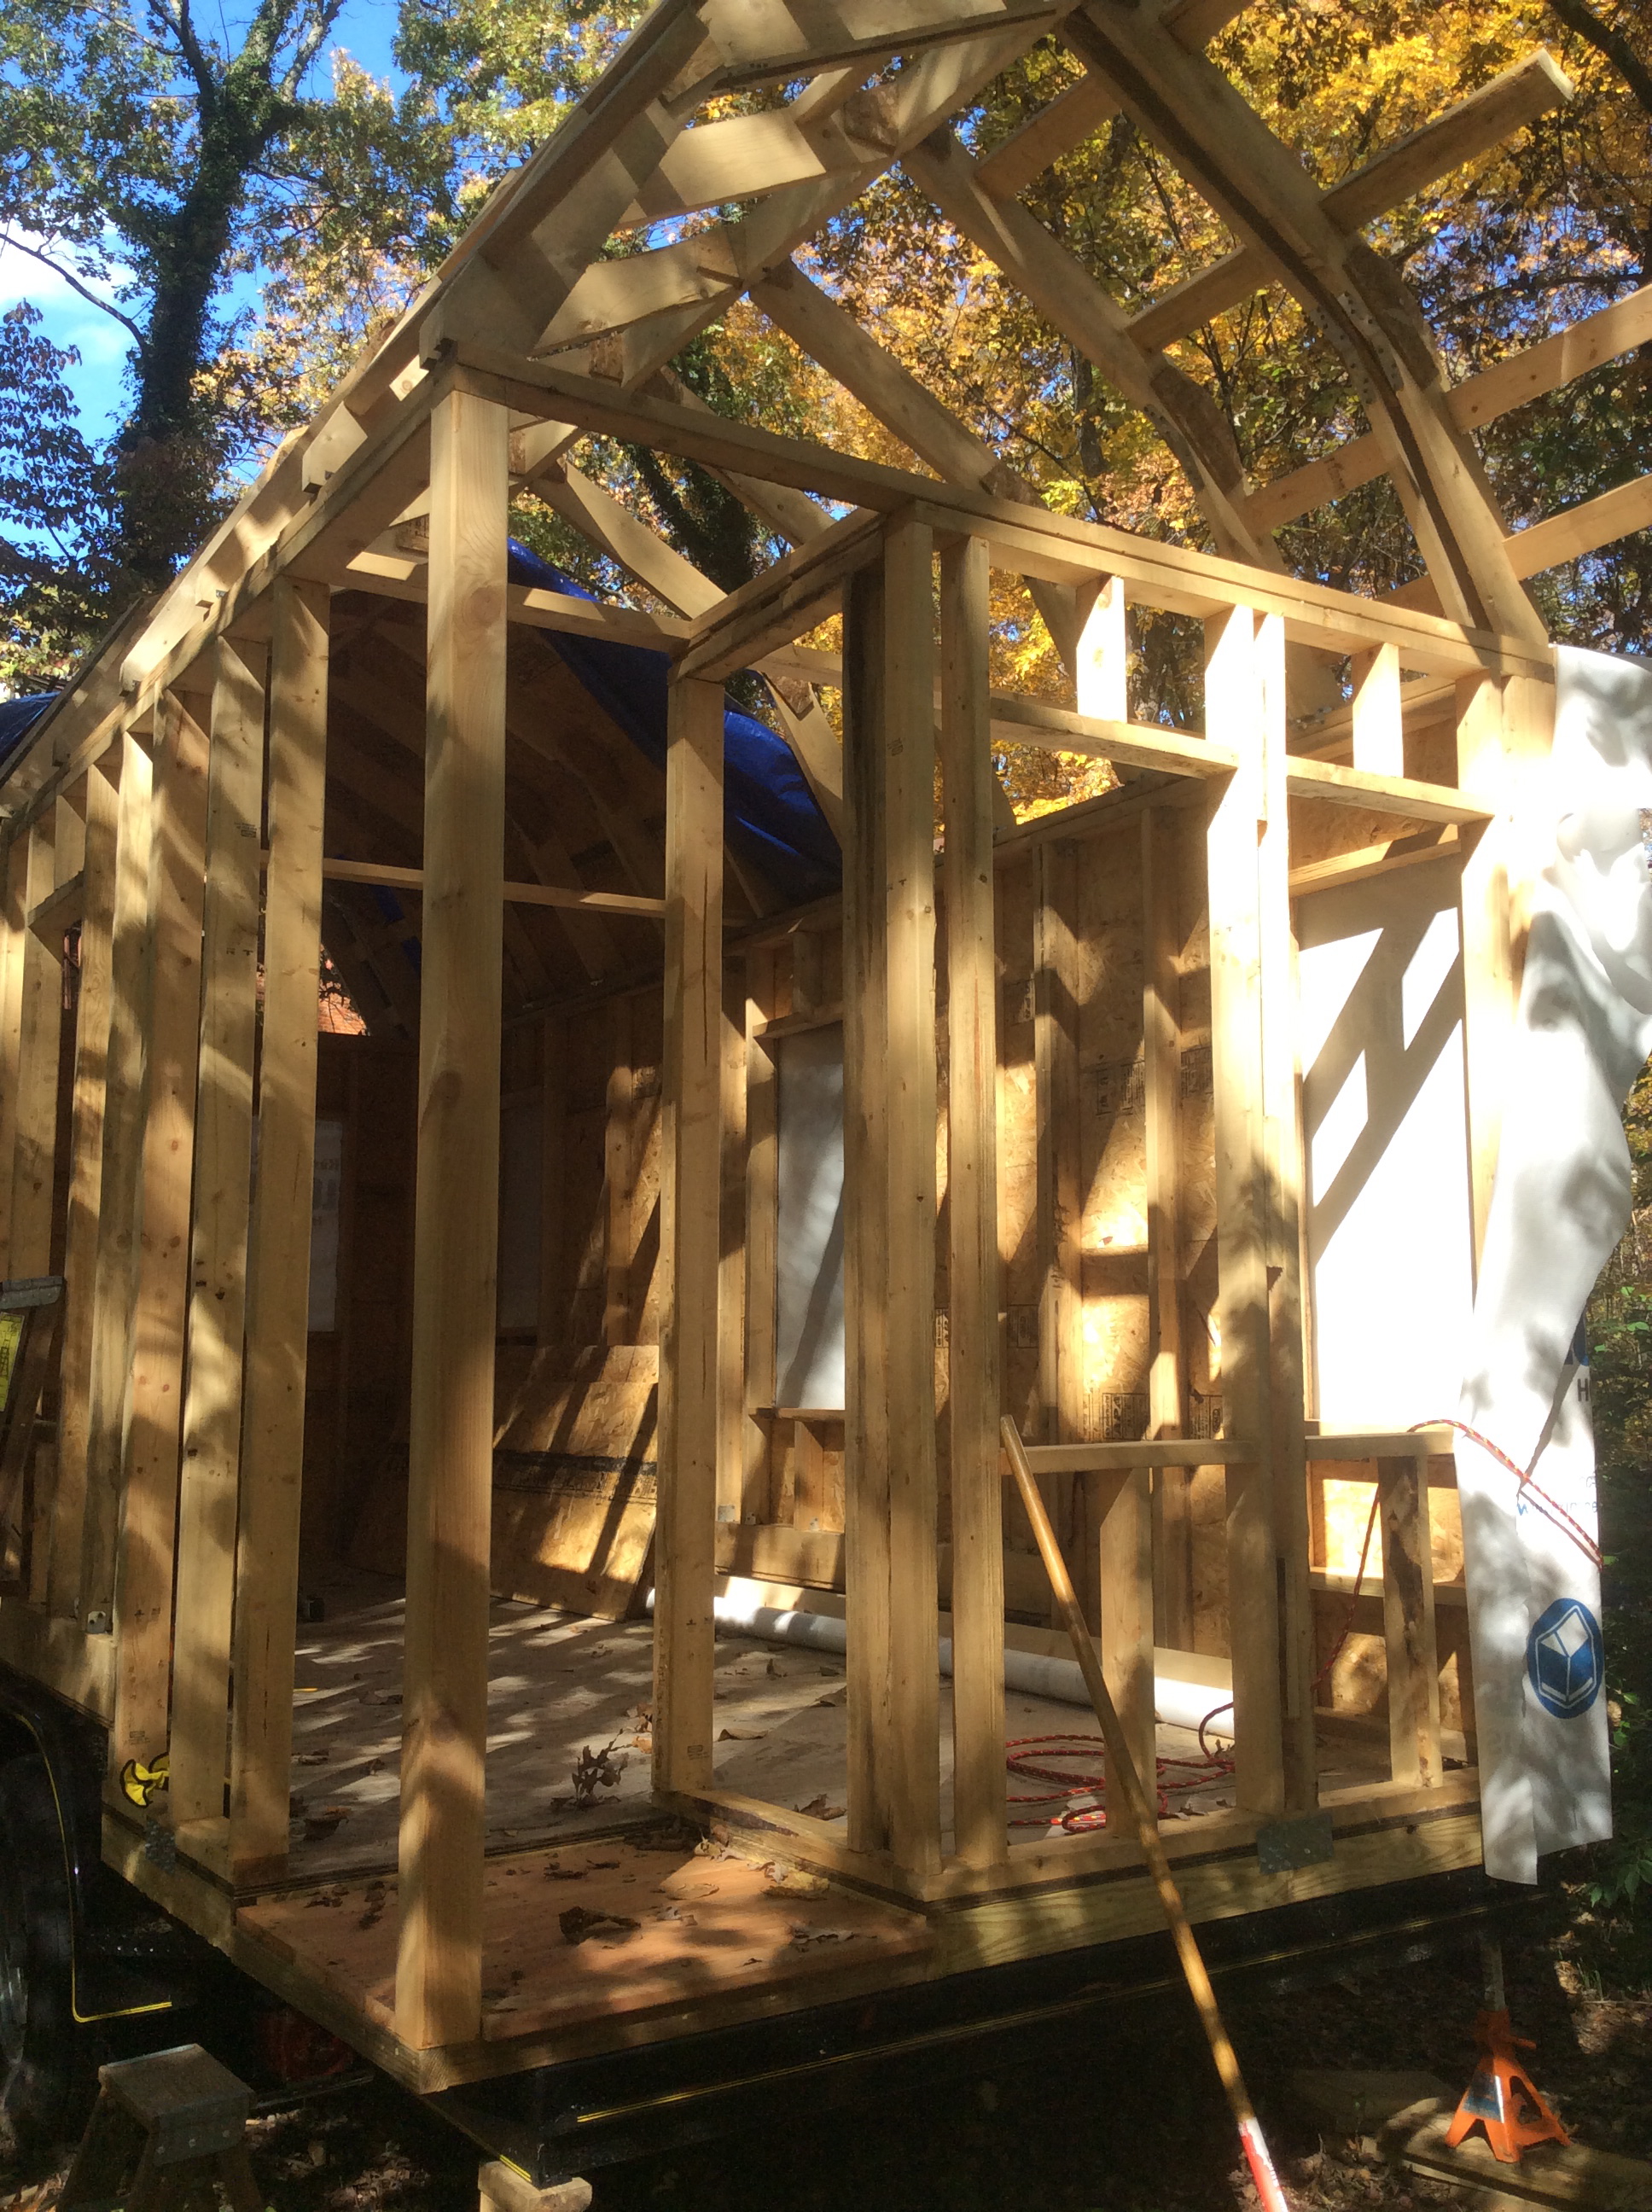
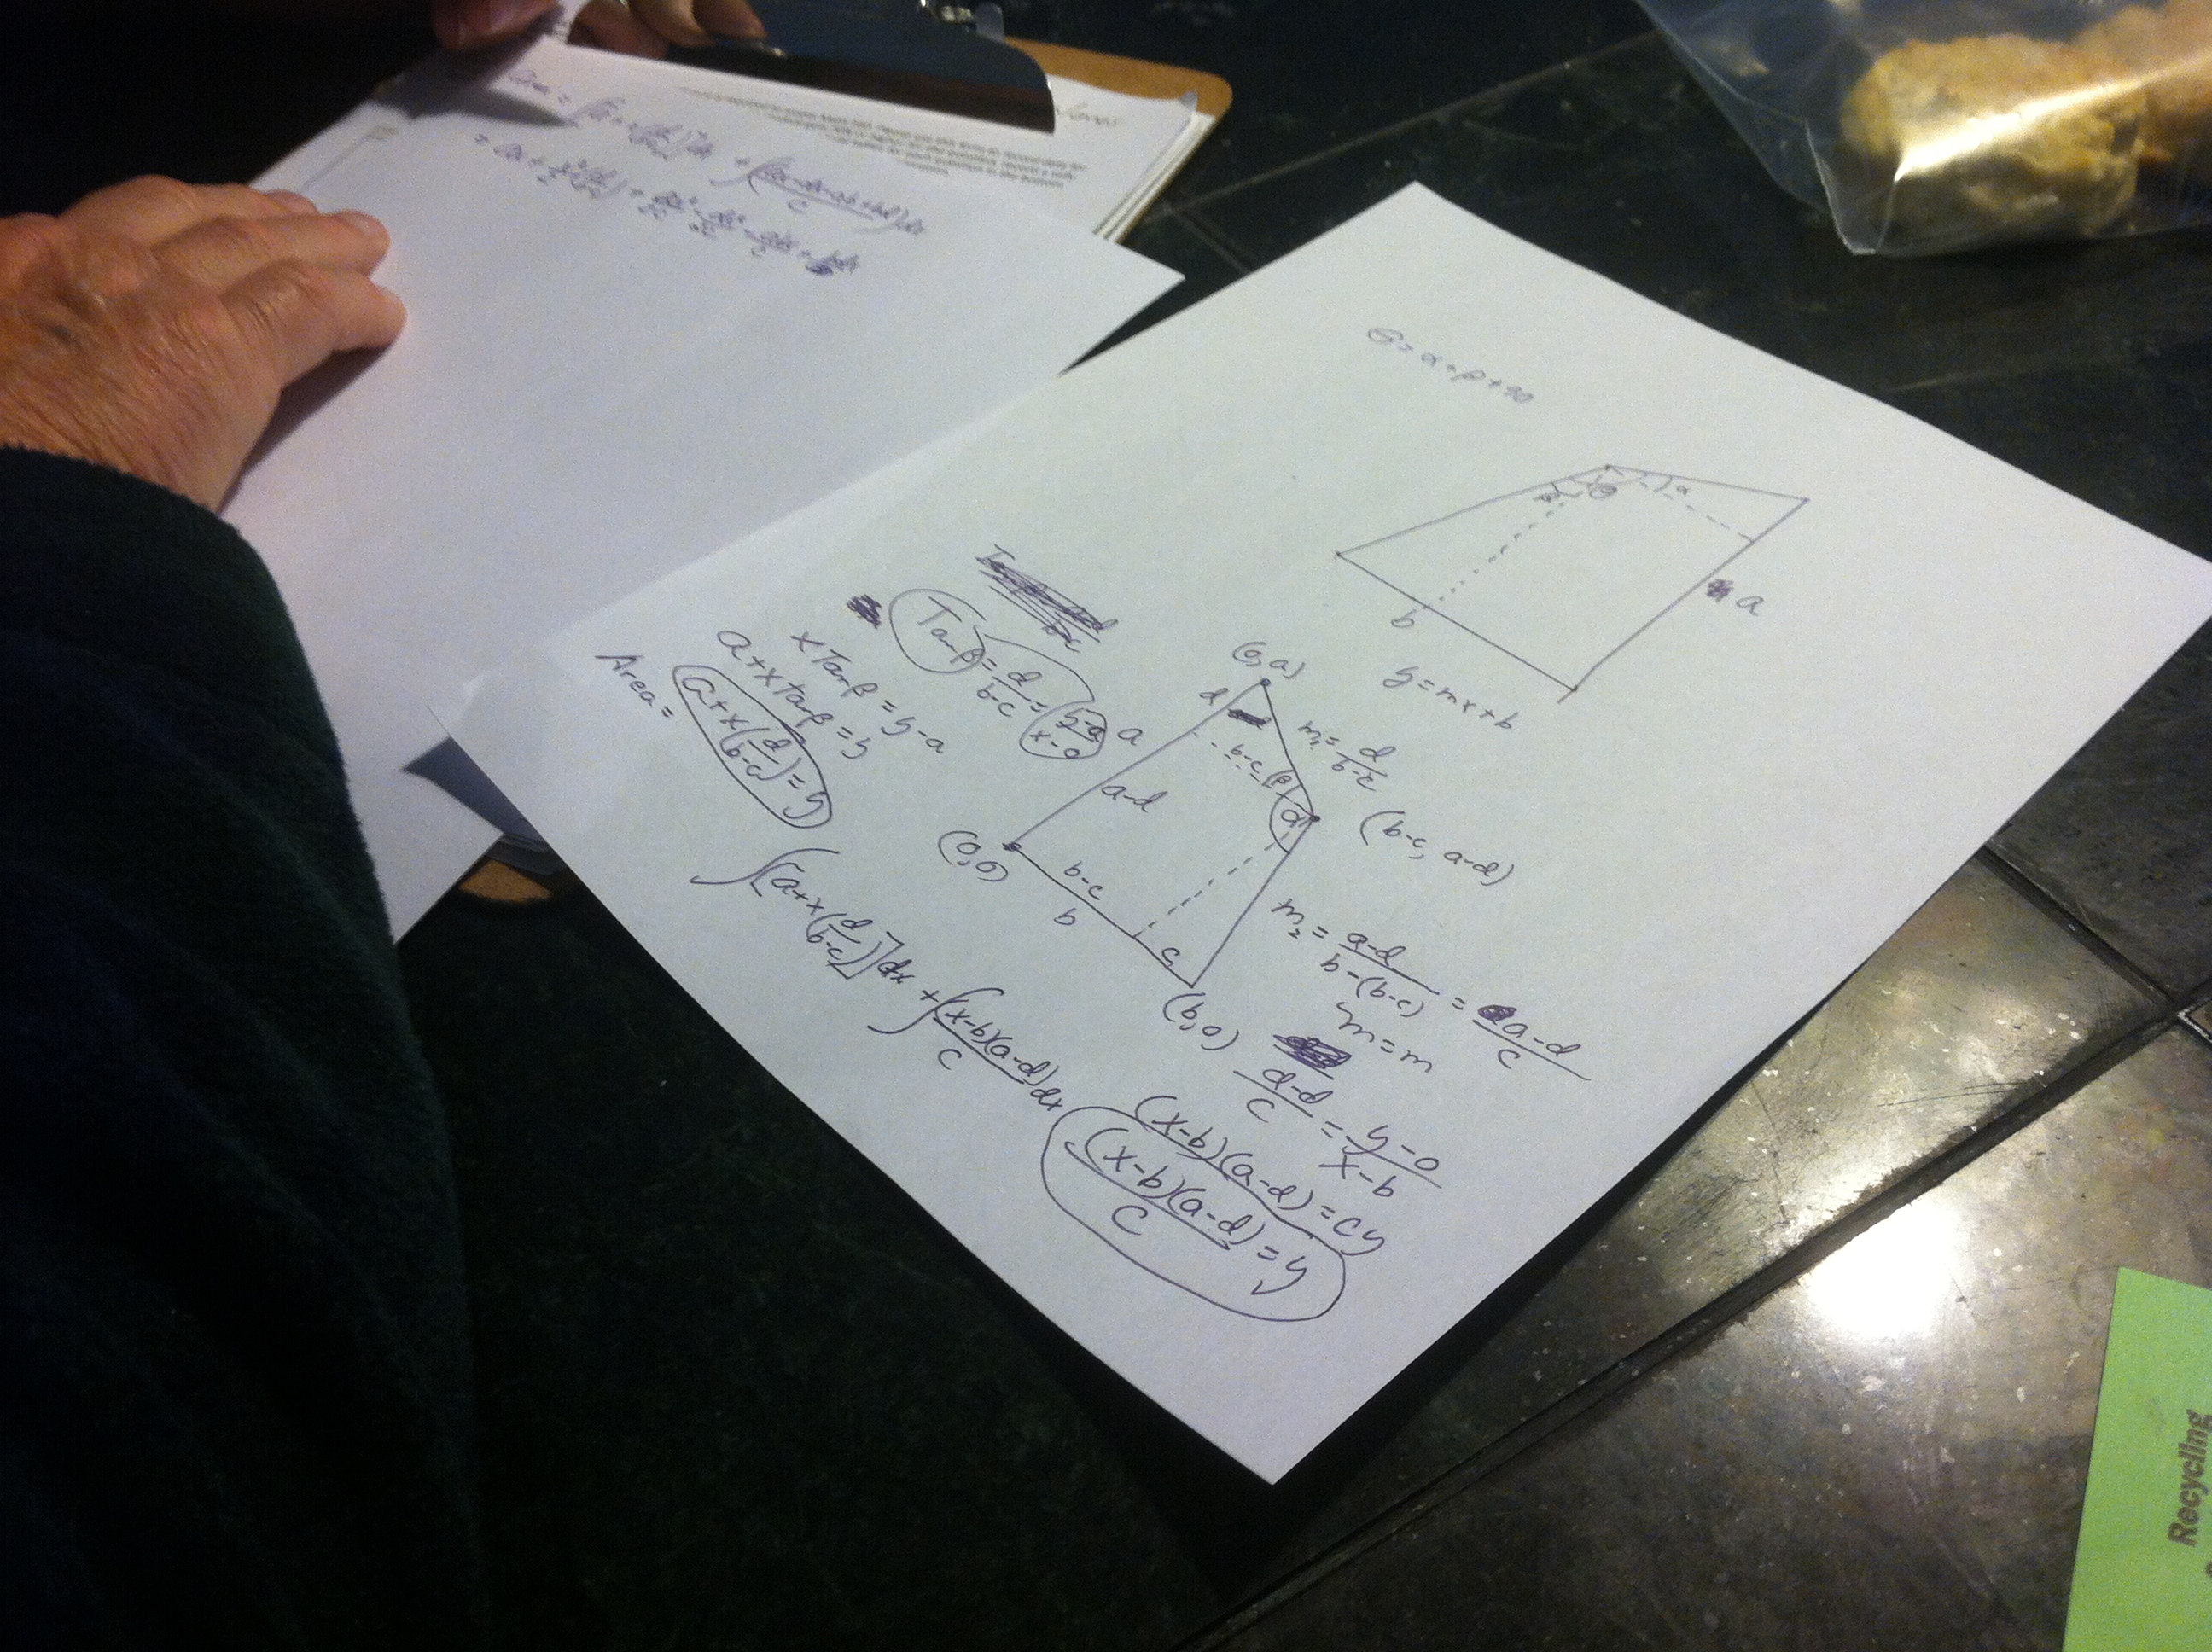
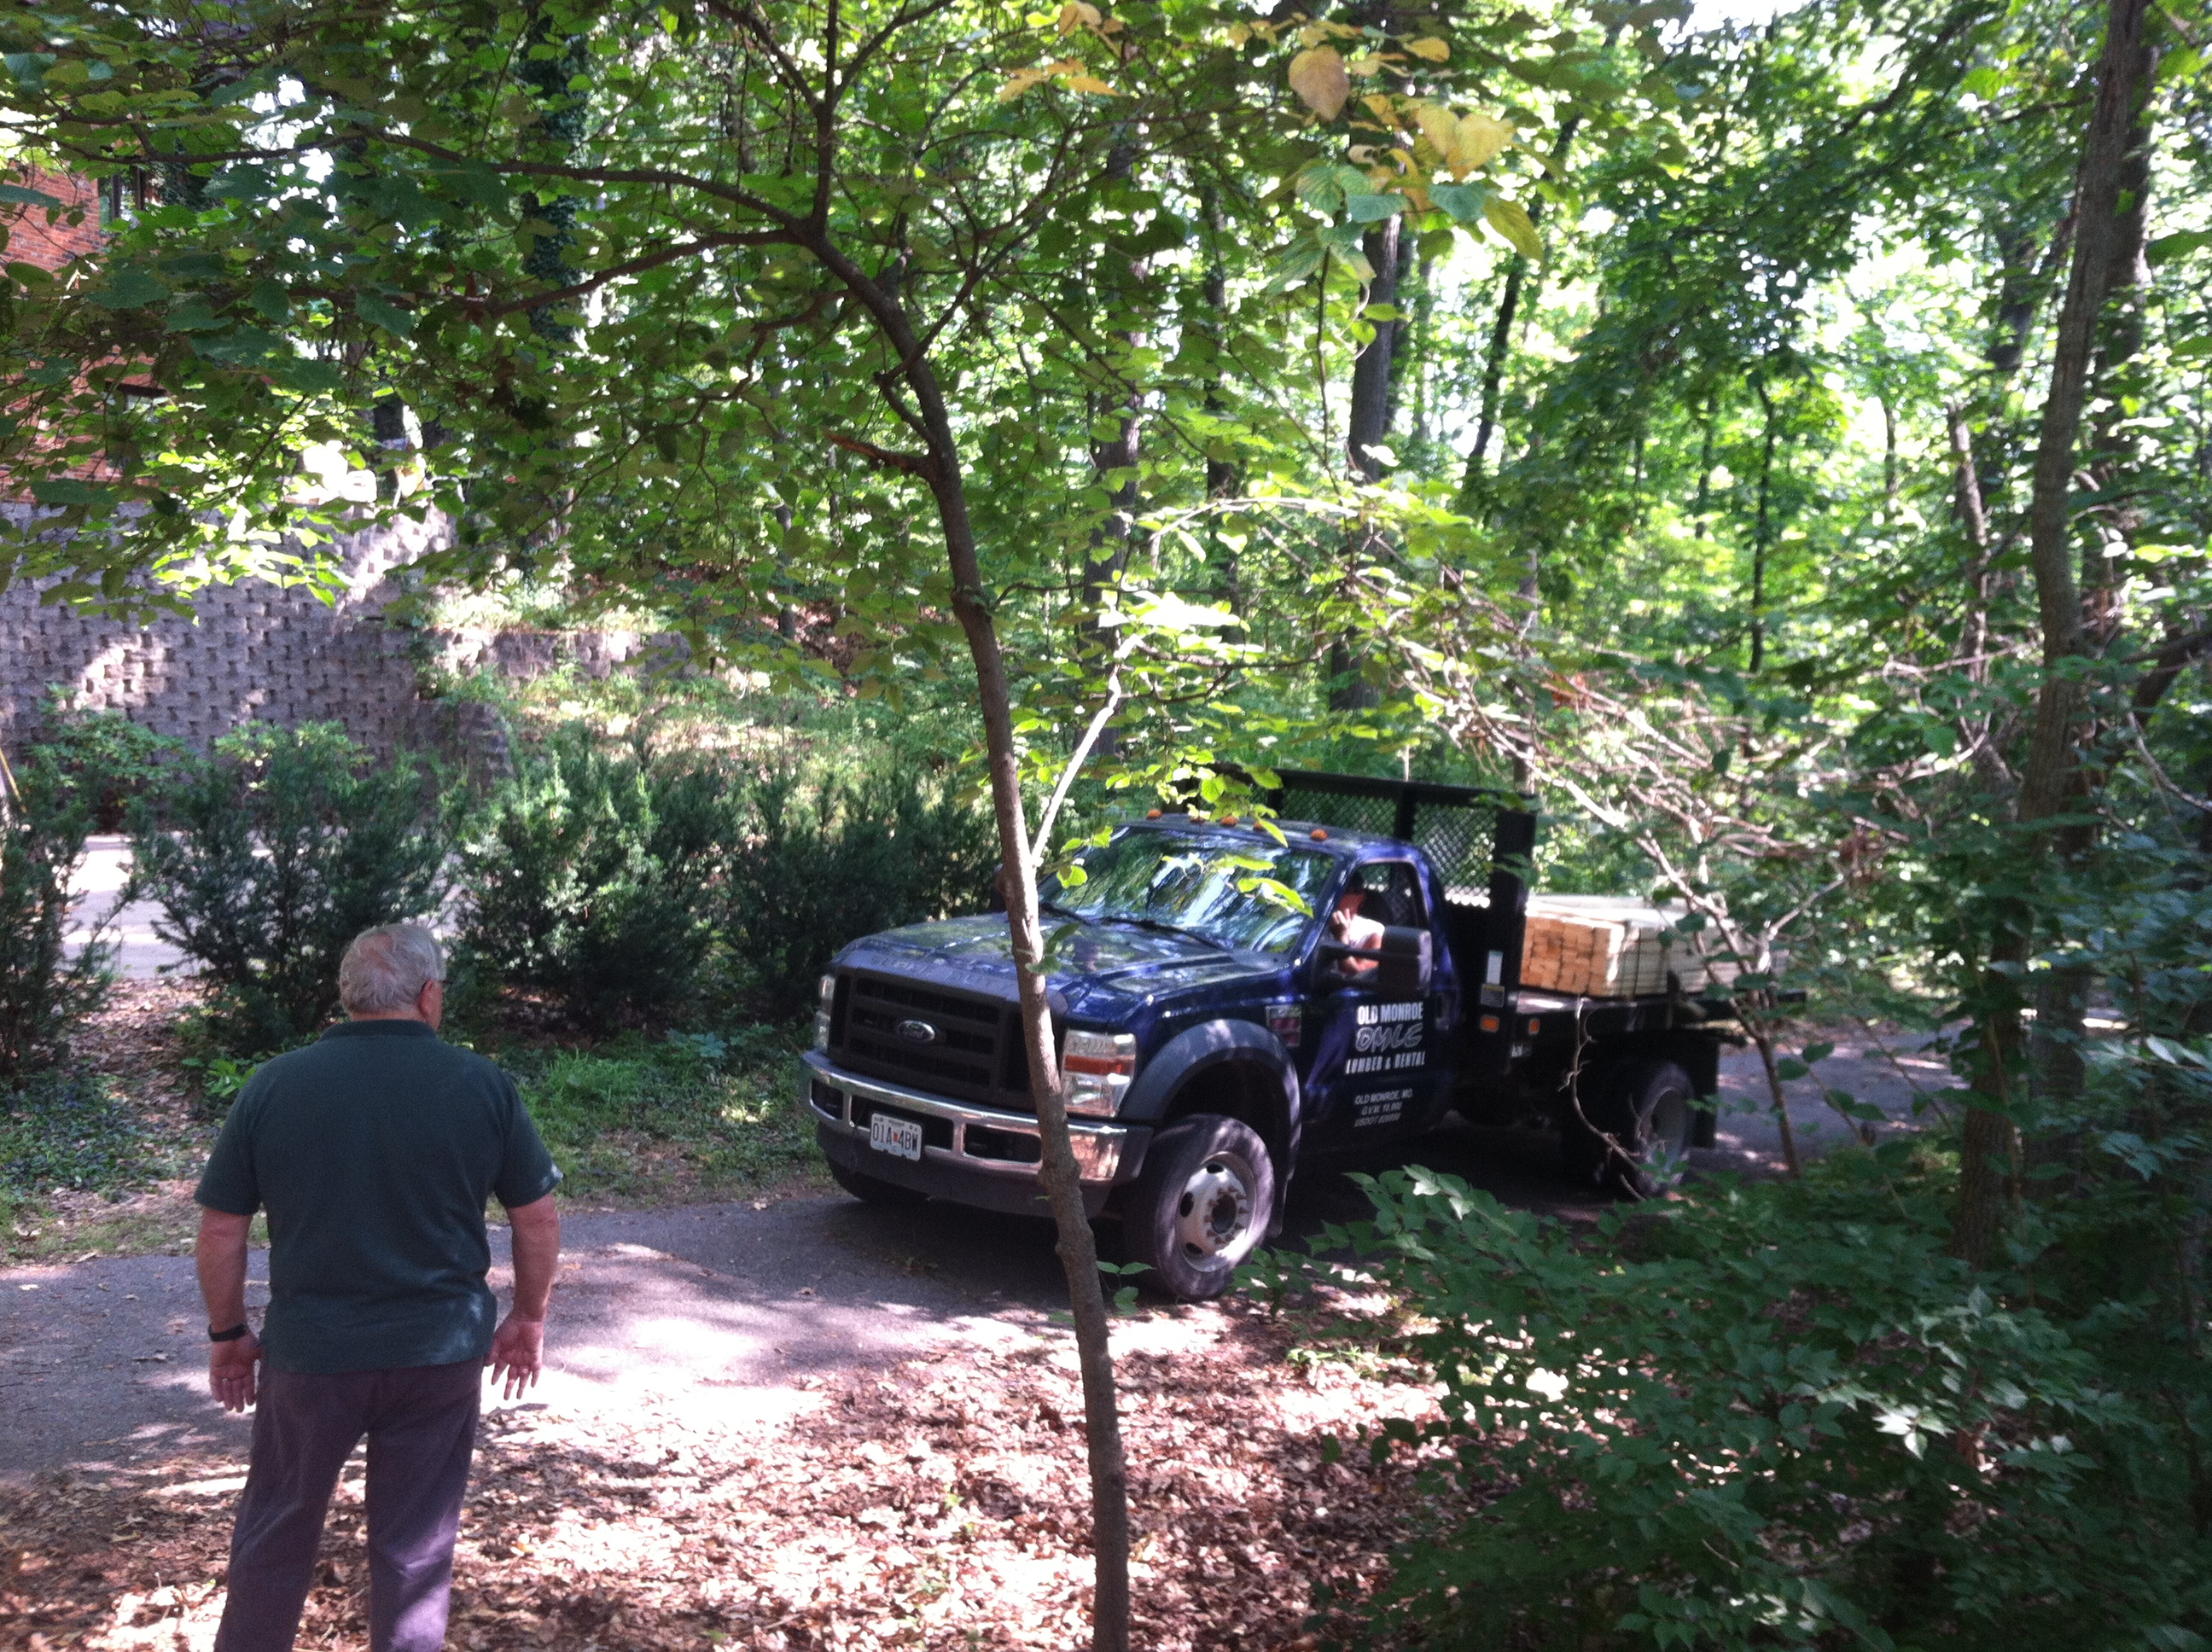
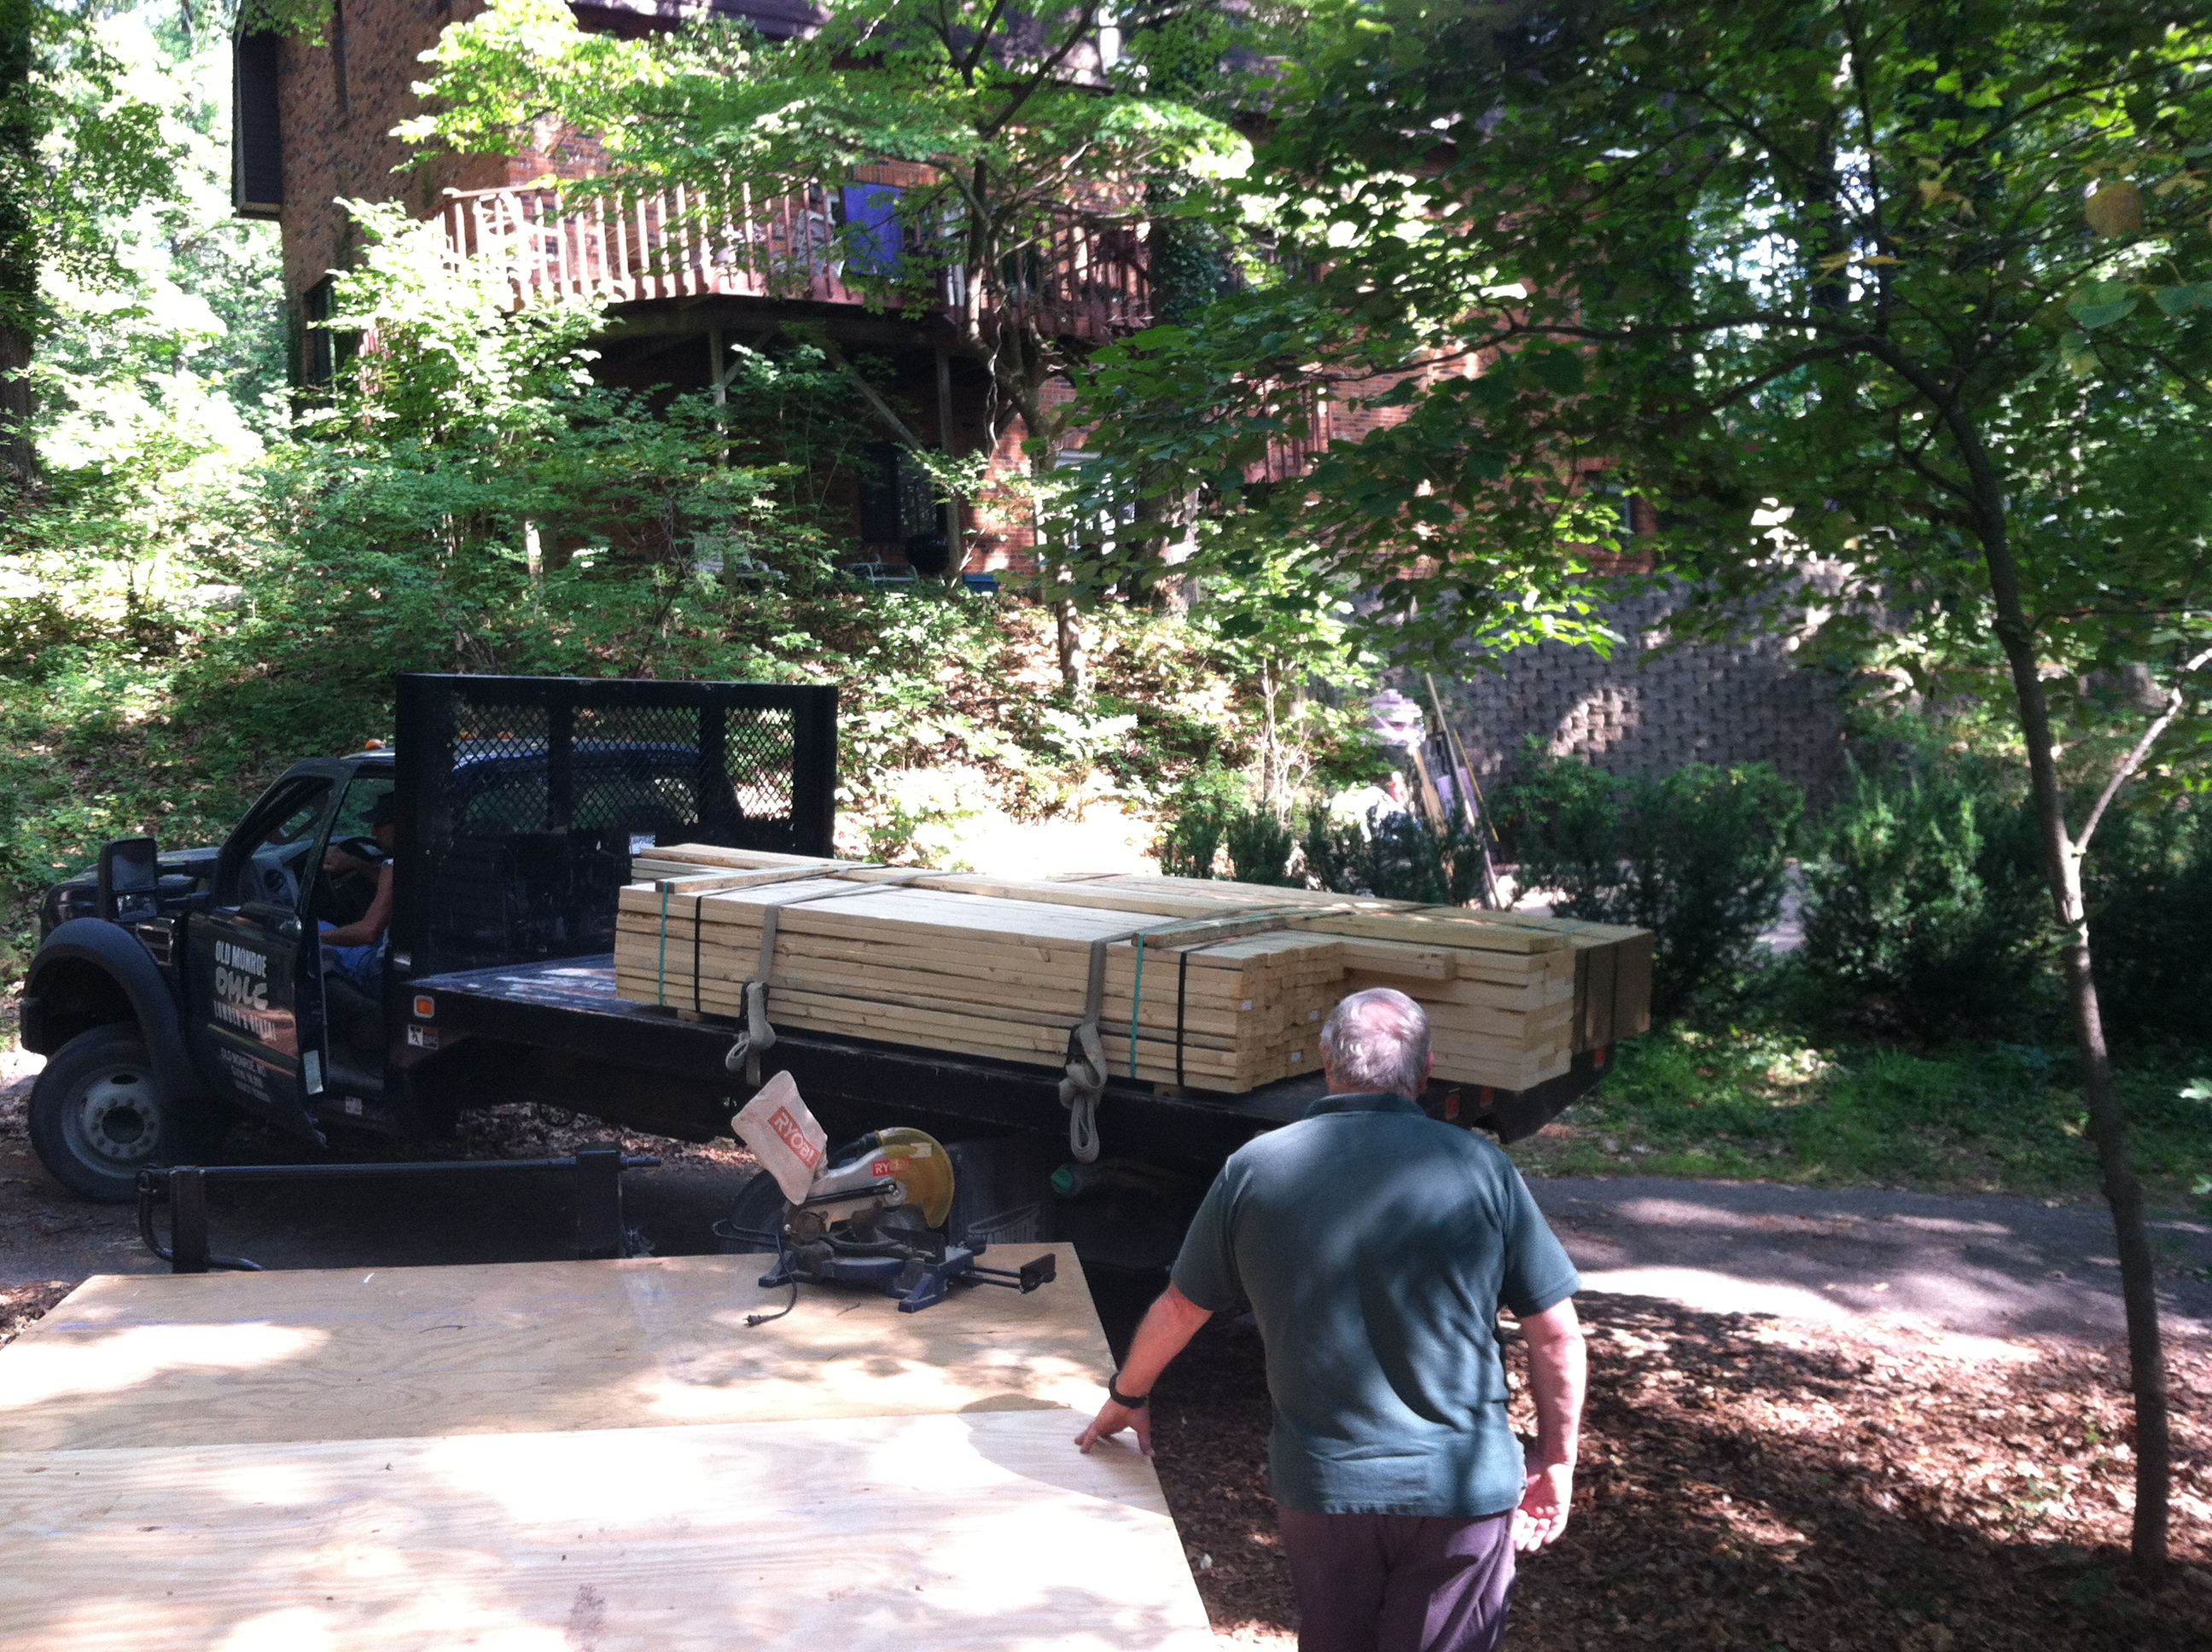
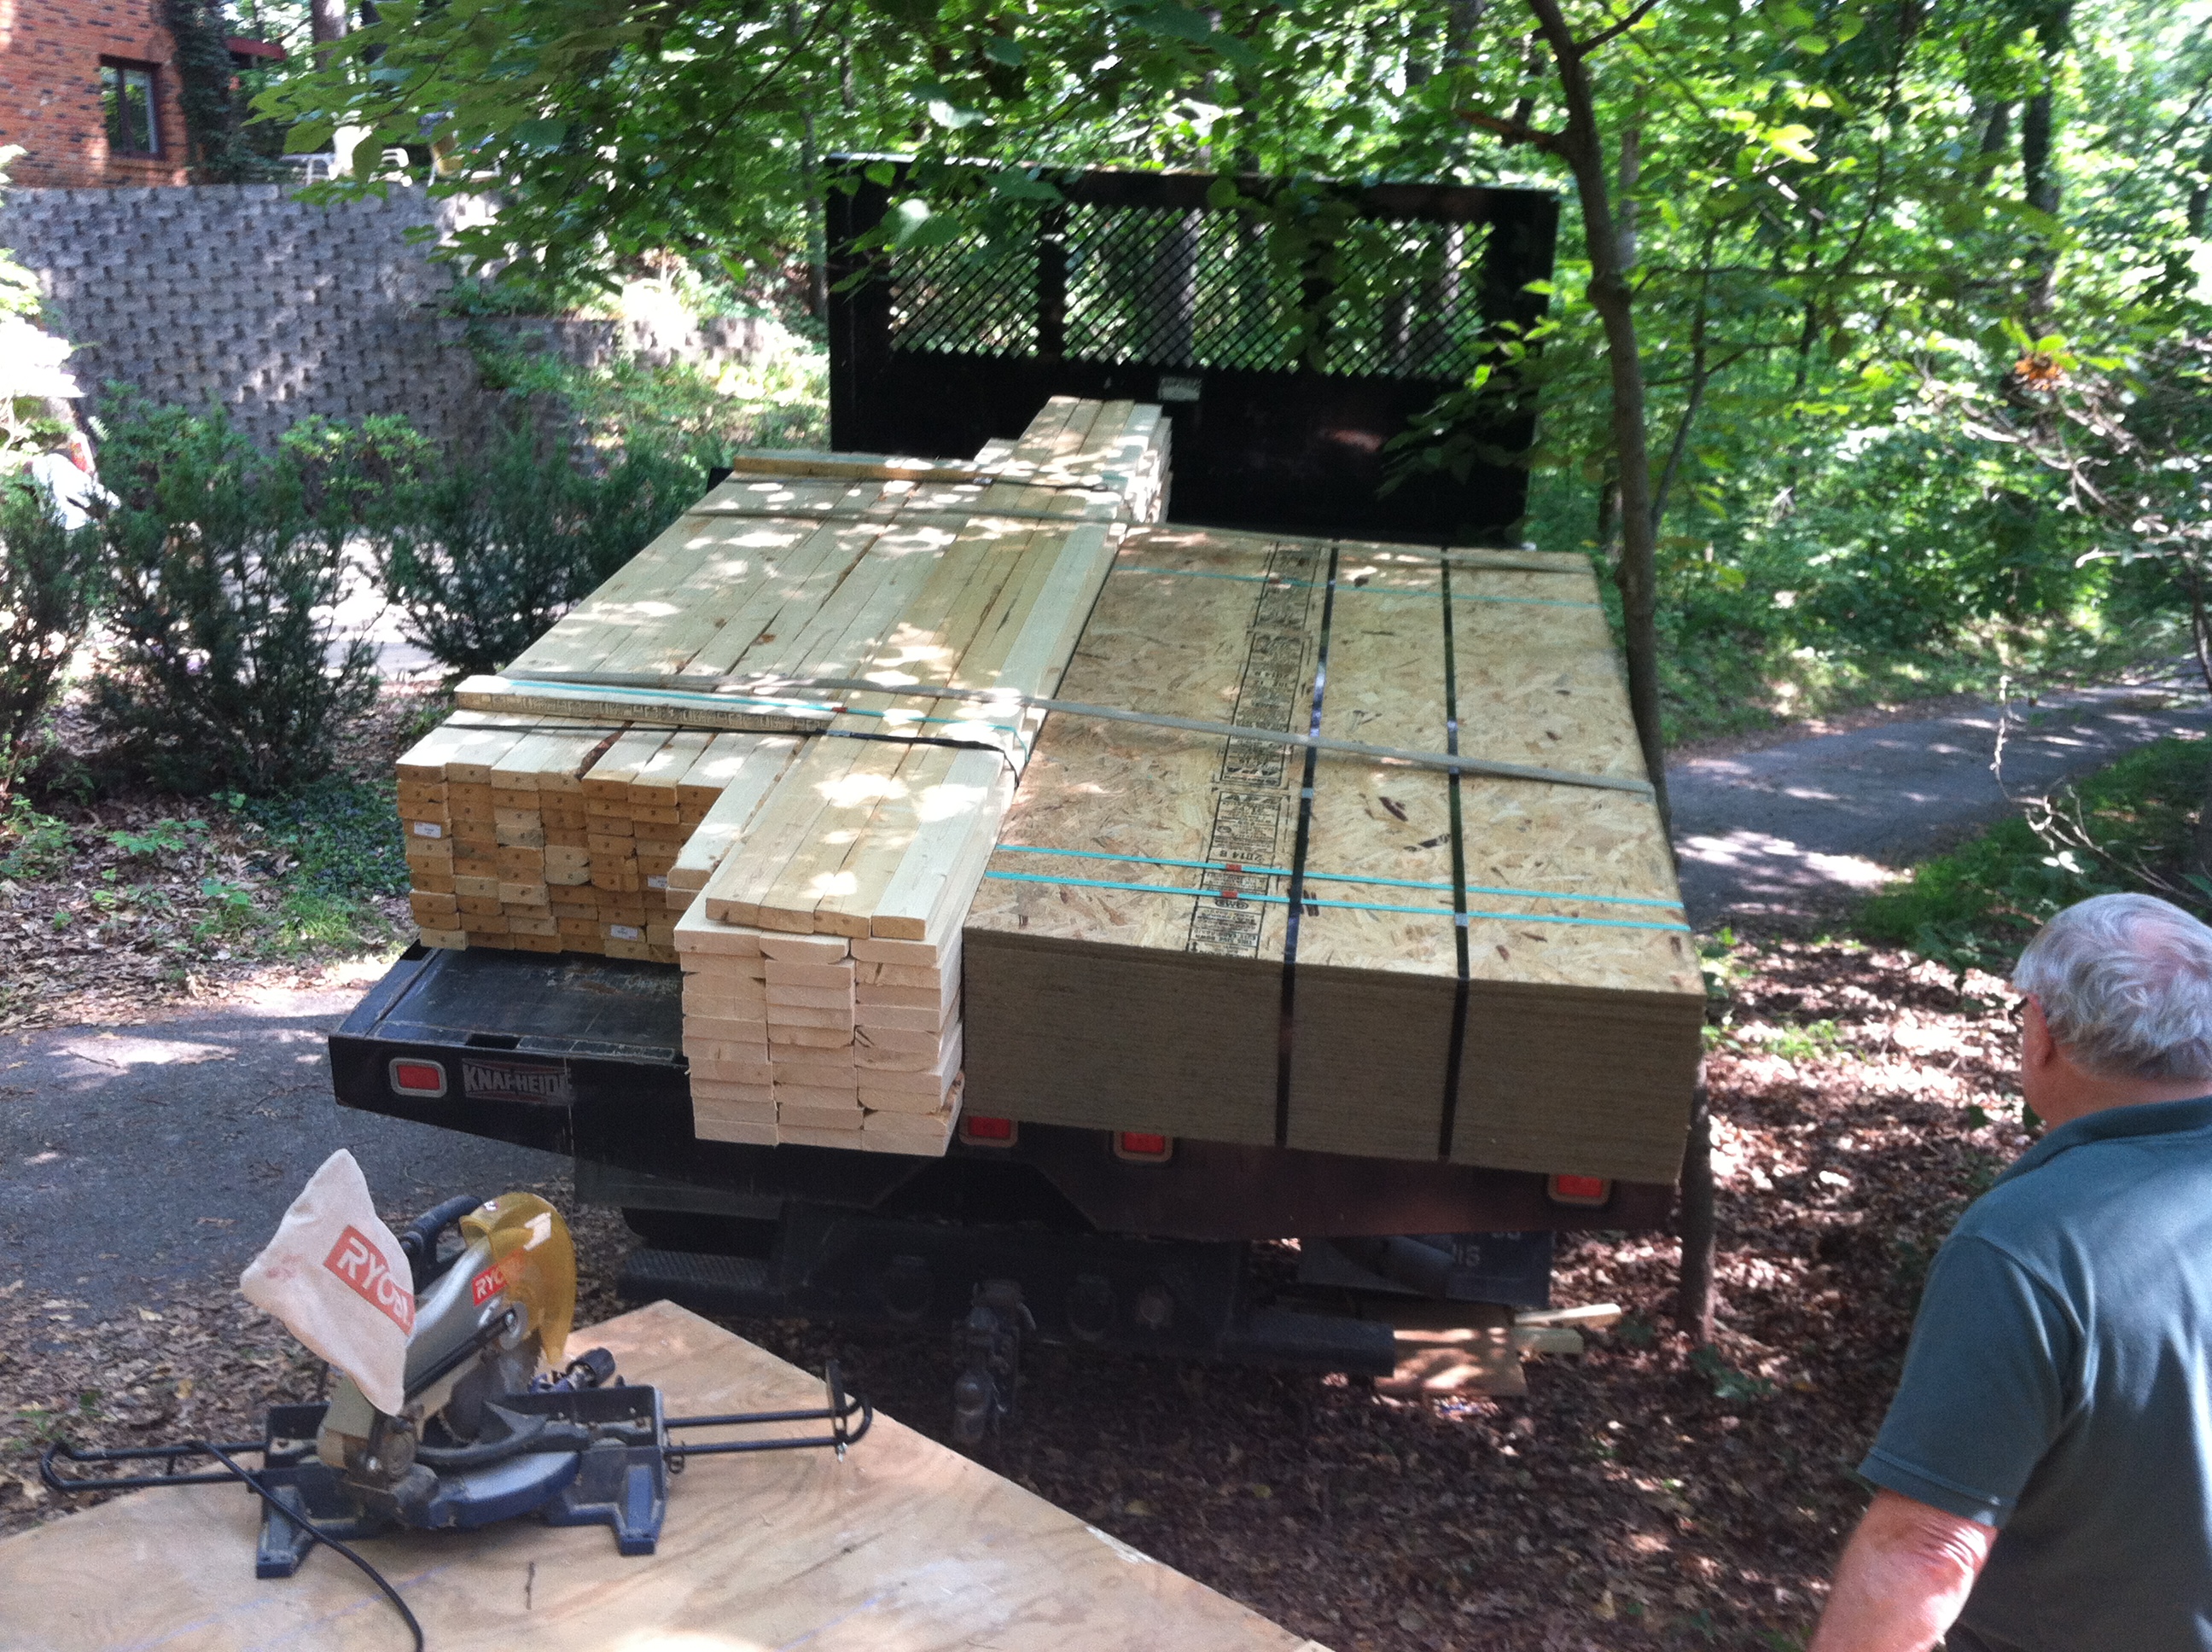
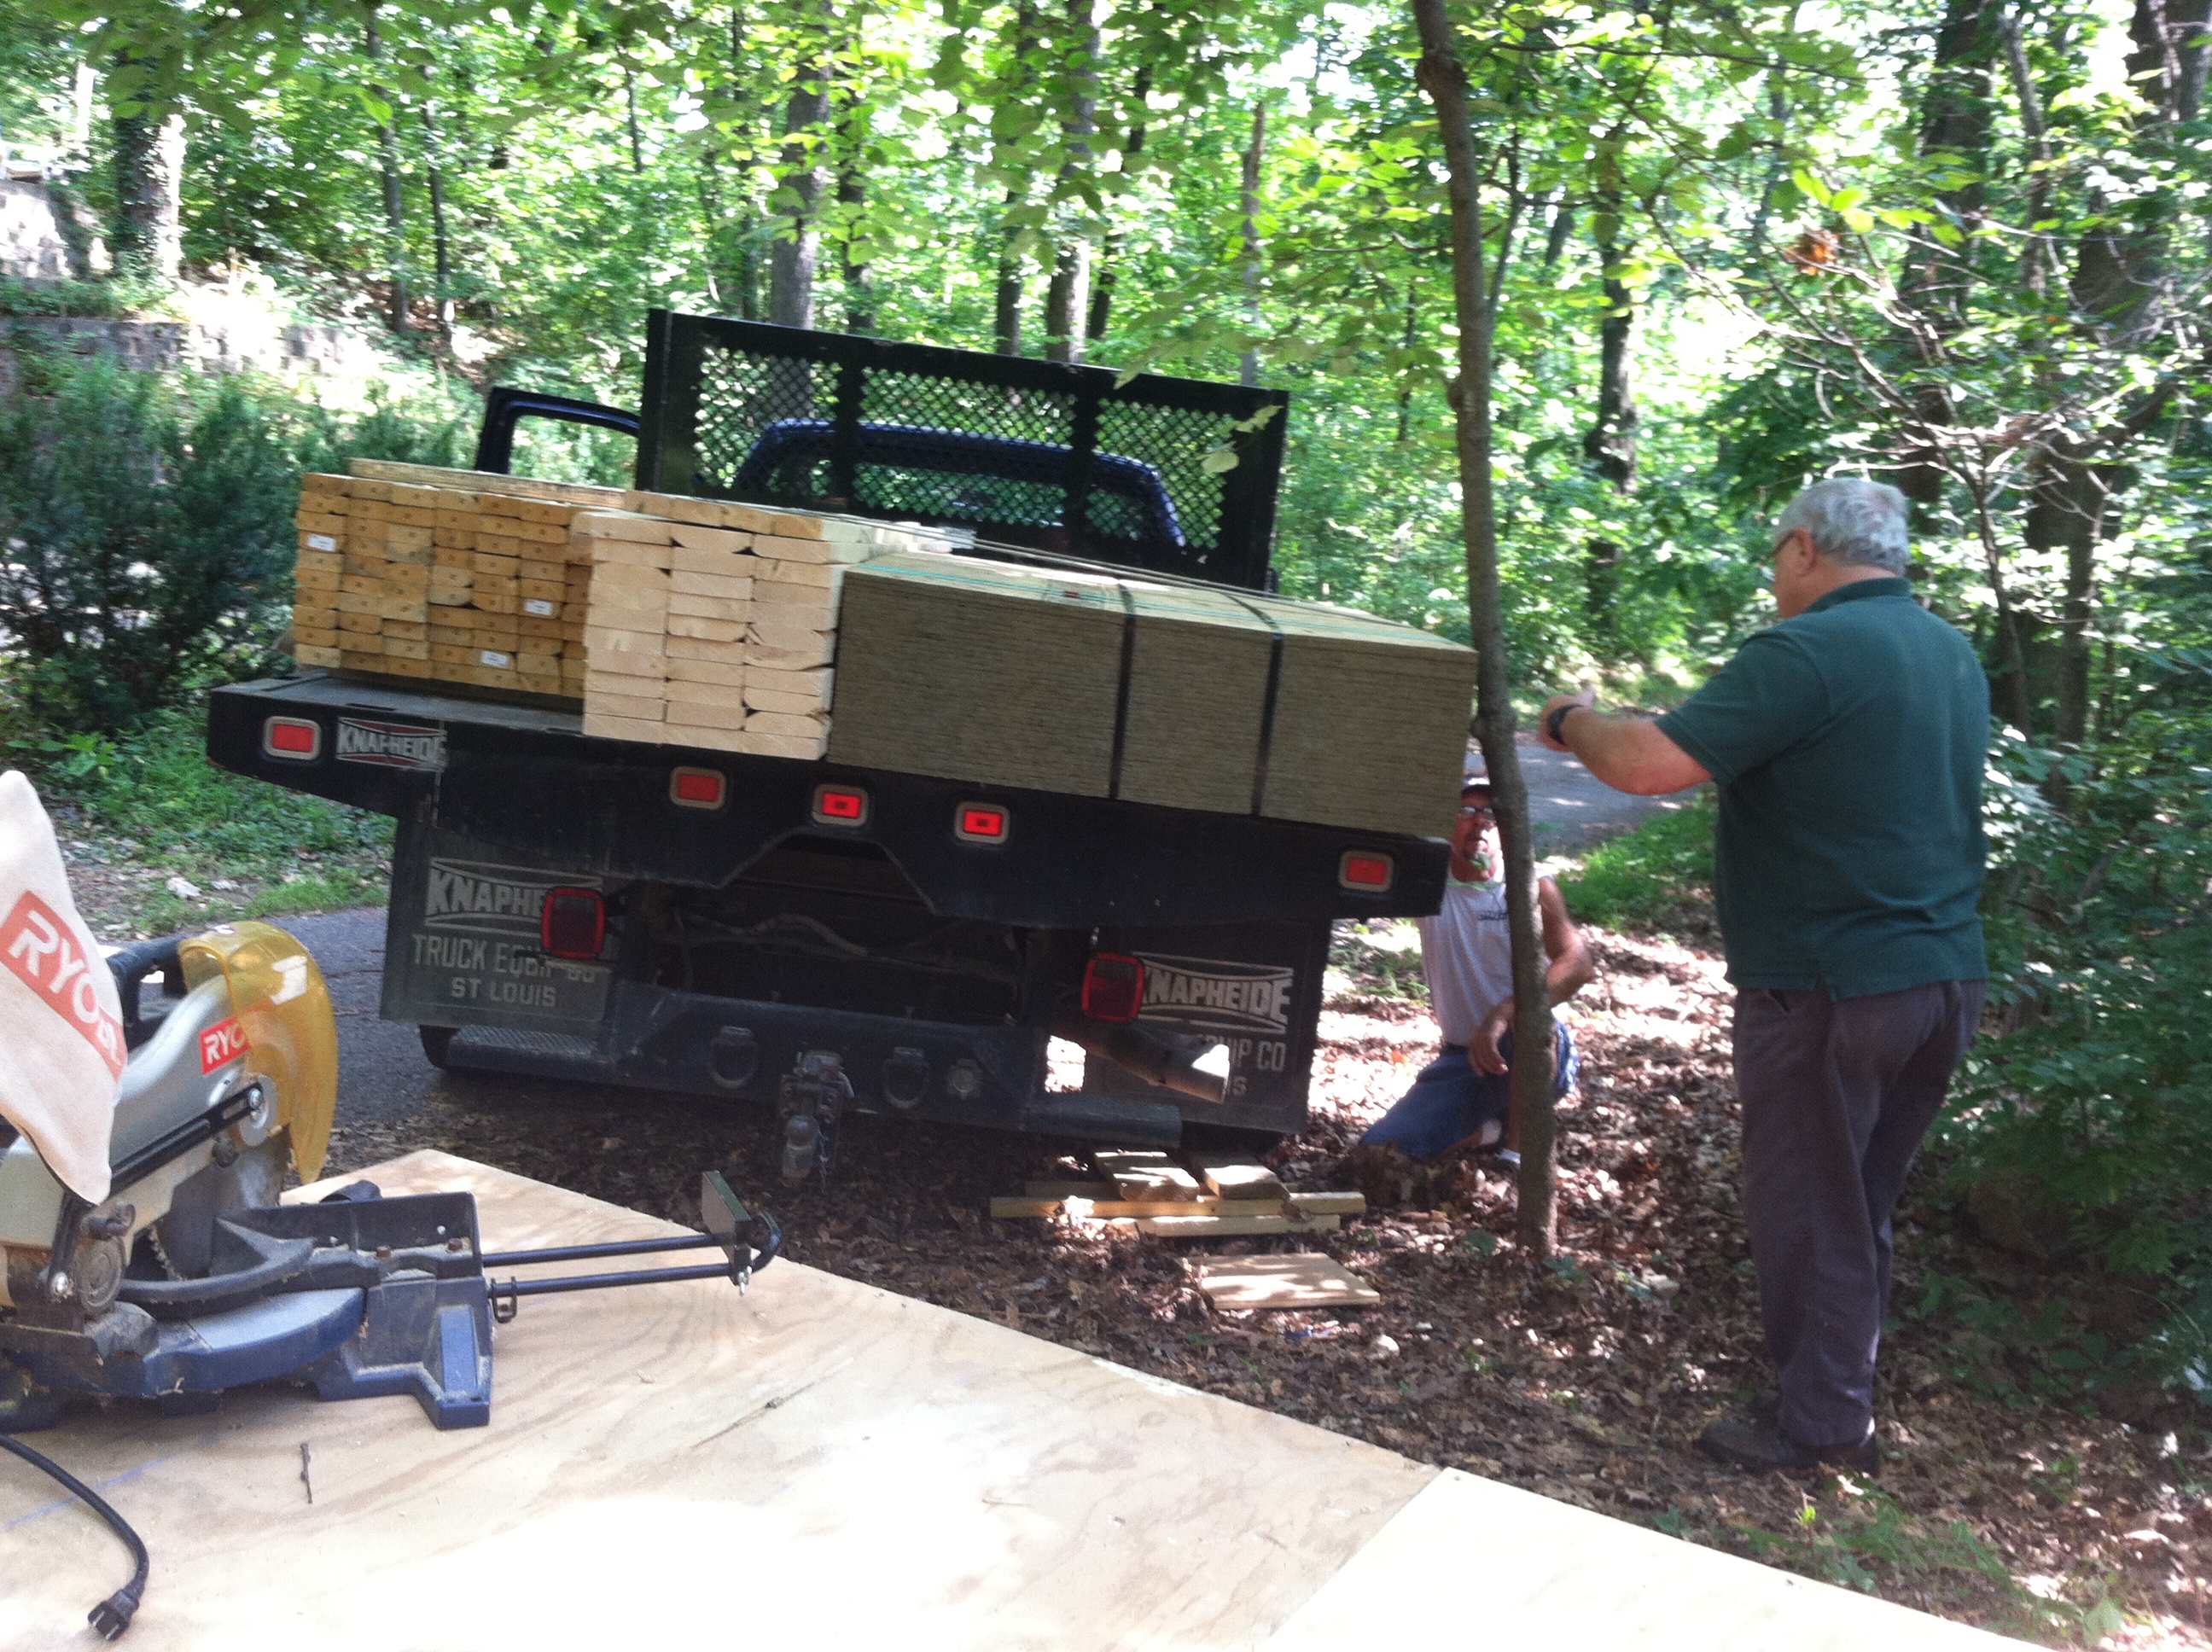
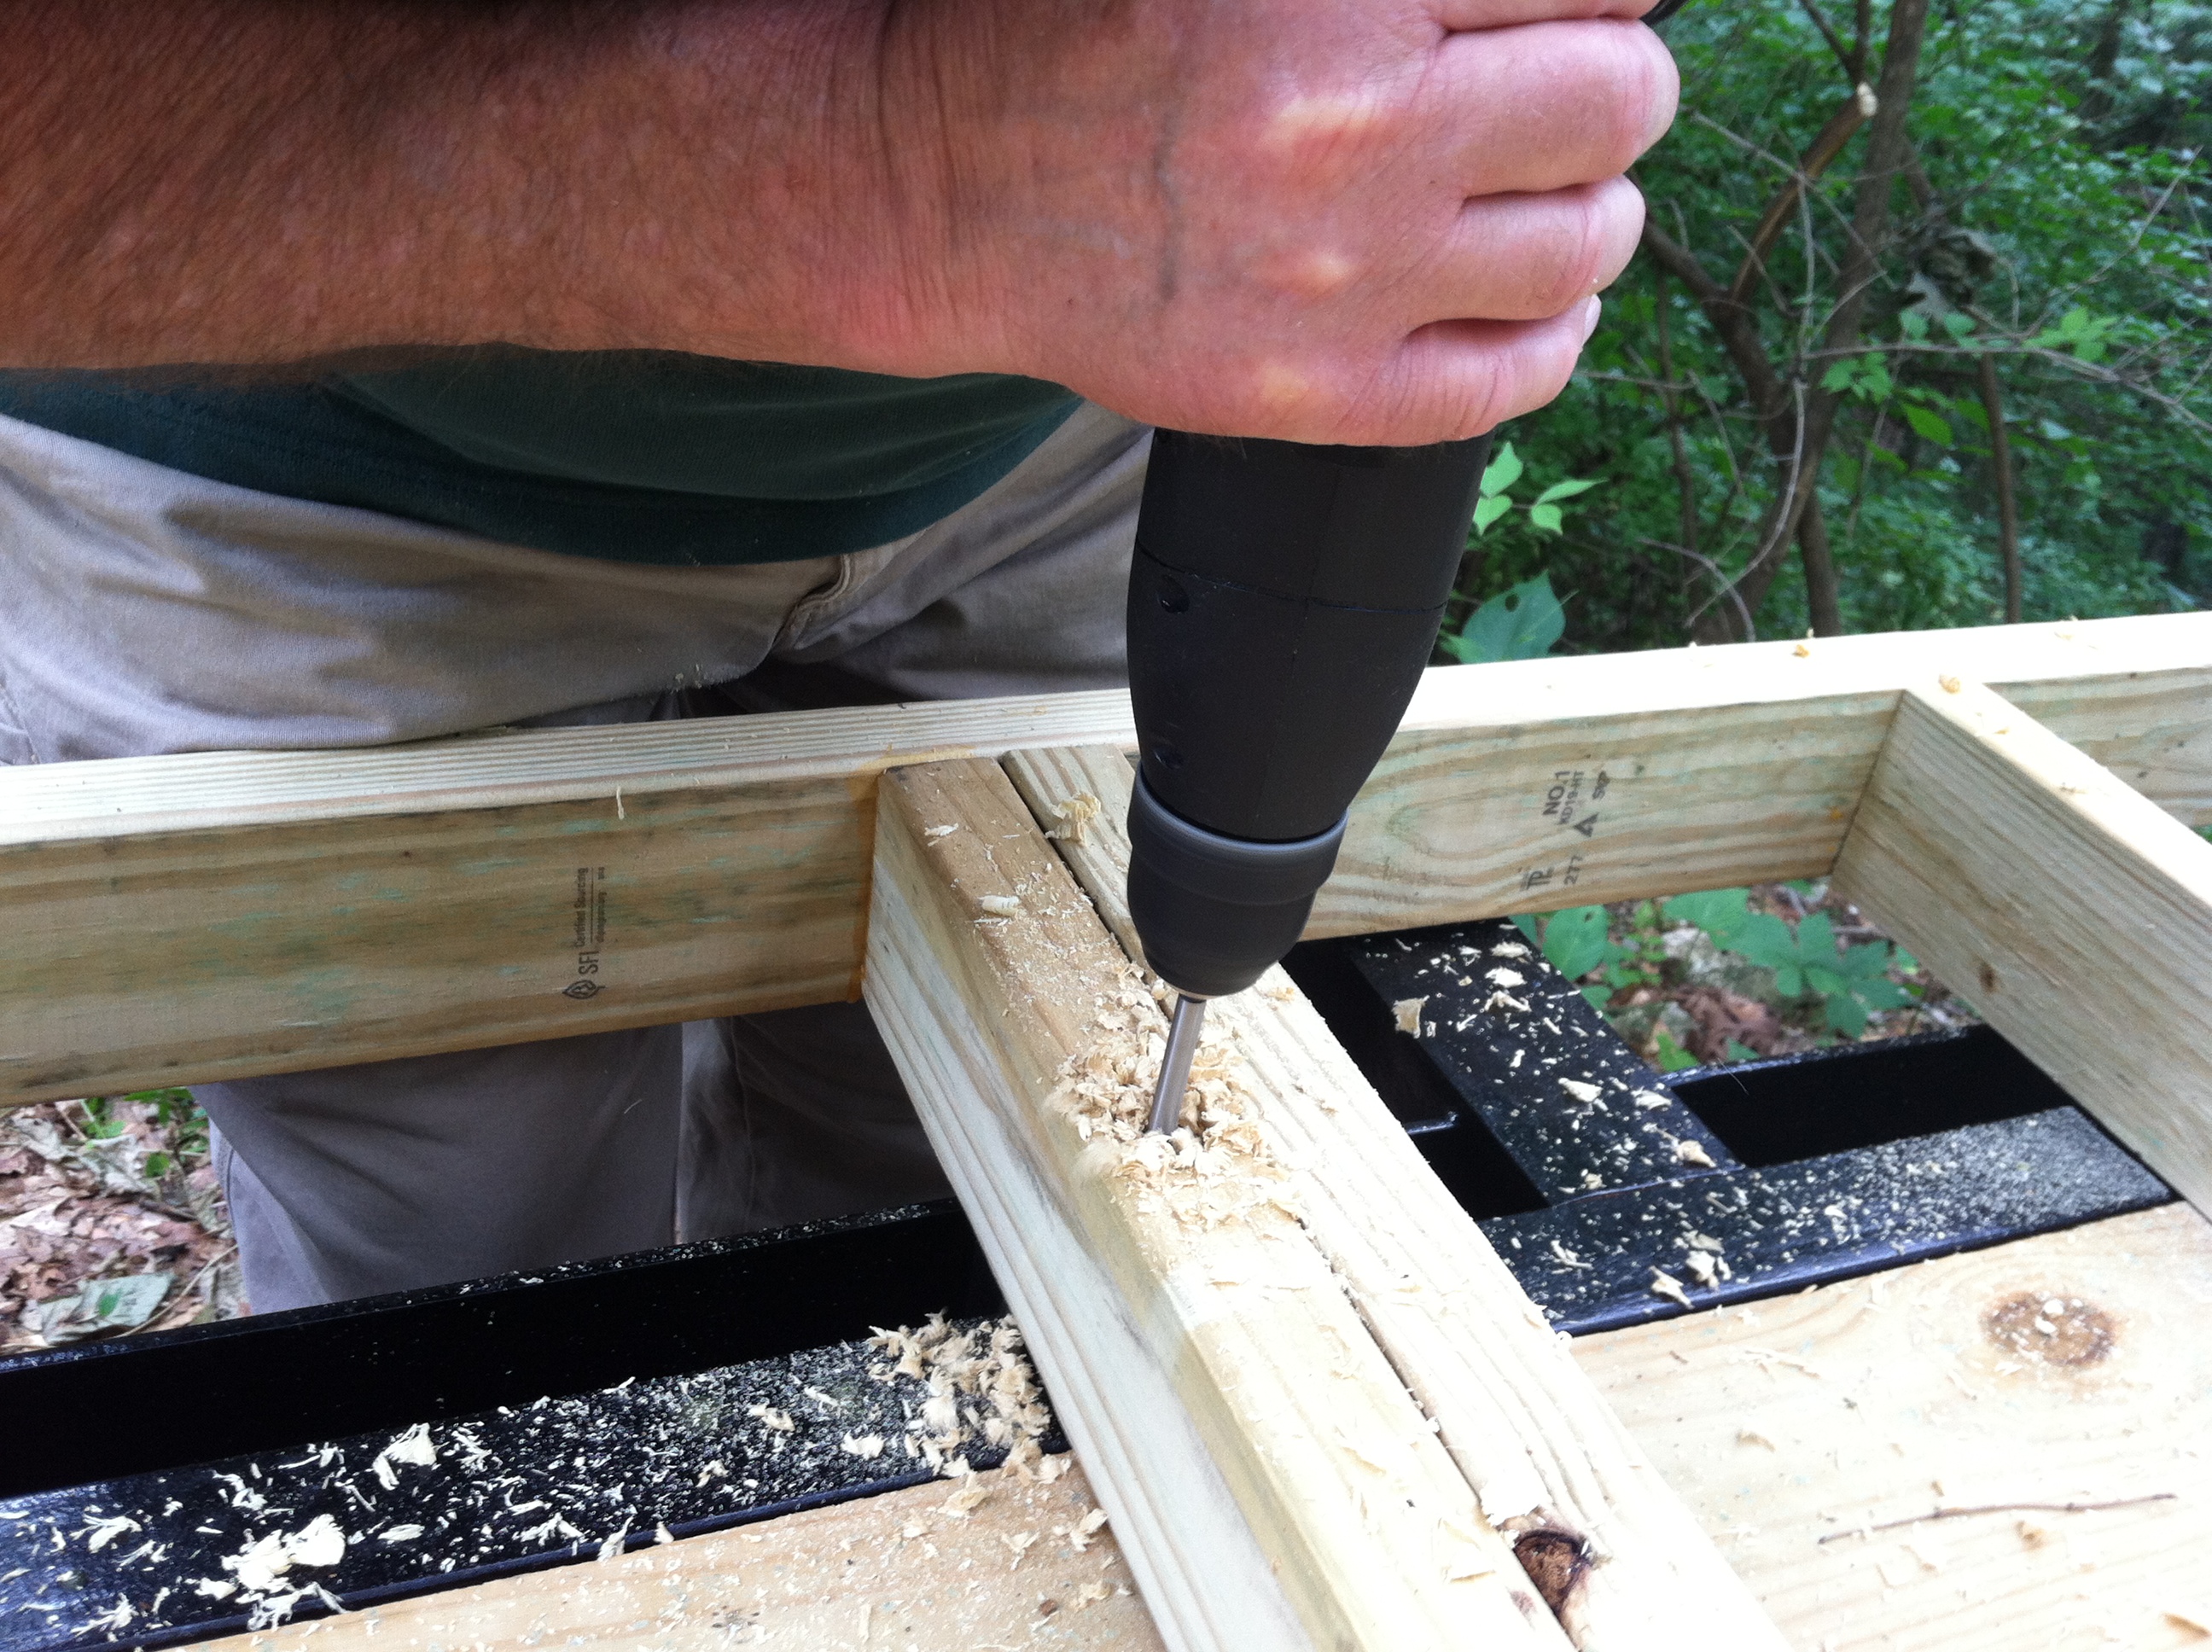
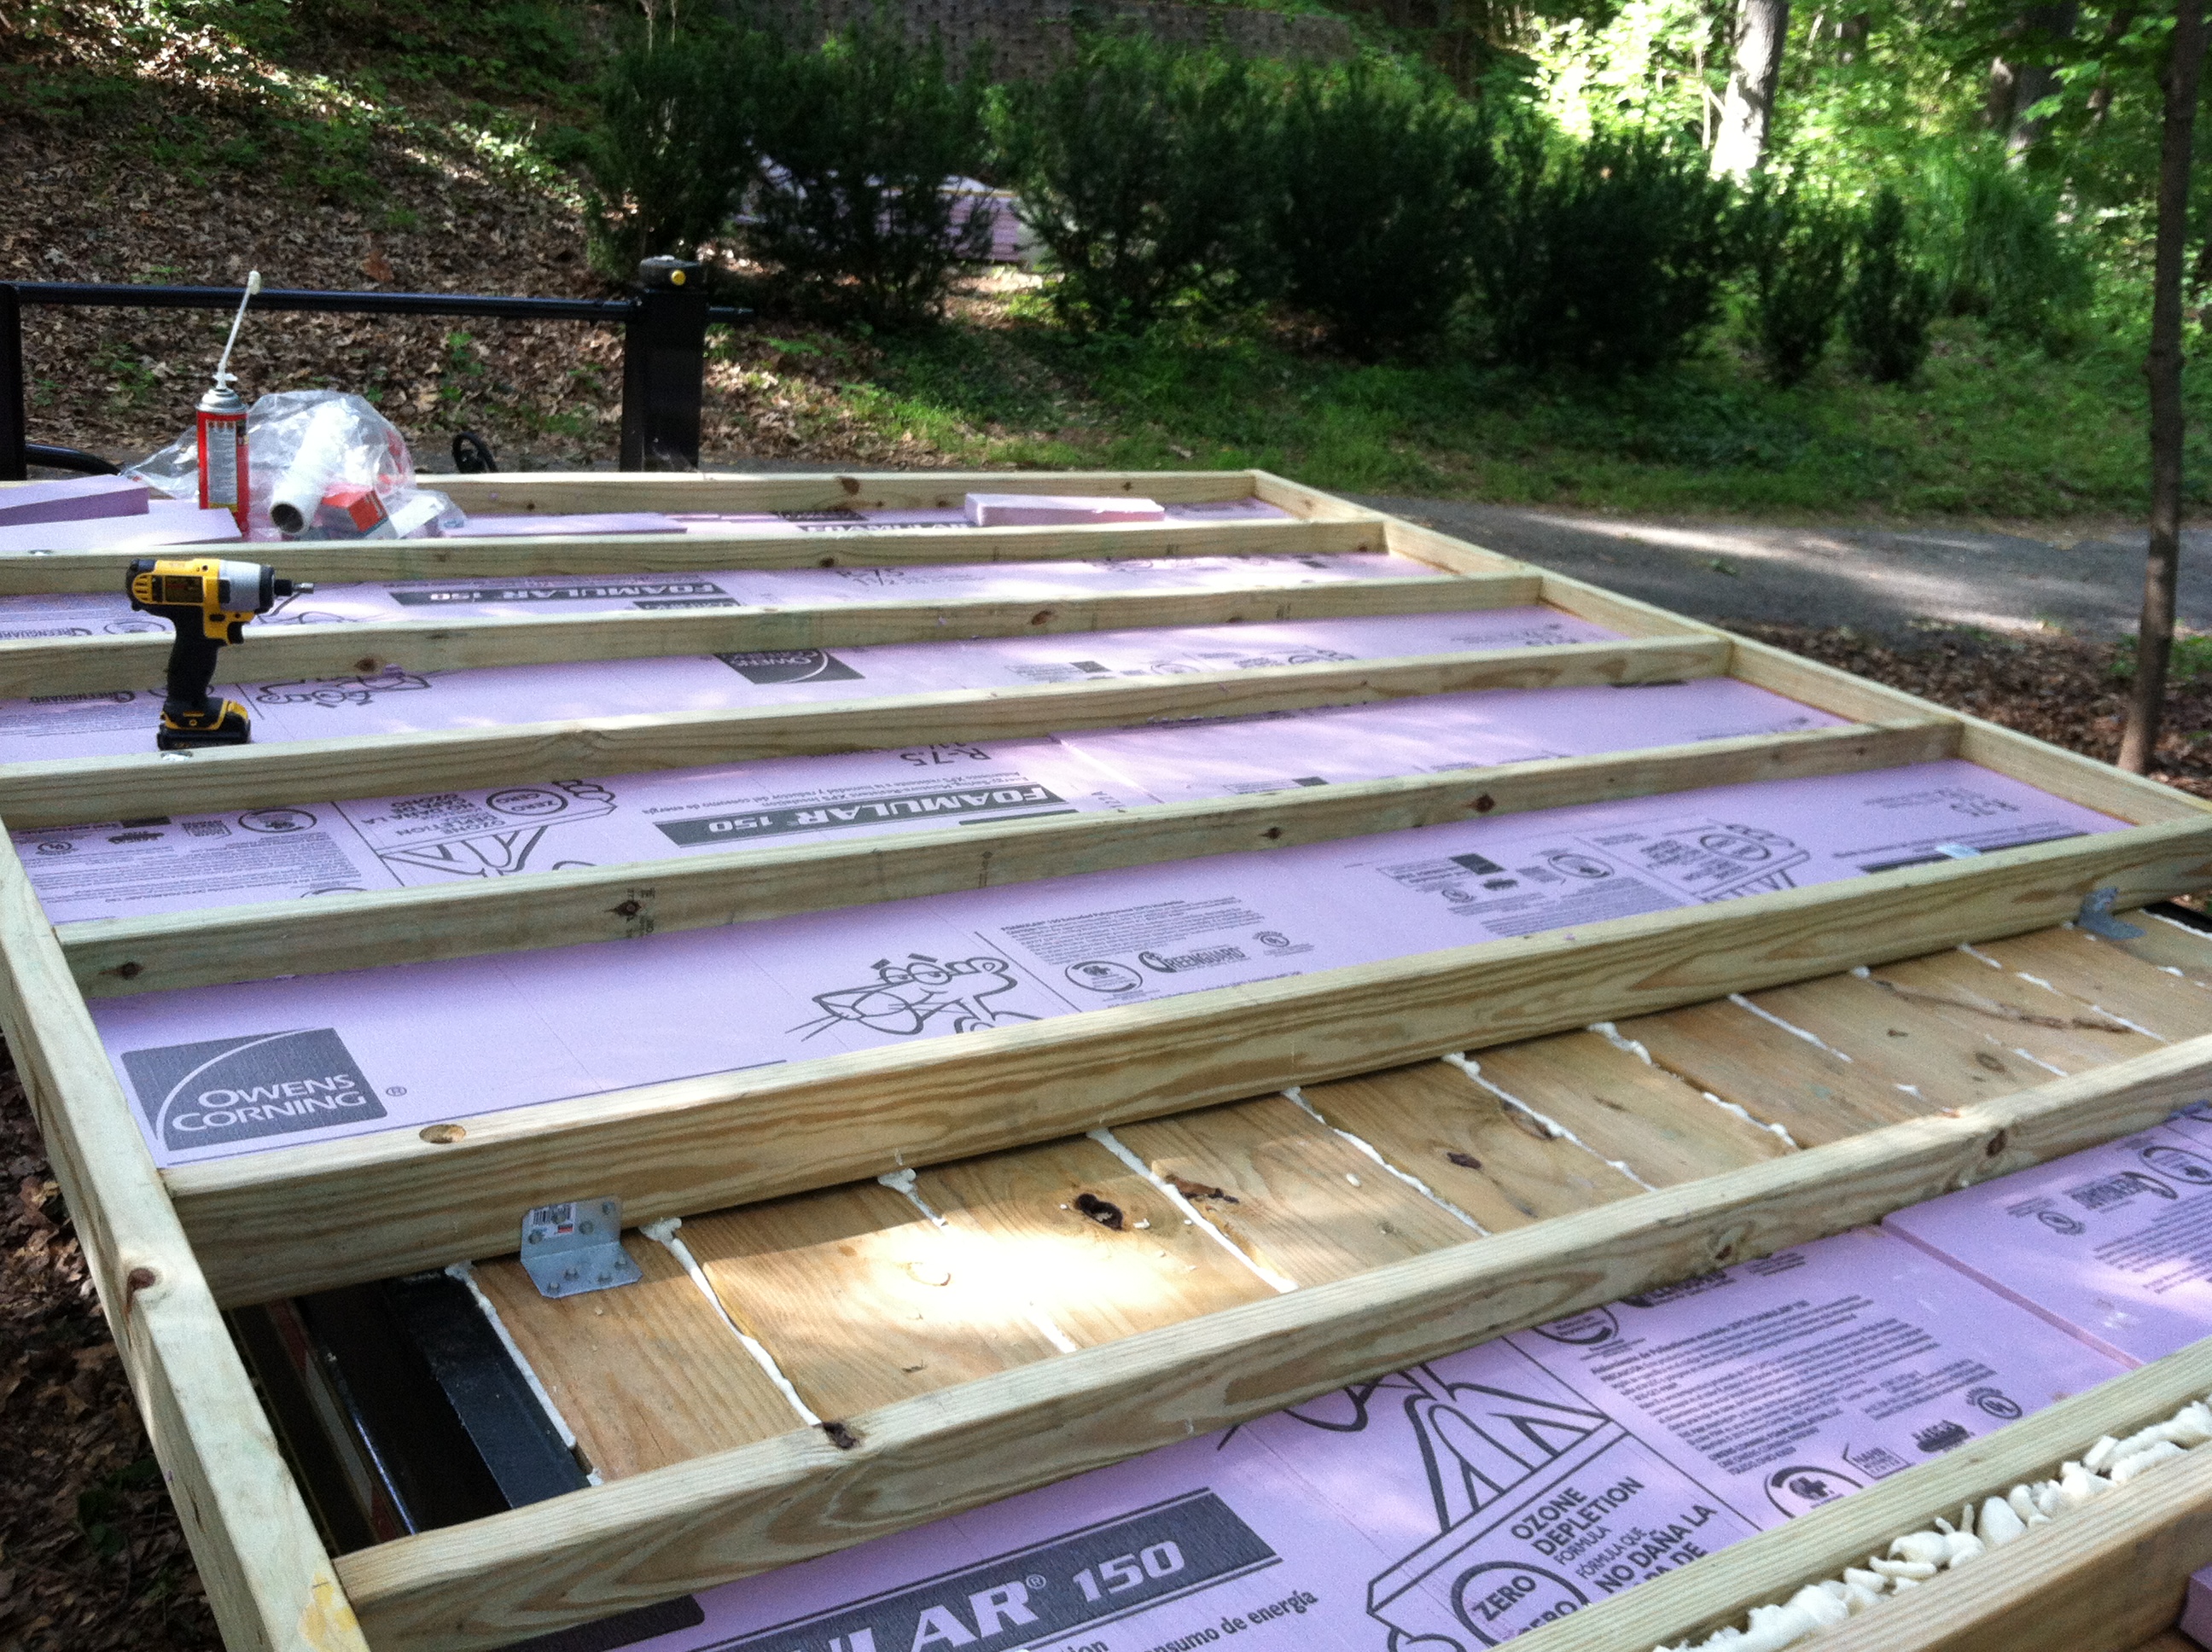
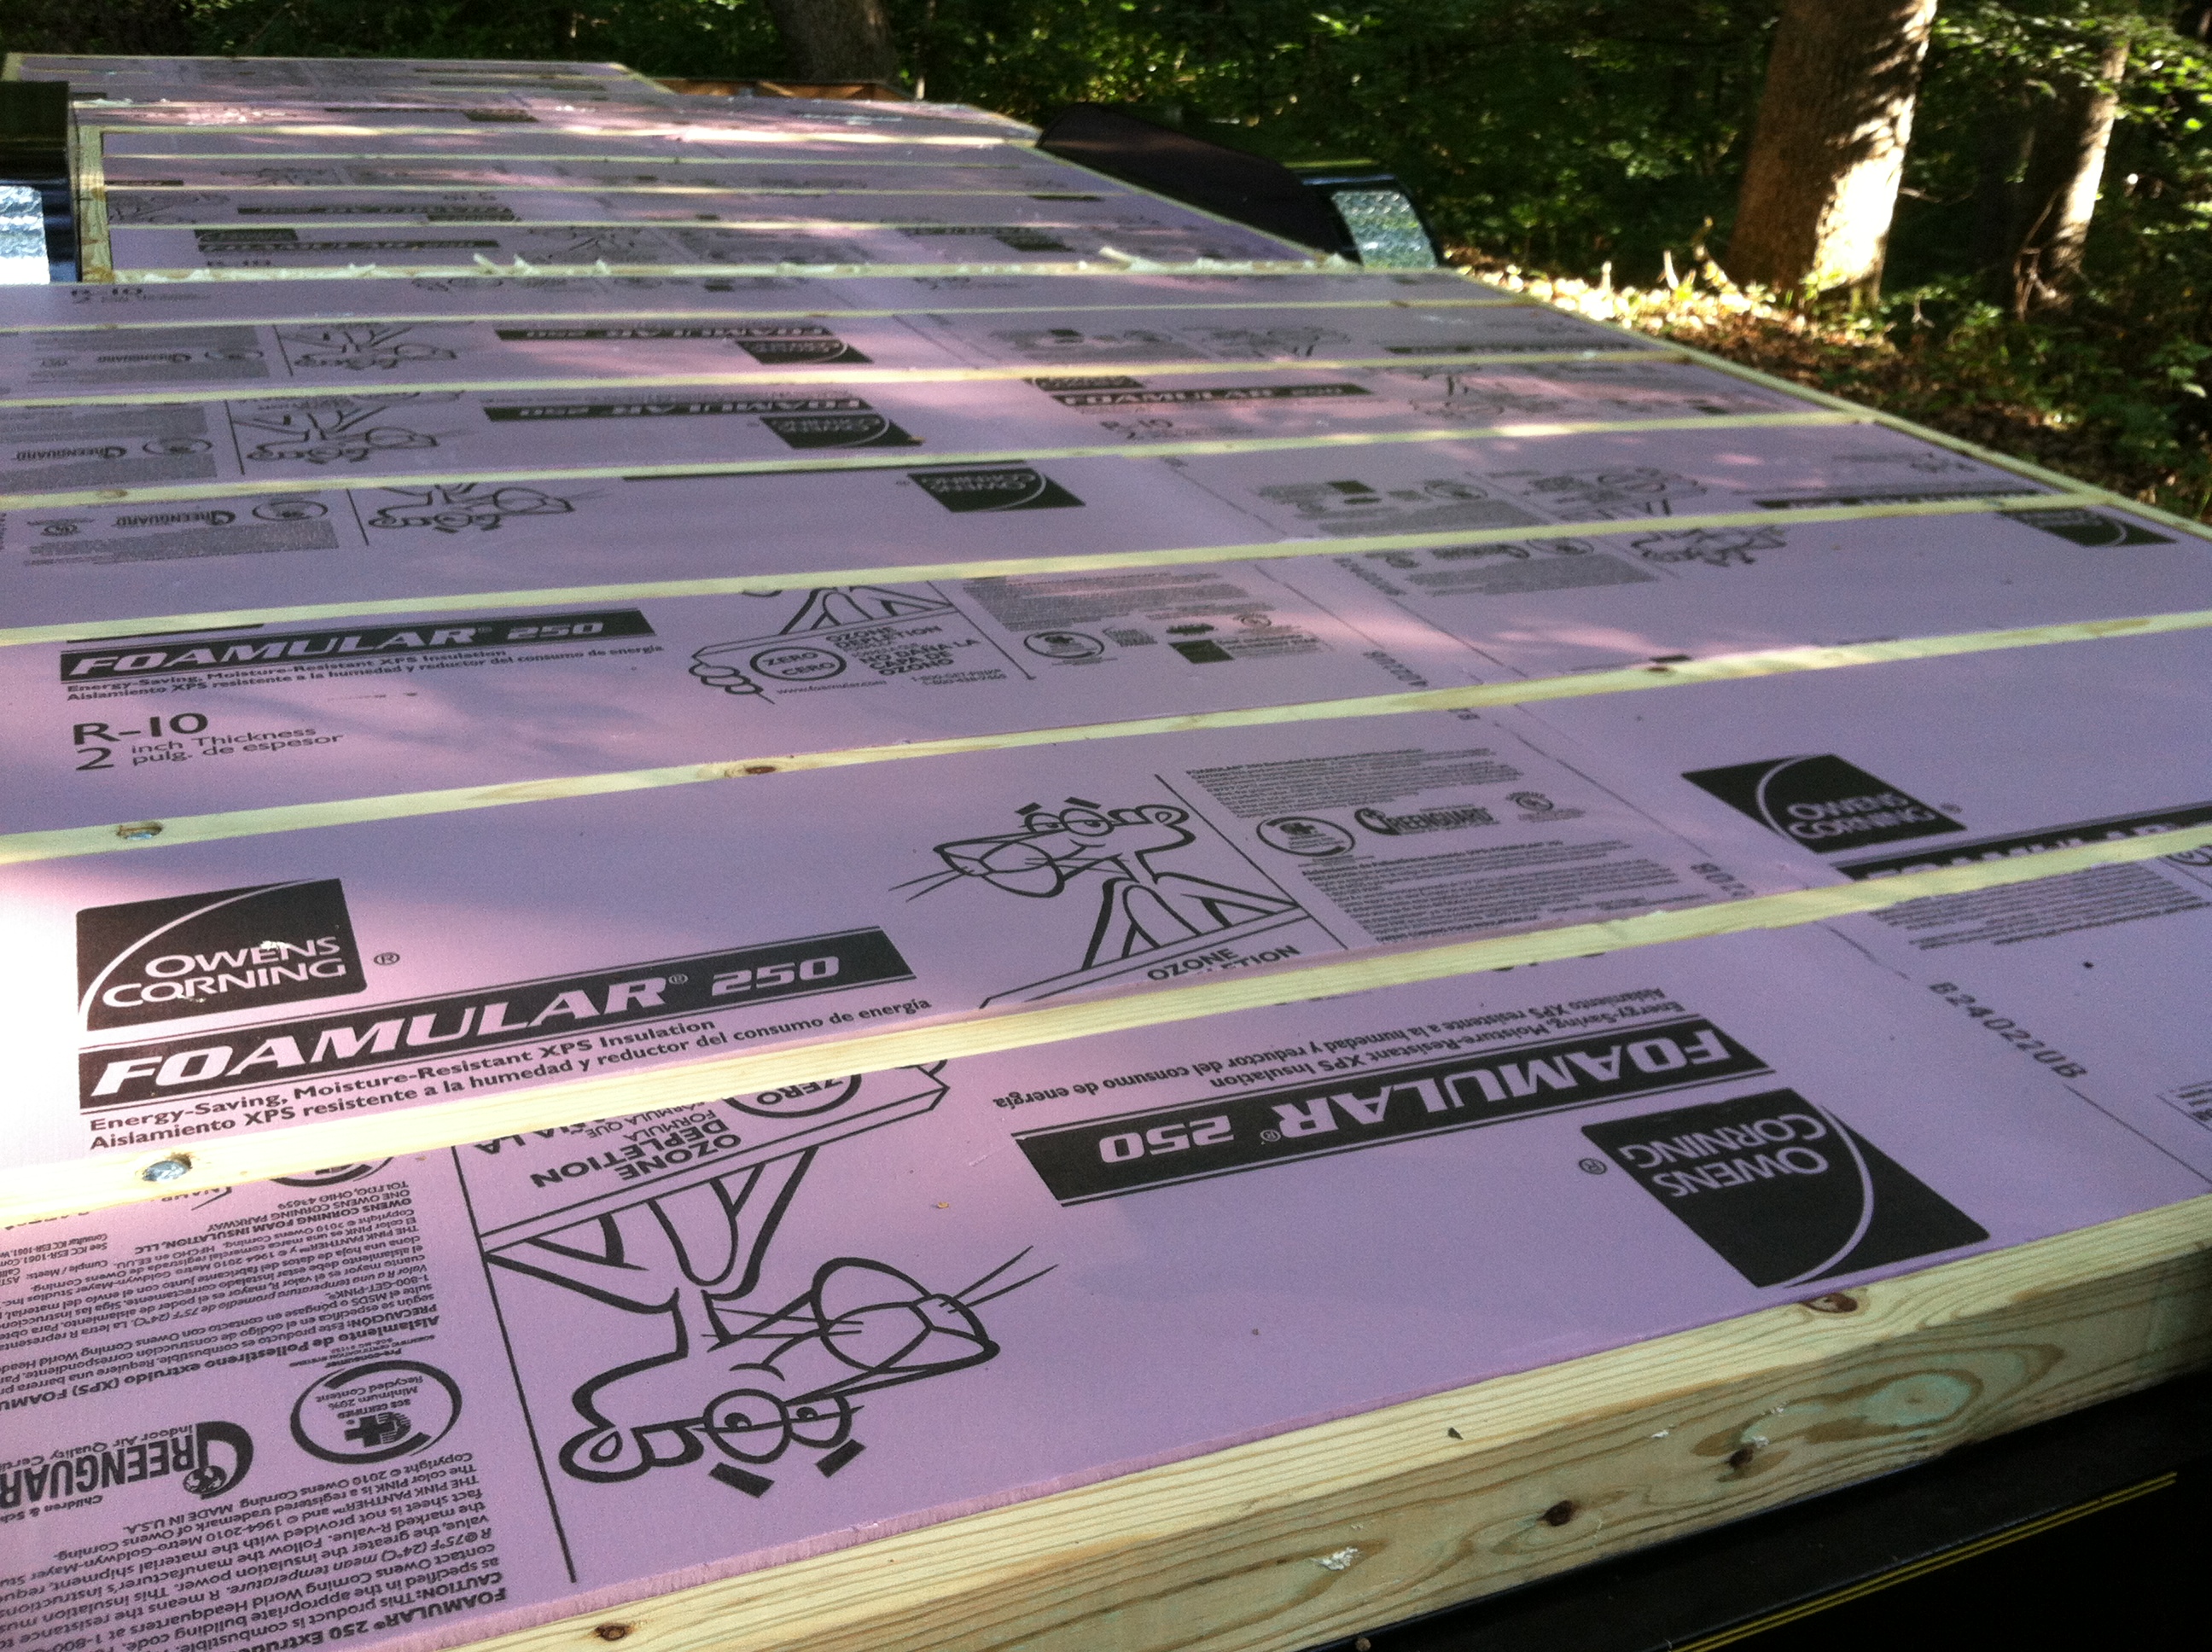
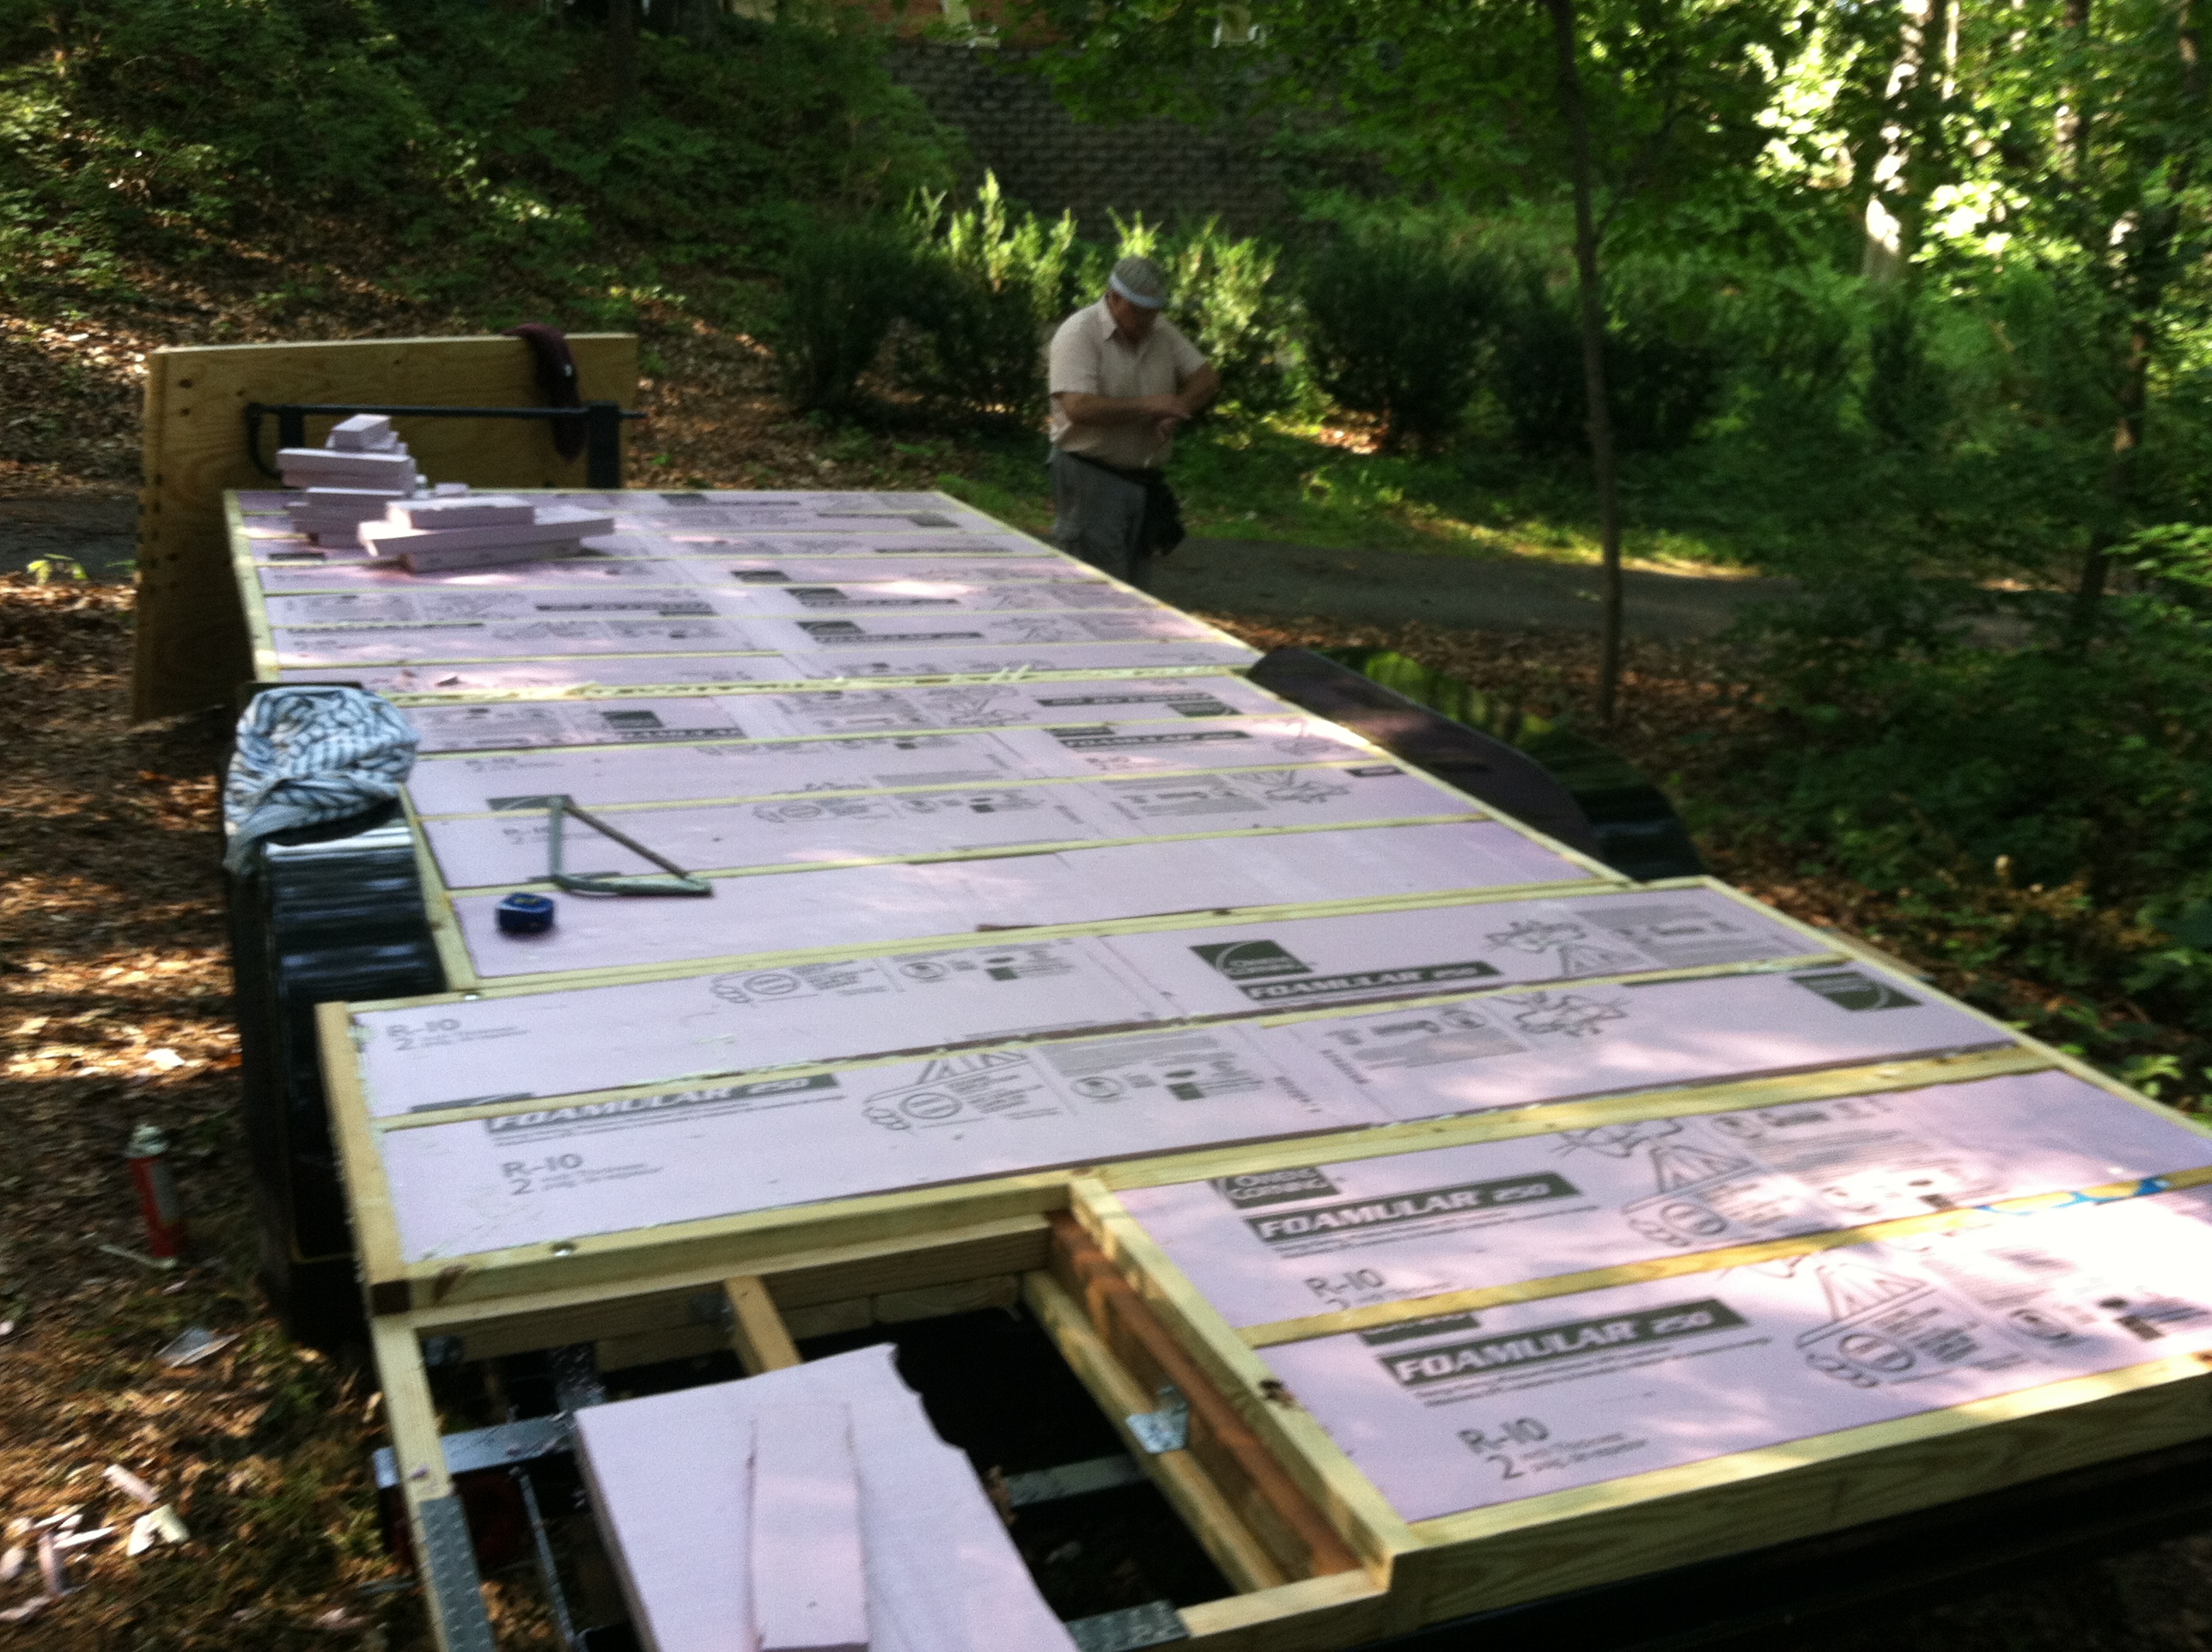
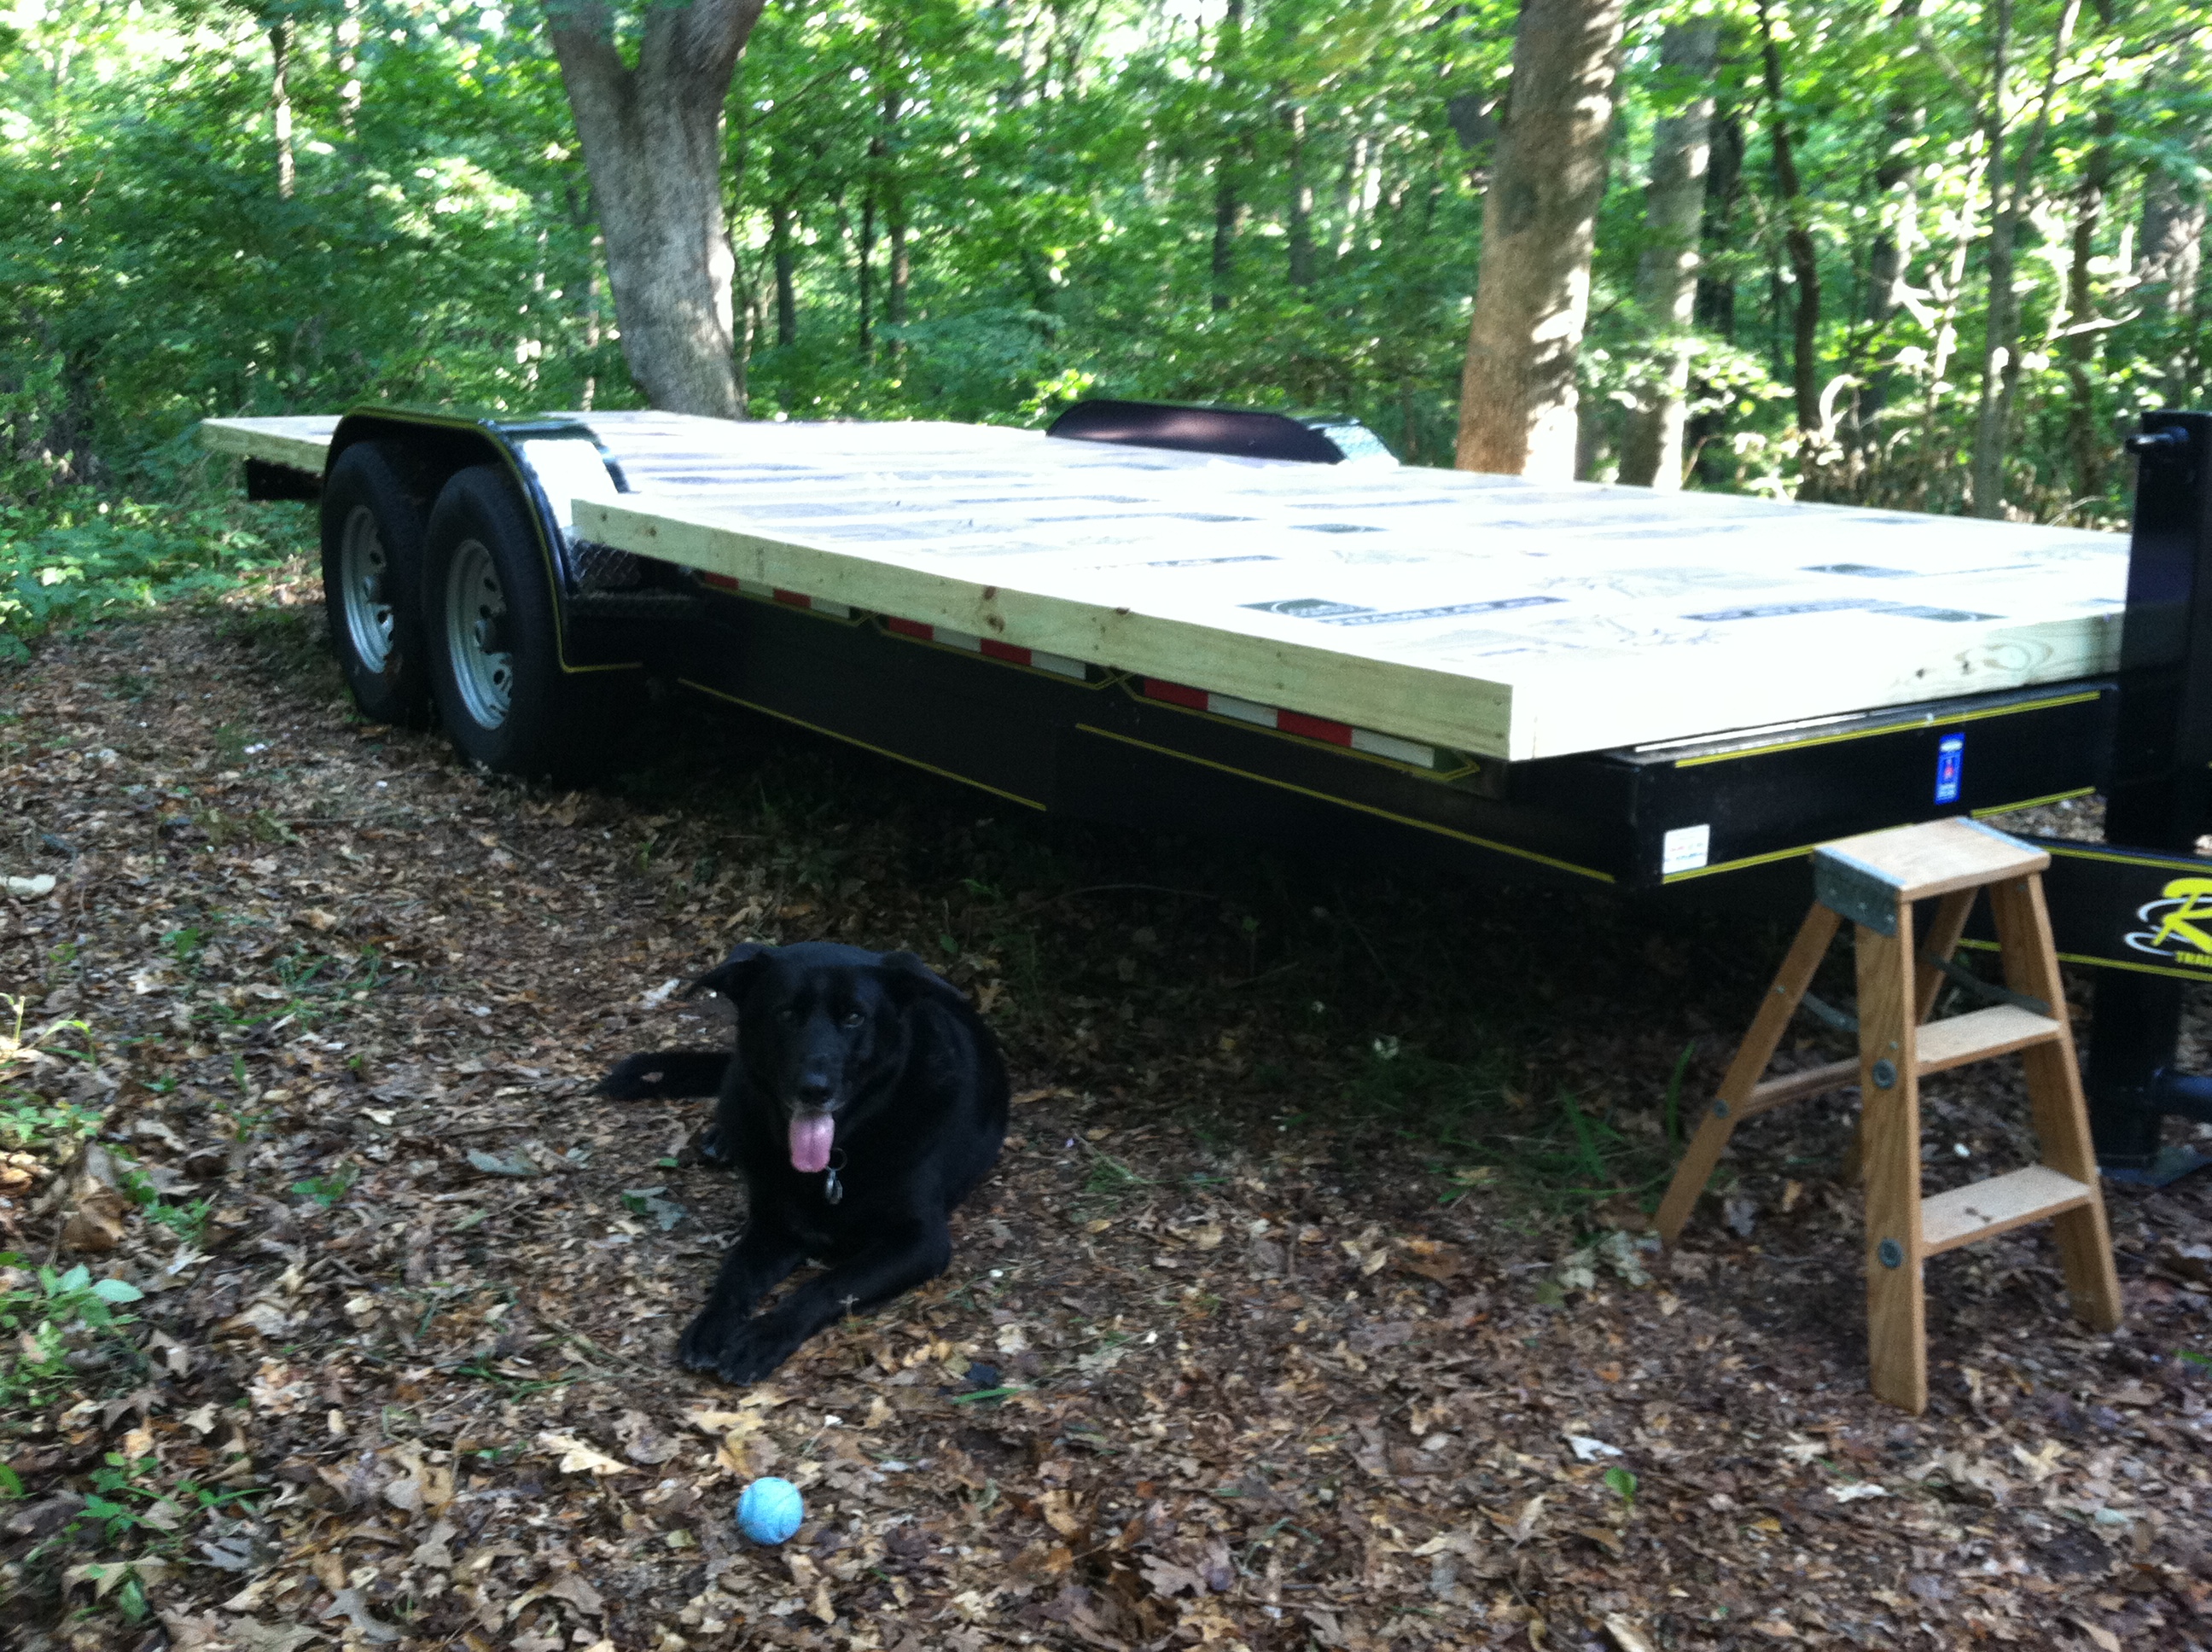
All of the heavy *sighs* in this post are sighs of frustration and acceptance. I have a house to build. It’s effortful and requires learning new skills on a regular and ongoing basis in order to continue and make progress. it takes up a lot of time and energy to think everything through and make constant adjustments around weather and various other conditions that are in a constant state of flux.

In other words, it’s really hard.

On the other hand, the only way I can continue is to accept the changing conditions around this project with complete acceptance. If there’s one “tough love” lesson that life has taught me, it’s that I’ll suffer much less in the long run if I can take in the circumstances and conditions around me and simply accept them.

Often that means getting through layers of frustration, irritation, anger, disappointment, grief, sadness or one of many other negative emotions first. The key is not to create a story around the emotion as it arises, and to recognize it as it’s arising. It sounds easy in theory, but it’s a practice all its own that requires diligence and effort.

If I can stay with even the intention behind the practice, the emotion will do what it was designed and created to do: move. It can move through, and move on.

As long as the intellectual mind doesn’t get involved in rationalizing anything to do with the emotion, it cannot hang around for very long. In fact, it may be so brief that it’s simply a wave of something that washes through and over, cleansing the pallate. When it’s gone, there is this amazing space all around that is palpable and offers tremendous clarity. Following the clarity is acceptance and an understanding of what action needs to be taken next.

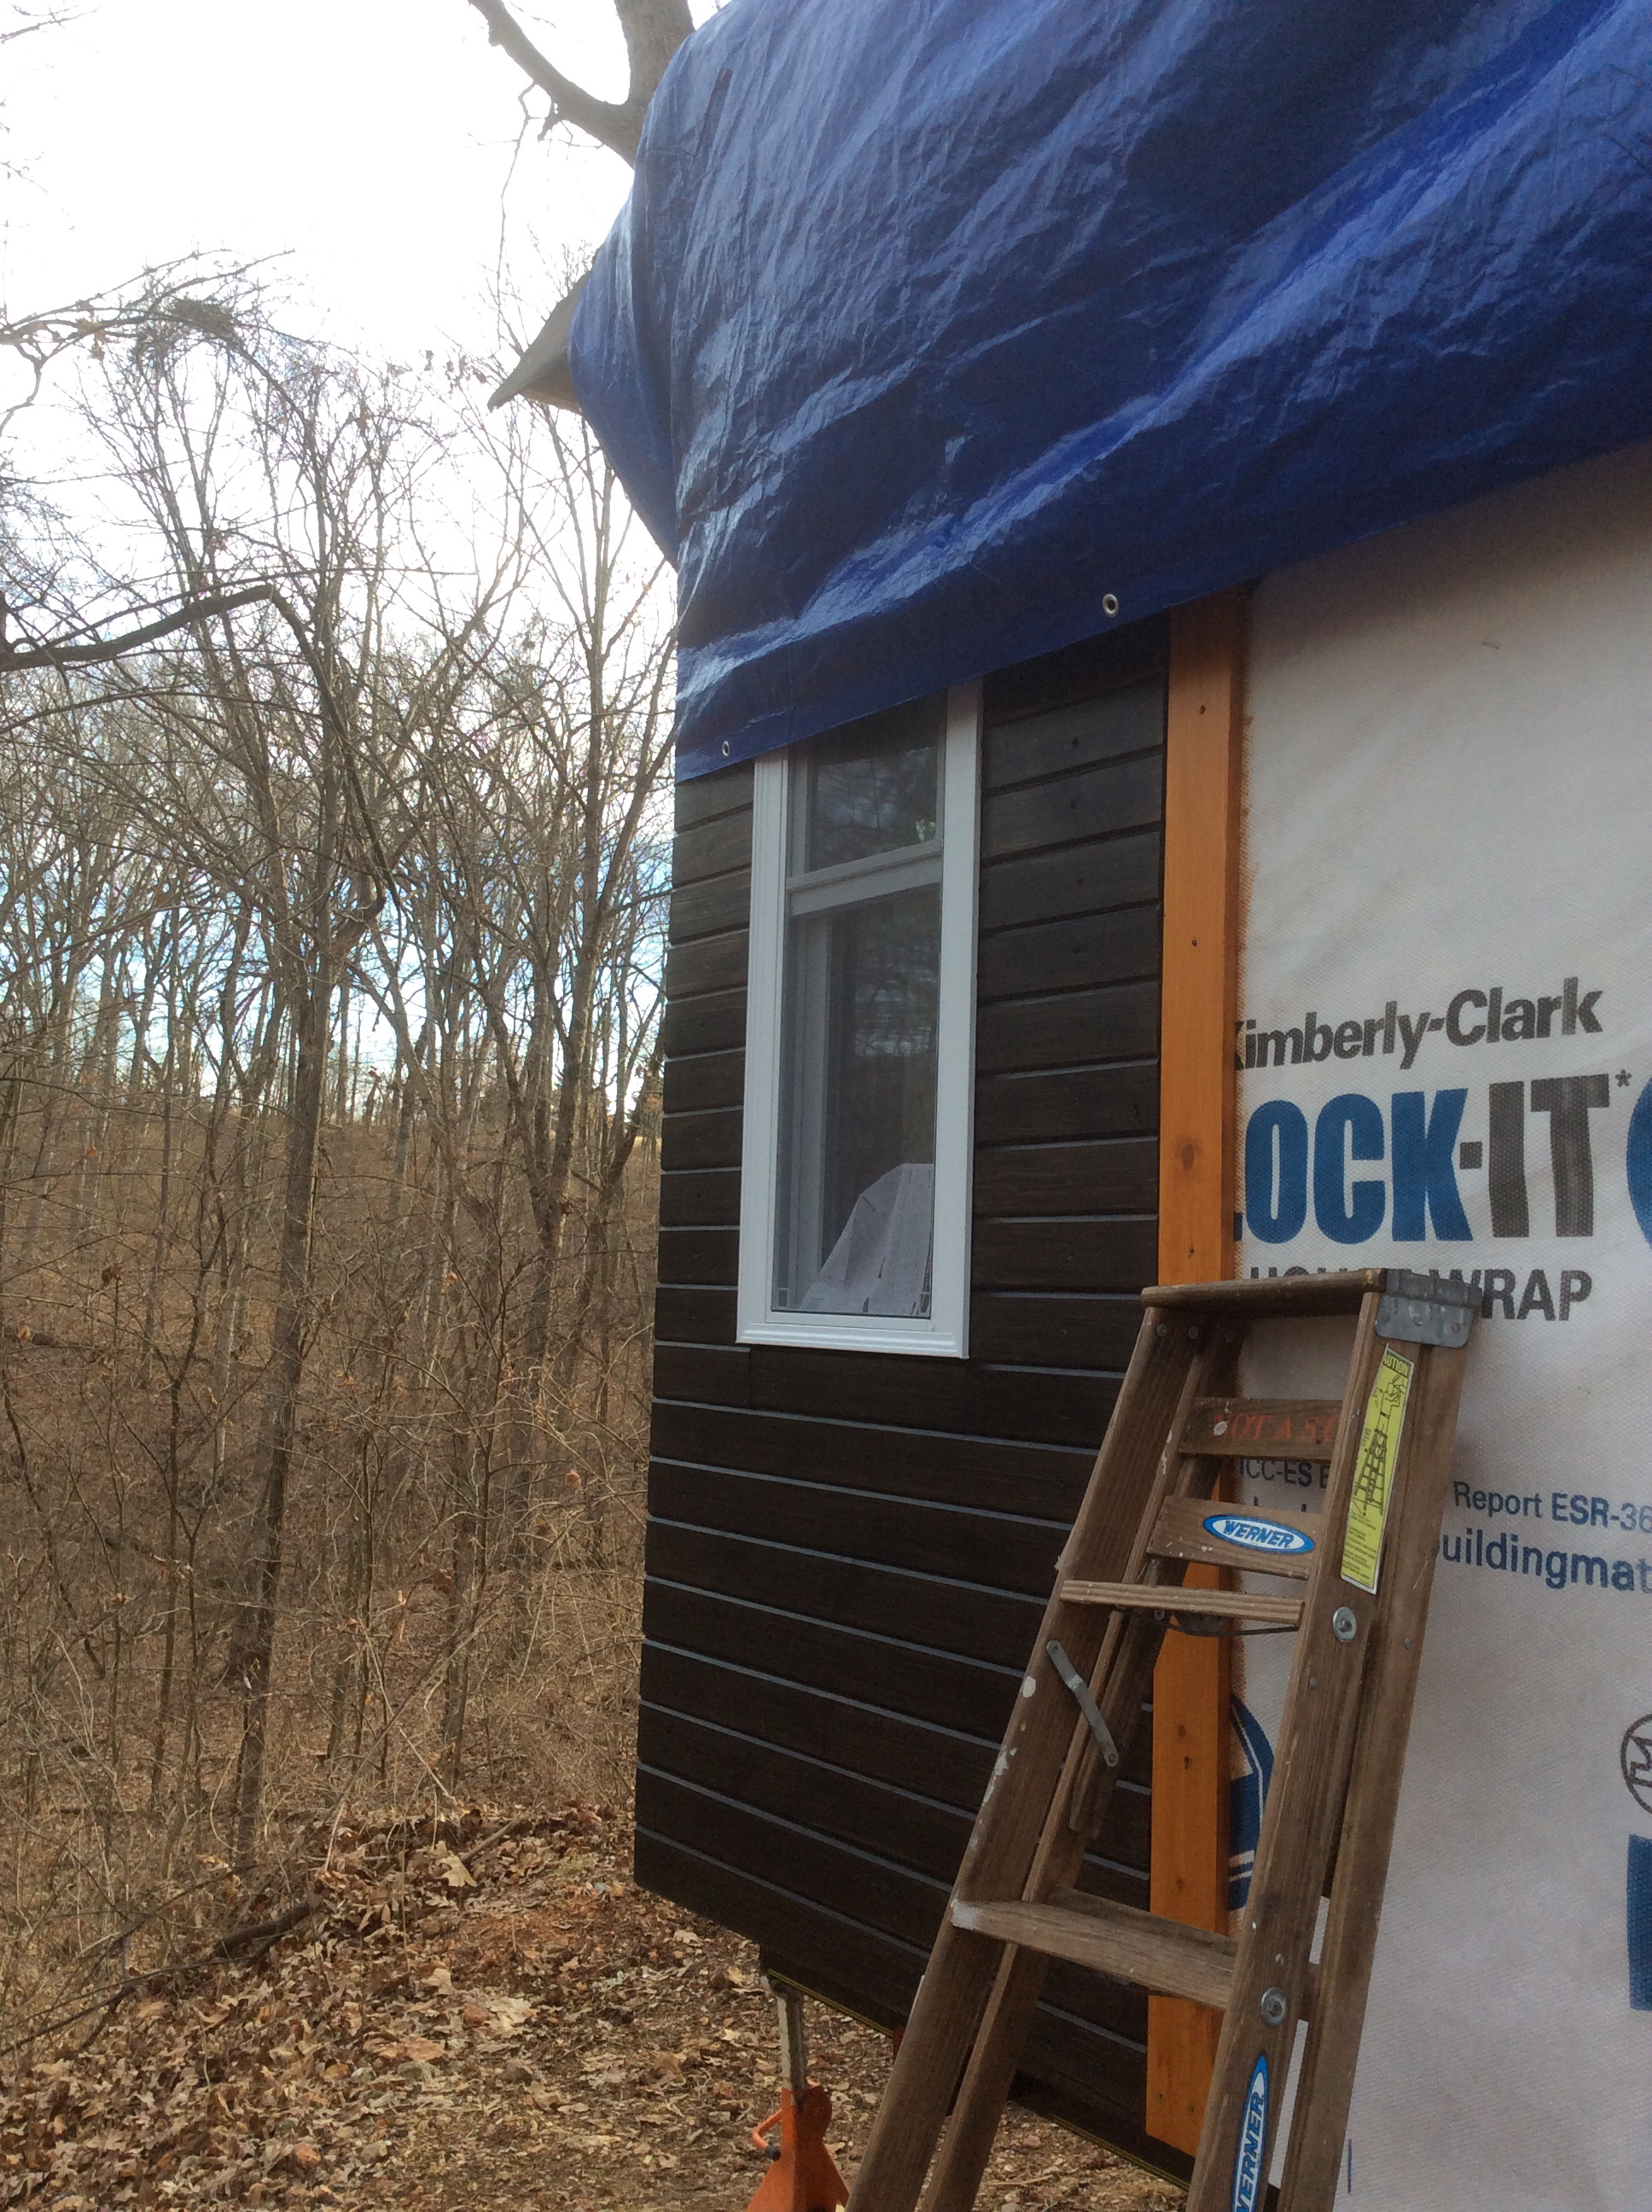
That said, I will take the observation offered by my mother (“Those birds are going to sh*t all over that area of the house, you know.”) and cover the surrounding area with leftover house wrap to hopefully make the cleanup much easier. Then I will need to learn how not to startle her too much so that we can adjust to one anothers’ presence and hopefully find a way to share the space amicably until it’s time for her and her fledglings to move on, which according to the Missouri Conservation website will be sometime in early August at the latest. I don’t know how long she’s been there. I was away at ITF in Nebraska last week, and didn’t go indoors much the week before that.

She doesnt’ instantly fly off when I walk in; she only revealed her position when I disturbed the wood near her nest.

IMG_6188

I may try taking my cushion down there to sit in the loft so she can get used to my being in there with her, and hopefully it will settle her nerves a bit.

There will be some readers who don’t understand the choice I’m making in how I handle this situation — I realize that.

The simple fact is that the wren nesting in my house cannot change her nature any more than I can change my own. I’m building my nest in her territory, and she’s building her nest in mine. Each of us would insist that we have the ‘right’ to be there. As the only one between us with a rational mind to work with, however, and recognizing the situation we find ourselves in, it’s incumbent upon me to find a way to make this work peacefully and amicably for both of us.

Since wrens tend to nest near humans and in the same place  year after year, however, next year there will b a separate Tiny house waiting for my new seasonal guest that will offer her safety and privacy when she comes to stay.

The Tiny House Update That’s Been a Long Time Coming. . .


The  Tiny House is definitely coming along, and this first photo pretty well represents where it is at the moment. The rain and inclement weather throughout June put the kabosh on continued work on the roof, but before it got too bad, we were able to get a fair amount of it done. The skylights are the next step before the roof is done and dusted. 
  
My friend Bob came over in May to help me get the roof started up again, and offered some excellent suggestions for finishing the exterior. Once we’ve got the house under roof, it’ll be time to move inside and tackle the wiring and insulation! It’s been important to remember of late that the work ahead is not as brutal as the work already completed. 

There’s not much to say that cannot be said better through pictures, so here goes: 


Thanks for stopping by! I’ll be updating more frequently as the summer goes along!

Off the Deep End

The last post was well-received on The Facebook, where many friends offered high praise, support, and comments like, “Wow — that’s so cool it makes me envy you.” Well — it seems likely that if they are the well adjusted, competent individuals I have credited them with being, they may not feel especially envious or terribly generous with praise after this update. . . *gulp*

In my last post, all was peachy keen, if a bit slow-going, and I was preparing to put the skylights in and finish the roof, all whilst listening to the dulcet tones of forest birds, embraced by nature, and charmed by the occasional owl while sitting in my loft at twilight. As my former acting teacher and colleague, Gary, would say, “What could be more fun or more wholesome?” 

That didn’t happen.

Instead, the weather forecast changed, and we were expecting cold temps and falling precipitation, which doesn’t make for a good roof-putting-on kind of weekend, really. (The owls agreed.)  Rather than being brought down by the change of plans and annoyance of yet further delays, however, I triumphantly decided to make another attempt at leveling and stabilizing the trailer. Up to this point, it’s been somewhat level, and somewhat stable. But not terribly. I had also noticed that it had shifted at some point (but clearly hadn’t taken the clue), and the jack that’s welded to the trailer was pushing up against the sheathing at the back, making it impossible to put siding there. It seemed that nothing could really be done “well” until it was fully stable and level, so I went out and bought jacks to stabilize and level the trailer, merrily took them home, and began the process.

I was so merry, in fact, that I thought it would be a great time to take a selfie:

Triumphant selfie in front of the open gable.

Triumphant selfie in front of the open gable.

In short, it failed.

In fact, it was almost a complete disaster.

Just as Dad and I were making a final few adjustments before considering the whole thing something of a success, there was this . . . sound . . . like a groan . . . after which, the trailer suddenly gave way and heaved about 8 inches to the South-East, knocking me out of its way as it headed in the direction of the valley below.

Fortunately, this ladder seems to have helped slow it down:

. . .worth taking a second picture of, right?

The ladder was crushed, but it helped stop the house from rolling into the valley. . .

IMG_4989

. . .worth taking a second picture of it, right?

It was pretty horrifying.

Once Dad established that I was okay (it was really more of a push out of the way) and we were sure it wasn’t going to slip further toward the valley, we started walking around scratching our heads for a bit, trying to decide what to do.  Here’s what we were looking at while we scratched:

IMG_4991


Here’s a longer-range view of the position of the trailer, which you can see is listing to the left (or South-East):

Uncomfortably close to the edge.

Uncomfortably close to the edge.

We considered many different options. Initially my dad was ready to get a winch to pull it back over to the right/South-West. I wasn’t too sure about it. I figured if he was serious, it would be wise to consult with my brother-in-law’s brother, Kevin. He owns big trucks, is a trained carpenter, has worked and/or lived on farms his entire life, and likely owns a winch. Turned out he was duck hunting that day, so we stacked blocks around the wheels, reassured ourselves that it was likely to stay put and be fine for a day or two, packed everything up, and went inside to warm up and settle our rattled nervous systems.

Although I was calm for the first few days afterward, the fact that I had nearly watched my house slide off the plateau and into the valley below eventually hit, and it made for a pretty tense week. No matter what your level of meditation practice or relative “Zen”, you’re still faced with the stark reality that the home you’ve spent the last 8 months of your life building was precariously close to being lost, and it’s really upsetting. As my father observed later on, “If that trailer had gotten any closer to the edge and had gone over into the valley, most of that work would probably have been lost, and I really don’t know how we’d go about getting it out of there.”

Here’s the thing: we didn’t have a way to engage the brakes (or ensure that the breaks are engaged) on the trailer, but it had been pretty reliably stable up to this point. There was no real reason to think it was in any danger where it was. When we initially got the dang thing up the hill in the first place (see my first blog post on the entire subject!), it was such a harrowing experience that by the end of it we felt lucky to have gotten it into a workable position at all. No amount of research, reading, consulting, planning, or ruminating will really adequately prepare you for the experience of doing something like this for the first time. We knew we would make plenty of mistakes, and we were prepared to do it anyway.

When I think of the imagery of “The Fool” (I love him) in the tarot, I see more and more often the ways I figuratively — and literally — resemble him:

"The Fool", Rider-Waite Tarot Deck

“The Fool”, Rider-Waite Tarot Deck

The intention, of course, would be to embody the archetype this way:

"The Fool", Rumi Tarot Deck

“The Fool”, Rumi Tarot Deck. “Be foolish, so that your heart may be at peace.”

Or even this way:

I honestly have no idea who to credit this one to.

I honestly have no idea who to credit this one to, but it’s SO COOL.

BUT — when all’s said and done, I think this is likely the most realistic depiction of what was going on:

I could do this even without the high heels, though.

I would be capable of this even in my bare feet some days. . .

All fools aside, though, after a solid 24 hours to think it through, dad had a new plan: call someone who moves and repositions mobile homes, and get them to come and move the tiny house. Seemed like a good plan, right?  Why not trust the experts? Probably much safer than winching the tiny house back up to a safer position, and far less likely to damage the axles in the process. After making several phone calls over a few days, we found someone willing to take it on: Jeffrey Day.

Jeffrey was unbelievably competent, and came armed with a piece of machinery that enabled him to reposition the tiny house as though it were a tinker toy. Check it out:

Jeffrey Day, his assistant, David, and the "Trans Lift".

Jeffrey Day, his assistant, David, and the “Trans Lift”. Dad is there in the foreground, observing.

I videoed the entire move, which took 2 minutes and 56 seconds, including moving the crushed ladder out of the way. (I hope to get it uploaded to YouTube in the near future. . .) Once it was re-positioned, mostly what they had to do was rock it back and forth to get the tires off the ground and stabilized at the right level, and put the TransLift back in its “on the road” mode. Then it was putting blocks under the corners of the trailer to ensure its level-ness and overall stability, which has been greatly improved, not to mention how much safer it will be to work on the left side of the house. So, while I’m confident that there will be plenty more mistakes made before it’s finished and ready to move into, the good news is that I will also be all the more likely to live to tell about it!

The trailer in its more stable position on the plateau overlooking the valley.

The trailer in its more stable position on the plateau overlooking the valley.

To give you some idea of the difference in position, as you look to the left in the above picture, where you see the aluminum ladder and stack of blocks is right about where it was sitting after it slipped.

And that’s pretty much it for the moment.

. . .never a dull moment, though, is there?


A Practice in Patience

It’s coming along. . .slowly.  (The house and the patience. . . )

Last fall, I began to feel desperate about getting certain aspects “done”, and lost the mindful approach and spacious feel to the entire project, which can quickly turn the entire thing into an arduous form of torture. Accepting that I cannot change the weather, work faster or harder, push myself beyond a certain point, or stop other necessary parts of my life from happening has helped.  I’ve had to step back from anything that is unnecessary, however, and have fallen behind on other things I’d never intended to let go of. It’s challenging to remember that the point of this is to create more space in my whole life, because right now it feels like the building process has taken it over entirely.  In the mean time, I’m doing my best to slow down, breathe, and continually re-assess what needs to happen next in every area of life. The practice now is to be patient and accepting of present conditions.

That can be difficult sometimes when people ask “Hey — how’s the house coming? Moved in yet?” It’s hard not to feel a crushing pressure in my solar plexus. Their intentions are good (and they should still keep asking!) — they just cannot know how long it takes to build a house as a complete beginner while working full-time. Having never built anything before in my life, each new step is a massive uphill learning curve requiring all of the usual steps involved in learning to do something new — including failure, starting over, making mistakes and eventual success. Even moderate competence in a particular area is pretty sweet. It’s tremendously humbling. Not a day goes by when I don’t encounter with my own humanity and limitations.

So, sometime between the last post and this one, the windows arrived and we installed them. That was a very happy moment.

IMG_4832_2

We also put on the roofing felt and began putting on the roof. . .only to discover that we had exactly half the amount of roofing material needed. UGH. Apparently, when we showed a sketch of the roof to the guy at Menards, he thought we were building half of it. He also interpreted the gambrel break as an inside break rather than an outside one, so that had to be re-ordered, too. It’s been an exercise in patience and acceptance in order to continue moving forward peacefully. And peace is a practice, not a state.  That can be hard to remember — especially when it’s hard to accept limitations. Again — this is all brand new. I don’t know how to install a metal roof on a house because it’s my first time. As I started working on it, all I knew to do is to research the subject, watch videos, and seek the help or advice of those who theoretically know about it. Often I’ll start working on something, believing I have everything needed to proceed and complete the project. . .only to find out that I’m missing something crucial. Everything stops while the necessary item is ordered, purchased, researched, etc. The only thing to do in those moments is to accept it, feel the frustration as a physical sensation in the body, create space around the issue at hand, breathe in and out, and wait for the body to calm and the mind to clear. Once that is taken care of, the next “step” is usually pretty obvious and I’m in the right place to proceed.

Usually. As with all of this, it’s work in progress, right?

That said, here is what’s been done with the roof so far:

IMG_4837_2 IMG_4836_2

Given all of the delays, I cannot say enough about how relieved and grateful I’ve been that the weather has been so temperate this winter! We put on the felt, the lower level of panels, one section of outside gambrel break trim, and one upper panel. The rest of the panels have now arrived at Menards, so I’ll get them picked up tomorrow and the roof will go on this weekend — that’s the plan, at least. This much of the roof didn’t take more than two hours to get put into place, and I’m going to gather a few people to help with it in the hopes that it can be completed over the course of a day. We’ll see! I’m optimistic.

While waiting for the roofing to arrive, I purchased and then stained siding and cedar shakes indoors, and started putting them up once they were dry:

IMG_4820 IMG_4822_2

IMG_2281 IMG_2282

The second set of pics was taken this afternoon. The front of the house is going to be the dark slate/black stained tongue and groove with white trim; the gable (once it goes in) will be cedar shakes and another octagonal window painted white. The sides will be cedar lap siding and black trim around the white windows. The back will be cedar board and batten with black trim, and more cedar shakes in the gable.

Here’s how the shakes are coming along at the back of the house:

IMG_4856 IMG_4855_2

IMG_2290 IMG_2285

Once again, the two bottom photos are the ones I took this afternoon. The shingles are almost finished — a couple of spots where more need to be put in. This is a fairly tedious job; hours of work staining, climbing up and down the ladder to trim individual shakes, or “go fish” to find the right fit, etc. Doing the second gable should theoretically be easier, but it will still be tedious due to the nature of the material and the way I’m installing it. In truth, I’ve enjoyed this part a lot. It appeals to my artistic side and the tasks involved aren’t as new, making it much easier. I love the gingerbread effect of the shingles! They make me so happy!

The other new development is the larger sleeping loft, which is now built inside:

IMG_4825_2 IMG_4812

It brings me a lot of happiness to say that the sleeping loft was “sponsored” by “The Kiddos” from A Christmas Carol, who gave me a Lowe’s gift card as a thank you present on closing night. (If any of you are reading this — thank you so much!!! I miss you all and will be reminded of you for a very long time!)  The beams are cedar, the floor is pine. I’ll leave the beams and floor exposed underneath as my “ceiling”, so I chose the wood carefully. Eventually I’ll probably put down flooring in the loft, but there’s no need to do that yet. The loft is pretty spacious; 89″x108″. Plenty of space for a queen mattress to go either vertically or horizontally with space all around. There will also be a skylight that opens for ventilation. I can sit comfortably up there now, and the view out of the front gable is of the wooded valley the house overlooks. I’m probably going to wait as long as I can before I frame it so that the view remains a little longer. It’s really stunning. (No good pics of it, however, which needs remedying soon!)

Finally, a few more pics of the house at night while playing with some battery operated puck lights. I wanted to see how much light they put out in a house that size to get a better sense of how to wire, what kind of lighting, what size solar panel to get, etc. It was pretty amazing to see just how much light these three little guys could put out:

IMG_4816_2 IMG_4809

The effect of uplighting is pretty stunning. I may use a fair bit of it, actually.

IMG_4817_2

Changing the position of the pucks changes the lighting a lot, too, as you can see in the above pic.

They’ll be very handy in the kitchen, as the pic below was the effect of just one puck light over the kitchen window:

IMG_4814


Even though it isn’t Christmas anymore, I left the string of LED’s up outside the house around the post for the simple fact that they make me smile and remember why I’m doing this. IMG_4818_2

Being in the woods is magical at night. There are several owls that hang out in the trees all around my house, and they chat happily once the sun starts going down. The sunrises and sunsets are glorious through the bare trees. In the daytime, the red-tailed hawks that live to the south can be seen and heard several times a day and are no longer shy around me when I’m working. All in all, a pretty sweet experience.

A “Tiny” Bit of a Challenge . . .

Who would think that building something so “tiny” could possibly be so challenging?

I know, I know. This update on the progress of the house is LONG overdue. Suffice it to say — I took on WAY too many responsibilities over the summer and into the autumn this year. On the other hand — a person’s gotta live, don’t they? As a freelance artist and teacher, if I don’t take the work that’s available, devote mindful presence and energy to it (and ultimately feel gratitude for it), I’m in a lot of trouble.

That said, onto the details about the house and its construction.

The frame went up with minimal difficulty.

IMG_5129

See?

Then there was the roof.

Ohhh… the roof.

There are a lot of details I could offer about the roof and why we chose to change its pitch, but it’s confusing so I won’t. We altered the style of the roof to a gambrel or ‘hip’ roof. My father has built at least two buildings with gambrel roofs on them, and they do offer quite a bit more space in the loft, so we chose to go ahead and do it.

Dad did all the calculations, and we started building trusses.

IMG_1107 IMG_5004

We built all these trusses so that we could put up the frame and have the trusses ready to put up. It all seemed so simple.

Great big stack 'o' trusses.

Great big stack ‘o’ trusses.

At first, it was. We got some anchors for the trusses, measured them out, screwed them in, and put up the trusses. It took shockingly little time to do. Once they were up for a few days, however, we realized that we’d built a few of them incorrectly. No big deal, we thought. We’ll take the faulty ones down and re-build a few trusses. When we took them down, however, we realized that the structure wasn’t going to be nearly stable enough without a rafter board. Even with the sheathing and roofing to stabilize the structure, the use of trusses isn’t nearly as stable as rafters and a rafter board when you subject the structure to torsion. If you put a stick building on a trailer and tow it, there’ll be torsion. Oh, yes. Torsion-tastic.

I love and admire my father deeply, and am eternally grateful for his assistance, problem-solving abilities, experience, and brilliance. I have also since learned that it is unwise to back off when he tells me that the additional reinforcements I add to the structure are “overkill”, and I no longer defer automatically to his opinions about building. If I were building a structure that wasn’t intended to move on a trailer, they would be entirely valid. NO question. When it comes to building a tiny house, however, he hasn’t done a quarter of the homework or research that I have, and since I’m the one taking the risk and hoping to live in it, I’m going to default to the research provided by those in the know on this particular area. Luckily, between us we’re a pretty solid team. We rarely argue, we work smoothly together with a great deal of mutual support and encouragement, and when one of us screws up, we (eventually) laugh and move forward with ease.

We took the trusses and split them in the middle to turn them into rafters, and attached them to the rafter board.

Trusses turned into rafters and attached to the rafter board.

Trusses turned into rafters and attached to the rafter board.

I wish someone had videotaped or taken photos of us trying to get that rafter board into place; I couldn’t describe it to you anymore because I remember very little of the process. It was kind of traumatic and we were lucky to have survived it. But once it was in place and we could attach the rafters to it, as you can see from the photos below (taken by my mother as she was passing by on her way home from work), all was well in the world of tiny house construction.

Hard at work fastening rafters into place.

Hard at work fastening rafters into place.

Happy Nat holding her handy impact driver.

Happy Nat holding her handy impact driver.

You can clearly see that the season has moved on from when these photos were taken, however. Once school started, time for building was cut right down to only 2-3 mornings or afternoons a week (max), and once rehearsals for A Christmas Carol started, it was cut down to one day a week. At the end of October, a disc in my lumbar region started to bulge and was decidedly unhappy, so things have ground to a halt until yesterday to allow for recovery. A few years back I had a disc in my neck that decided to bulge and healed very nicely despite the extent of the injury, so this is familiar (if extremely unpleasant) territory.

Before the disc kicked up, however, we managed to get this done:

Front porch, which is located at the back of the actual trailer.

Front porch, which is located at the back of the actual trailer.

Looking at the front of the house, which is at the back of the trailer itself. Framing that area of the roof wouldn't have happened without our friend, Bob, who "climbs like a squirrel".

Looking at the front of the house, which is at the back of the trailer itself. Framing that area of the roof wouldn’t have happened without our friend, Bob, who “climbs like a squirrel”.

Looking at the back of the house, which is also the front of the trailer.

Looking at the back of the house, which is also the front of the trailer.

Halfway sheathed and wrapped, and with about 2/5ths of the roof sheathing in place.

Halfway sheathed and wrapped, and with about 2/5ths of the roof sheathing in place.

Almost a "cutaway" view of the frame, sheathing, and house wrap process.

Almost a “cutaway” view of the frame, sheathing, and house wrap process.

Another cutaway taken from the front of the house.

Another cutaway taken from the front of the house.

Presently, we’ve gotten all of the sheathing put up on the sides and roof, and the house is wrapped. One gable end is finished, the other one isn’t. We have the roofing all ready to go. . .and we’re slightly terrified of doing it. Before attempting it, we’ll be calling our friend, Bob, to come over and assist, and probably a few others as well. This job is the one I fear most, aside from installing the skylights. (!) The windows have been ordered, but between foul weather, riots, and holidays, I’m not sure how much longer it will take for them to arrive.

I’ll take my iPad down with me tomorrow to take a few more photos for a shorter update tomorrow. I need to do that before the end of the semester hits full whammy, or you won’t hear from me again until afterward.

Wow. What a ride.

Movin’ On Up!

On Monday, dad and I finished the floor! 

View of the trailer from the "back" of the house.

View of the trailer from the “back” of the house.

View of the trailer from the "front" of the house. The open area will eventually be the front porch.

View of the trailer from the “front” of the house. The open area will eventually be the front porch.

As usual, Noah sat contentedly beside the trailer and posed with his ball.

As usual, Noah sat contentedly beside the trailer and posed with his ball.

Now that the floor is finished. . . it’s time to consider framing the walls and roof.

First, however, we took a day off on Tuesday to recuperate and do some calculations. It was necessary.

Framing wouldn’t normally be a difficult thing to do, but we will have to change the pitch and shape of the roof to meet RV specifications to be able to move this sucker around without needing any special licensing in order to do so. The trailer height specified in the plans is intended to have a height of 20 inches from the ground to the top of the flatbed, and the plans build a trailer that is 13’11”. My trailer, however, is a full 25″ from the ground to the top of the flatbed, and put us at 14’4″. Since the limit for an RV is 14′ at it’s full height, we had to do a little thinking. 

This is one of those moments (and there are many) when I’m profoundly grateful for my dad’s building and engineering expertise and experience. We first determined that we could loose 2″ of height by making the floor from 2×4’s instead of 2×6’s without compromising much in the way of stability, strength, or R-value in the insulation. The next step was to alter the pitch of the roof to save a further 2″.

Those of you who know either my father or who know the house I grew up in will recognize the roof shape! It’s the same one he’s put on nearly every home he’s ever built: a “hip” roof. They look, in short, like a barn. 

Dad hard at work on calculating the pitch and dimensions of the new roof.

Dad hard at work on calculating the pitch and dimensions of the new roof.

There will be more on the roof as we go along, I promise. 

We also had to calculate how much lumber to buy in order to frame and sheathe the house.  Once calculated, we decided the best option was to call a local lumber company for an estimate. The price at a “box store” (i.e.: Home Depot, etc), as we estimated it, was going to be around $1,000-$1,500.  Old Monroe Lumber (http://www.omlumber.com/) could do it for $790.66, including tax and delivery. We called them on Wednesday morning, and they promised our order for us on Thursday morning. 

IMG_4985

Old Monroe Lumber delivering to the site.

IMG_4988

They tried to back in for the drop on the way “up” the hill. . .

IMG_4995

. . .and, as we found when we moved the trailer into position on site, it was better to go up and turn around to make the drop from the “downhill” angle.

The delivery person was extremely patient, skillful, and even managed not to harm the little dogwood tree shown here, precariously close to the truck. Amazingly, he even managed to drop the wood without blocking the driveway, either. It took a lot of maneuvering, however, to do that. 

Just one of the multiple attempts to get the wood into position without it protruding into the driveway and without harming the dogwood tree.

Just one of the multiple attempts to get the wood into position without it protruding into the driveway and without harming the dogwood tree.

Although my father wasn’t too concerned about the tree being harmed, the driver was, much to my relief. Neither of us was concerned about needing to move or re-arrange the lumber if it ended up in the driveway, but, again, the driver was. He just continued until he was satisfied with the angle, patiently and calmly. When he left, I gratefully called the lumber company to let them know the kind of person they have on their team.  

The plans we’re working from can be found here: http://www.thesmallhousecatalog.com/, and are for “The Moschata Rolling Bungalow”.

One thing I’ll say is that Shawn, the owner of the company and the designer/builder of the plans/house, is a really good guy. After purchasing his plans and contemplating potential safety concerns raised by another tiny house company I had contacted on another matter, I emailed Shawn with a heap of questions in a state of anxiety. Not only did he offer great reassurance as well as excellent advice, but he also refunded the cost of the plans to donate back to my project. (The plans are now part of a freeshare on his site, so they are available to everyone!)

After a great deal of further research, I chose to go ahead with my original intention to use Shawn’s plans. I now feel pretty confident that the competing company likely had either an axe to grind or had hopes of luring me in as their customer. An anxious woman who is building a house for the first time, who is also transparent about her resulting fears and concerns, lays fertile ground for an enterprising business man to take advantage of the situation for his own benefit. There is simply no substitute for doing your own research, being willing to question the information/advice offered, and trusting your own instincts, and where someone is willing to stick their neck out to be kind to you, it’s important to acknowledge their contribution with respect and gratitude.

Shawn — you ROCK, dude. 

Today we’re going to start cutting and assembling roof trusses. 

No One Builds a Foundation Alone

This week offered a great deal of humility and a reminder that each of us is profoundly reliant upon countless other beings in order to survive.

Getting the floor/foundation of the tiny house built, insulated, and attached securely to the trailer is a critical step in the process, and is likely to have been my least favorite part. I couldn’t have done it without my dad. Frankly, if this post weren’t already so long, there would be an ode to my father in this space. It’s likely to be a frequent refrain and will no doubt be a subject that warrants plenty of its own posts in the near future, and for very good reason. He is an extraordinary being.

The floor/foundation of the trailer is very nearly finished. And everything everyone has ever written about how difficult it is to drill through the steel on a trailer to bolt your tiny house to it was 100% right.

Despite reading everything possible about trailers, bolting floors to trailers, and attempting to heed all the expert advice available out there, I still made plenty of mistakes. Some were pretty breathtaking and would provoke a face-palm from anyone with common sense. At least I know why everyone else bemoans this part of the process and looks forward to getting it out of the way. Generally speaking, I’m fortunate that an inanimate object is extremely unlikely to cause me to lose my temper.

Except for this one. I wish I could say that this part is over. . .but it ain’t over yet. Almost — but not quite.

Dad drilling the first hole.

Dad drilling the first hole.

We started by doing a pre-drill to make space for the 1/2″ carriage bolts to fit into the 2 x 4’s without sticking out. When I say “we”, I really mean my dad, who knows this stuff so well he could almost do it in his sleep.

This is the pre-drilled hole that allows the carriage bolt to nestle into the wood, which will allow the subfloor to lie flat against the 2x4 joists.

This is the pre-drilled hole that allows the carriage bolt to nestle into the wood, which will allow the subfloor to lie flat against the 2×4 joists.

After drilling the wood over the steel flange (great word, “flange”), we went back to drill through the steel. And like many before us, we also burned out our first drill. (Which was indeed my father’s, and yes — I have now replaced it for him with something way cooler and cordless!)

This drill "bit" the dust. (Get it? Drill? "Bit"? Ahem.)

This drill “bit” the dust. (Get it? Drill? “Bit”? Ahem. Moving on. . .)

Before we replaced this dead drill with a newer, better model, however, we needed to just get the job done. We headed into town and rented this heavy-duty 1/2″ chuck Hitachi drill for only $10. This thing was AWESOME. Give it a little spray of WD-40 on the drill bit every now and again while you’re drilling each hole, and it stayed happy and capable without over-heating. Happy to say that it was returned in the same condition it was when we borrowed it. That was a HUGE relief.

The drill that did the job.

The drill that did the job.


Once we could successfully get all of the bolts into their selected holes (there are 14 of them around the perimeter which bolt the floor frame to the trailer), we were faced with getting the nuts onto them underneath. I did pretty well with the drilling. The nuts, however, were what got me. I haven’t cussed that much in a long, long time. Suffice it to say that crawling underneath of the trailer and reaching into a tiny space between the steel flanges was rough. It wasn’t possible to see very well at all, and once the nut was on the bolt, screwing it in created further challenges.

Let me just say that axel grease does NOT make that an easier task (don’t ask!), and if you’re a woman about to crawl under a trailer to nut a bolt, don’t do it in a tank top wearing a sports bra. Two words: metal shavings. And they will go. . . everywhere. In all seriousness, however, if you do go under there, protective eyewear is a must.

Unsurprisingly, it was my father who came up with the most creative idea for solving the problem by using a wrench and masking tape. It took two of us to put each nut in place, one above and one below, but we got it. The part of that task that’s left is to actually tighten each of the nuts, which required another MacGuyver-esque move by my dad, who ground down an old wrench so that it’s thin enough to fit in there and turn. When we get the guts up to go back under there and do it, there’ll be a special post dedicated to it!

Once the bolt situation was more or less under control, we filled the gaps between the boards on the floor of the trailer itself with spray foam to seal them, scraped off the excess, and then filled the space between the joists with foam insulation. The precision cutting involved here is very time consuming (took about two days), but should hopefully be worth it. It’s light-weight and has a solid R rating.

IMG_4868 IMG_4879

The bits that were scraped off the top of the gaps could be used to fill in a space where the pink foam sheets wouldn’t fit. In the photo on the right, you’ll notice that there’s a 90 degree angle tie. I attached dozens of them to the floor joists and trailer to stabilize it, and used right angle ties at every corner of the floor structure to strengthen it. The entire structure of the floor is glued and screwed to add further structural integrity and stability. My impact driver and I are having a wonderful time together.

IMG_4872 IMG_4877

As you can see, they’re everywhere. There were 8-hole ties and 4-hole angle ties. The majority that I used were 8-hole ties. Between the angle ties and bolts, that floor ain’t leaving the trailer!

There are two layers of insulation that make up the floor, so each section had to be cut twice, and layered, the cracks filled in with more spray foam. 

IMG_4874 IMG_4897 IMG_4884 IMG_4895

As usual, Noah was on hand to provide company, laughs, and to have his ball thrown at every available opportunity. Next task: installing the sub-floor!


The tiny house trailer encounters “The Hill”

Encountering a bump in the road while moving the trailer to its build location.

Encountering a bump in the road while moving the trailer to its build location.

Despite living here for 30 years, we didn’t consider the challenges involved in moving the tiny house trailer up our driveway, known popularly as “The Hill”.  We got it from Sikeston, MO to our place in O’Fallon, MO fairly easily with the help from an old friend from high school, Vanessa Rodman, who loaned me her husband Alan’s Ford Ranger. (!) 

Once home, however, it wasn’t clear until we started up the driveway that the Ranger wouldn’t be up to the job. (Few vehicles could be!) My dad tried backing the trailer down the hill with the truck, but had he continued, we would have lost it into the creek. 

NOT an option. 

Instead, we left it where it was and called for the cavalry, who arrived with a tow truck. 

We got by with a little help from some friends. . .

We got by with a little help from some friends. . .

Not a terribly big deal, actually. “George” and his trusty assistant (whose name we never got, sadly, as he was a lovely fellow) were brilliant and meticulous in moving the trailer. No damage, and they kind of pitied me, I think, so they knocked the price down significantly. 

George and his lovely assistant working with meticulous detail.

George and his lovely assistant working with meticulous detail.

We ended up renting a Ford F-150 from UHaul to get the trailer moved to its location at the top of the hill where we will do the build. More pics of that to come. . .

In the mean time, here’s a pic of Noah sitting on the trailer while we waited for the tow truck to arrive. He’s clearly not concerned about any of it!


Noah thought it was all just fine!

Noah thought it was all just fine!